Motortopia - EVERYTHING Automotive!
Exciting News! Motortopia App Now Available on Apple App Store!  
Close Ad

LIVE THE GLEAM

AL MAMOON October 09, 2022 All Feature Vehicles

10 Steps to Show-stopping Wheels and Tires

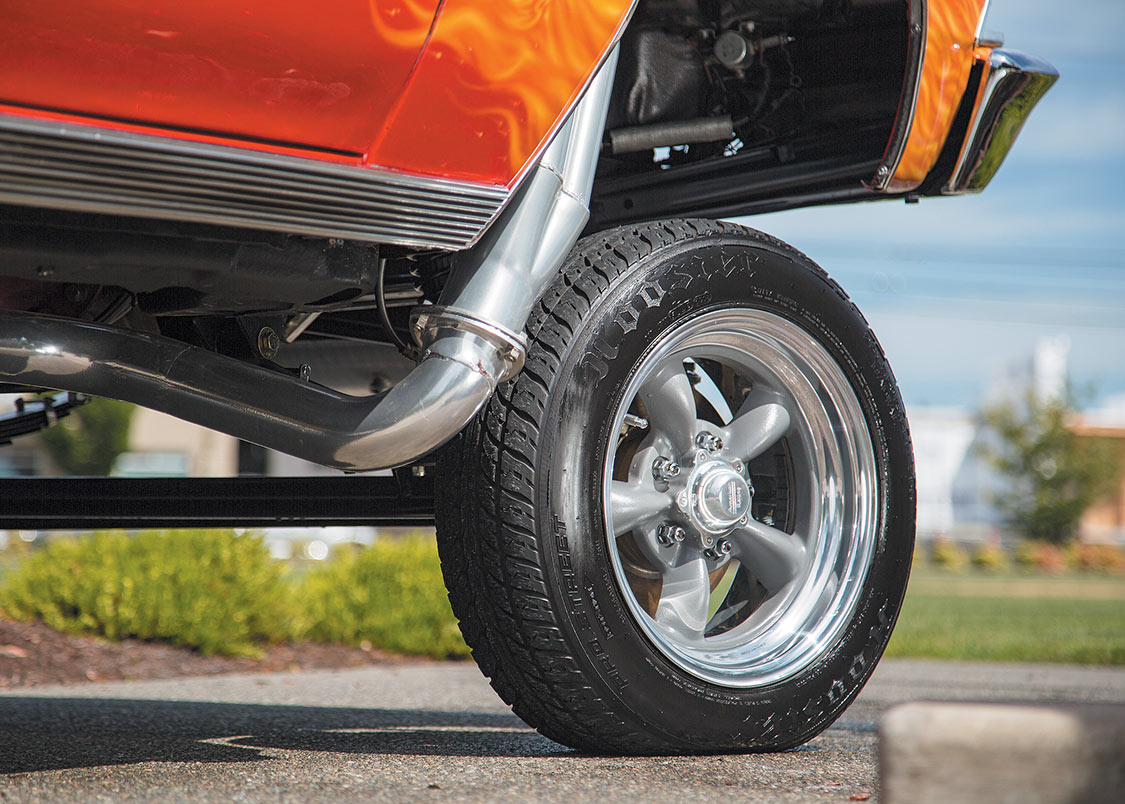
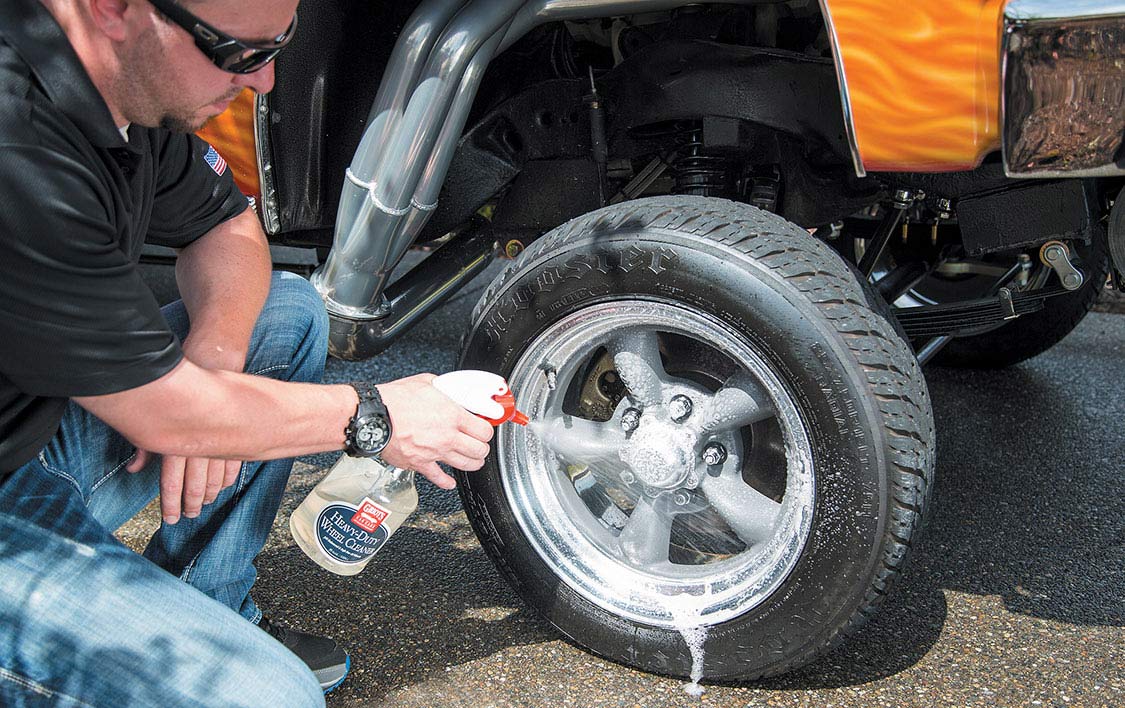
Wheels make the ride. Whether you roll subtle and slight or loud and large, fully dressed rolling stock is a high priority for any rodder. Trailer queens are in a perpetual state of cleanliness, but if your car sees the road, keeping your wheels and tires clean can be particularly challenging because they get dirtier, and do so faster, than any other part of your ride. Brake dust and road grime are the most heinous offenders.

When it comes to brake dust, some pads spit the stuff like a grinder shoots sparks. The composition of your brake pad’s friction material determines how much dust is produced and how potentially harmful that dust can be. Metallic pads generally are more potent than ceramic-based pads. Brake dust is tough stuff, and it can etch into your wheel’s finish if left unchecked. Road grime is more prevalent in rainy areas and it seems to stick to wheels like peanut butter. Grime is more of an aesthetic hindrance than overtly dangerous, but grime and dust together make quite a one-two punch.

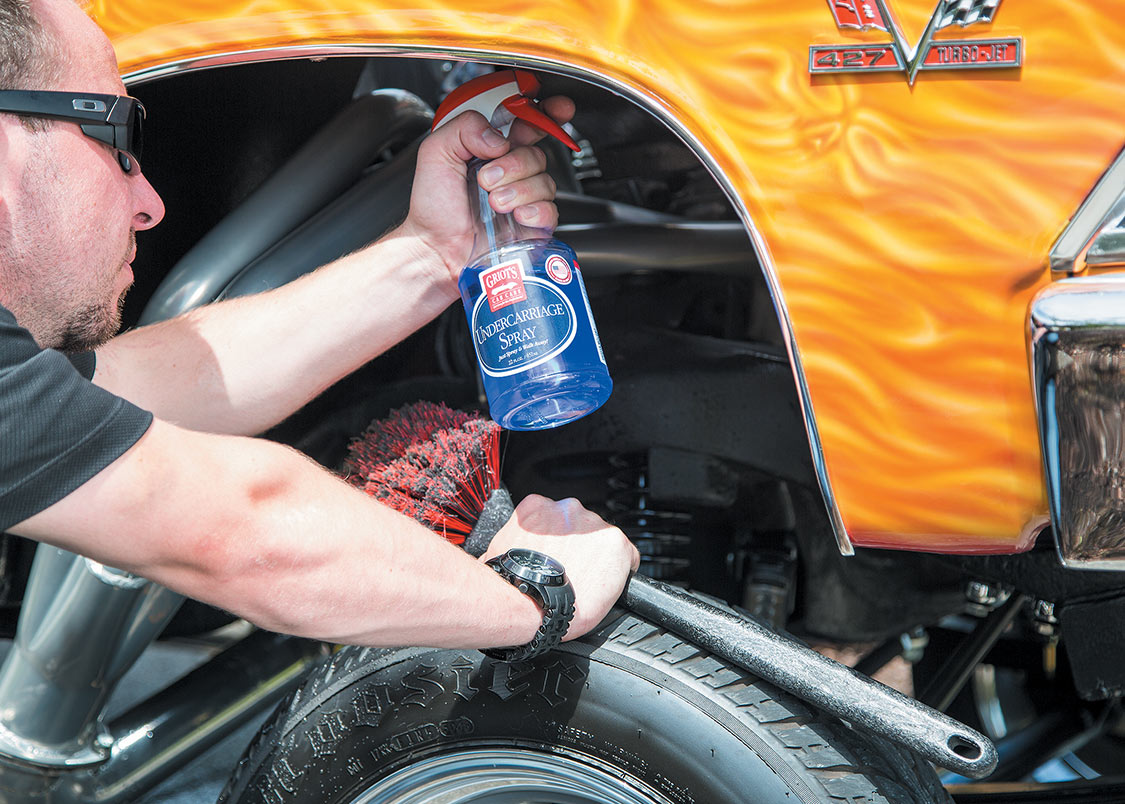
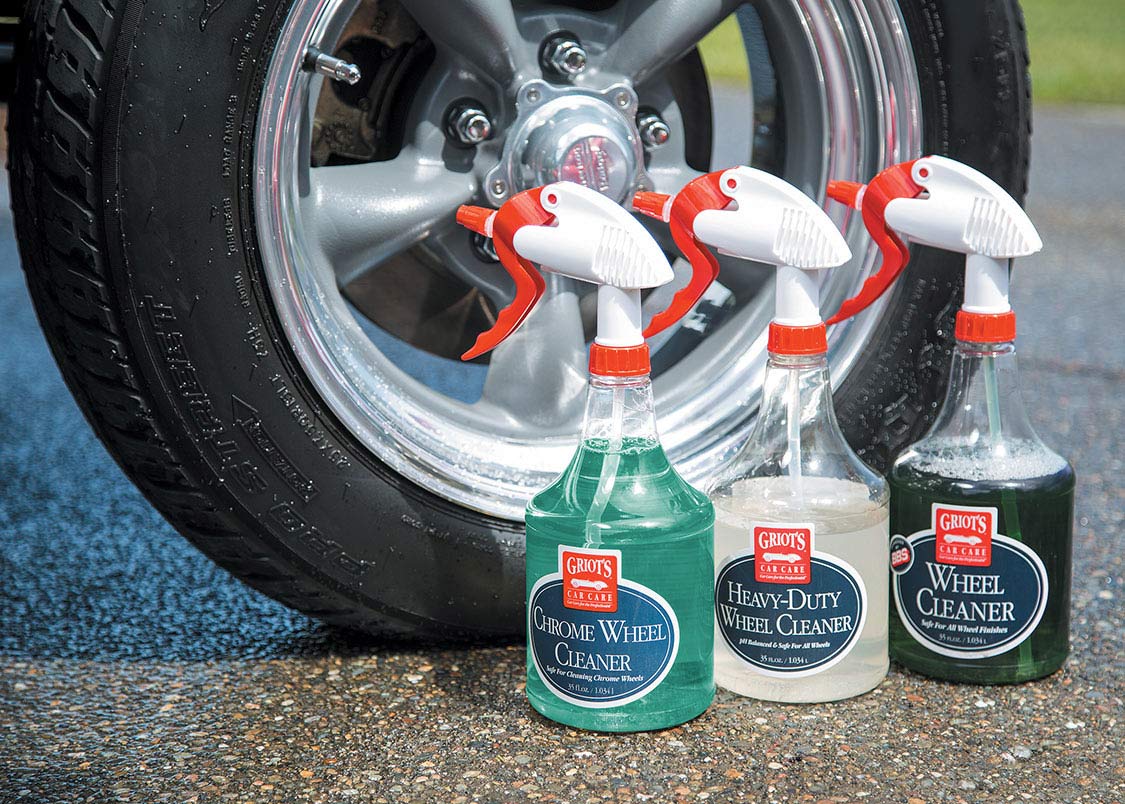
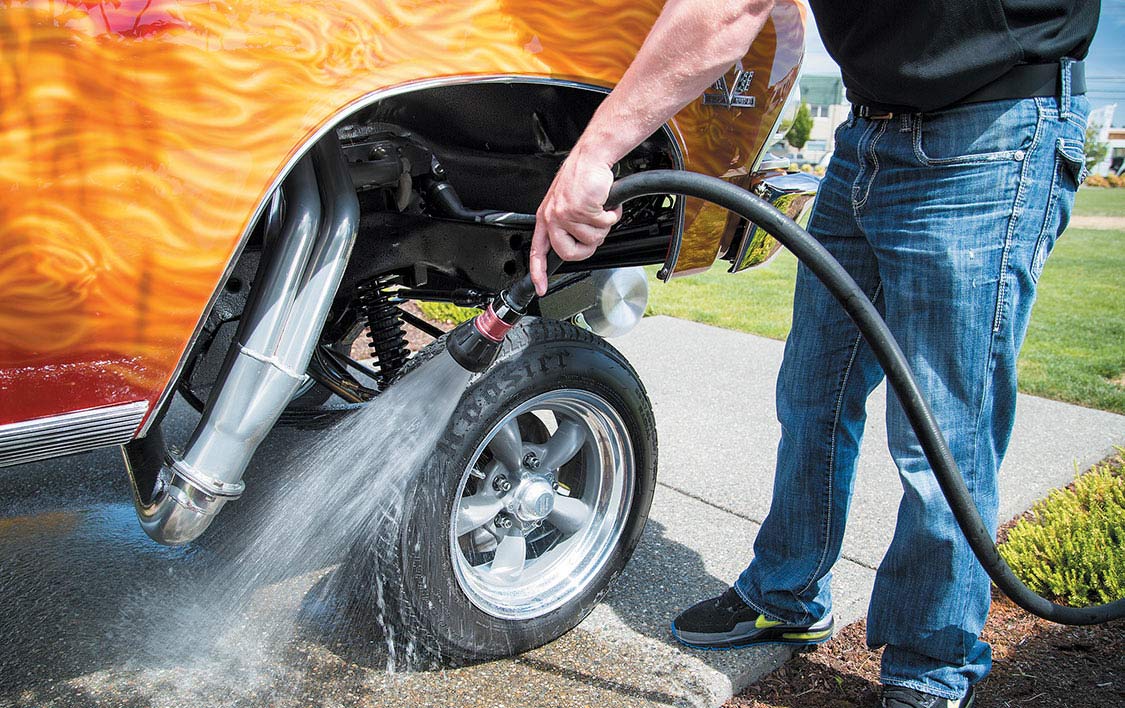
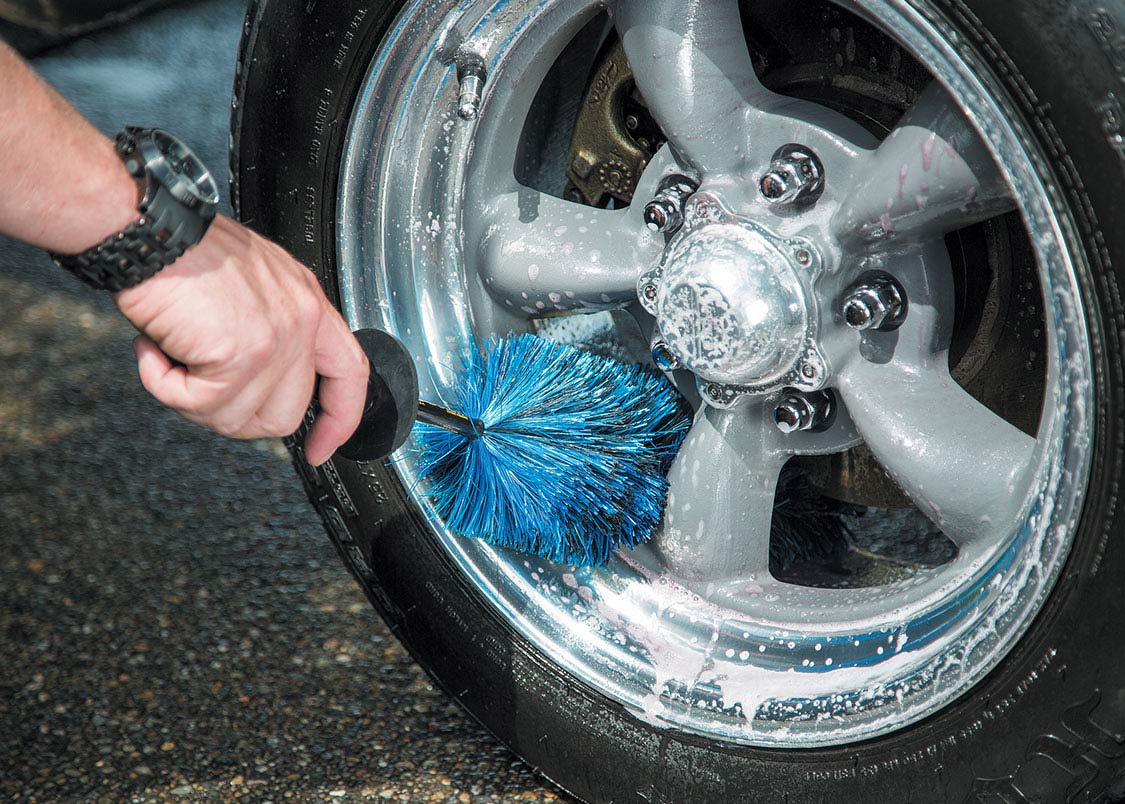
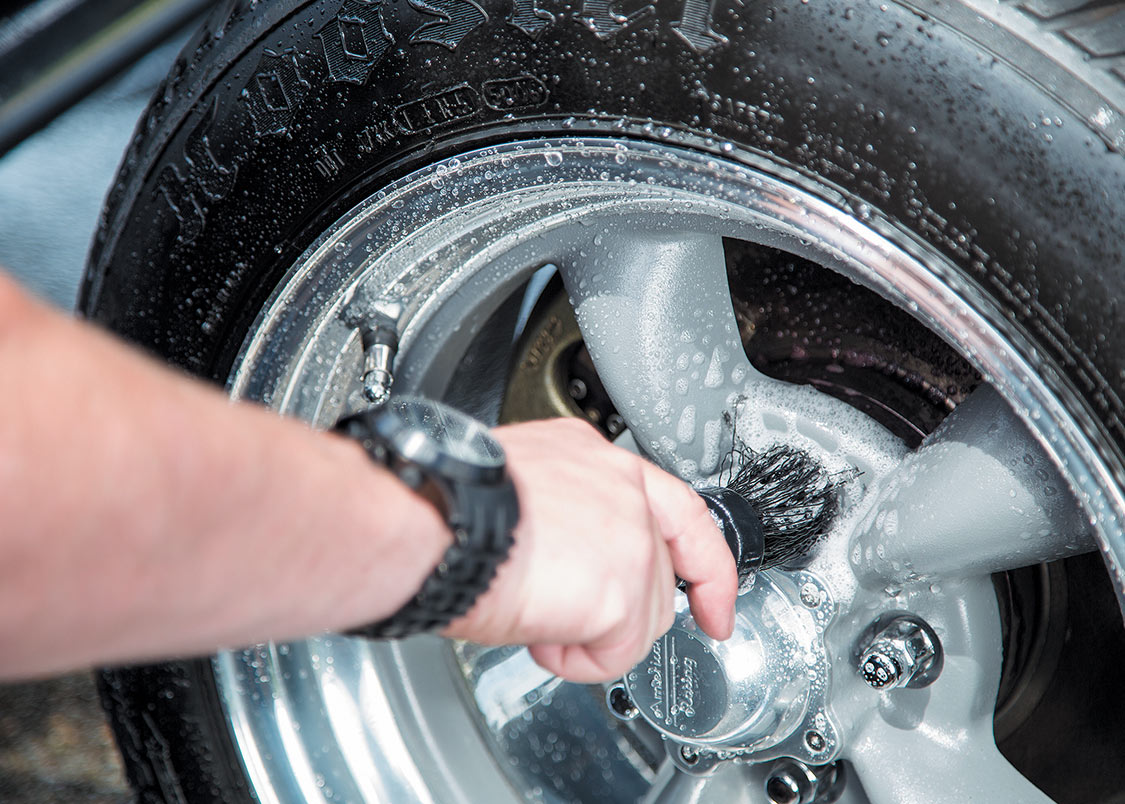
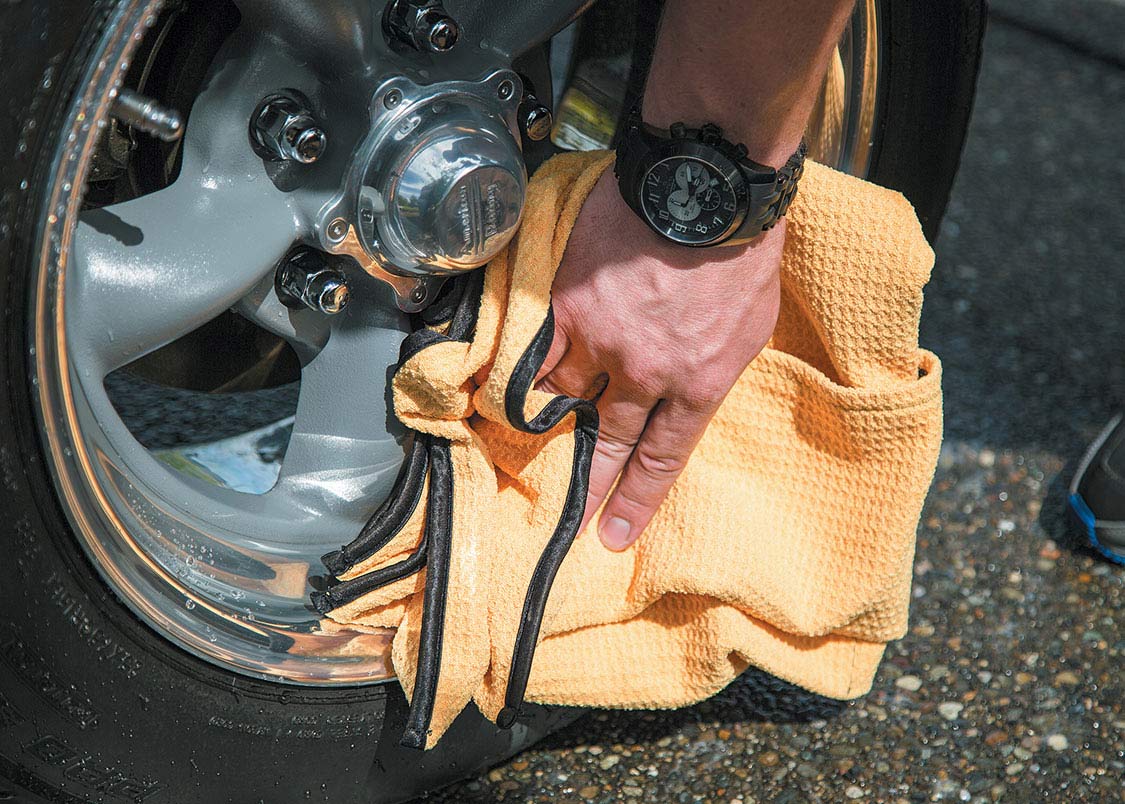
The following tips and tricks will make the quality time you spend with your rolling stock more effective and fulfilling.

BEWARE, DIRT FROM ABOVE

After cleaning your wheelwells so mud and gunk won’t drip on your freshly cleaned and prepped rolling stock, it’s time to seal the deal. Follow up with undercarriage spray to detail the inner fenders and surrounding area. Moving forward, undercarriage spray can be used for ongoing maintenance. People notice when the wells are pristine and are impressed with that level of attention to detail.

CHOOSE WISELY

Not all wheel cleaners are formulated for all wheels. Griot’s standard Wheel Cleaner is safe for all wheel types, the environment, and is manufacturer-approved by BBS, Dayton Wire Wheels and Tire Rack. Heavy Duty-Wheel Cleaner is a pH-balanced, non-acidic, non-caustic composition that has a little more bite for extra dirty wheels. Chrome Wheel Cleaner uses a natural, citrus-oil-based formula that is tailor made for the unique requirements of chrome wheels, but it shouldn’t be used on polished aluminum or magnesium wheels.

SET THE STAGE

Rinse the wheel with water to enhance the cleaner’s saturation. The water allows the cleaner to be carried to more remote areas and tight spots of the wheel, and hose pressure also blasts out some of the dirt and sediment straightaway, which means the cleaner can concentrate on the toughest stuff. If you use a bucket and mitt as part of your wheel-cleaning regimen, I urge you to set aside a separate bucket and mitt just for wheels because even the slightest trace of metallic brake dust in your paint mitt can wreak havoc on your finish.

SPRAY AWAY

We’re going with the Heavy Duty-Wheel Cleaner. Spray liberally and allow it to soak for a few minutes. The cleaner will turn purple to let you know it’s working. Don’t let it dry on the wheel; respray to keep the surface saturated.

CLEAN IT LIKE YOU MEAN IT

Be sure your scrubbing tool is safe for your wheel’s finish. Match your tool choice to your wheel design. A Halibrand kidney bean-type wheel will benefit from different tools than a more intricate mesh-style wheel. You can choose from boars’ hair or foam brushes, foam or lambskin mitts, three- or four-fingered mitts and all manner of swab, wand and wipe-down towels.

ASSORTED NUTS

It’s frustrating to clean your wheels only to have dirty water pooled in your lug nut cavities cast onto your wheels when you pull out of the driveway. Clean and dry the holes thoroughly as part of your regimen. You can use a lug nut brush followed up by a blow dryer, like the Griot’s Garage Airstream, or a clean micro-fiber towel.

AFTER THE SCRUBBIN’

Always give your wheels a good final rinse followed up with a full wipe down with a micro-fiber drying towel. This helps deter water spots on your wheels and ensures the cleaning chemicals are removed entirely.

STRIP BEFORE YOU DRESS

Tires should be detailed after you’ve washed your wheels because it’s easier to control overspray on a tire, and tire products wipe off more easily. Get the party started with a clean slate by removing dirt, grime and any residual dressing. Use a rubber cleaner or prep and scrub brush to maximize your effectiveness. Then wipe the surface to ensure any remaining contaminant residue is fully removed.

DROP THE BASE

An optional step that I employ periodically: you can use a product like Griot’s Tire Rejuvenator as a basecoat and the dressing as a finishing coat. Doing so will keep the rubber looking good even when the dressing wears away.

DRESS FOR SUCCESS

The final dressing is make-or-break time as far as the sheen of your tires is concerned. You can stick with Tire Rejuvenator because its black dye produces a low luster and consistent color to black-wall-only tires. My go-to player is Griot’s Garage Long-Lasting Tire Dressing. It produces a clean satin finish for a natural rubber look. If I want more gloss, I simply apply additional coats.


Share your EVENT!
Official Motortopia Event Schedule
SHOW US YOUR RIDE!
There was a problem with your