 EVBG STAFF
.
July 18, 2023
.
All EV Vehicles
EVBG STAFF
.
July 18, 2023
.
All EV Vehicles

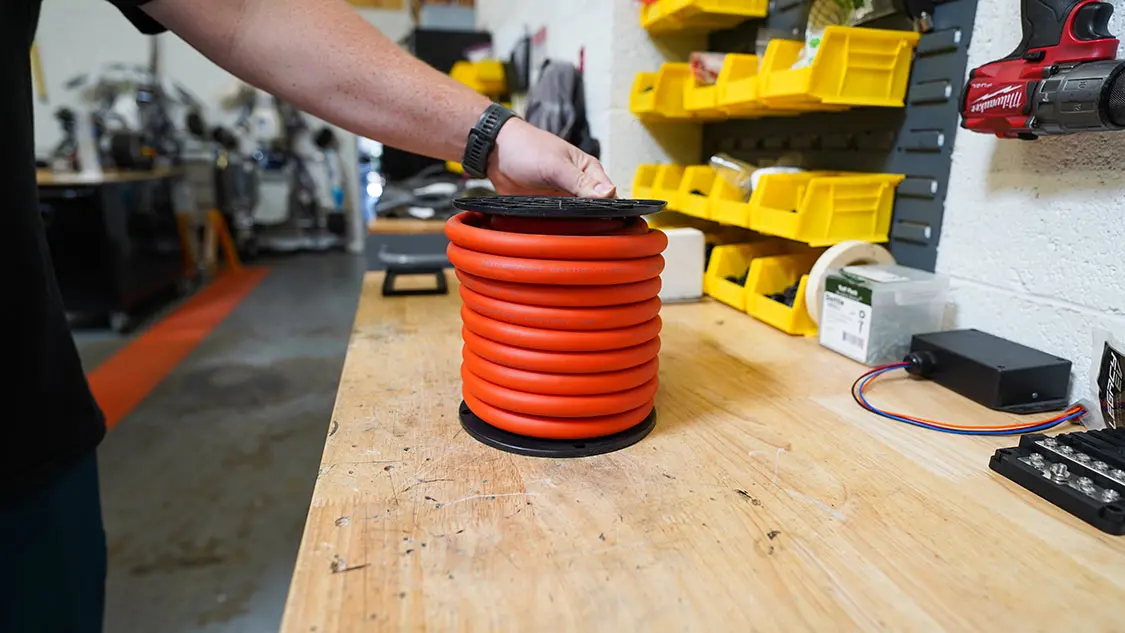
If you want plentiful power out of your electric vehicle, you need the ability to move a lot of current from the battery pack to the motor at high voltages. Doing so requires working with large cable that’s capable of high continuous and peak current ratings. These cables need to be securely terminated at both ends, which can require tools and skills found outside of traditional hot rodding. This guide will serve as a starting point so that you can get watts where they are needed in your EV build.
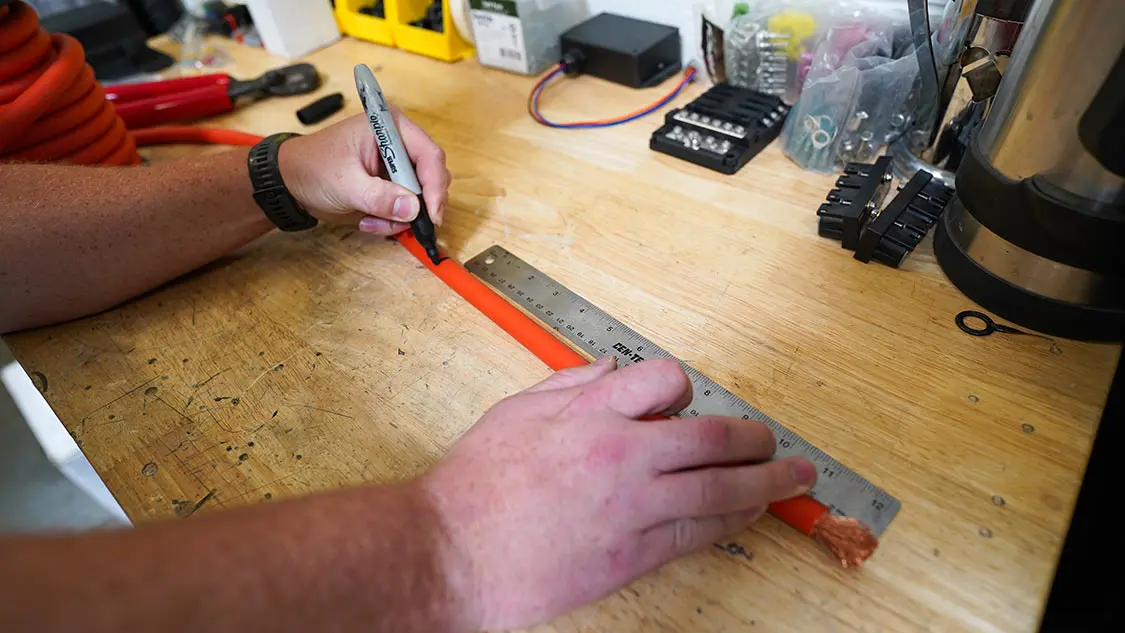
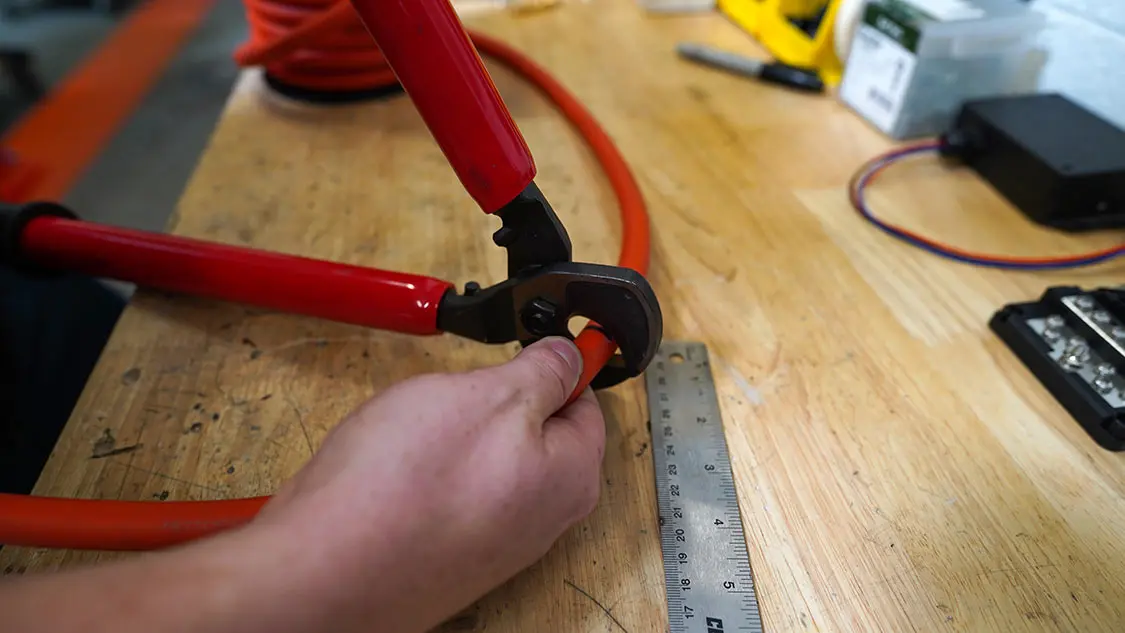
The first step in running your HV lines is to cut your cable to the proper length. In most cases, we will terminate the cable on one end, leaving the other end longer than necessary. Run the cable along the exact path where it will be installed once the build is complete, securing it to the vehicle if necessary. Make sure the cable has no excess slack but is not tight. Once you’ve arrived at the location where the other end of the cable will terminate, mark and cut the cable to length, making sure you are taking into account the space the lug or connector will occupy. A pair of high-leverage cable cutters is the best tool for this job.
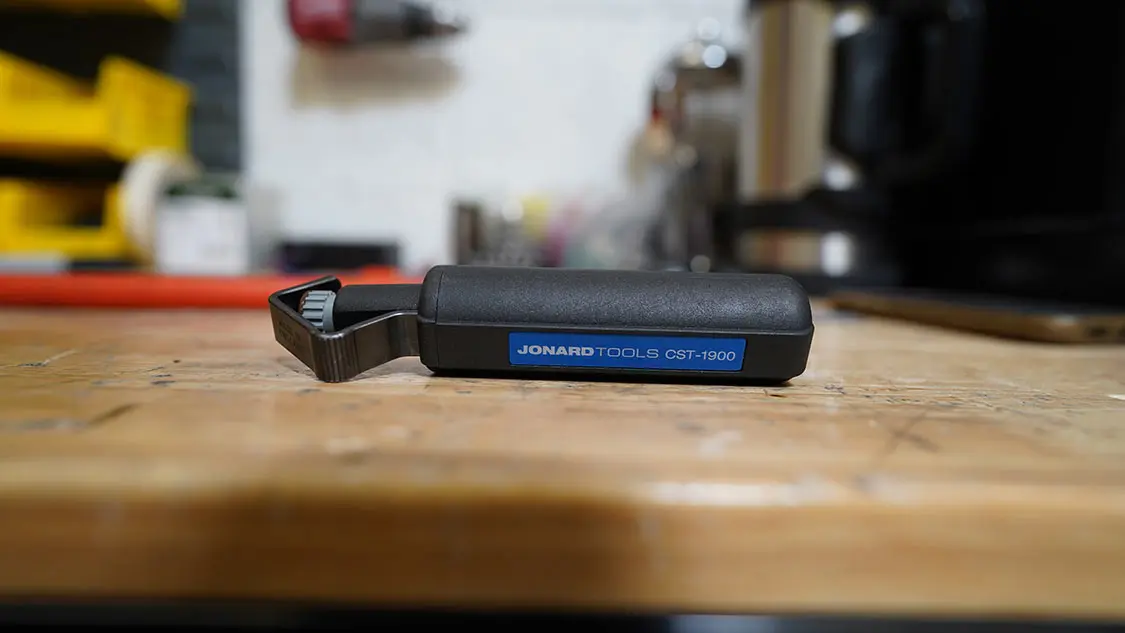
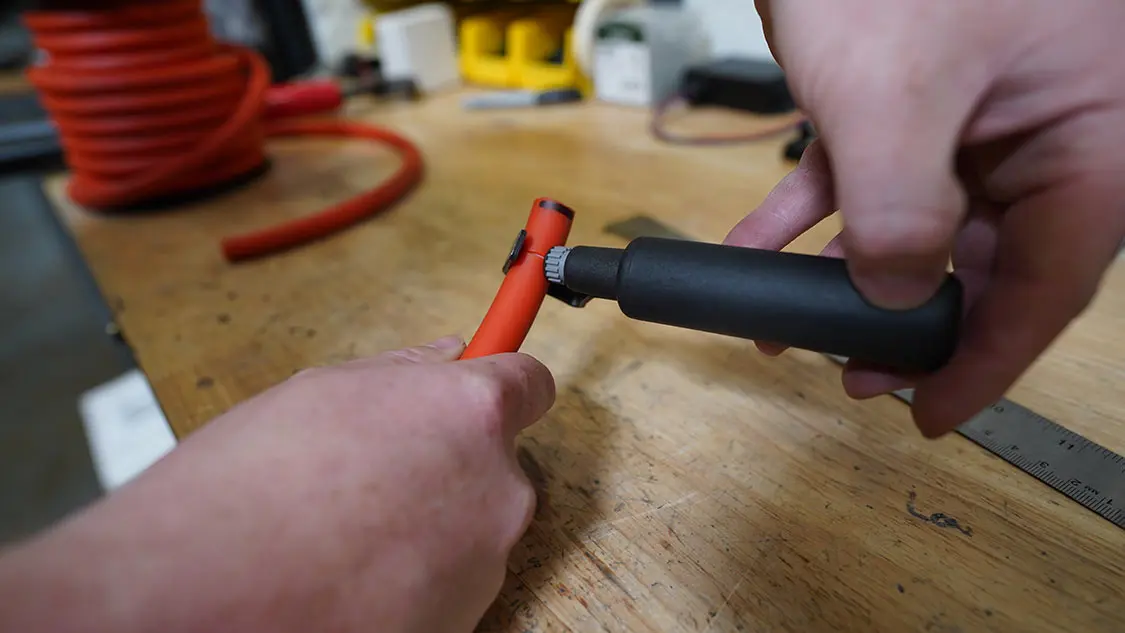
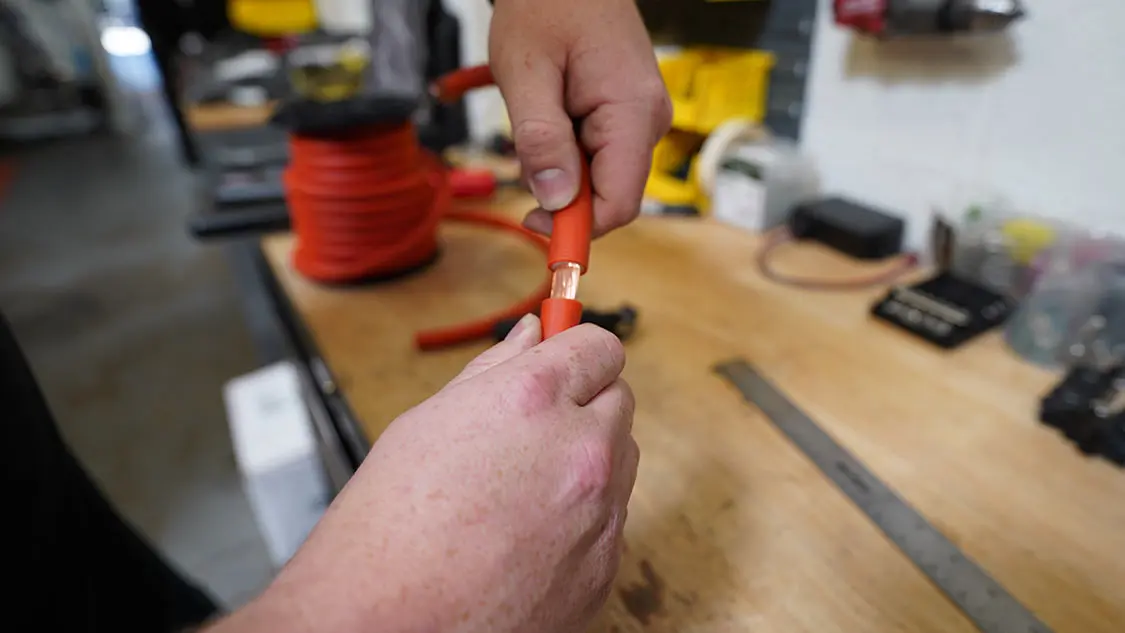
Next, we will strip insulation off the cable, exposing the copper conductor underneath. There are two common methods to strip the insulation off the conductor. The first is a dedicated cable-stripping tool with an adjustable blade depth to account for different thicknesses of insulation such as the one in the photo below. The second option is to carefully use a box knife to cut the insulation back. In general, you will strip as much insulation as is necessary to make sure the conductor will touch the back (or bottom) of the lug or connector in question without leaving excess exposed conductor.
Most HV cables used in EVs are made of hundreds of small copper strands to increase overall cable flexibility, but this makes it easy to unintentionally cut strands of conductor when cutting back insulation. So, take your time and ensure that you are not cutting any strands of the cable while doing so, as this will reduce the cable’s ability to carry current.
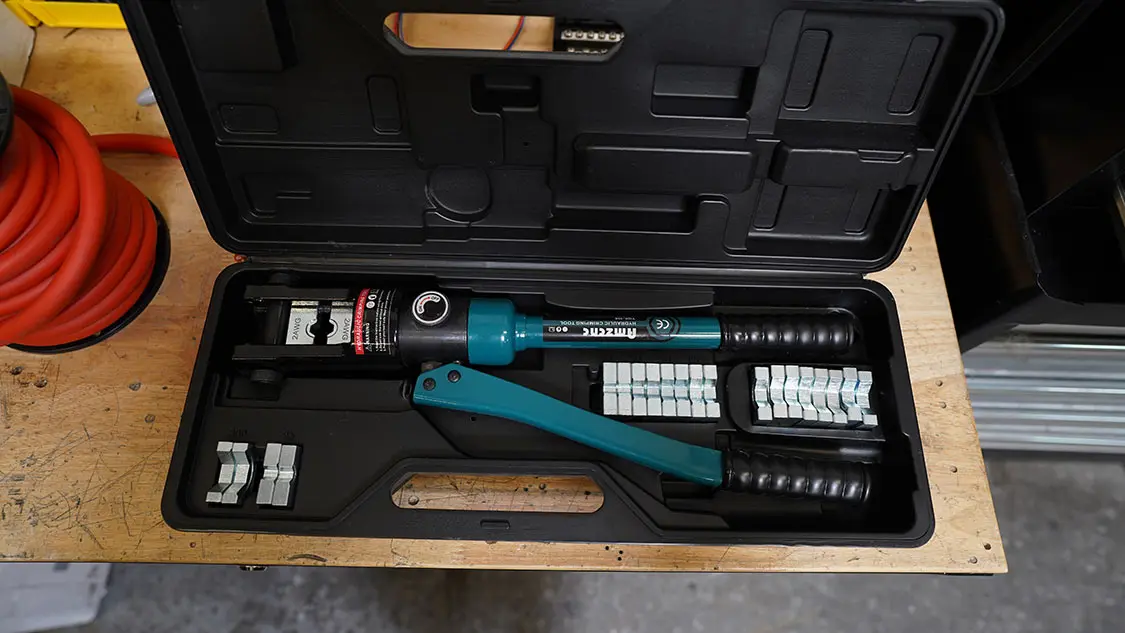
Next, we will crimp the connector or lug onto the exposed conductor of the cable. Hydraulic cable crimpers are used for putting connections on the end of high voltage lines. You will not be able to crimp these connections in a secure manner by hand due to the size of the connectors and cable. Electronic cable crimpers are available, but they can be cost prohibitive for a smaller shop or DIYer, so this article will focus on the hydraulic variety.
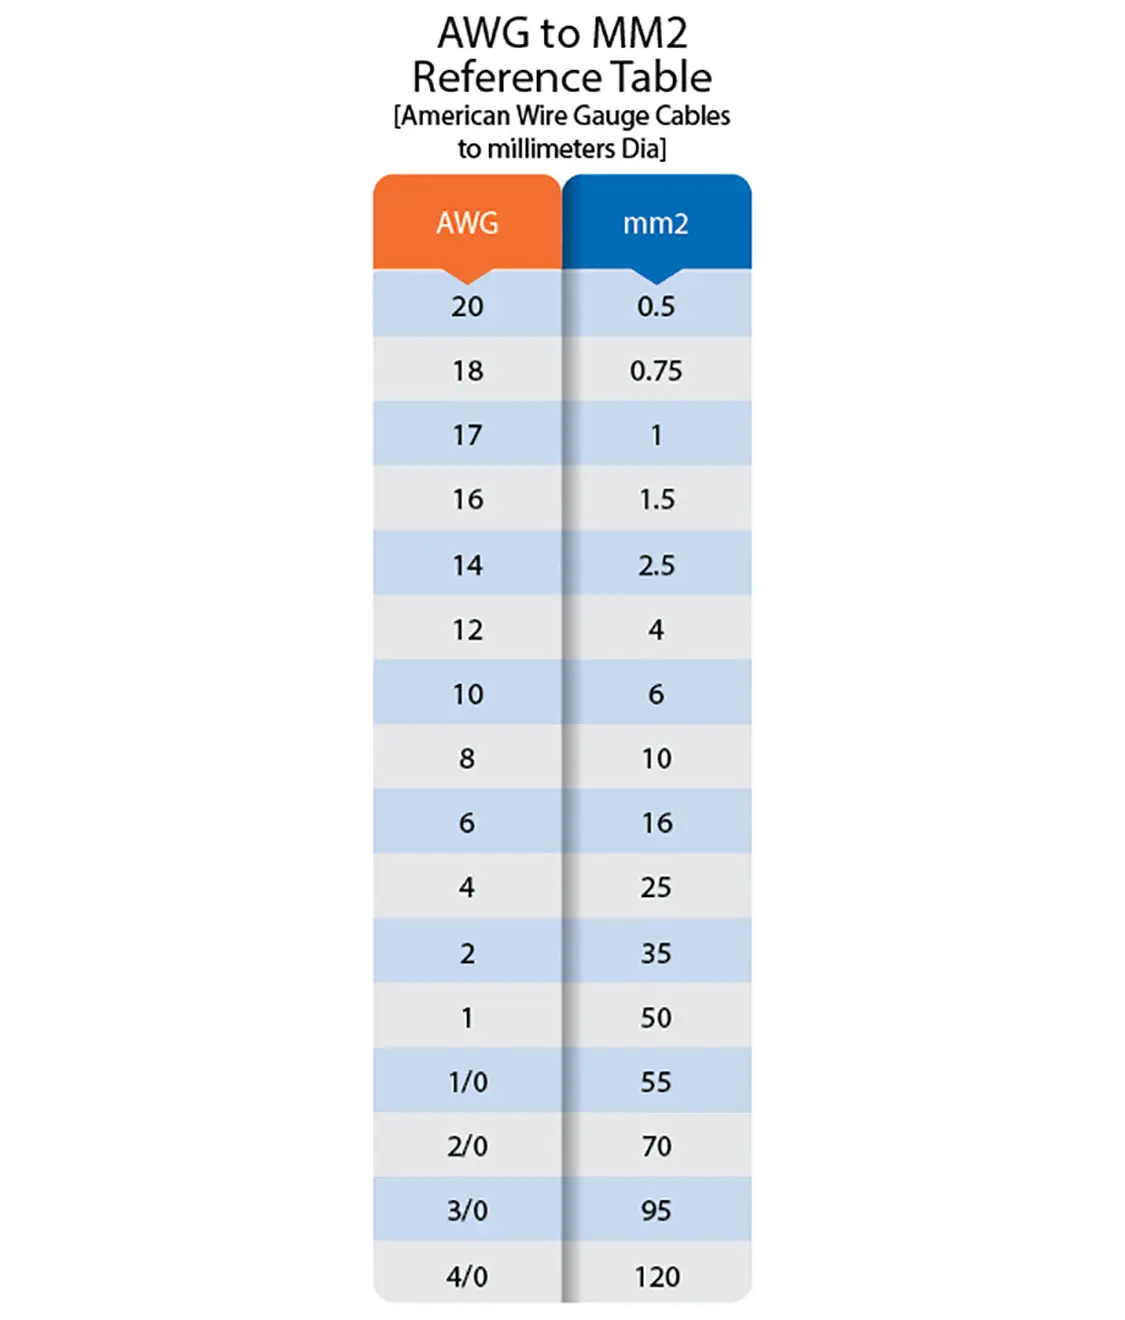
Find and install the correct die into the crimper for the size of cable you will be using. Most hydraulic crimper sets come with several removable dies. These can either be measured in mm2 or AWG, so a conversion chart such as the one below can be necessary depending on the specifications of the cable or die.
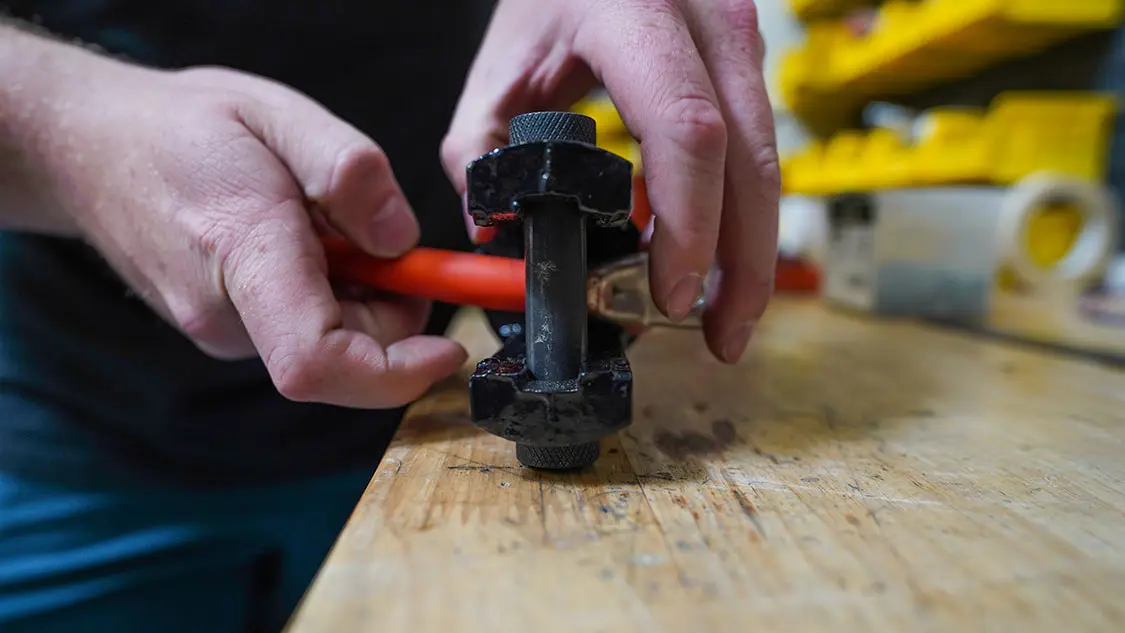
Note that most hydraulic crimpers are unwieldy tools that are truthfully best operated with three hands as the tool must be held and operated while also making sure the conductor is fully seated within the lug throughout the crimping process. In light of this, recruiting a partner to assist or clamping the tool to a bench will make the process a lot less frustrating.
With the hydraulic valve open, place the lug or connector into the jaws of the crimper. Insert the exposed copper into the lug or connector fully, and close to the hydraulic valve. Once the tool is secured and the conductor is fully seated into the lug, get to cranking. Pump that tool until the die no longer moves against the lug or connector and you can hear the blow-off valve releasing excess pressure.
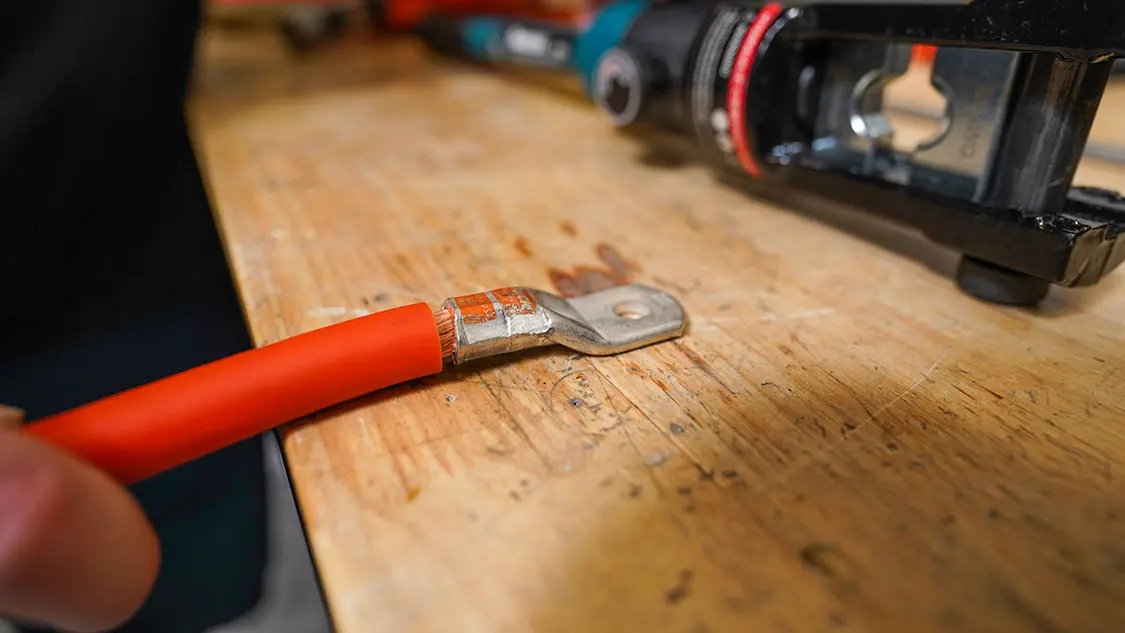
At this point, you can open the hydraulic valve and remove the now-crimped connection from the crimping tool. If done correctly, there should be no loose strands of conductor, exposed copper should be kept to a minimum, and the lug or connector is fully crimped onto the conductor.
Next, we will apply heat shrink to further secure the connection and make it resistant to wear, tear, and weather. In some cases, like when using bulkhead connectors, this connection will be covered by other means, such as screw on plastic housings, so the below step is not always necessary.
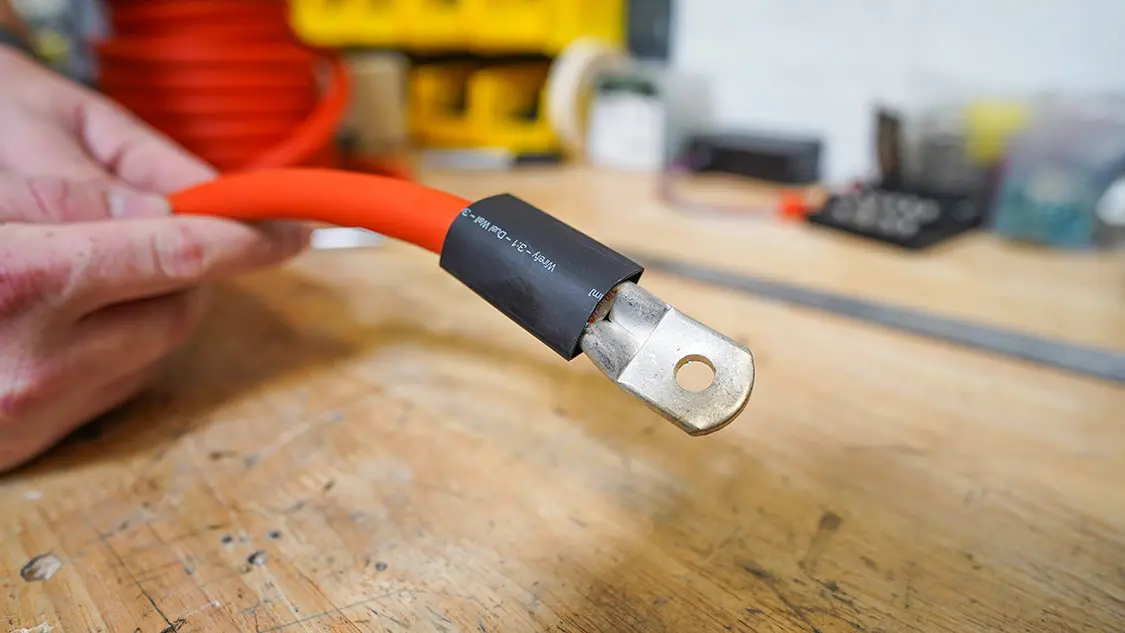
Cut the heat shrink to completely cover both the crimped part of the lug as well as an equal amount of the insulation. If desired, you can use colored heat shrink (typically red or black) so that you and future technicians can easily distinguish the electrical potential of HV cables.
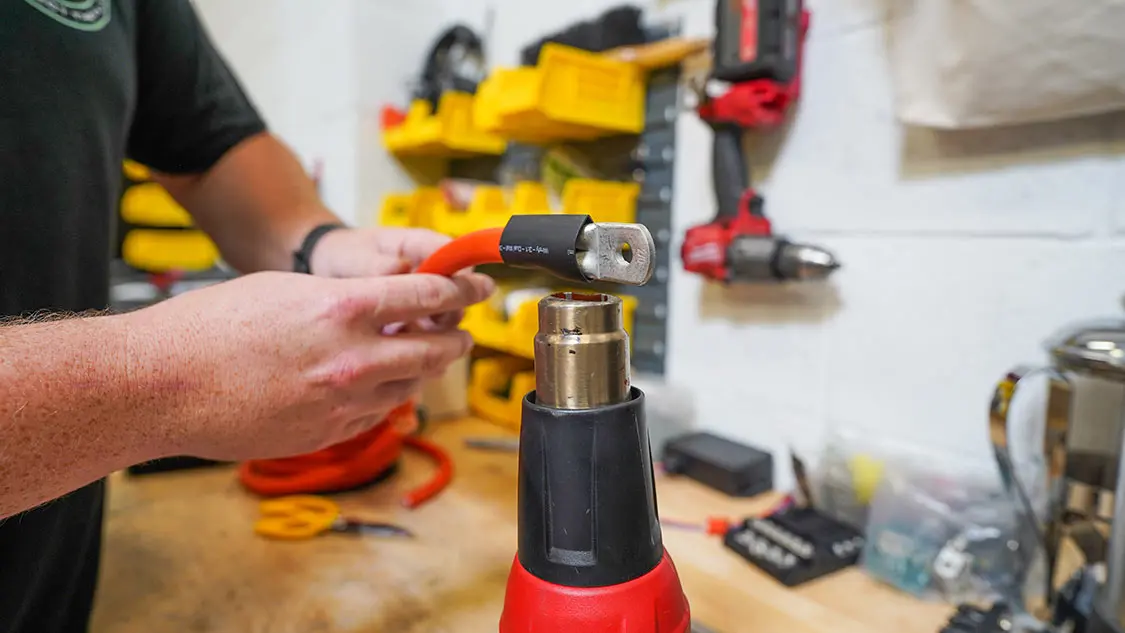
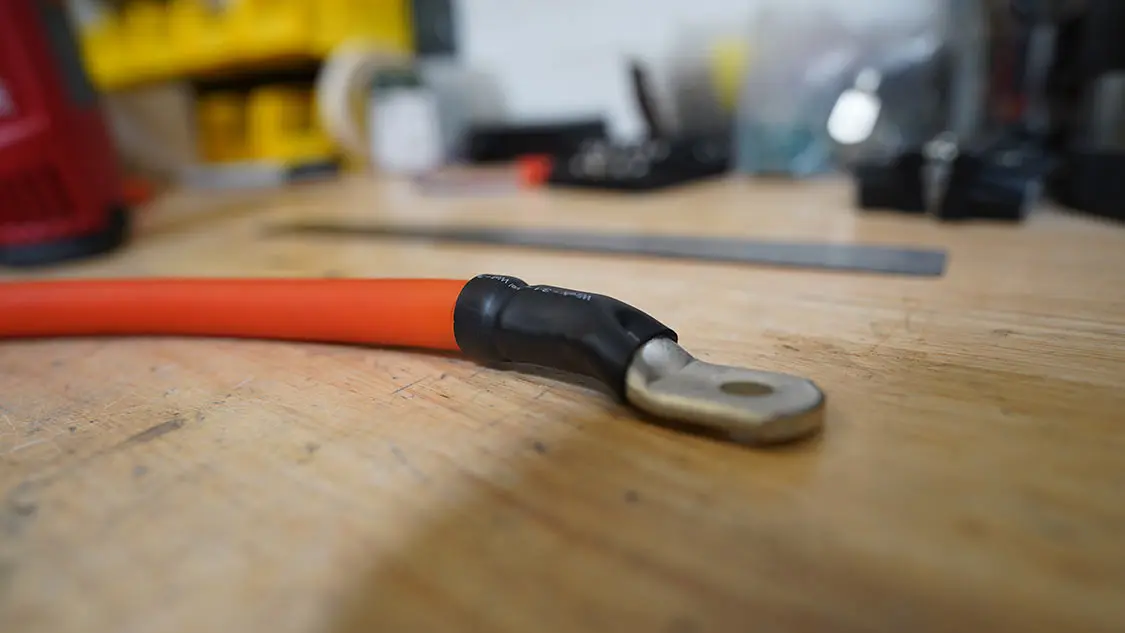
Now, using a heat gun, heat the heat shrink so it begins to shrink, making sure to not let the gun linger on any one spot, as it is possible to melt heat shrink. Be careful during this process as the lug or connector and wire will be hot to touch and could burn you.
In summary, measure, cut, strip, crimp, shrink. Take your time. You got this!
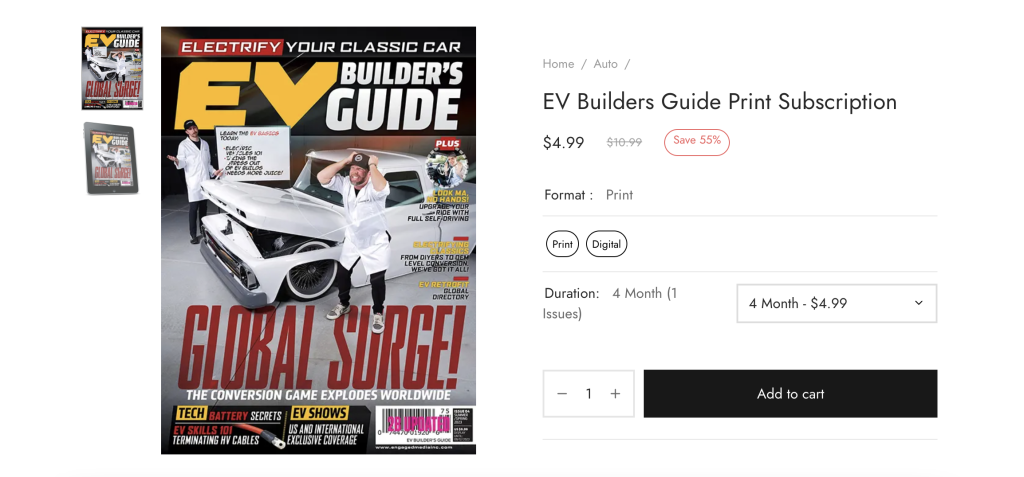
Like What You See? Pre Order This Magazine Issue Now!
https://engagedmedia.store/product/ev-builders-guide-print-subscription/

All EV Vehicles
Electrify Expo Showcases Stunning EV Conversions and Modified EVs, Plus Cutting-Edge Tech Right in the heart of all the action in Long Beach, California, the… Continue reading
EVBG STAFF . July 11, 2023

Electric Vehicle Features
Race-Prepped Mini Cooper SE to Hit Hillclimb Circuit “Racing Mimi Evo” is a Mini Cooper SE that has been prepped for Romanian hillclimb competitions (Campionatul… Continue reading
Mike Self . May 09, 2023

Electric Vehicle Features
E-PACHE With gasoline prices sharply rising with no plateau in sight, some truck owners may opt to keep their vehicle with the least ideal MPG… Continue reading
John Mata Jr. . December 19, 2022

EV Builders Guide
Decoding ‘Loss of Isolation’ in Electric Vehicles In the world of electric vehicles, the term “Loss of Isolation” (LOI) sparks curiosity and concern. As EV… Continue reading
Tom Santilli . June 07, 2024
EV Builders Guide
Upgrade Your Build with These Top Products THE AFTERMARKET EV SPACE IS GROWING AT A breakneck pace, with new and improved products coming to the… Continue reading
EVBG STAFF . March 08, 2024
EV Builders Guide
What a Single Event Can Show Us In many ways SEMA is the annual pulse check of the aftermarket automotive industry. Exciting new products, mind-blowing… Continue reading
TIM CACHELIN . February 14, 2024


Park & Recreation
Broussard, LA
Park & Recreation
Broussard, LA
Goodguys 1st BASF Legends Of Hot Rodding
Nashville Fairgrounds 401 Wingrove Street Nashville, TN 37203
High Tides & Low Rides
High Tides & Low Rides Winchester Bay, Oregon
Goodguys 26th LMC Truck Southeastern Nationals
Georgia National Fairgrounds & Agriculture Center 401 Larry Walker Parkway, Perry, GA 31069

 Please wait...
Share Link