 BEN MOZART
.
October 20, 2022
.
All Feature Vehicles
BEN MOZART
.
October 20, 2022
.
All Feature Vehicles
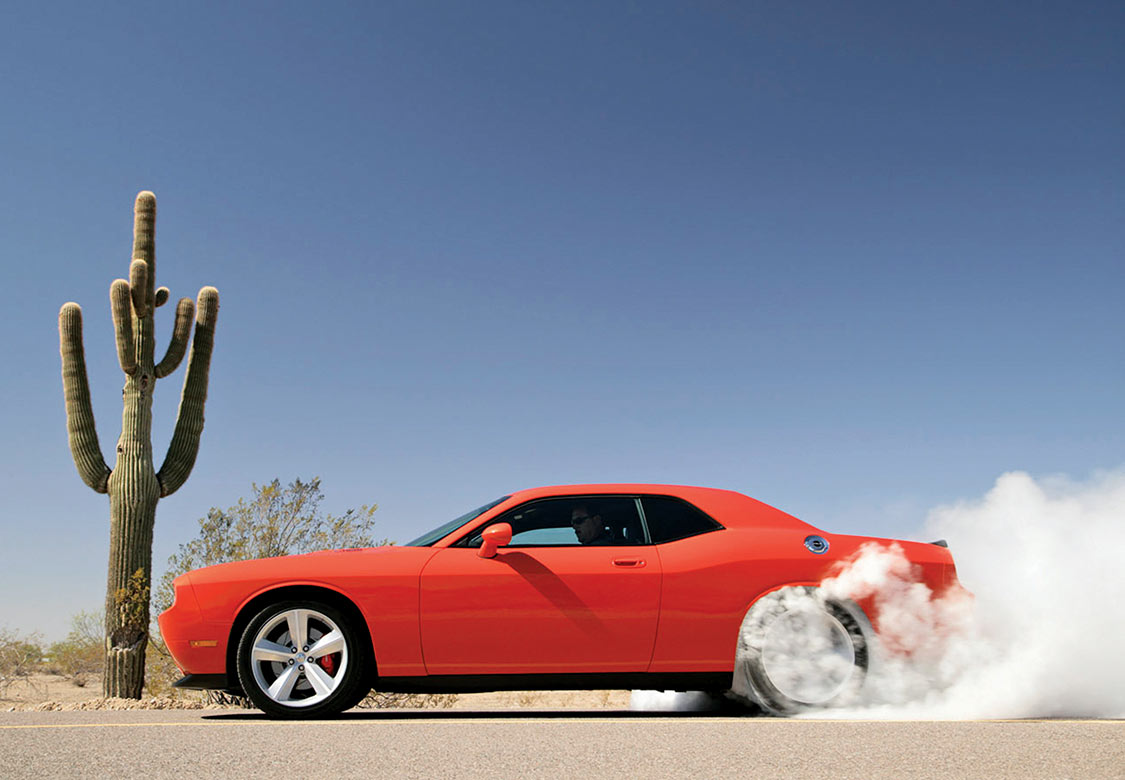
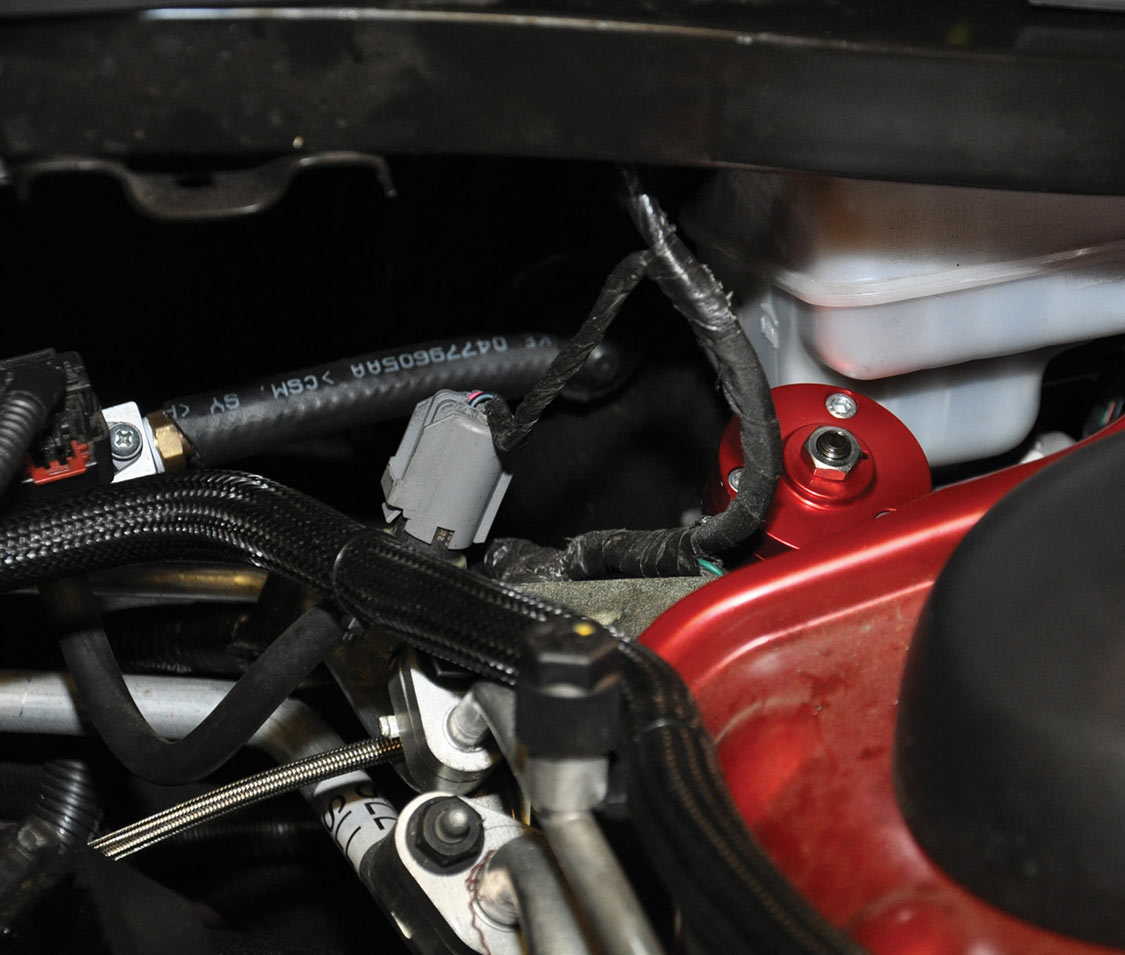
This ’10 Challenger acquired twin turbos and a longer stroke, which combined developed 640 rwhp. A 42% increase in power means one thing: a stronger clutch would be necessary to transmit the power.
The experts tell us that of modern-day muscle cars the Challenger holds closest to the idea of the original by delivering blistering straight-line speed, immense road presence and a ride comfortable enough to cruise the boulevards all day.
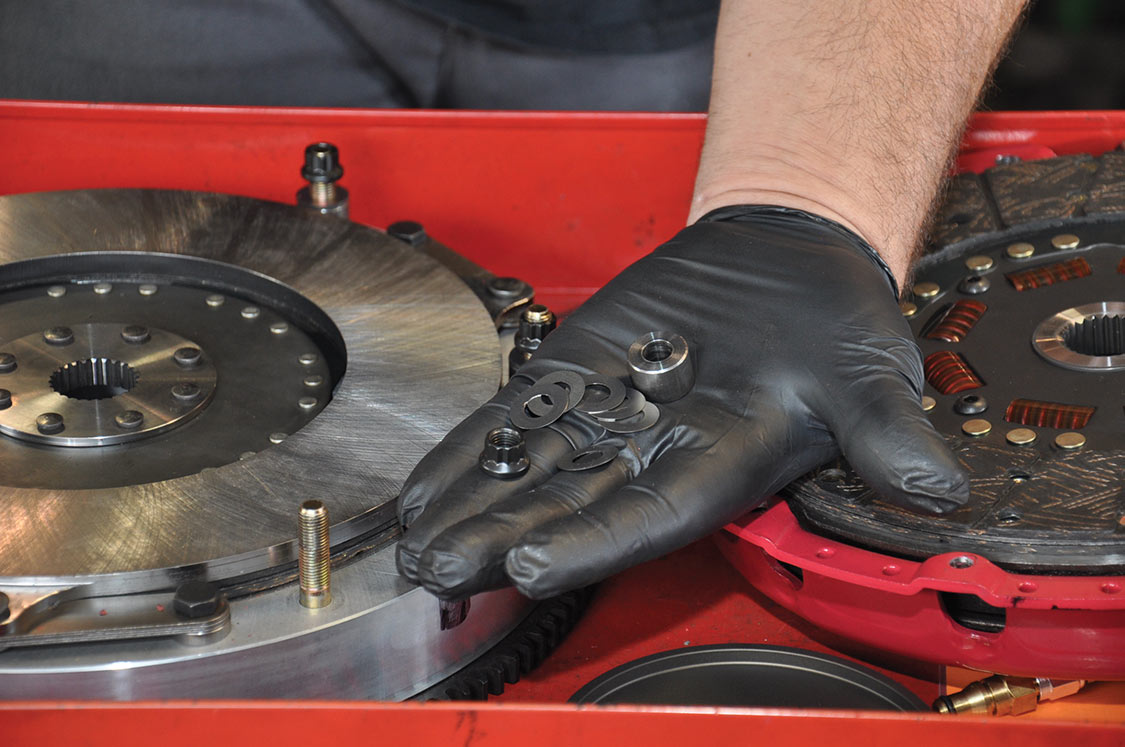
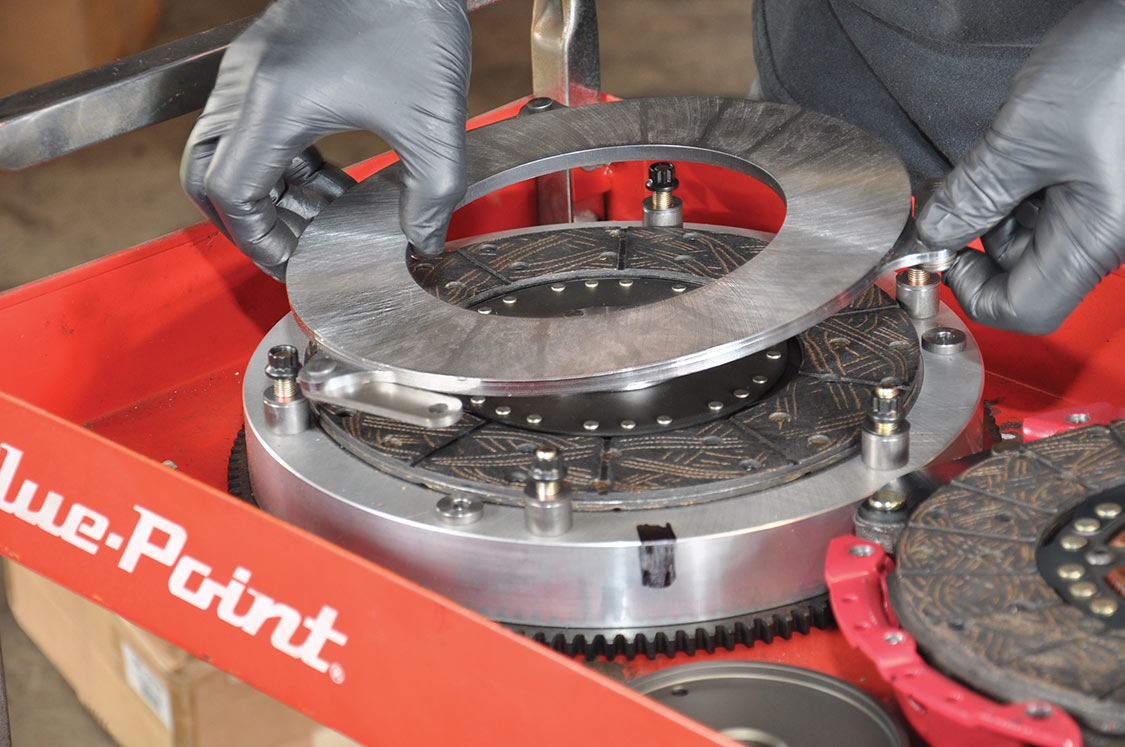
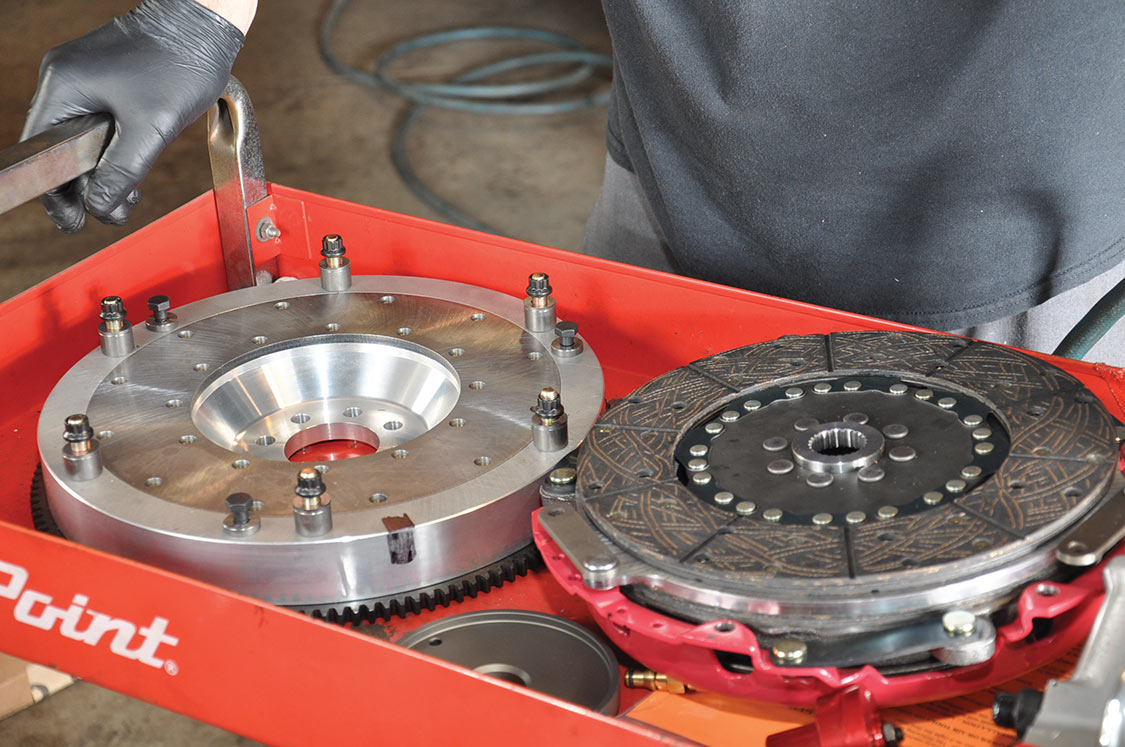
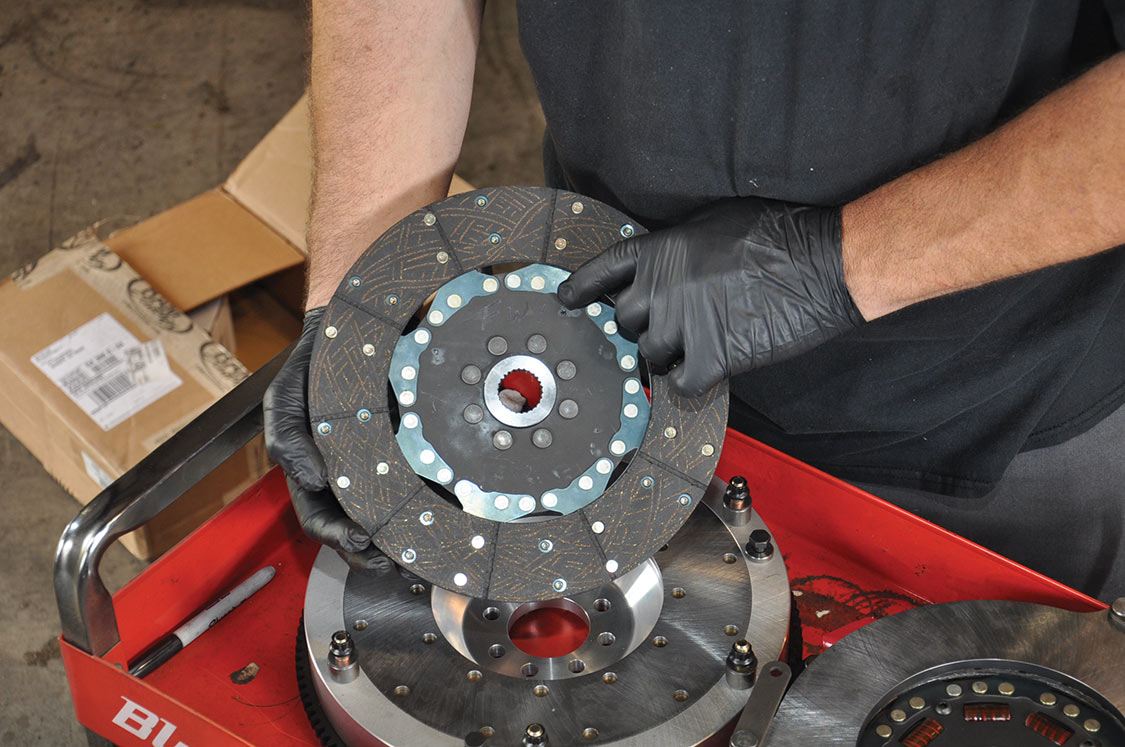
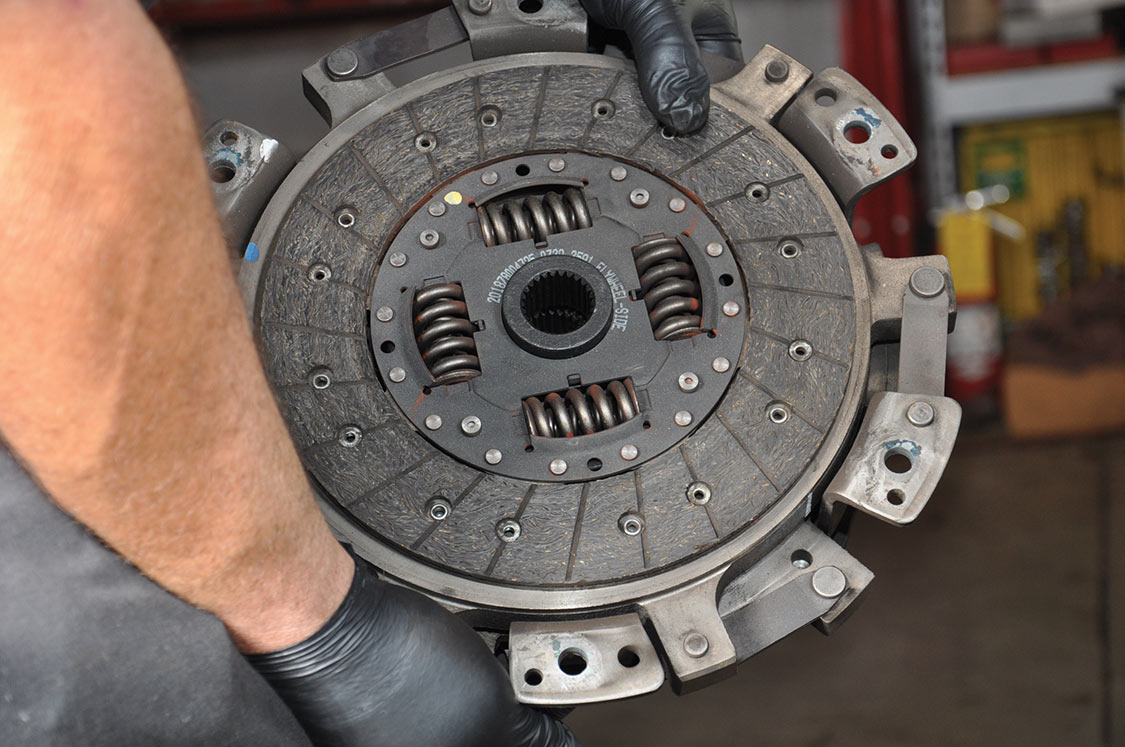
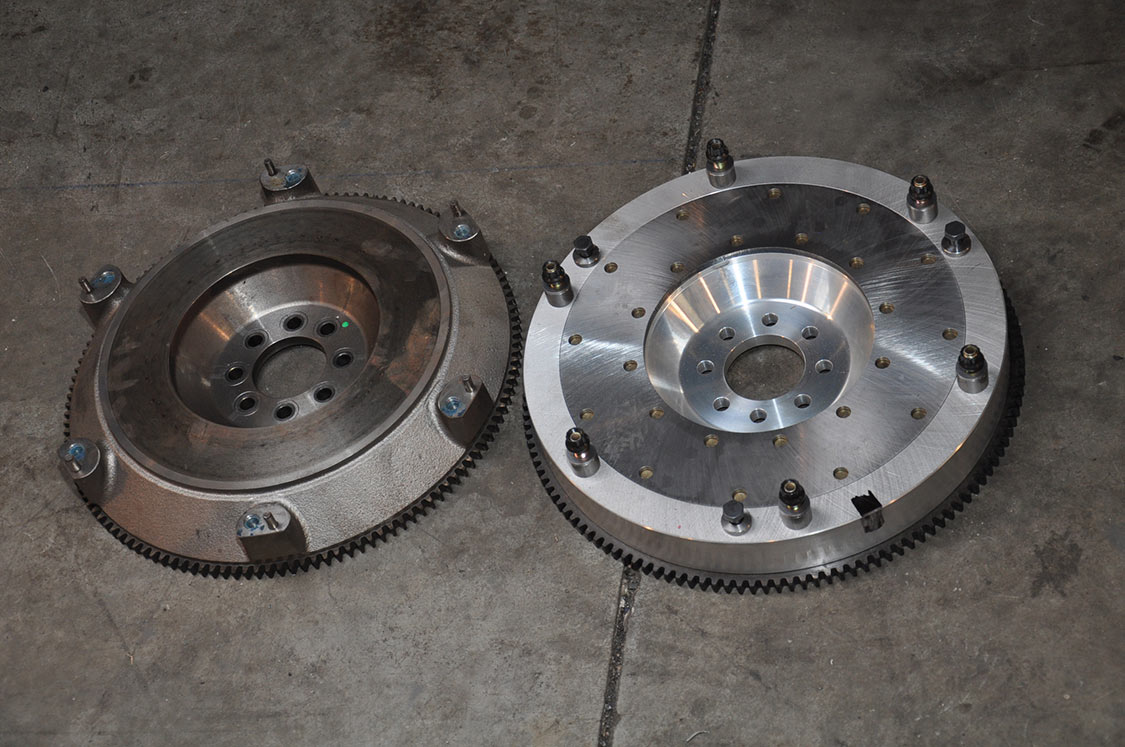
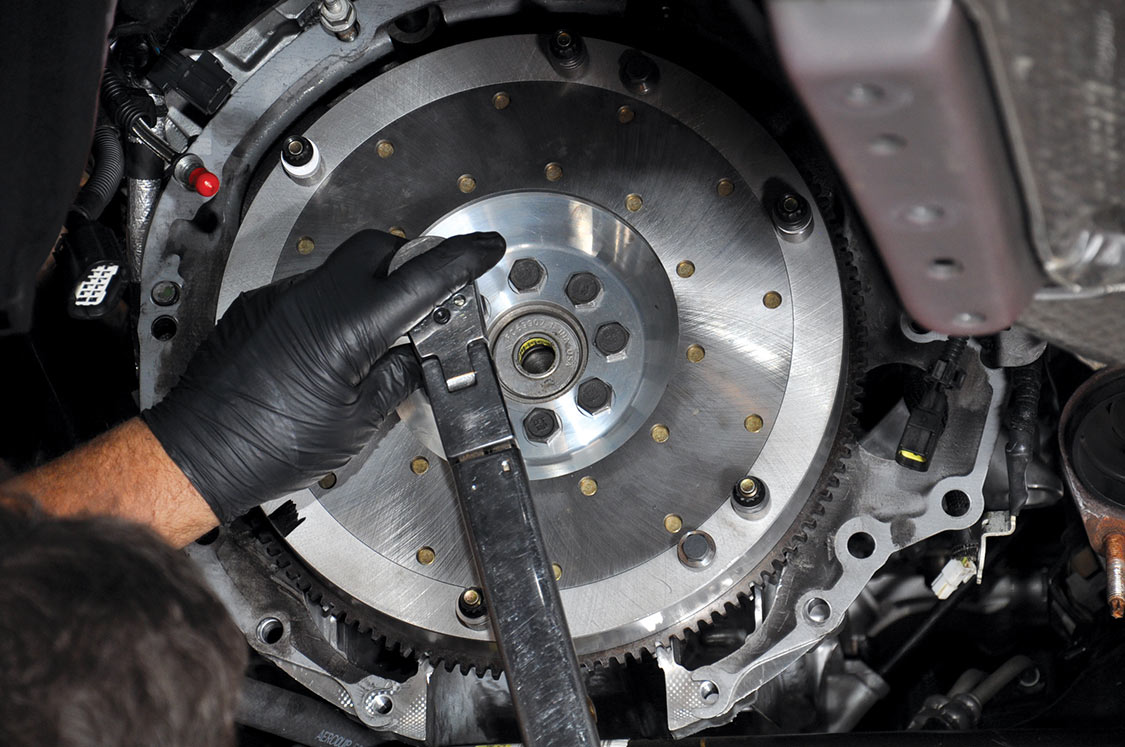
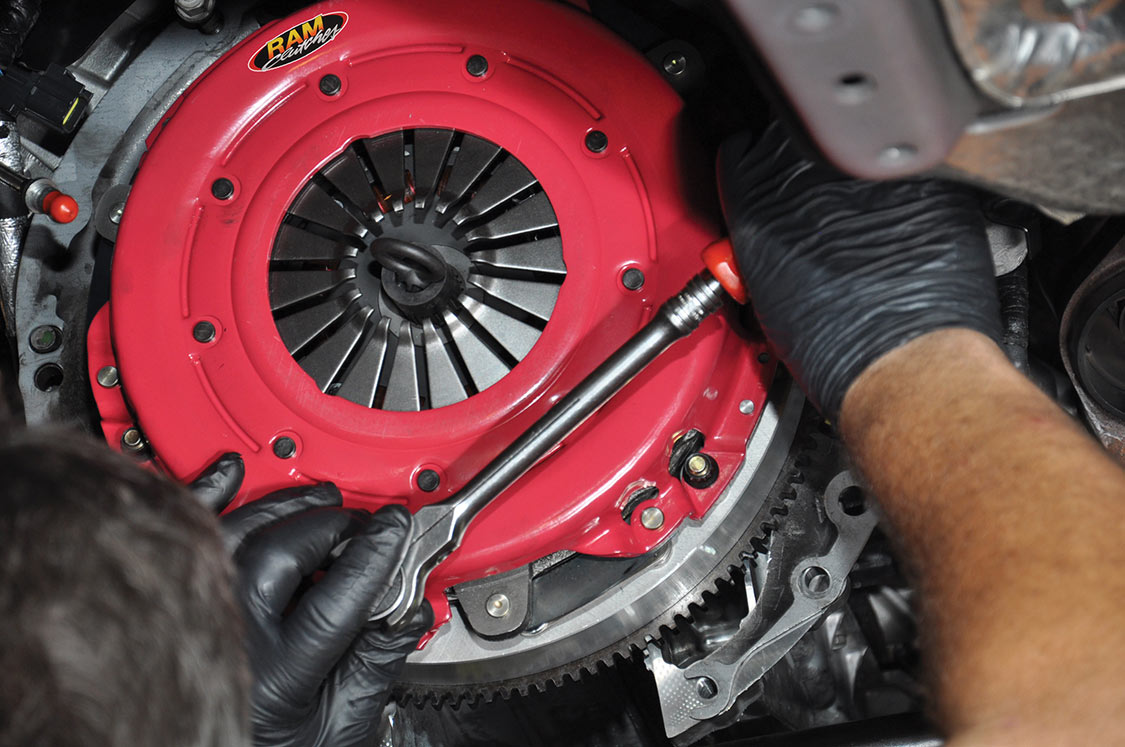
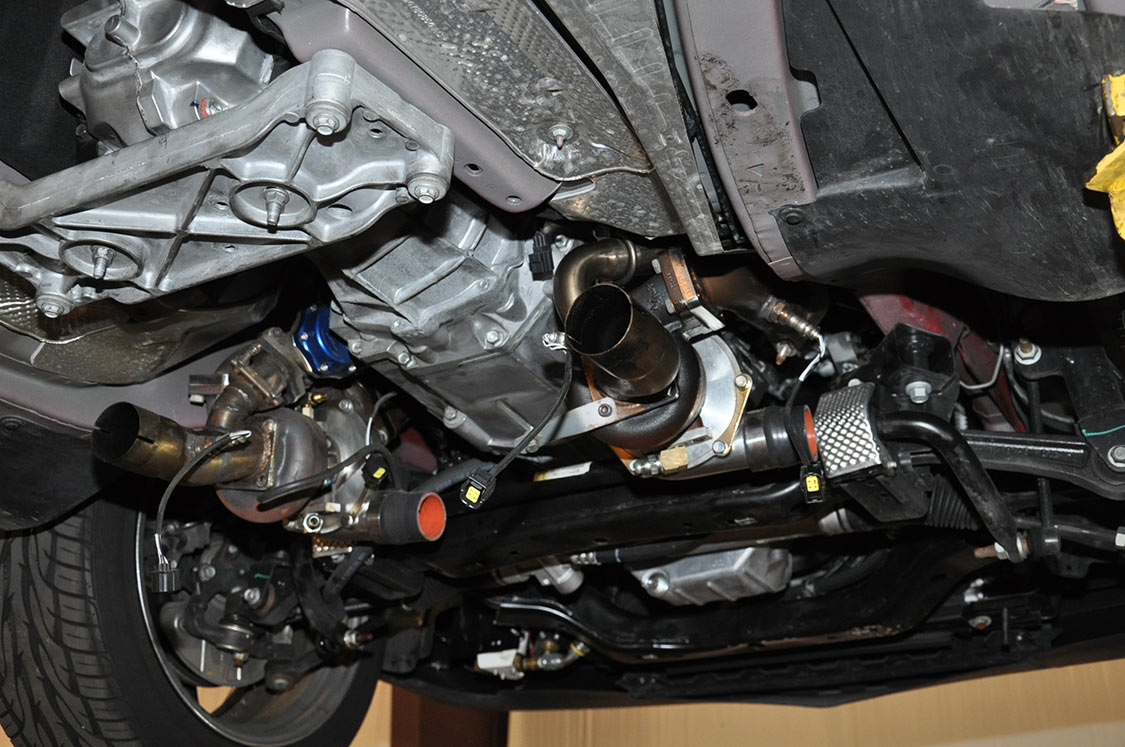
The ’10 Dodge Challenger generates just less than 450 hp. But things change when the 5.7L (345 ci) engine is stroked to 394 ci and twin turbochargers are added. Recently, Tim Matherley of MV Performance in Winder, Georgia, did just that. When work was completed, the Challenger made 640 rwhp at 5,900 rpm and generated 720 ft-lbs torque. To cope with the 42% increase in power, Tim selected Ram’s Force 10.5 dual-disc and aluminum flywheel assembly to replace the original 9.5-inch OEM dual-disc arrangement. To understand and master the process, we invite you to follow Tim’s steps and learn how to perform a clutch upgrade.
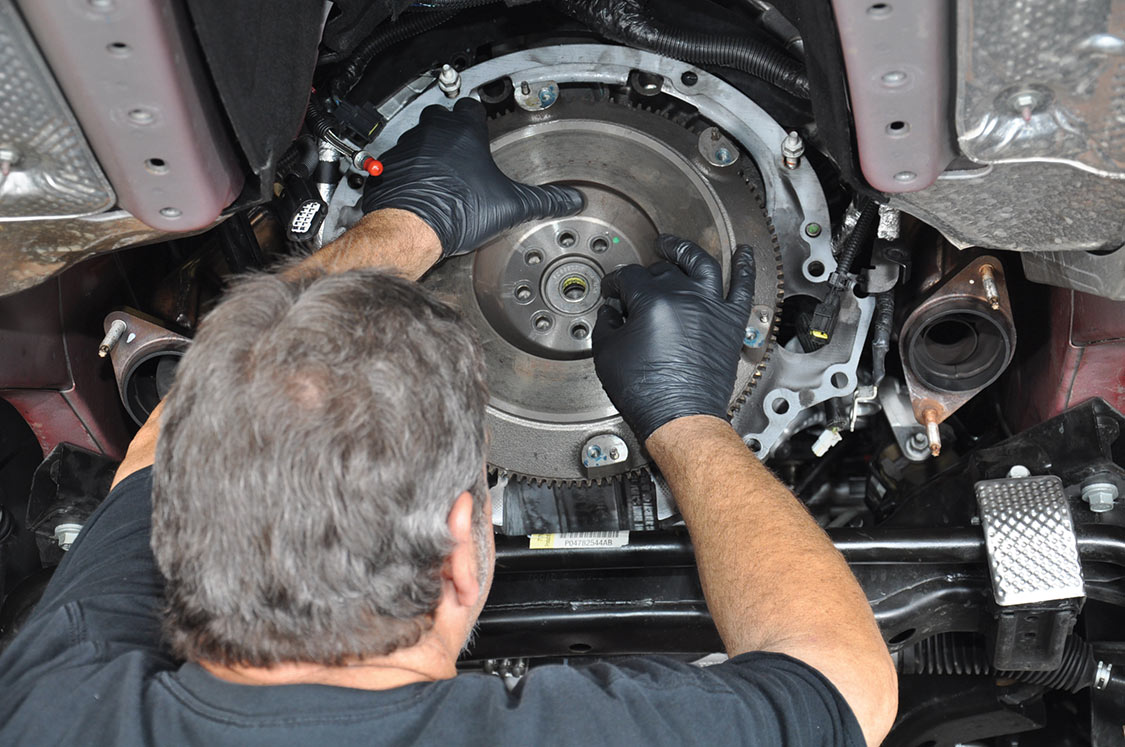
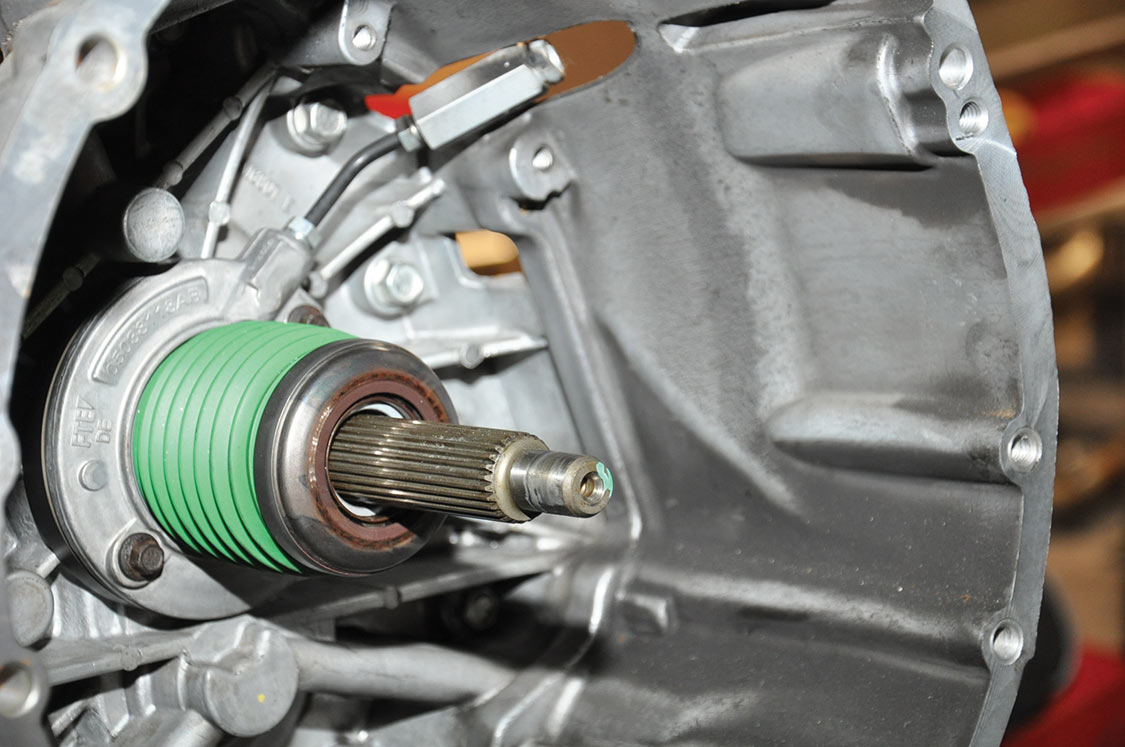
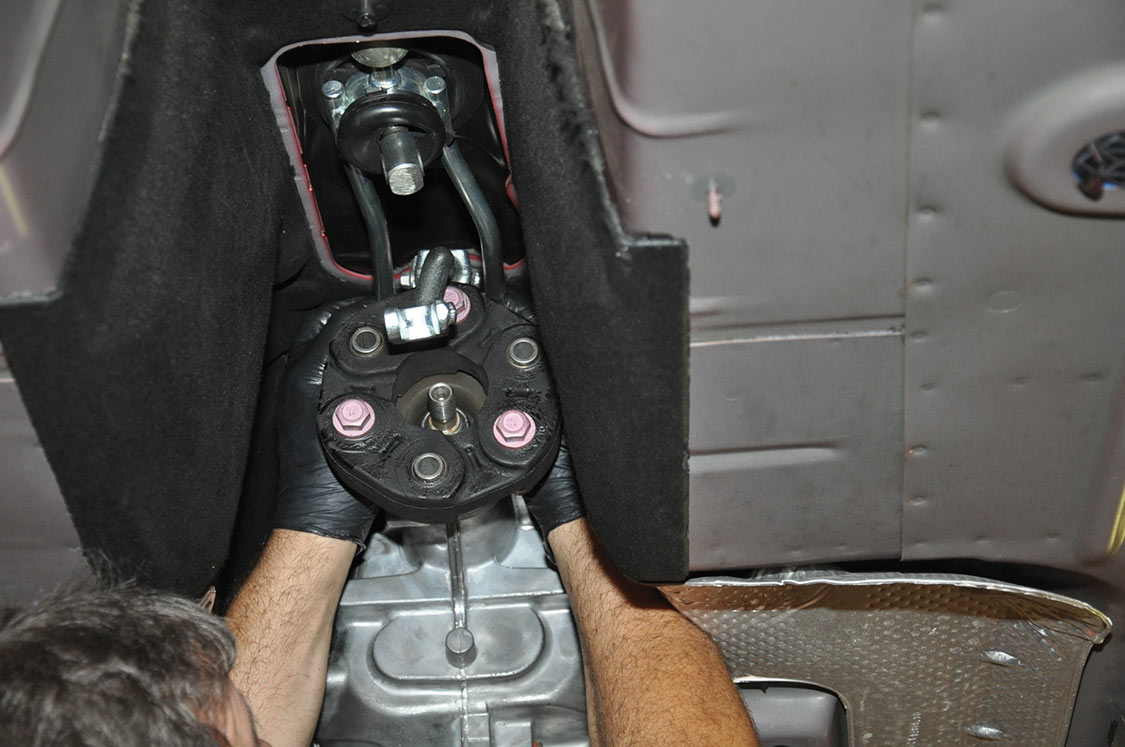
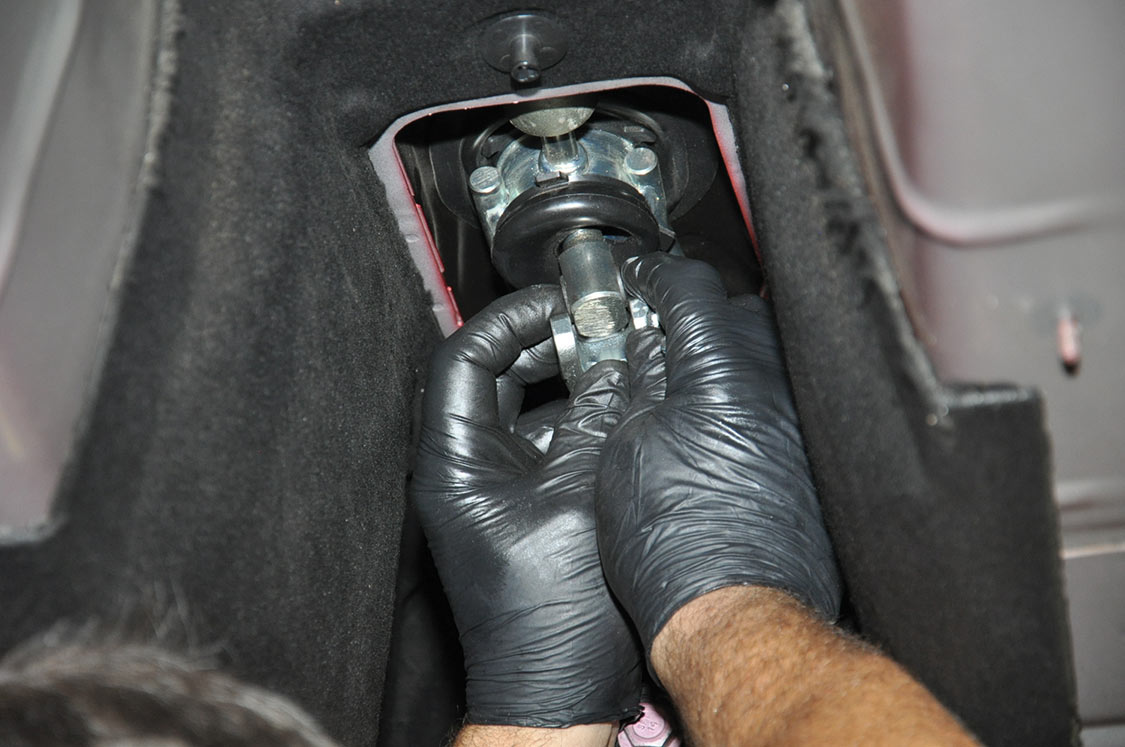
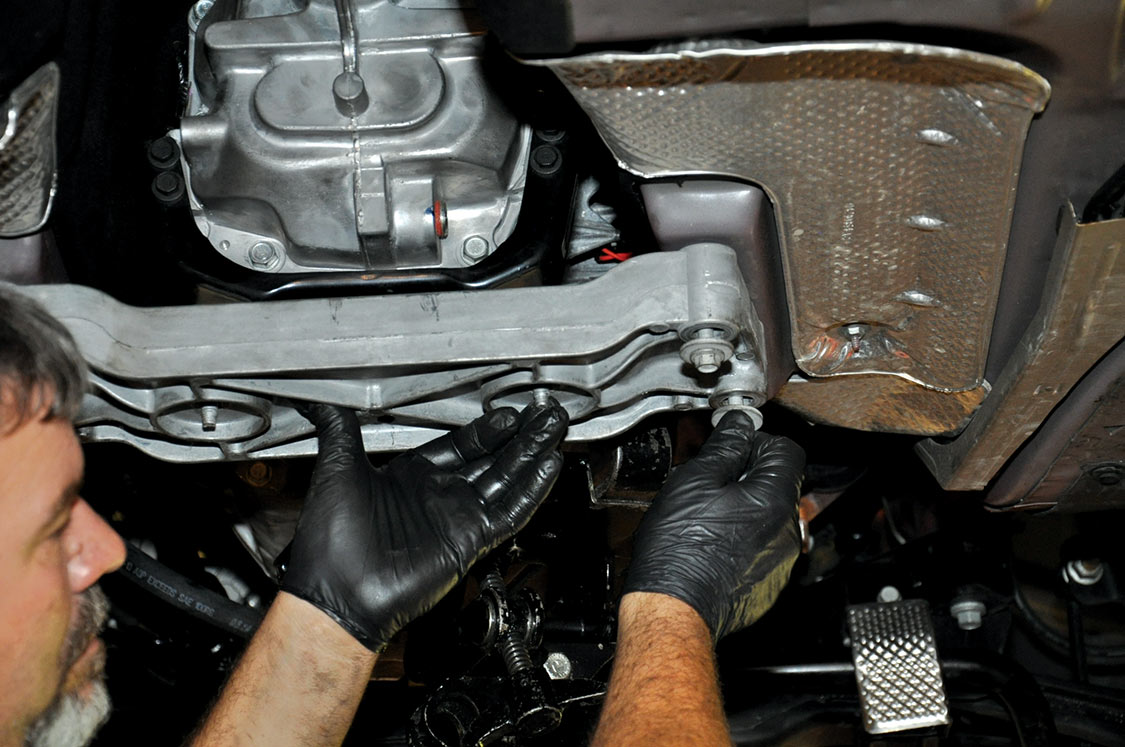
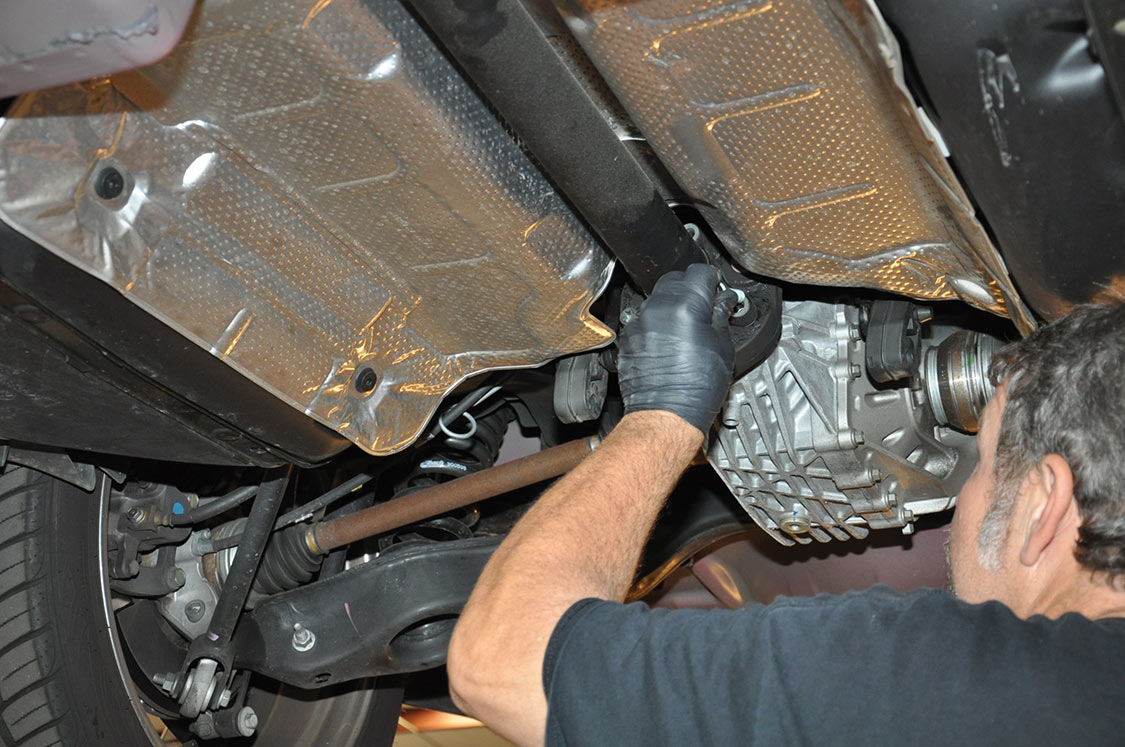
First, the driveshaft, exhaust system and starter motor were removed. The slave assembly and part of the two-piece shifter stick mechanism were disconnected. A transmission jack was secured to the six-speed manual Tremec 6060 gearbox. Then the six fasteners from the cross member and eight from around the bell housing were disconnected, allowing for the transmission’s removal.


All Feature Vehicles
Part utility truck, part stylish car, the Ranchero reflected 20-plus important years Ford Motor Company had reinvented itself during the immediate postwar era and entering… Continue reading
Bill Senefsky . April 26, 2023

All Feature Vehicles
Where the Turf Meets the Surf The 14th Goodguys Del Mar Nationals presented by Meguiar’s began on a Friday at the scenic Del Mar Fairgrounds… Continue reading
Roger Rohrdanz . October 03, 2022

All Feature Vehicles
There comes a time in life when a person starts to think about their future in a different way. Sometimes a young man decides it’s… Continue reading
Humberto Ortiz . November 19, 2021
All Feature Vehicles
Auto Meter Ultimate III and DL Tachometers In 1995, Auto Meter revolutionized drag racing with the introduction of the Ultimate Playback tachometer. In 2001, Auto… Continue reading
JASON MULLIGAN . May 23, 2022
All Feature Vehicles
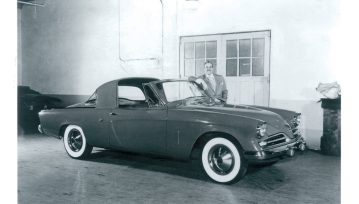
Radical Reality: Studebaker’s Remarkable Hawk Studebaker Corporation came out of the Second World War in remarkable shape. Like others in the automotive business at the… Continue reading
Bill Senefsky . May 23, 2022

All Feature Vehicles
Circuit Revival The Goodwood Revival is a 3-day racing event that takes place in West Sussex England. The event started in 1998 50 years after… Continue reading
Dean Powers . February 23, 2023


Classics With The Cardinals, Santa Barbara’s Premier Car Show
Bishop Diego High School - Football Field 4000 La Colina Rd
Goodguys 35th Speedway Motors Heartland Nationals Presented By FiTech Fuel Injection
Iowa State Fairgrounds 3000 East Grand Avenue, Des Moines, IA 50317
Goodguys 28th Summit Racing Nationals Presented By Grundy Insurance
Ohio Expo Center 717 East 17th Avenue, Columbus, OH 43211
Stray Angels Show & Shine
Stray Angels Show & Shine at Melrose Vineyards 885 Melqua Rd. Roseburg OR. 97471
43rd Annual Stray Angels Show & Shine
Melrose Vineyards, Roseburg, Oregon
We use cookies to enhance your browsing experience, serve personalized ads or content, and analyze our traffic. By clicking "Accept All", you consent to our use of cookies. Visit our Cookie Policy for more info.

 Please wait...
Share Link