Chris Hamilton . March 07, 2023 . OBS Builders Guide
Share Link
Save ArticleLogin to save it
Adding Audio in our OBS
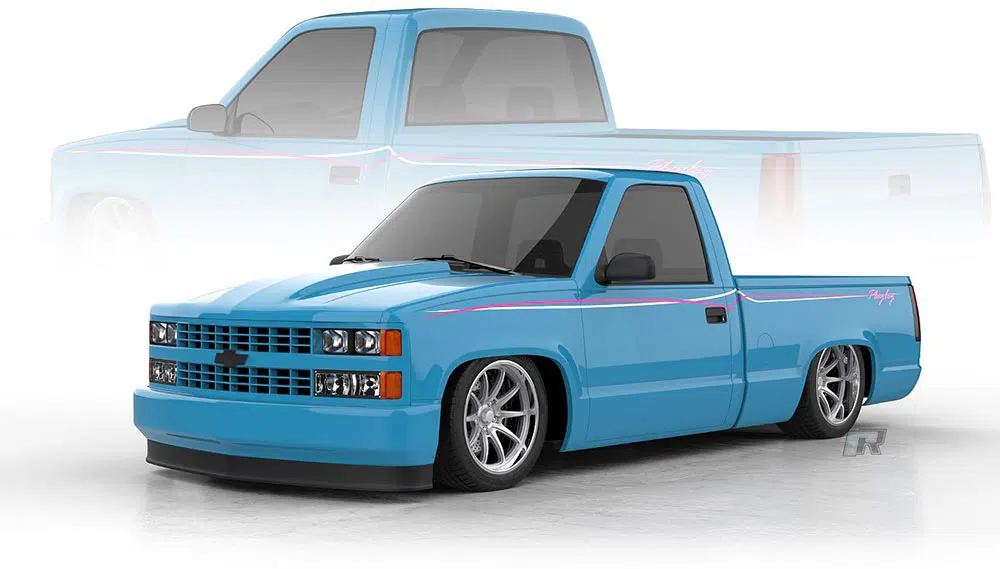
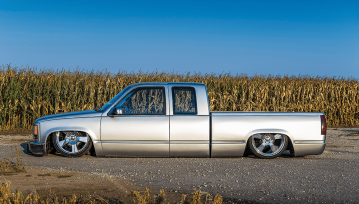
Time for some tunes! To catch you up, Project Playboy is our 1988 Chevy C1500 truck that we dragged out of a random Florida man’s backyard. The truck was forgotten and full of interesting items—including some old Playboy magazines, hence the name. The goal with this new OBS project is to restore an ’80s-model vehicle with an era-correct look and a few hidden, modern upgrades to make it more reliable.
In previous issues, we replaced the original suspension with a complete coilover conversion from Ridetech suspension, thanks to the crew over at Saltworks Fab in Myakka, Florida. All four corners received new brakes, including a rear disc brake upgrade from Performance Online. Bolted to the new disc brakes is a set of 20-inch stagger-fit wheels from Schott Wheels wrapped in Goodyear Eagle rubber.
With a smooth-running street machine, it was time to tone down the exhaust sound by turning up some tunes. Because this truck has an ’80s vibe to it, we wanted the audio system to maintain the aesthetic.
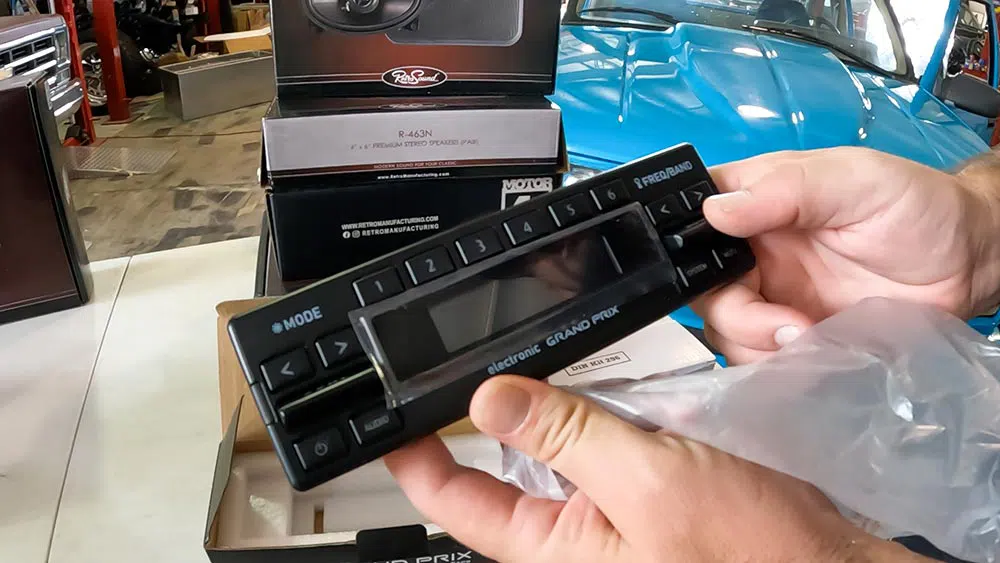
With a smooth-running street machine, it was time to tone down the exhaust sound by turning up some tunes. Because this truck has an ’80s vibe to it, we wanted the audio system to maintain the aesthetic. After digging around the internet for retro-looking, single-din radio options, we came across Retro Manufacturing and its really unique line of audio equipment. With a catalog of many different looking radio faces and classic vehicle mounting systems, we had a feeling this was our company to work with. We ordered up a RetroSound Gran Prix Radio face along with a Motor 4HD Radio Motor, along with its pre-amplified subwoofer, dash, and B-pillar speakers, along with its small but powerful audio amplifier. That’s not all we did this month to our OBS! It’s funner to just dig into it, so let’s go!
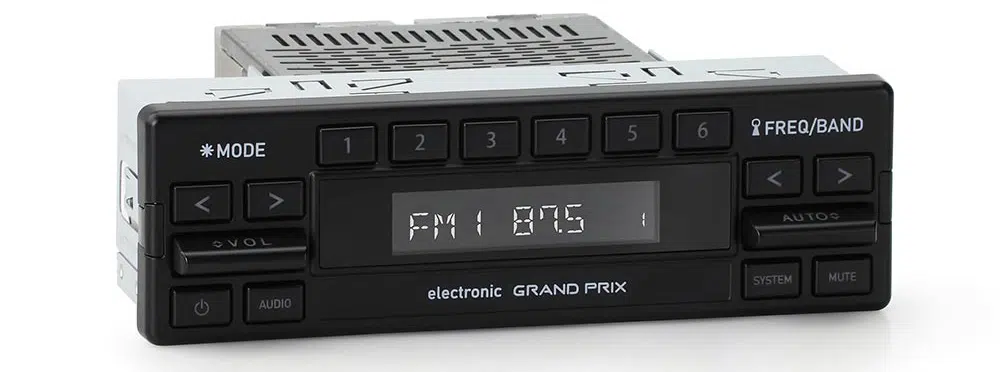
After doing our research, we ordered up a RetroSound Granprix radio face along with a Motor 4HD Radio Motor, along with their pre-amplified subwoofer, dash, and B-pillar speakers, and the company’s small but powerful audio amplifier. We also picked up LED rope lighting and all the terminals we need from Stinger Audio.The RetroSound Grand Prix perfectly replicates the interior styling of the 1980s Mercedes, BMW, and Porsche vehicles while updating the audio technology to today’s standards. The unique design of the Grand Prix features authentic paddle-style controls along with low profile push-buttons and a 32,000-pixel color digital display. The Grand Prix is the perfect solution for the ’80s vibe we are going for.
Motor 4HD specification, HD radio technology, SiriusXM-ready (SXV300V1 tuner sold separately), Made for iPod/iPhone, Built-in Bluetooth (Version 5.0), Includes Bluetooth microphone for hands-free calls, AM/FM RDS tuner with 30 presets, Two USB ports for flash drives and other devices, 2.1-amp device charging via USB, Built-in 300-watt (peak power) Mosfet amplifier, 25 watts RMS x 4 channels—TrueRating, Dual RCA pre-outs for external amplifiers, Dedicated subwoofer output, 32,000 color display, Non-volatile memory, Two-year warranty.
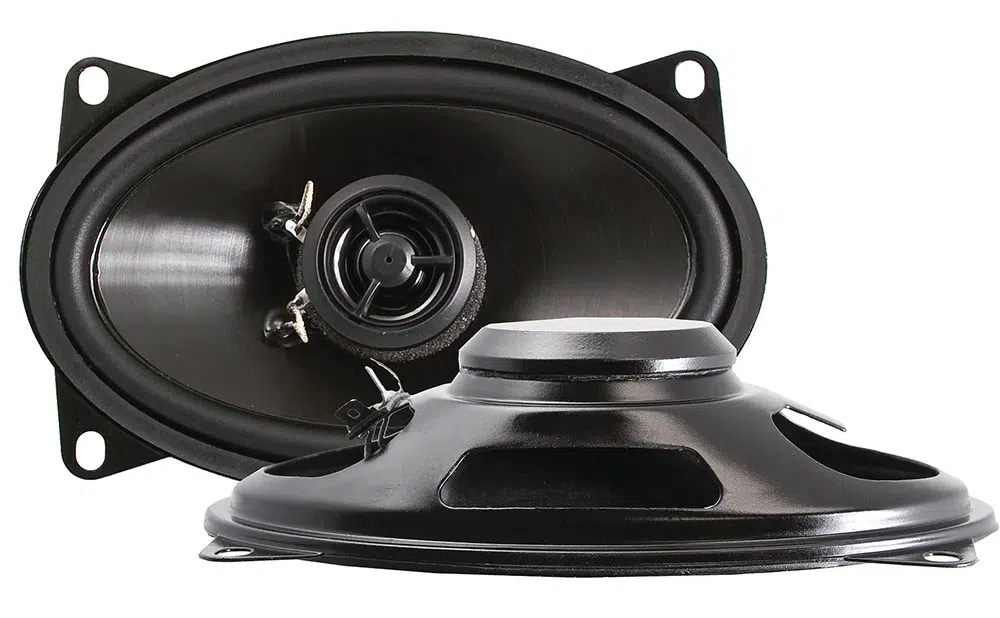
RetroSound Premium Stereo Speakers provide the absolute best audio quality possible in your classic car or truck. For high-power handling with an ultra-thin mounting depth, a Neodymium magnet structure is used with a dip-cut design to prevent distortion. The Santoprene surrounds provide the most accurate audio reproduction possible, and the silk tweeters produce smooth and more natural-sounding highs.
4×6-inch stereo speakers (sold as a pair), Neodymium magnet structure for ultra-thin design, Santoprene surrounds for accurate audio reproduction, Silk tweeters produce smooth and natural highs, Dip-cut magnet for enhanced sound, TrueRating power handling: 25 watts RMS/50 watts MAX power.
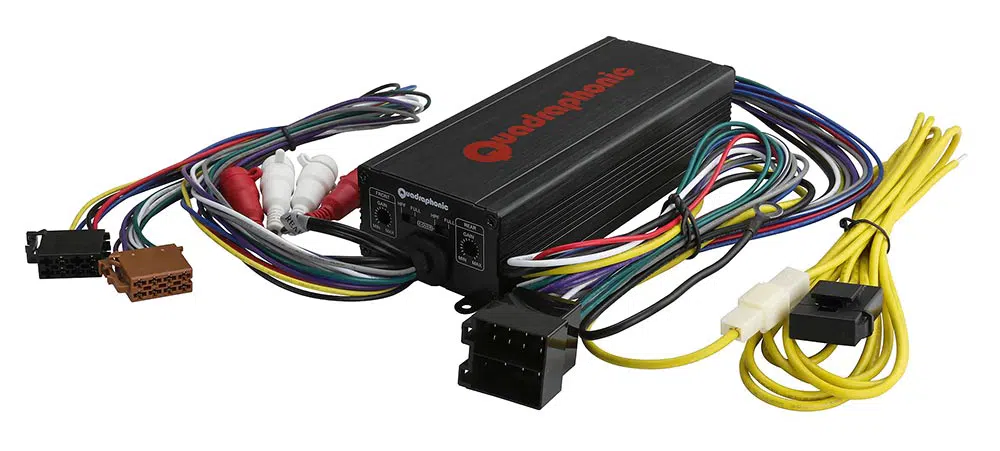
This Quadraphonic amplifier is a plug-and-play solution and connects directly to the company’s RetroSound radio delivering 45-watt RMS to all four speakers. Pair it with a RetroSound 8-inch-powered subwoofer for a complete audio system that’s a breeze to install.
M4-channel amplifier, Full-range Class D digital circuitry, 45-watt RMS x 4 channels full-range @ 4 ohms, Built-in variable high pass/full range crossover, Advanced circuitry and thermal protection, Directly connects to your RetroSound radio, Works with any aftermarket radio with low-level RCA outputs, Optional wiring kit available for aftermarket radios, Compact size fits almost anywhere, Dimensions: 7.25x3x1.75 inches (17.9×7.1×4.4 centimeters).
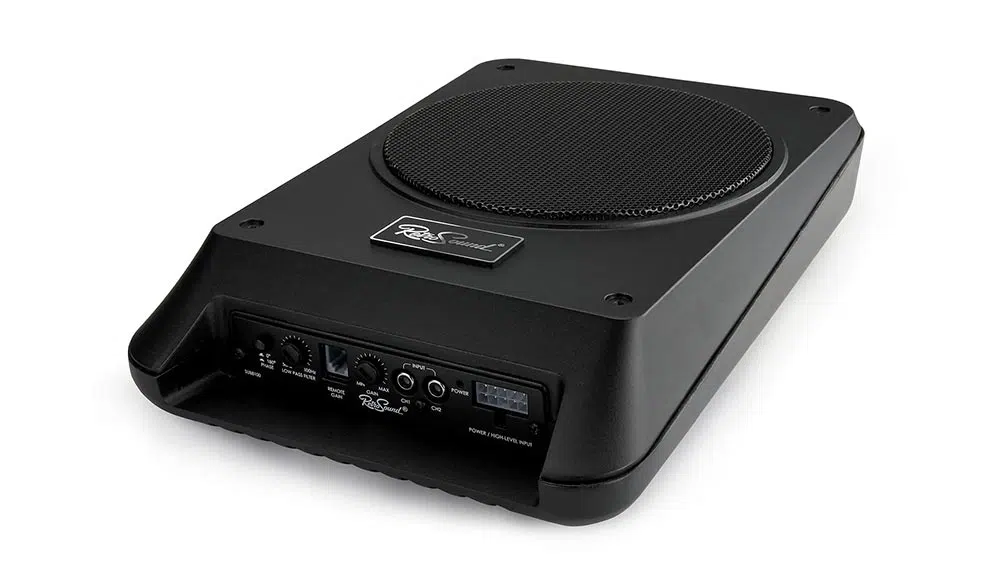
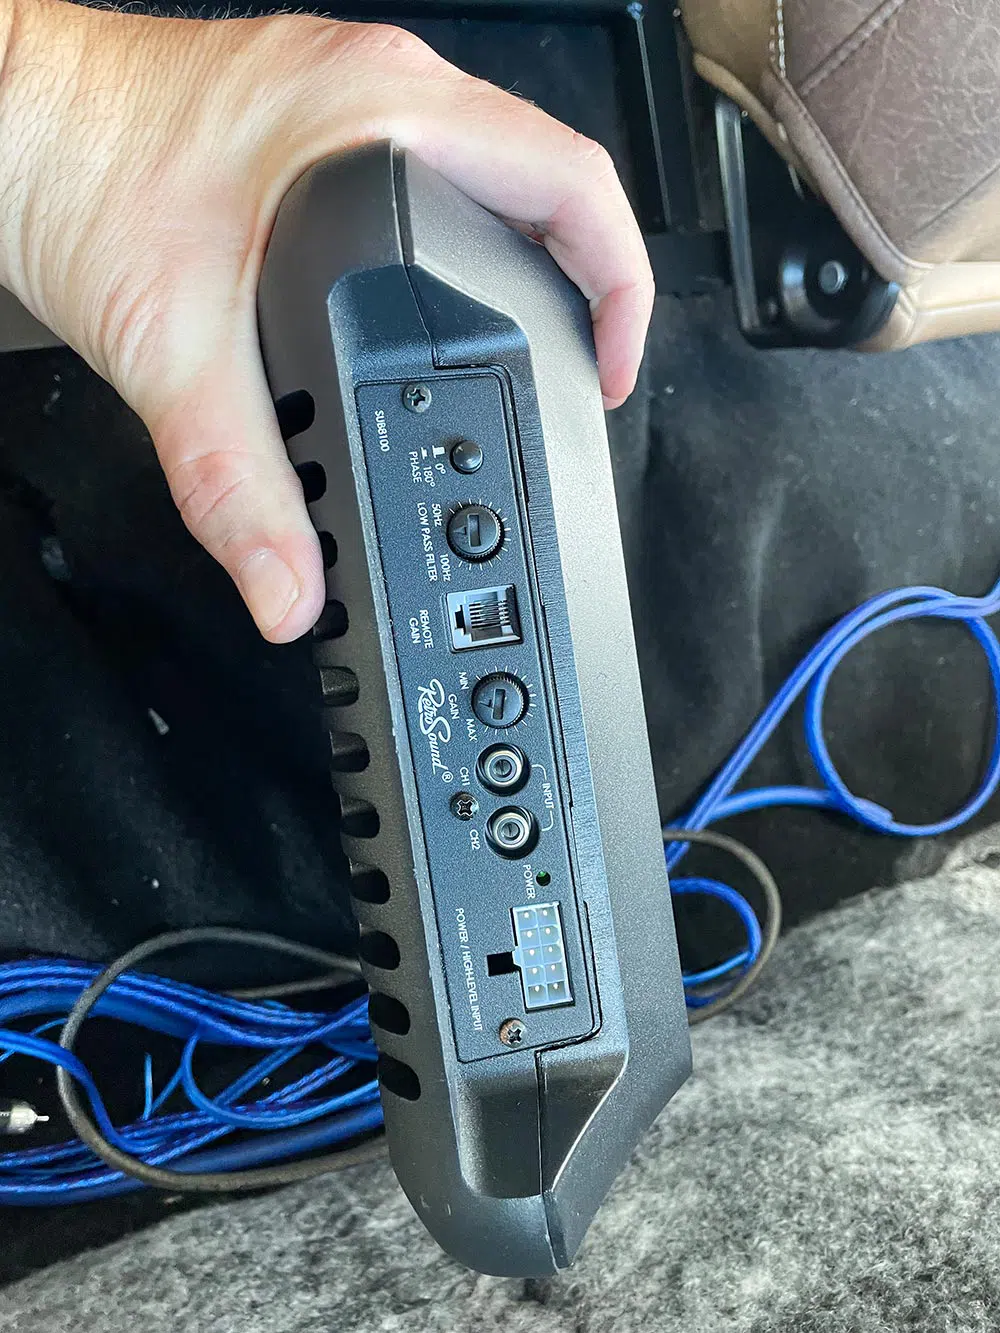
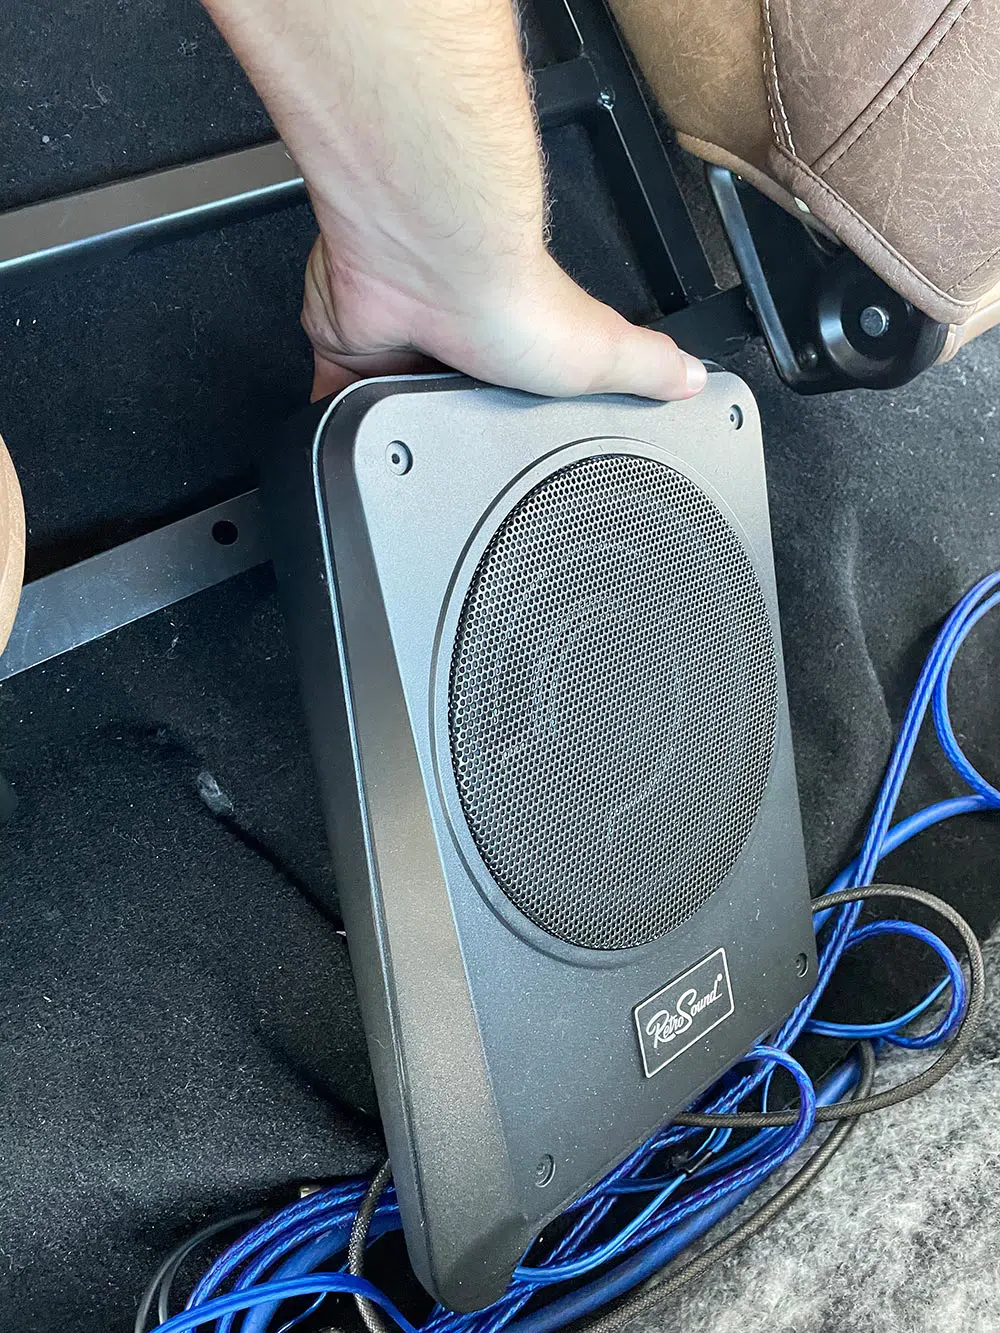
The SUB8100 has a built-in Class D digital amplifier powering an ultra-thin 8-inch subwoofer in a rugged aluminum enclosure, with a low profile of 2.75 inches and a footprint of just 9.25×13.75 inches.
8-inch powered subwoofer, Class D digital circuitry, 100-watt RMS, Built-in continuously variable crossover, Remote gain control, Advanced circuitry, and thermal protection, Easily connects to your RetroSound radio via RCA inputs, Works with any aftermarket radio via high-level input/wiring harness, Rugged cast aluminum enclosure, Dimensions: 9.25×2.75×13.75 inches (23.5x7x35 centimeters).
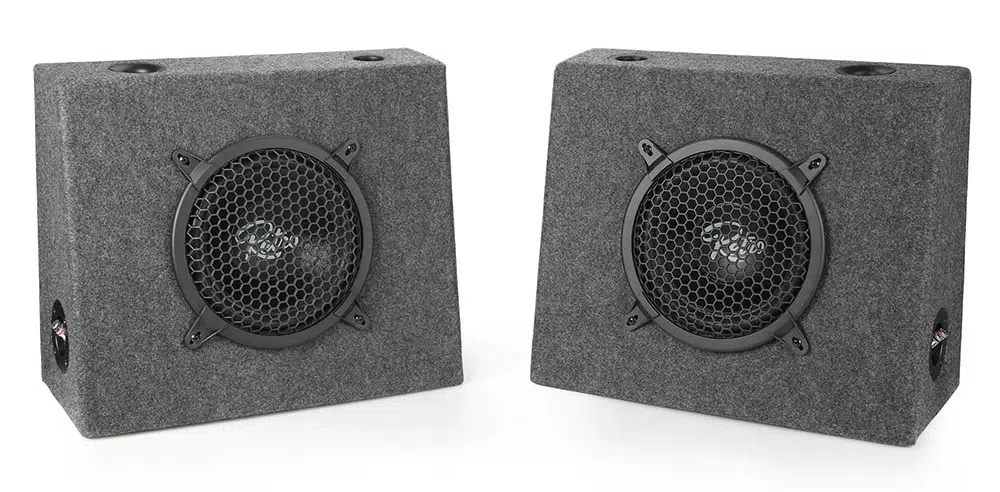
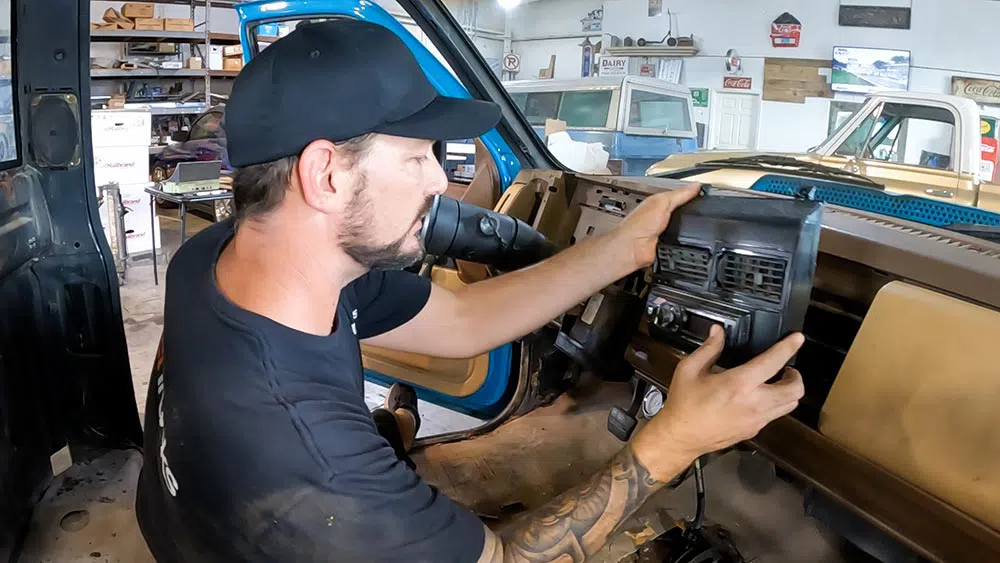
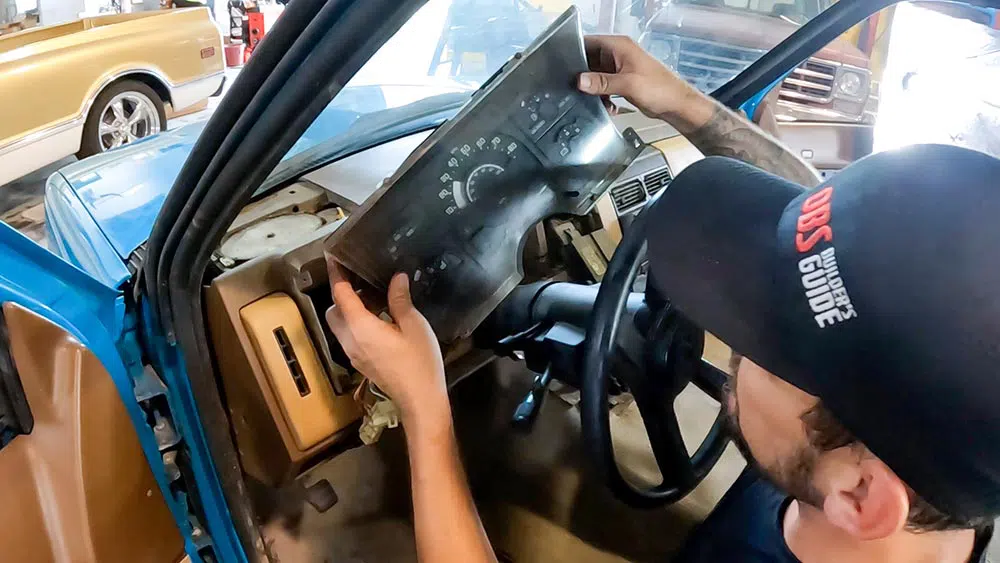
The RetroSound R-TB8 is a ported full-range speaker enclosure. These wedge-shaped speaker boxes work great behind the seats of trucks and feature an 8-inch bass driver for great low frequency response and soft-dome tweeters for smooth, clear highs. They are finished in a durable gray carpeting and have chrome speaker terminals. Power handling is 175 watts.First thing to do is remove the factory radio. Luckily these old OBS trucks are super easy to disassemble.The B-pillar speakers were first to be replaced. These RetroSound speakers are a direct replacement.
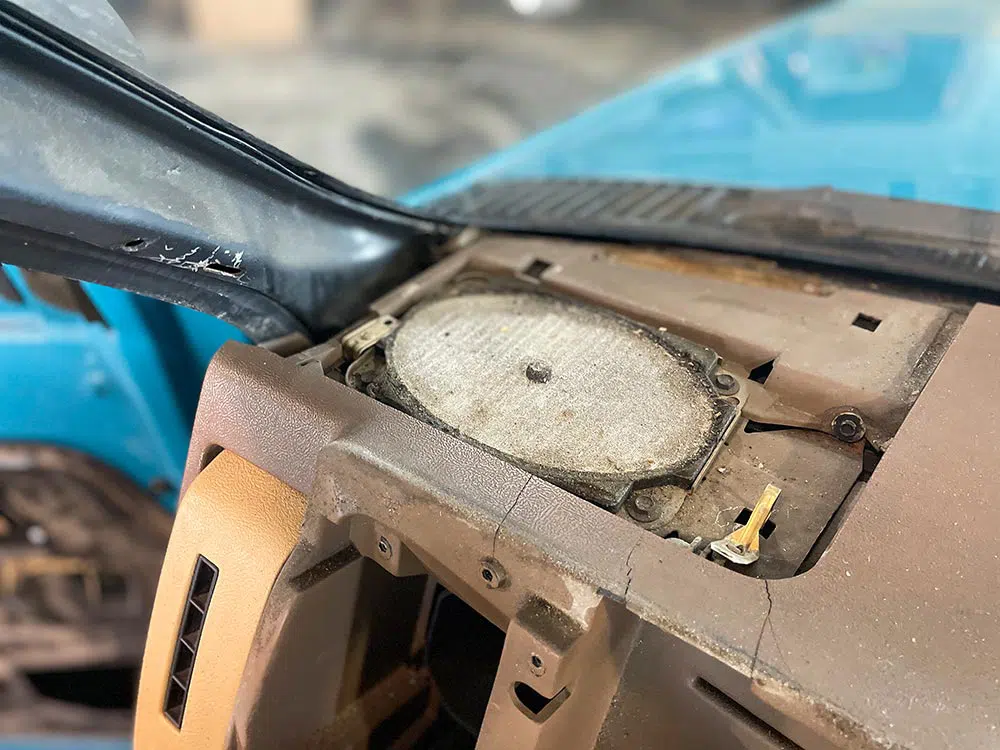
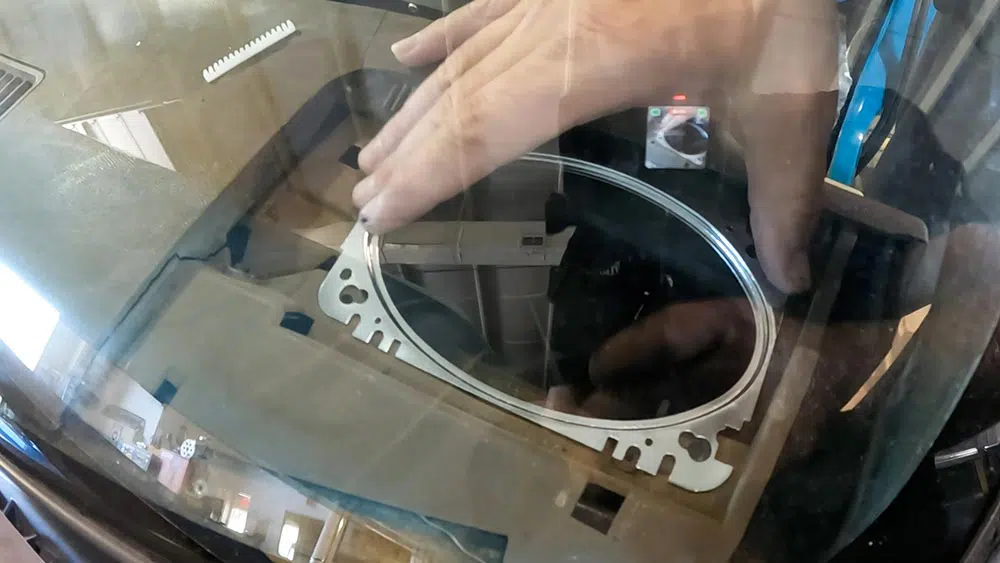
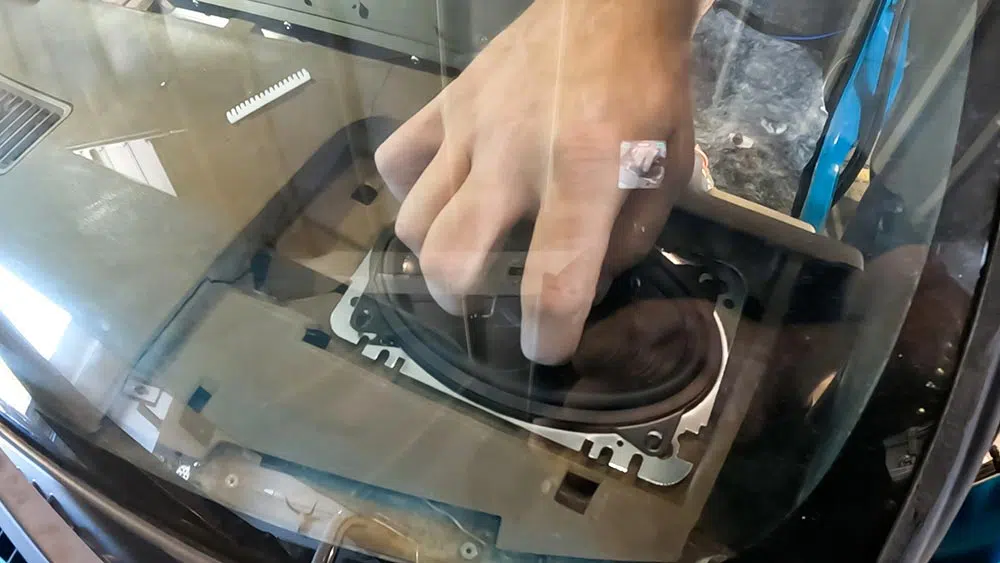
The dash speakers are next. Removing the old speakers is a messy job, but anyone can do it with basic tools.
The supplied metal-trim ring mounts to the original locations, and the speaker mounts to the ring.
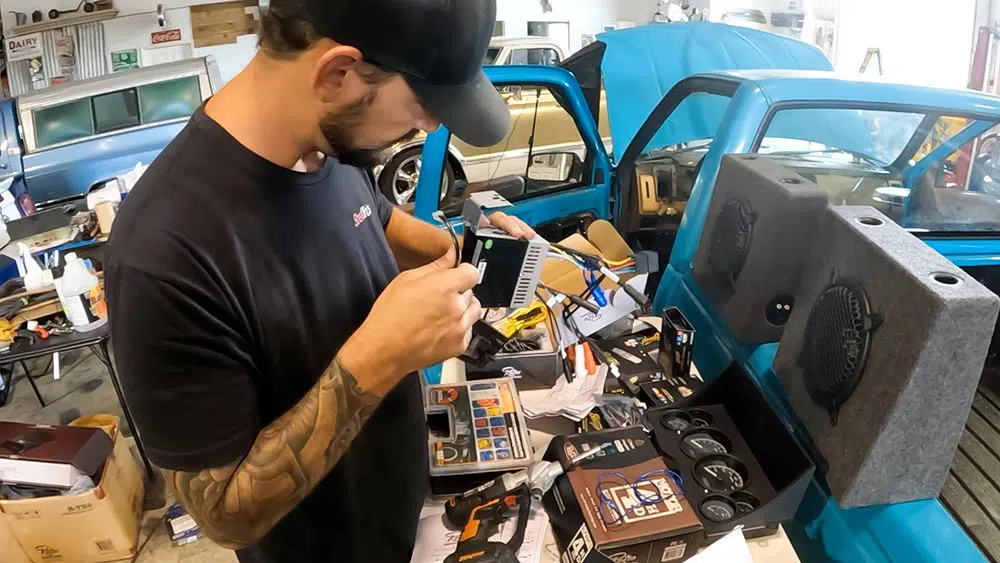
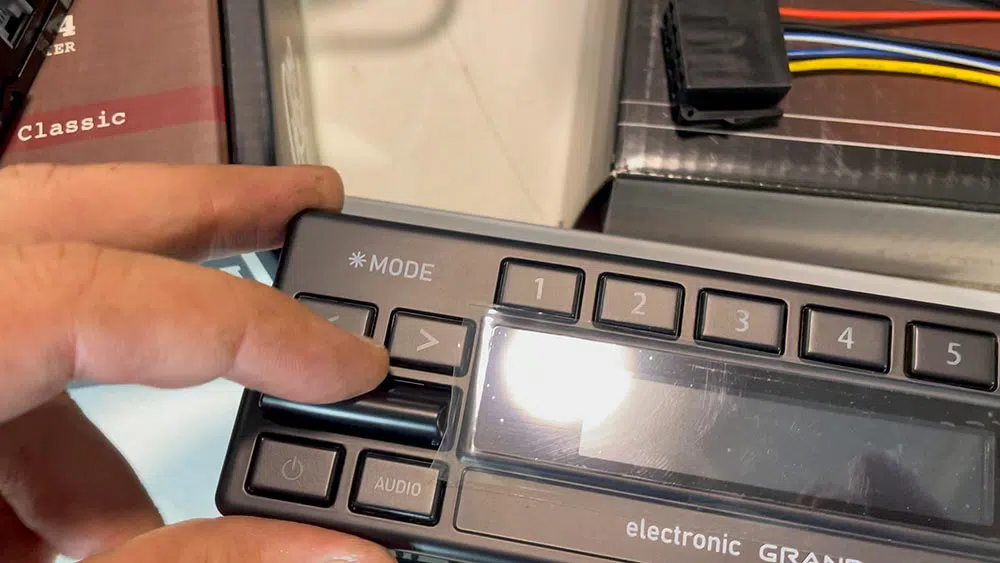
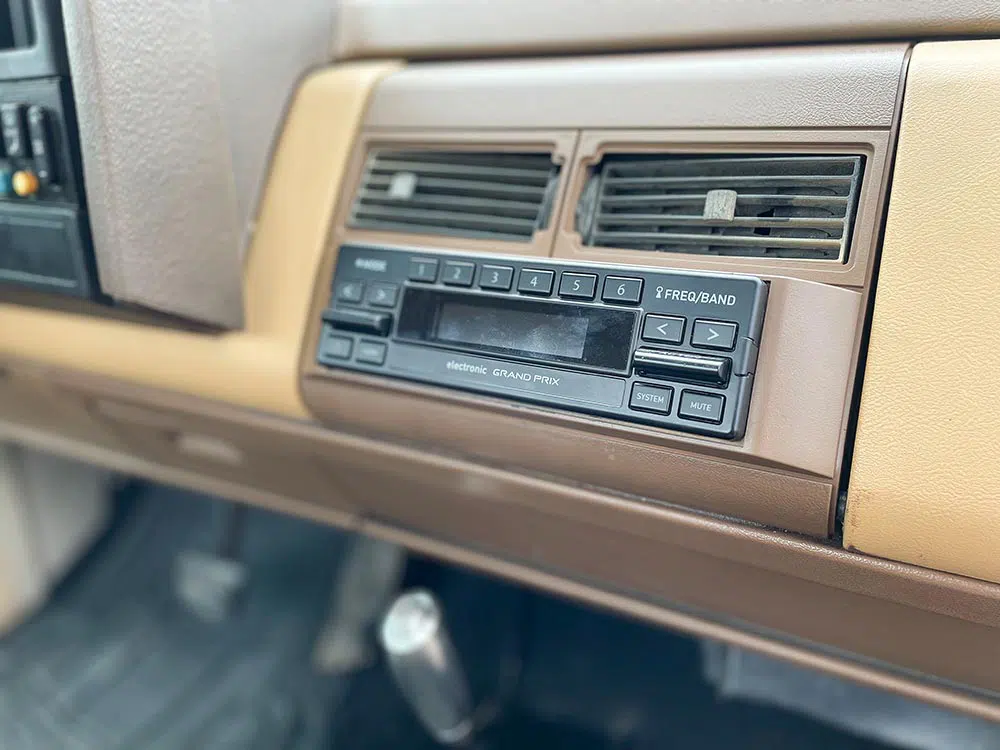
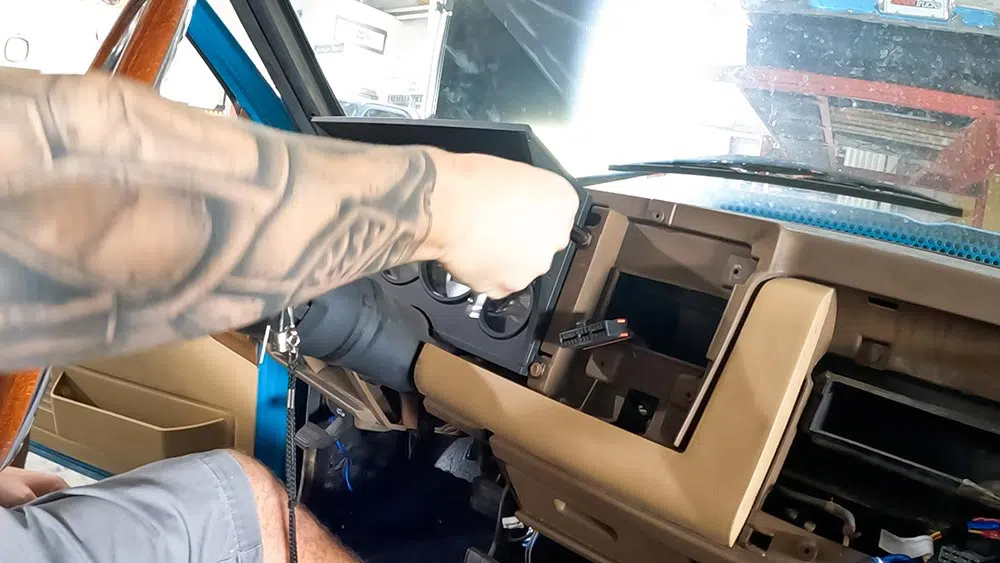
To install the new radio, we secured the Motor4 back to the Grandprix front radio face, along with the supplied dash mounting brackets. We love the way these buttons click!The radio simply clips in to the single-DIN cage, and the connections are very self explanatory.
Now that the radio is in and the wires are run to the back of the cab, we can connect our powered subwoofer and mount it under the center console.
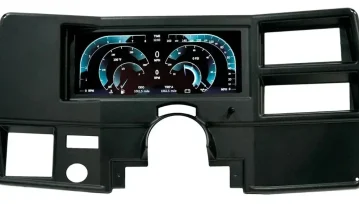
We were able to finish the Dakota Digital gauge install with a very simple swap thanks to the company’s kit coming complete with sending units. You can choose carbon fiber, black, or silver alloy face designs and backed with blue, red, or white LED lighting. Fully lit needles, backlit faces, and two highly visible LCD message centers are a few of the things you can see, which set the VHX series apart from yesterday’s traditional approach to instrumentation.
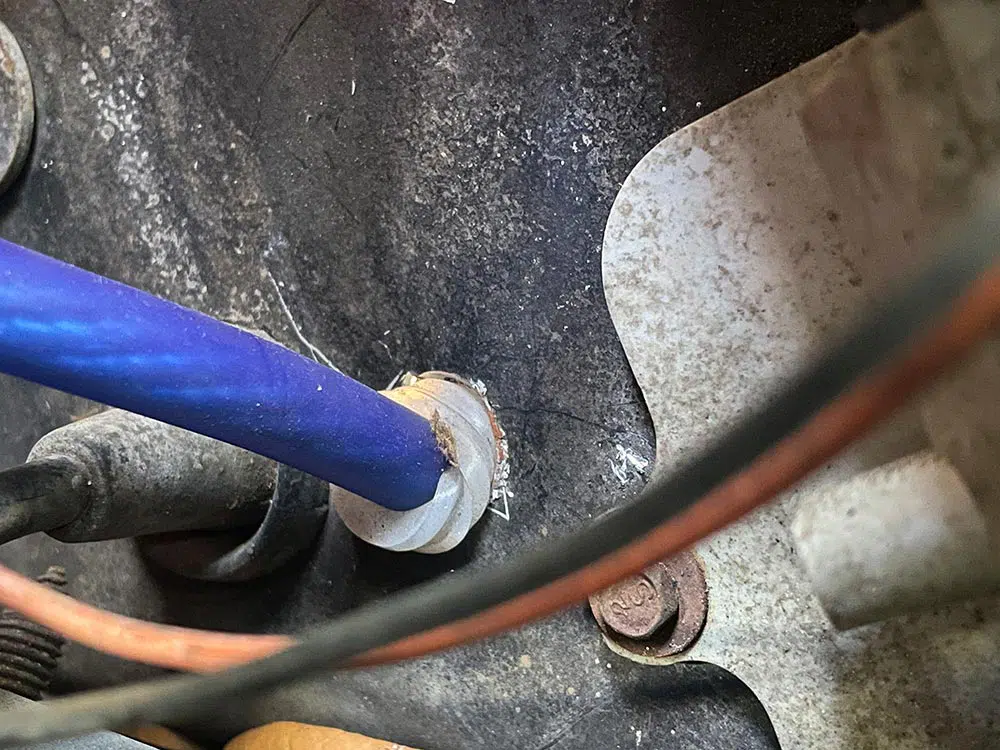
Next up is running the power cable for the complete system. A clean hole through the firewall is all we need.
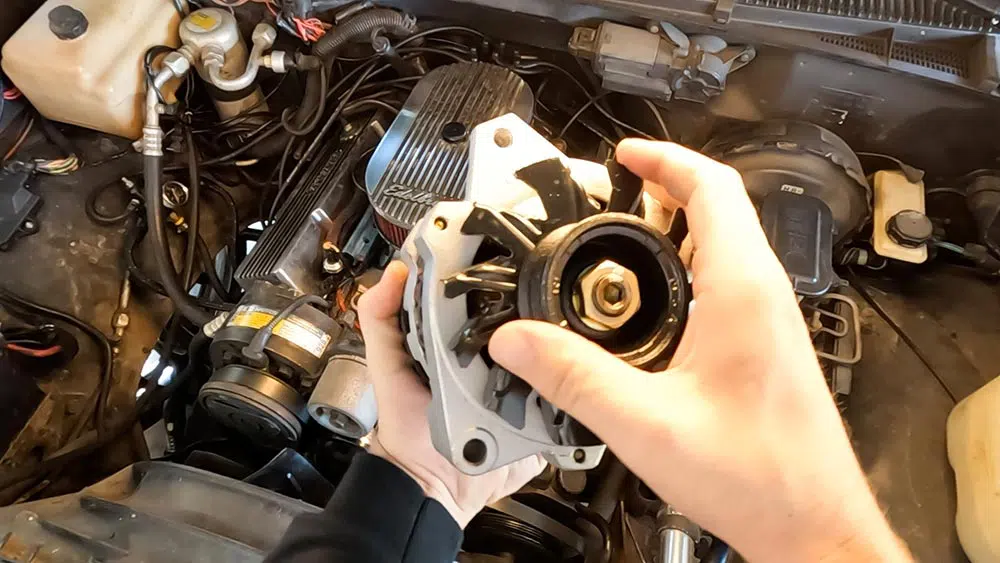
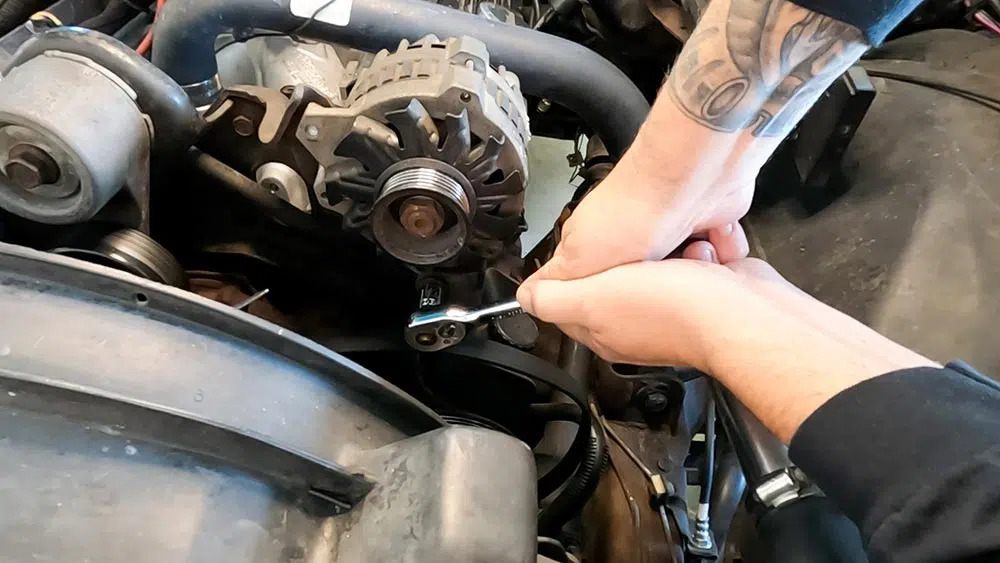
More power needs more power, so we decided to replace the original alternator with a new factory replacement.
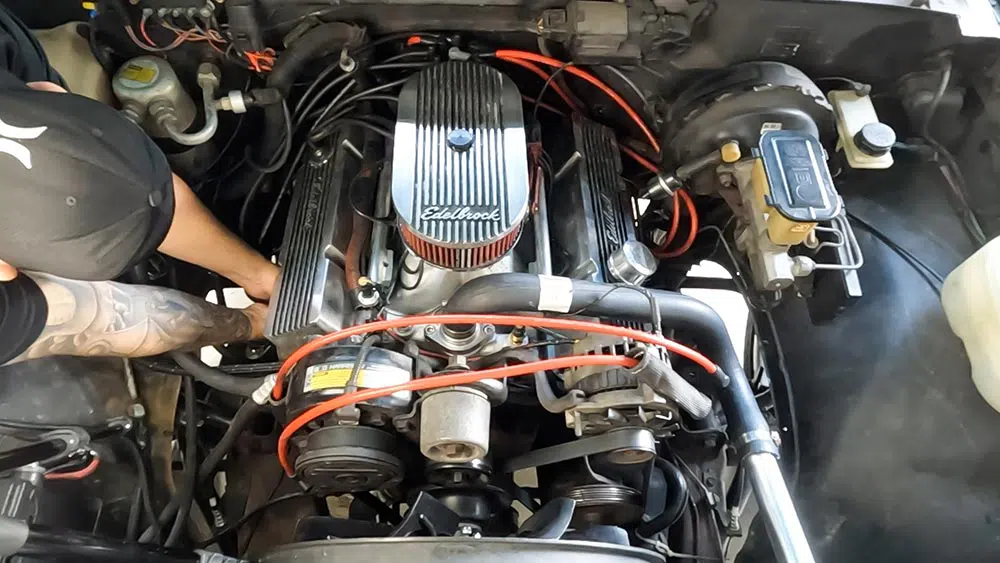
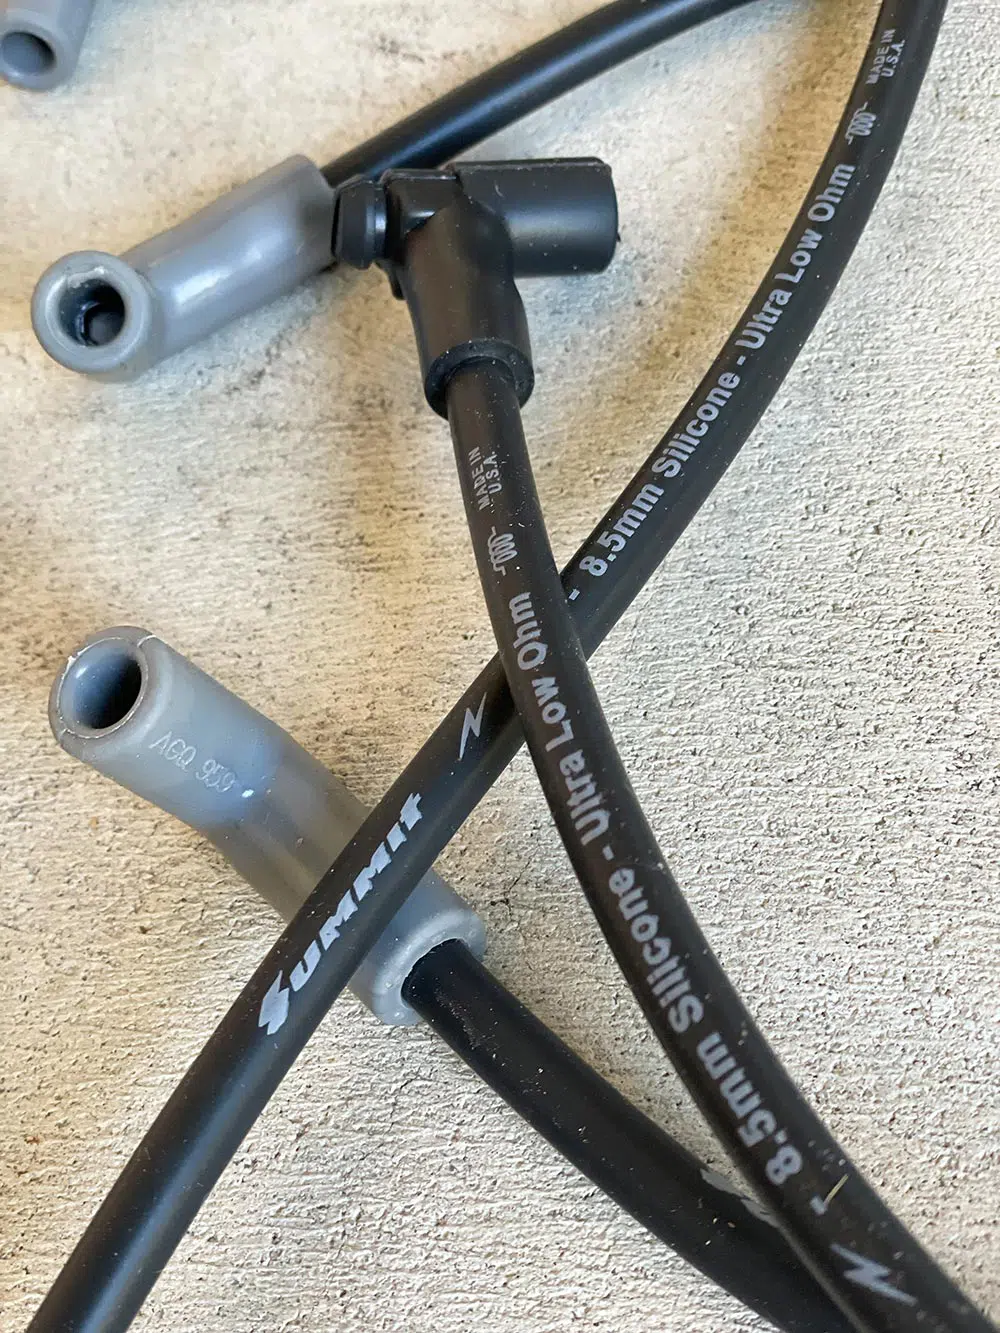
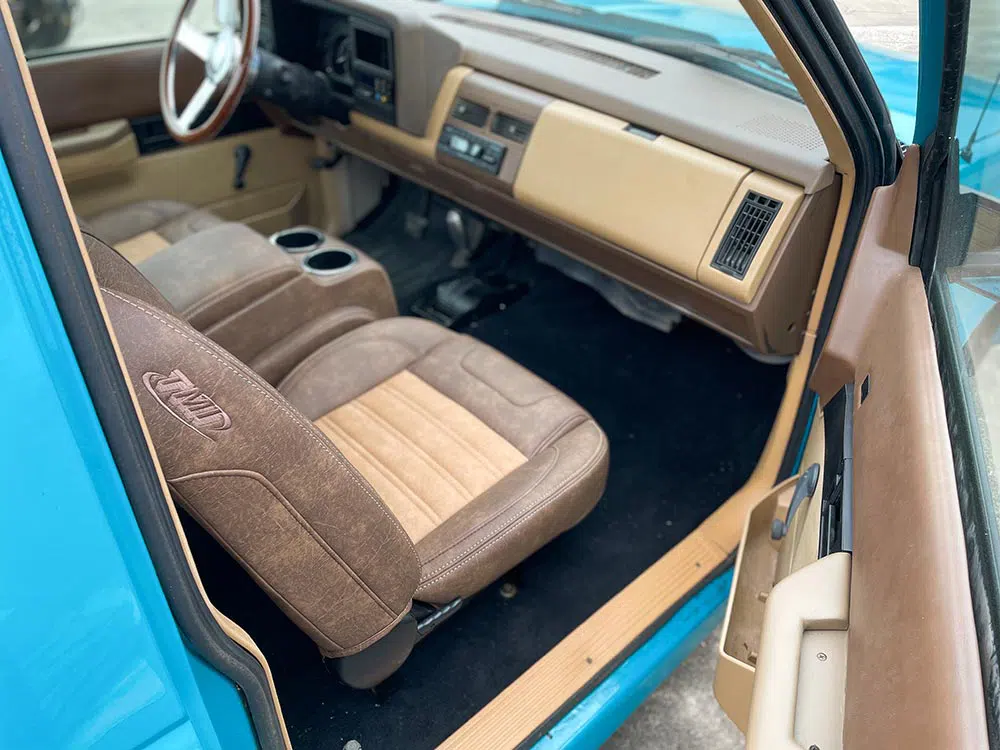
We also took the time to swap our our spark plugs and wires with this new set from Summit Racing. These 8 mm ultra-low Ohm wires are perfect for our build.Now that the audio is ready to rock, we can snap all these original interior panels back into the cab.Looks amazing and we are ready to ride!!
IN THE NEXT ISSUE
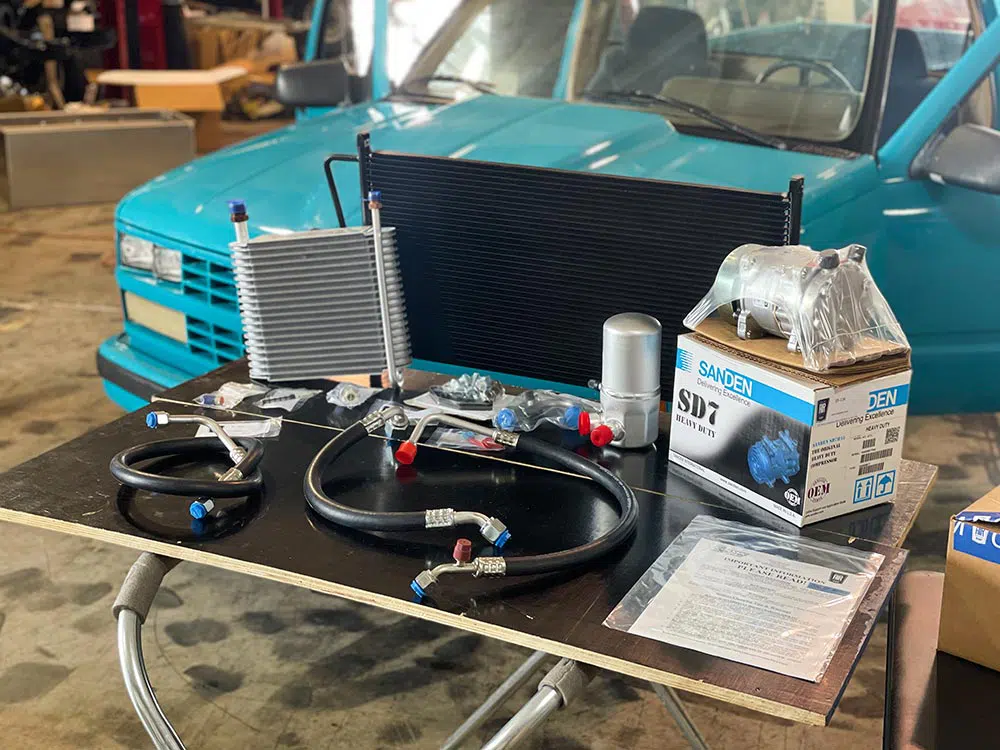
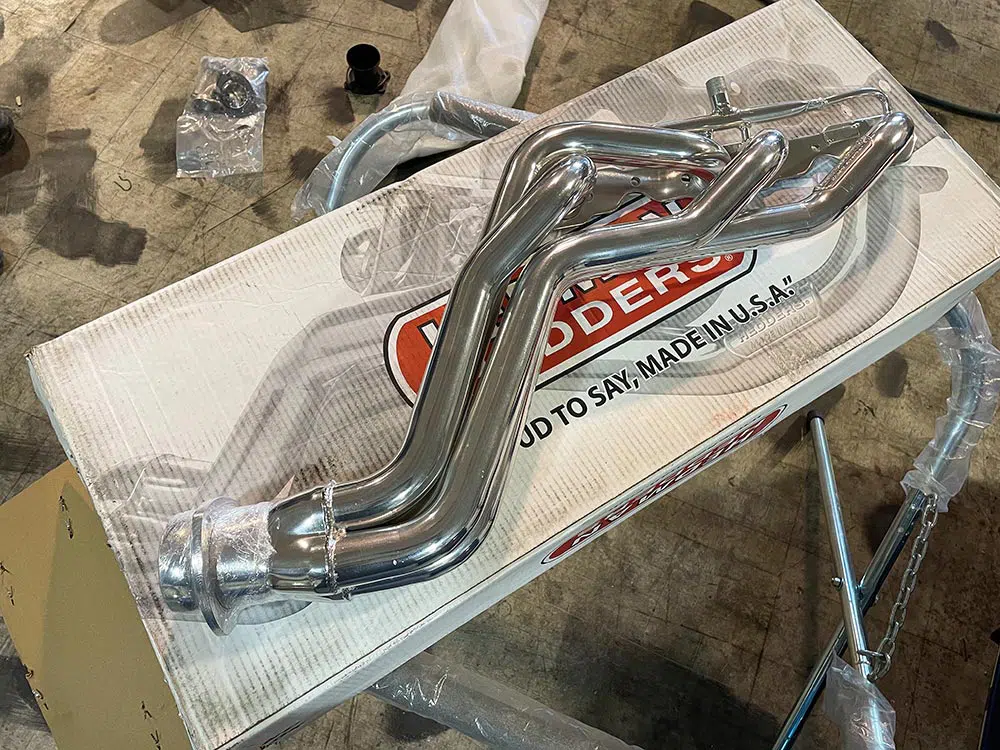
An all new A/C system from Original Air will be the focus. This complete factory replacement swap out system is designed for you to do yourself. We will show you how!The finish up the engine work, we will be installing these 50-state legal headers from Hedman Performance Group. So shiny!
Chris Hamilton is an automotive journalist, editor, and lifelong truck enthusiast with extensive experience covering custom truck builds, fabrication, performance upgrades, aftermarket products, and a
We use cookies to enhance your browsing experience, serve personalized ads or content, and analyze our traffic. By clicking "Accept All", you consent to our use of cookies. Visit our Cookie Policy for more info.
 Chris Hamilton


 Please wait...
Share Link