Robert Meza’s 1989 Chevrolet 1500 Sometimes the only reason you need to do something is because you can. When Pearland, Texas, resident Robert Meza set… Continue reading
Jon Hansen . February 19, 2026
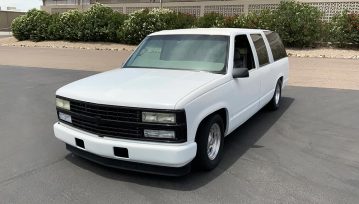
Step one was to rewind the front of the 1999 Suburban back to 1993 pace truck standards with a few upgrades. After a quick call… Continue reading
OBS HEADQUARTERS . August 22, 2022
On Every Kid’s Wish List in the 1990s How many of you wanted a Red Ryder BB gun after “A Christmas Story” appeared on TV… Continue reading
Chris Hamilton . June 06, 2022
The Evolution Of The OBS What Is The Major Differences in ’88-’98 Chevy Trucks? In my opinion, 1988 was the exact year that jump-started the… Continue reading
CHRIS STAFFORD . September 07, 2021
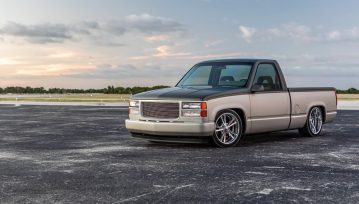
Installing A Belltech Lowering Kit in a ’96 GMC Sierra C1500 When it comes to lowered trucks, the stance is everything! Without the proper stance,… Continue reading
JERRY MCFARLAND . August 09, 2021
Mike Barcia Left No Stone Unturned on This Wicked 1-Ton A DRIVER. Every custom truck enthusiast must have one. The driver is the truck that… Continue reading
Travis Noack . August 06, 2021
From One Friend to the Other 1994 Chevrolet C1500! One of the most important things you can hold onto are friendships. Friendships help you build… Continue reading
PHIL GORDAN . July 05, 2021
LS in an OBS…. Making the Swap After the Drop! Before the pandemic, life was easier in so many ways for so many people. One… Continue reading
Chris Hamilton . May 06, 2021

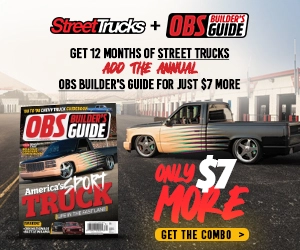
Premier issue number one of OBS Builder’s Guide was so successful, we’re going to do it again! From the editors of Street Trucks Magazine comes… Continue reading
Chris Hamilton . April 15, 2021

Now that our 1998 GMC sierra is completely covered in an all new custom wrap from GLARB and Tate Designs, we have to take a… Continue reading
Chris Hamilton . April 08, 2021
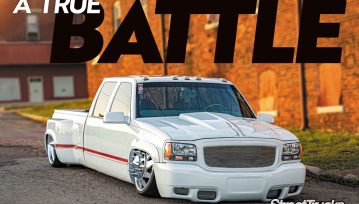
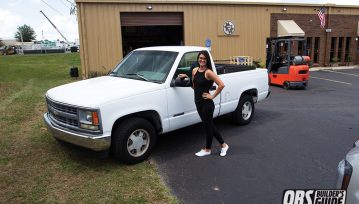
Father and Son See It Through Most everyone reading this magazine understands what a battle building a full custom truck can truly be. The constant… Continue reading
MIKE ALEXANDER . February 25, 2021

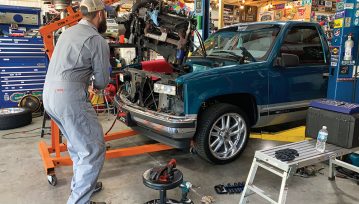
We walk you through the 5.3 LS install into Travis’ ’99 Tahoe. This video will explain what parts we used, the main steps we took… Continue reading
Chris Hamilton . October 13, 2020
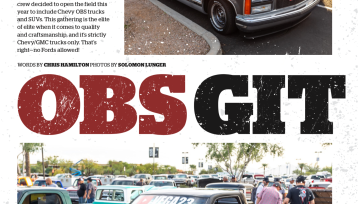
Held in Glendale, Arizona, the world-famous Dino’s Git Down brings together more than 1,600 Chevrolet/GMC trucks from all over the U.S. Originally, this event only… Continue reading
Chris Hamilton . September 25, 2020

Suspension Upgrades 1. QA1 C1500 Coilover Conversion Systems Add modern performance to a pickup that was designed for utility. With QA1’s bolt-on front and rear… Continue reading
Chris Hamilton . September 15, 2020
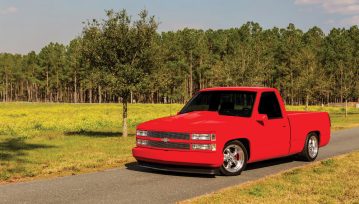
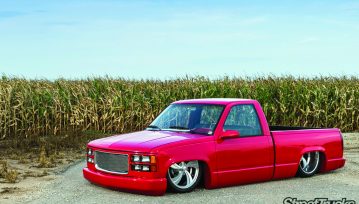
It Doesn’t Get Any Better You know those trucks that are awesome at first glance, and then just keep getting more awesome once you really… Continue reading
Mike Self . September 09, 2020

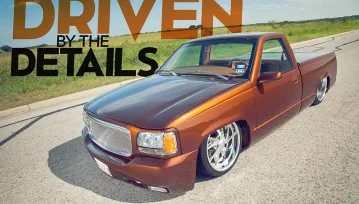
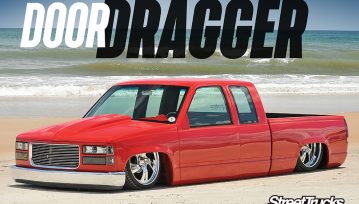
A Street Truck Aimed to Inspire The classic movie, “A Streetcar Named Desire,” was recently selected for preservation in the United States National Film Registry… Continue reading
Chris Hamilton . September 02, 2020

It’s Always Been Cool Like Dat We owe a lot to the pioneers of this passion of ours. There was a time when trucks, though… Continue reading
Mike Self . August 19, 2020
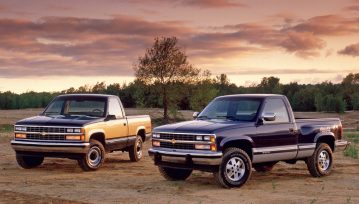
What is an OBS? (Old Body Style or Original Body Style) OBS refers to Chevy C/K trucks that were manufactured by General Motors between the… Continue reading
Chris Hamilton . August 19, 2020

From the editors of Street Trucks Magazine comes the all-composing guide to restoring and customizing one of the most popular body style trucks ever released.… Continue reading
Chris Hamilton . June 30, 2020


Classics With The Cardinals, Santa Barbara’s Premier Car Show
Bishop Diego High School - Football Field 4000 La Colina Rd
Goodguys 35th Speedway Motors Heartland Nationals Presented By FiTech Fuel Injection
Iowa State Fairgrounds 3000 East Grand Avenue, Des Moines, IA 50317
Goodguys 28th Summit Racing Nationals Presented By Grundy Insurance
Ohio Expo Center 717 East 17th Avenue, Columbus, OH 43211
Stray Angels Show & Shine
Stray Angels Show & Shine at Melrose Vineyards 885 Melqua Rd. Roseburg OR. 97471
43rd Annual Stray Angels Show & Shine
Melrose Vineyards, Roseburg, Oregon
We use cookies to enhance your browsing experience, serve personalized ads or content, and analyze our traffic. By clicking "Accept All", you consent to our use of cookies. Visit our Cookie Policy for more info.
 Please wait...