 Kevin Aguilar
.
October 21, 2022
.
All Feature Vehicles
Kevin Aguilar
.
October 21, 2022
.
All Feature Vehicles
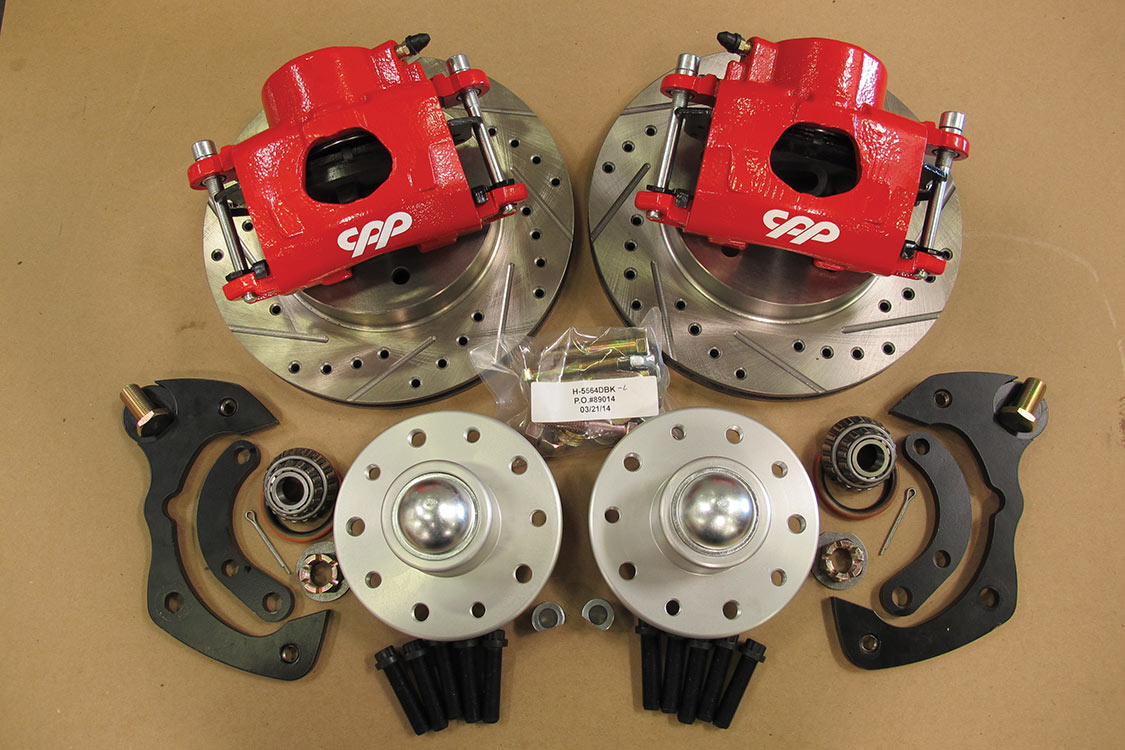
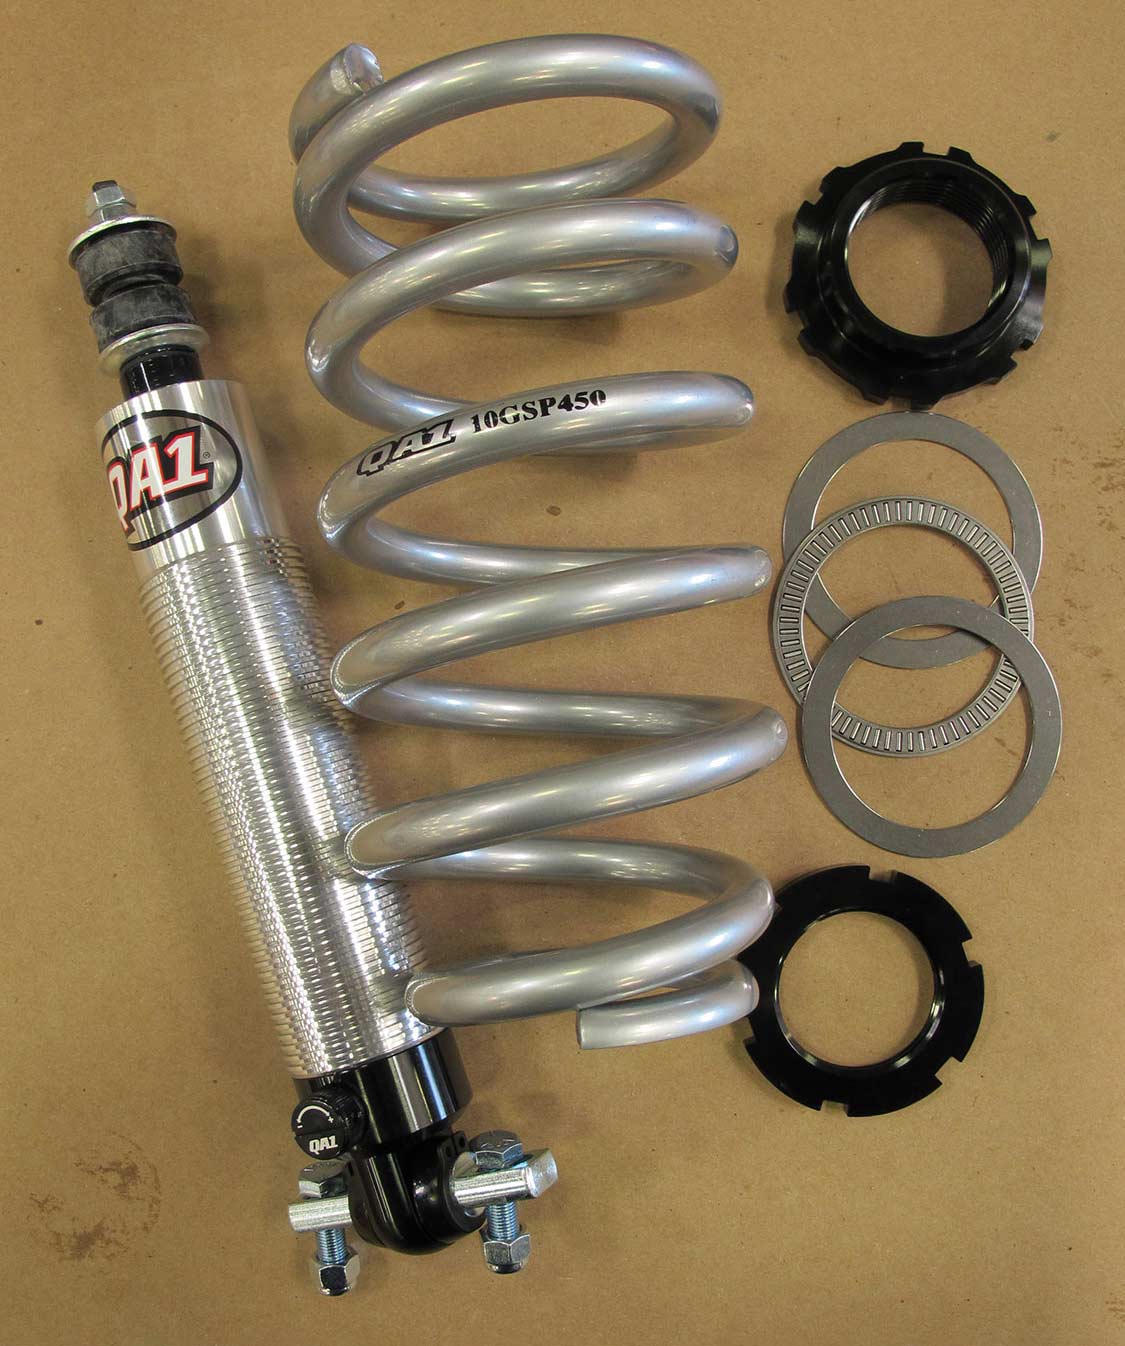
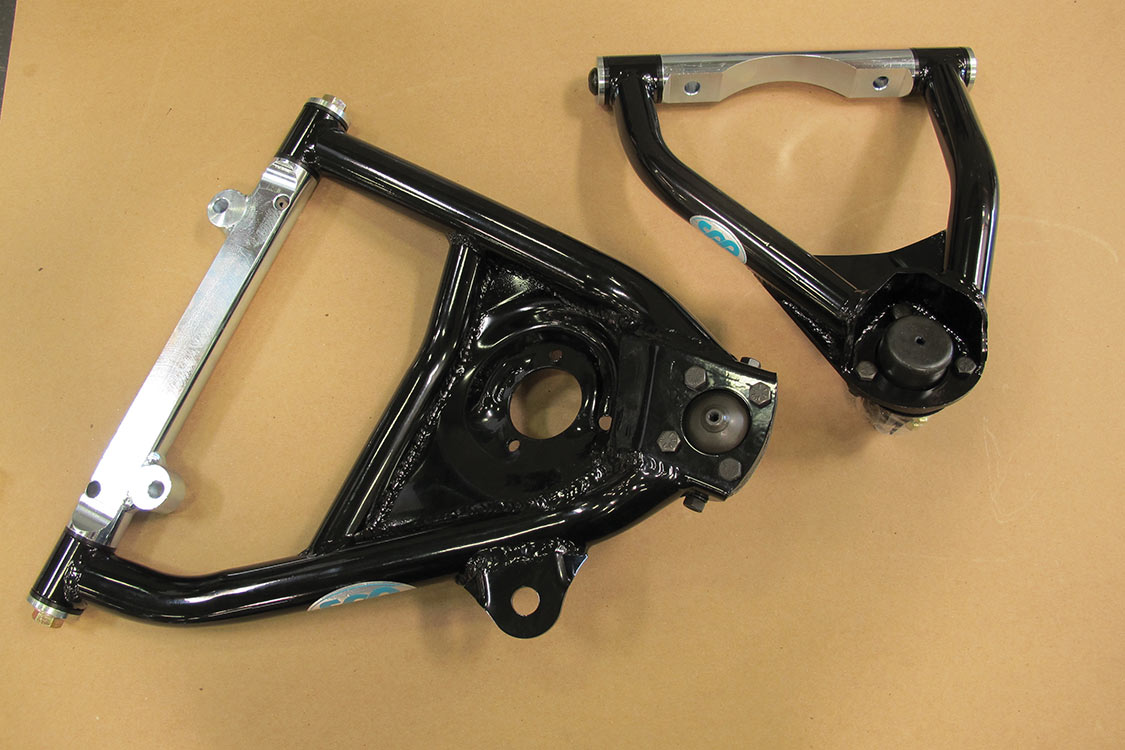
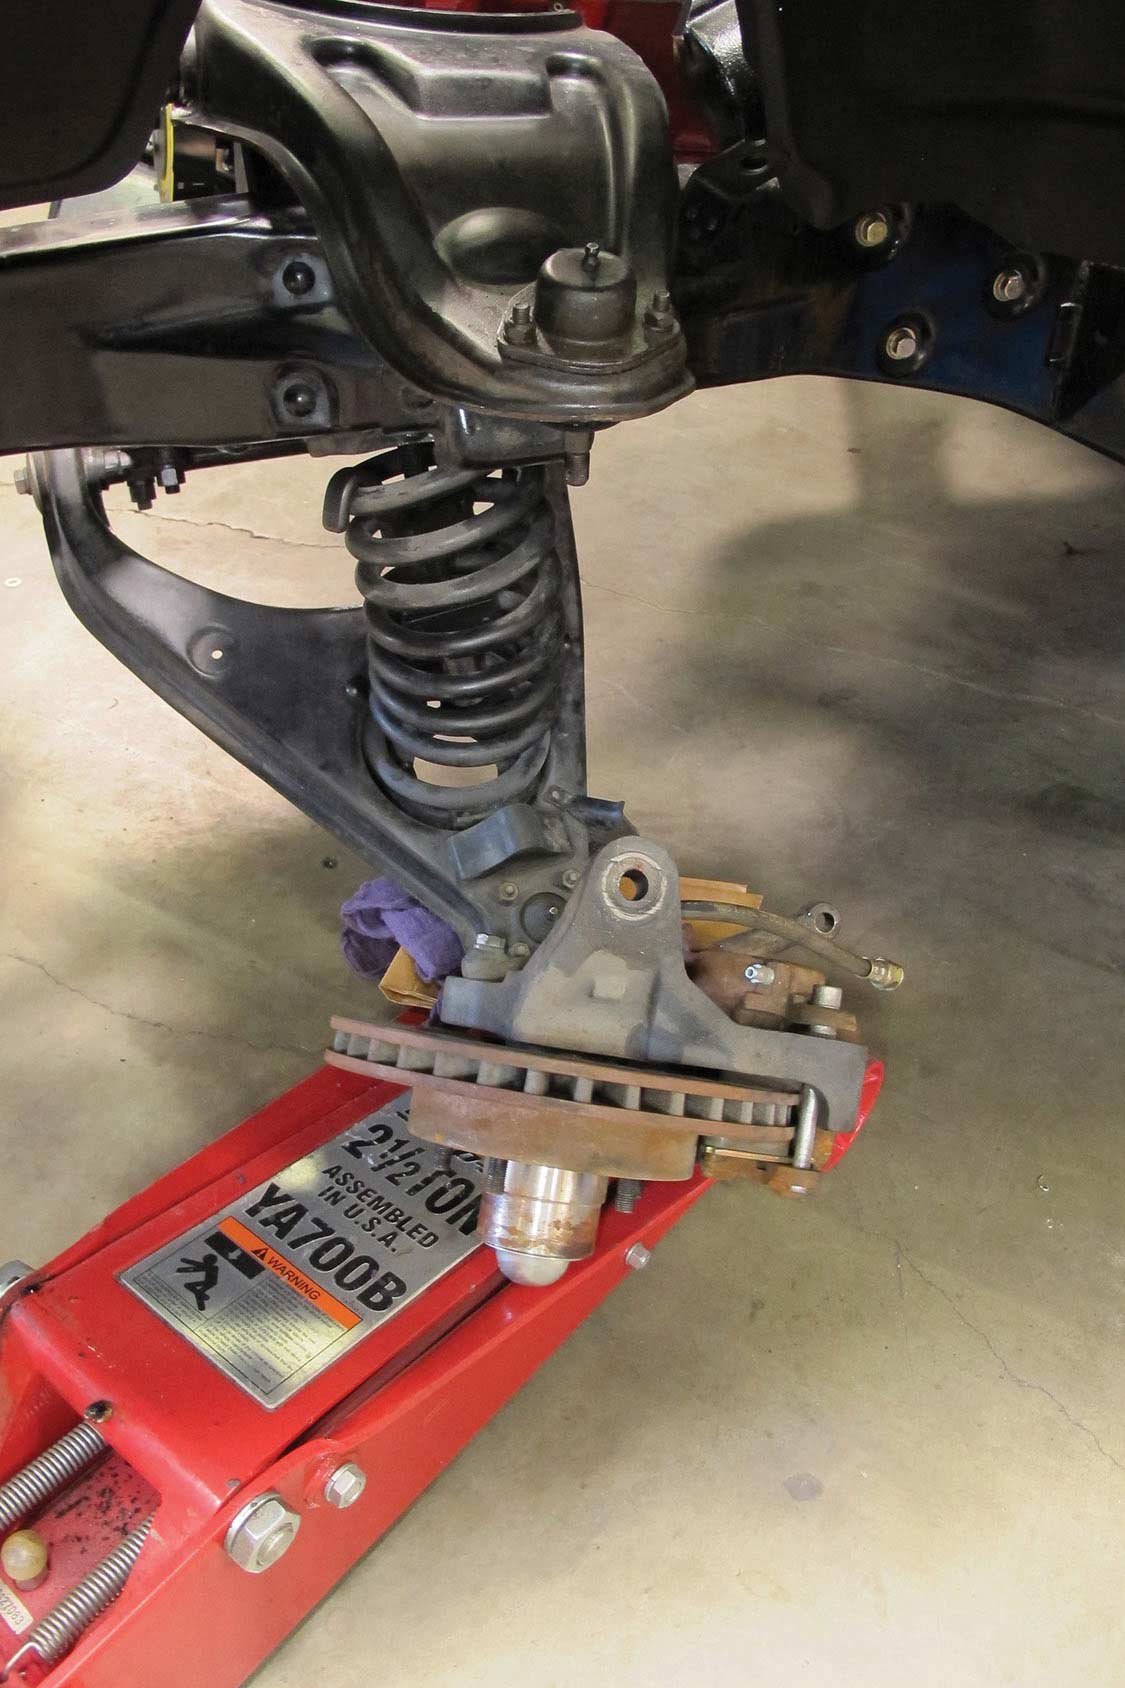
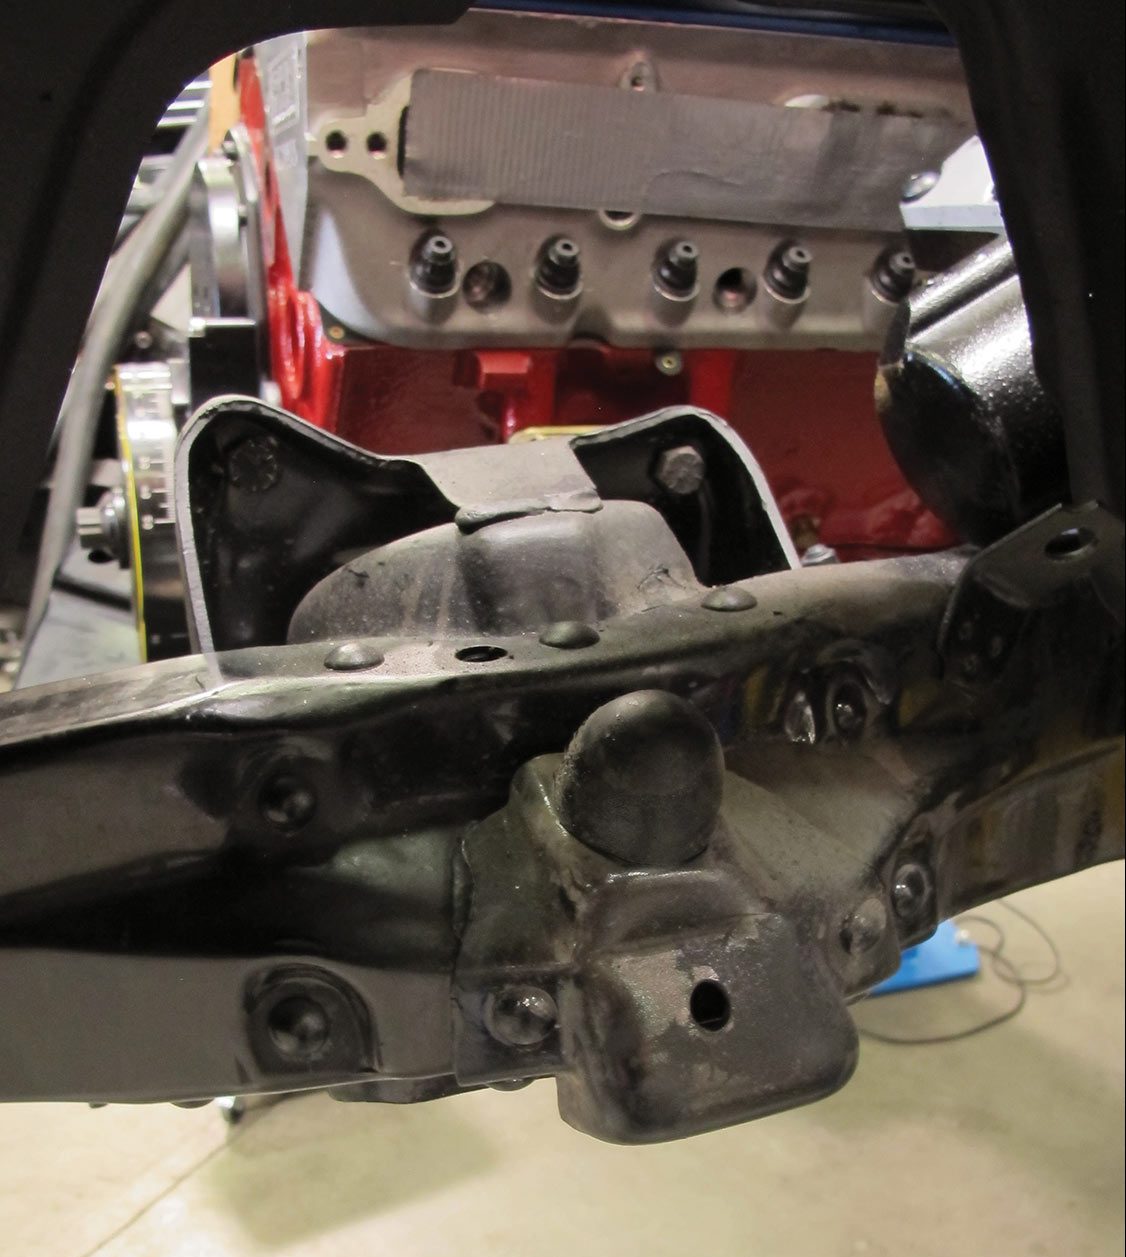
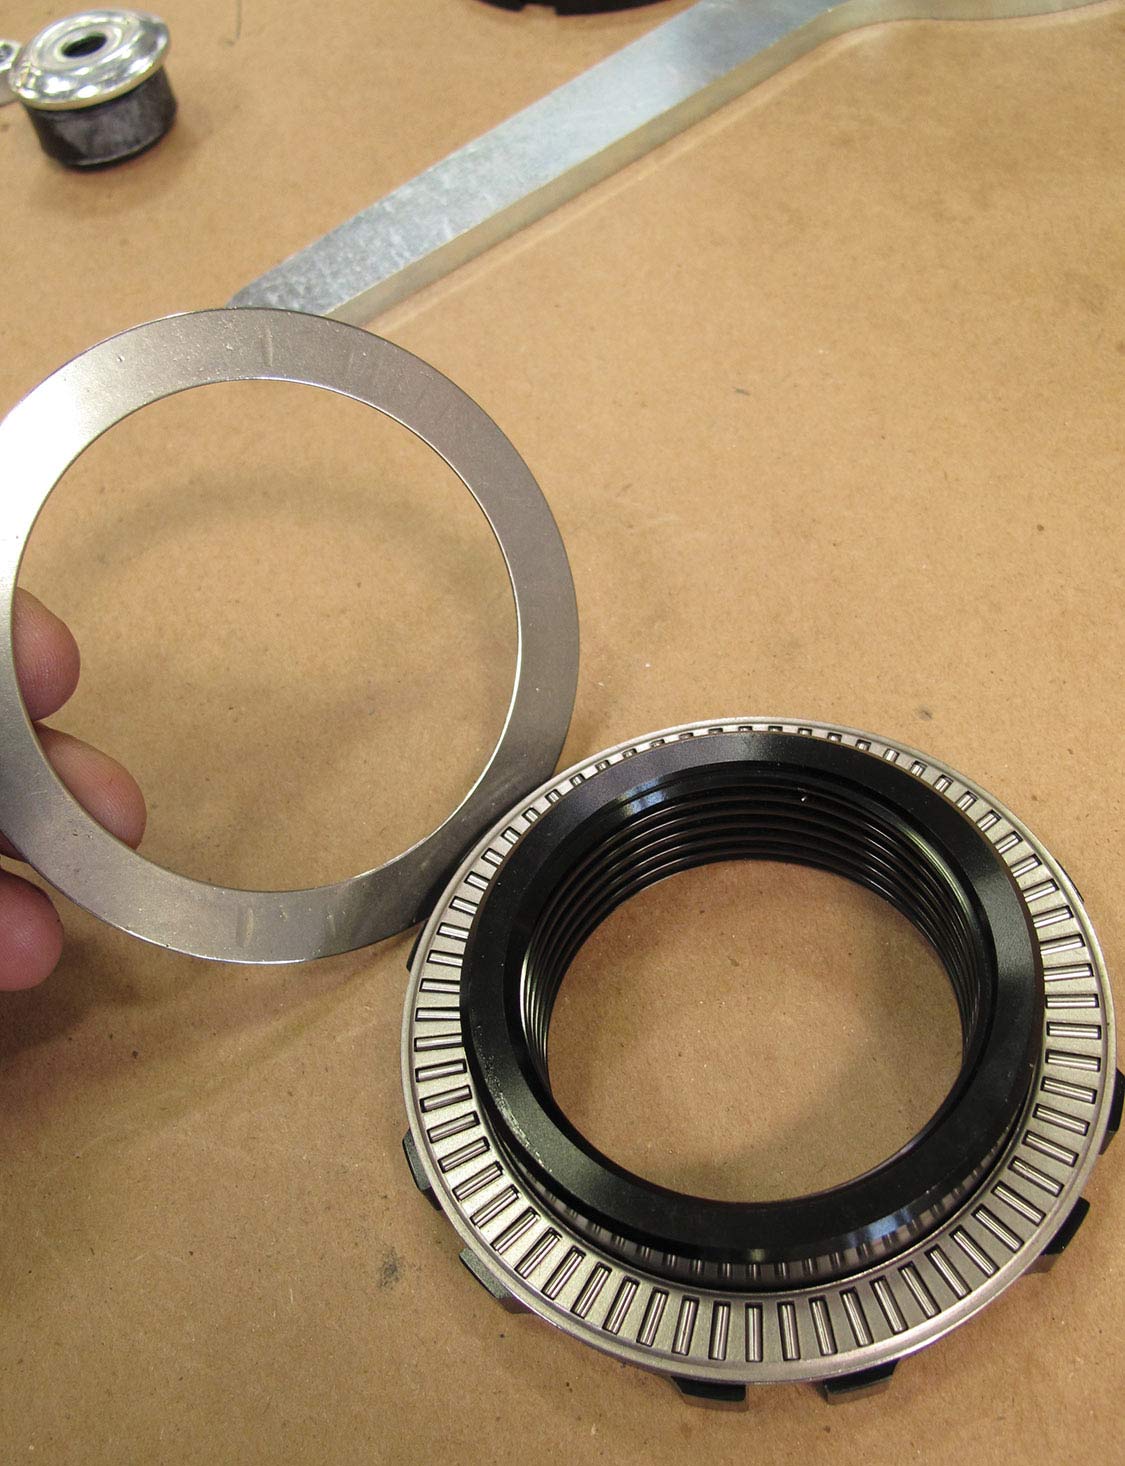
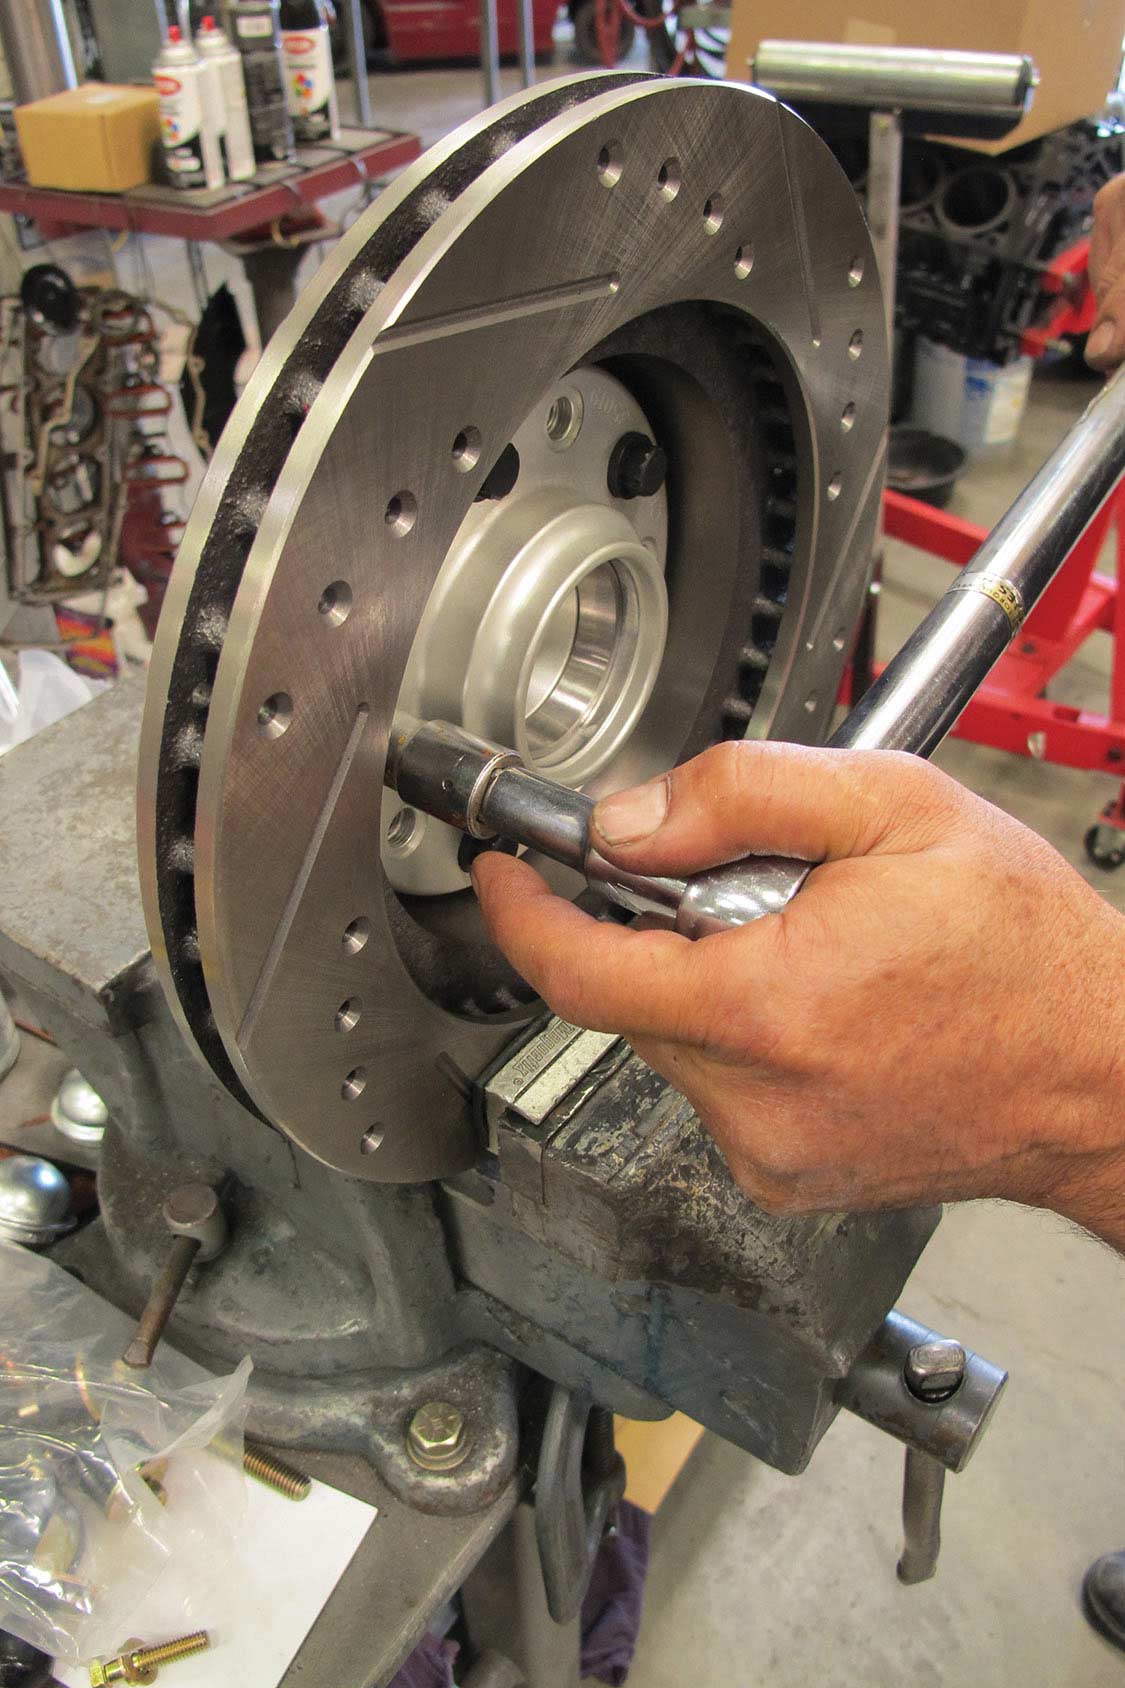
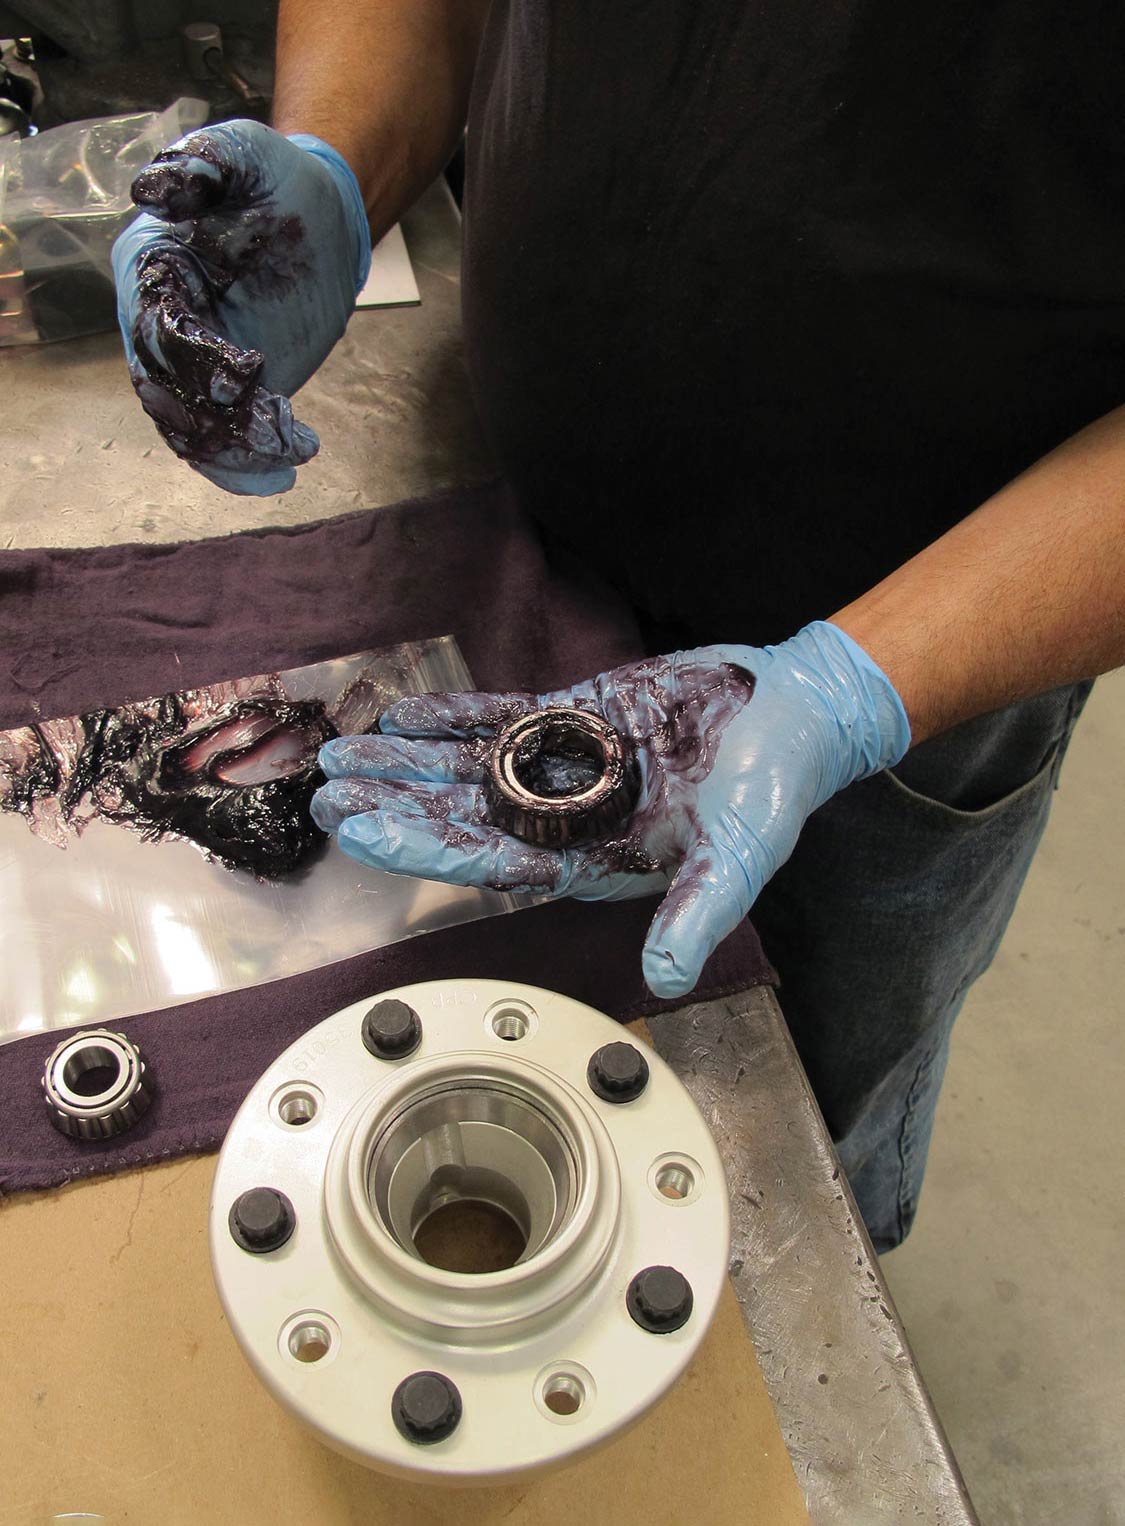
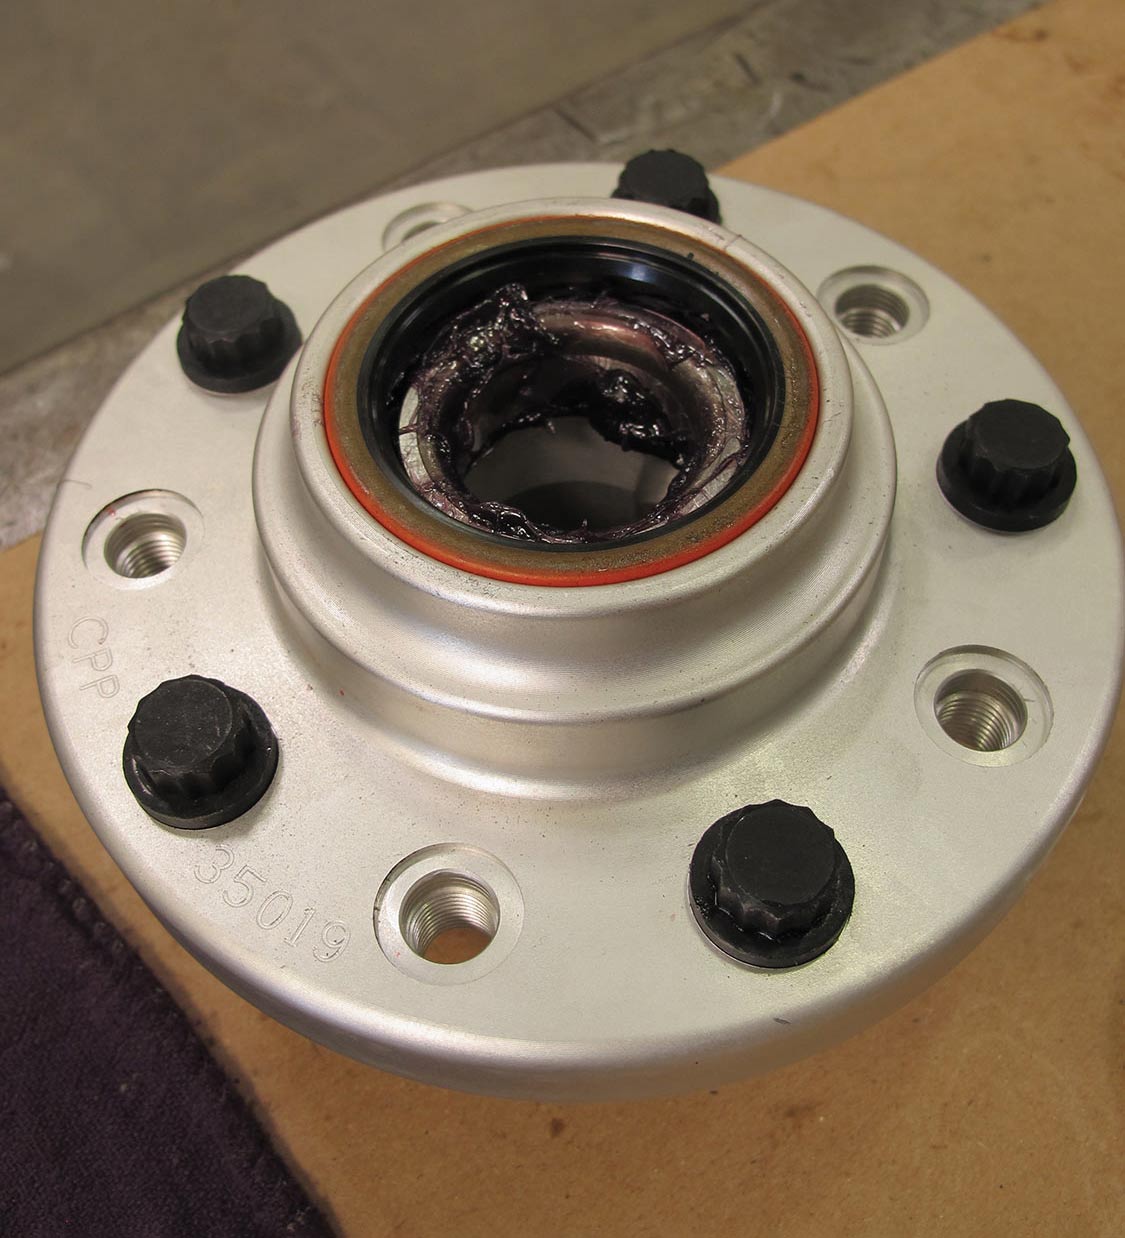
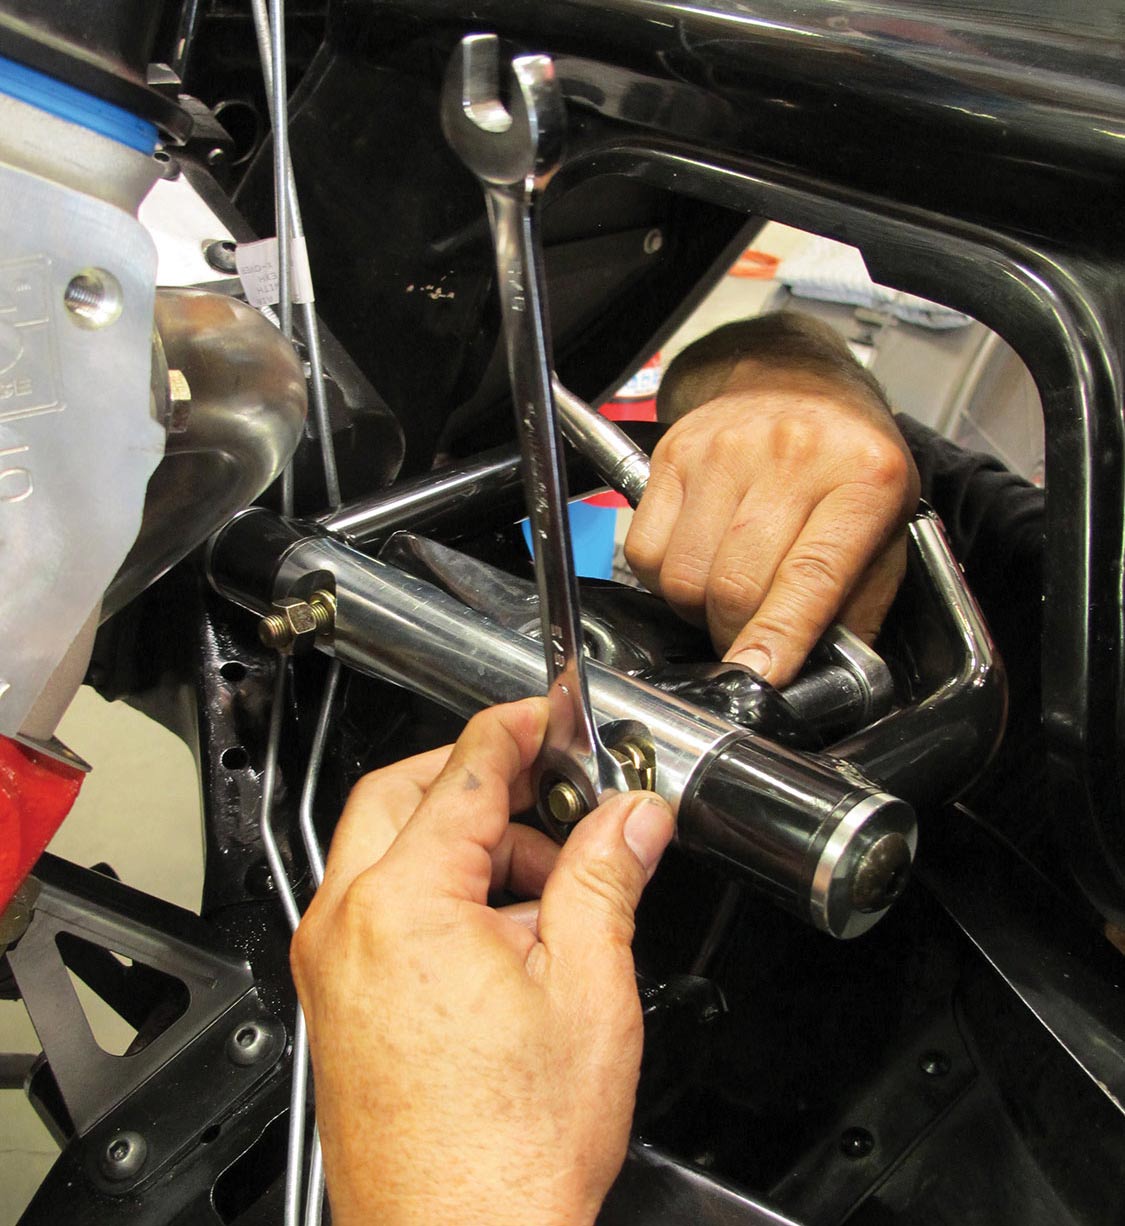
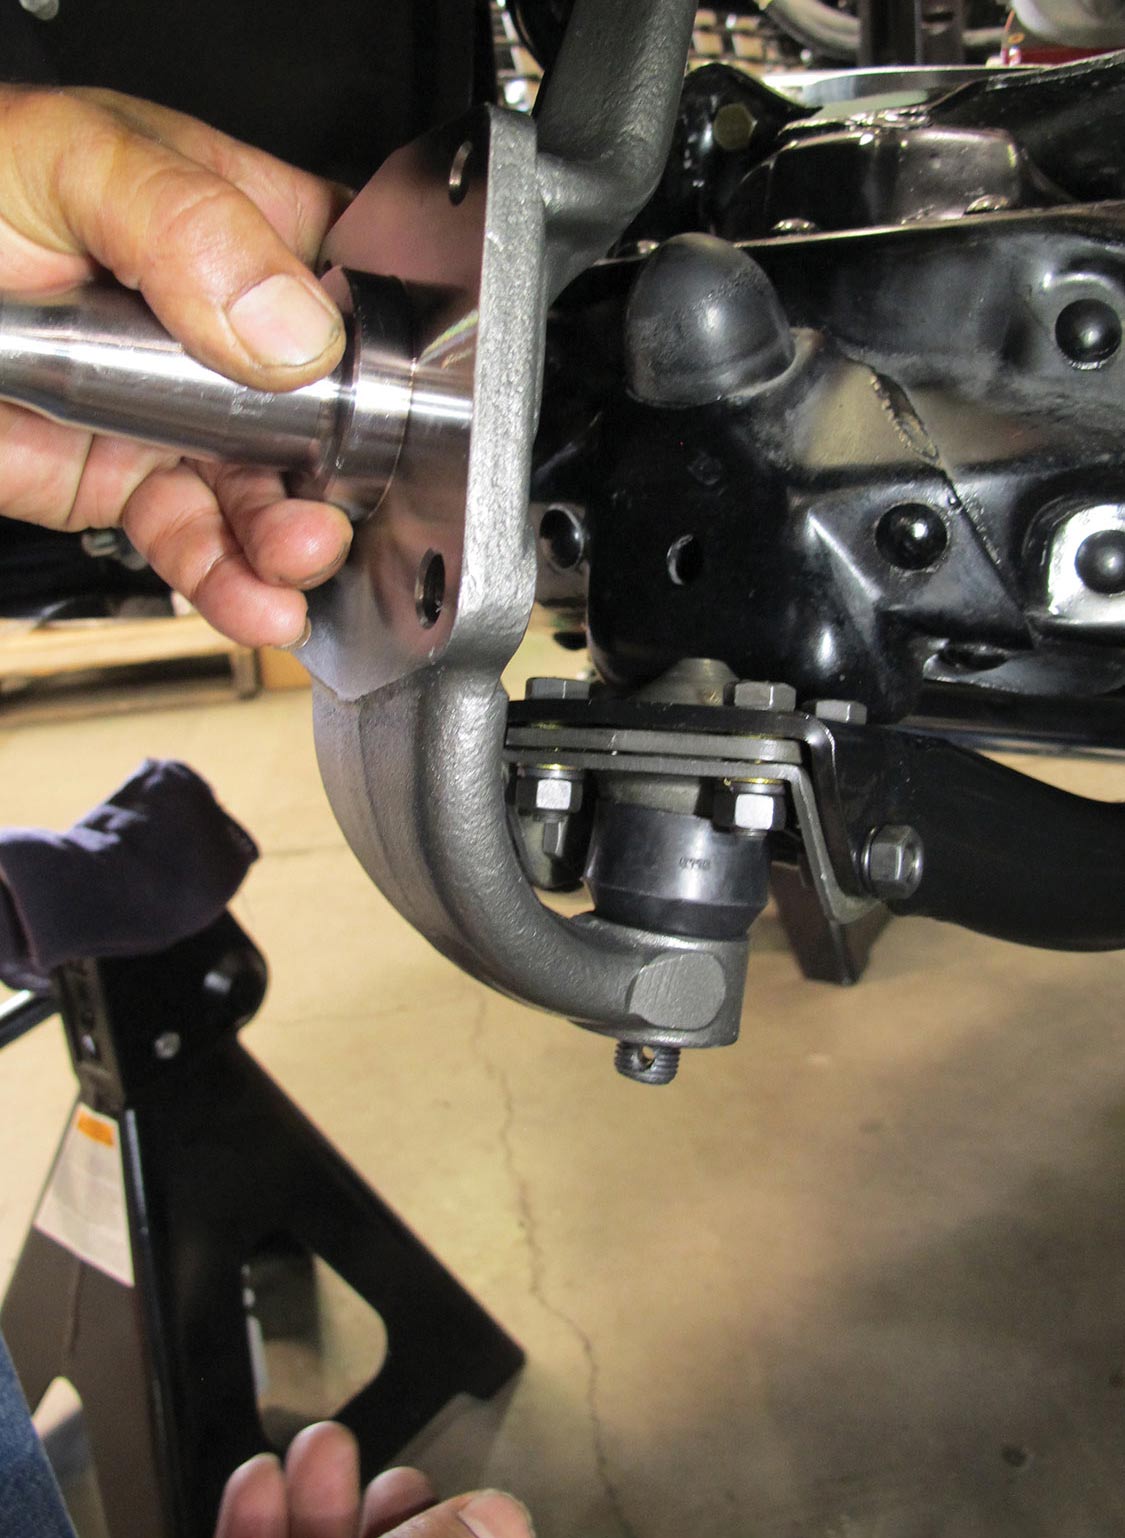
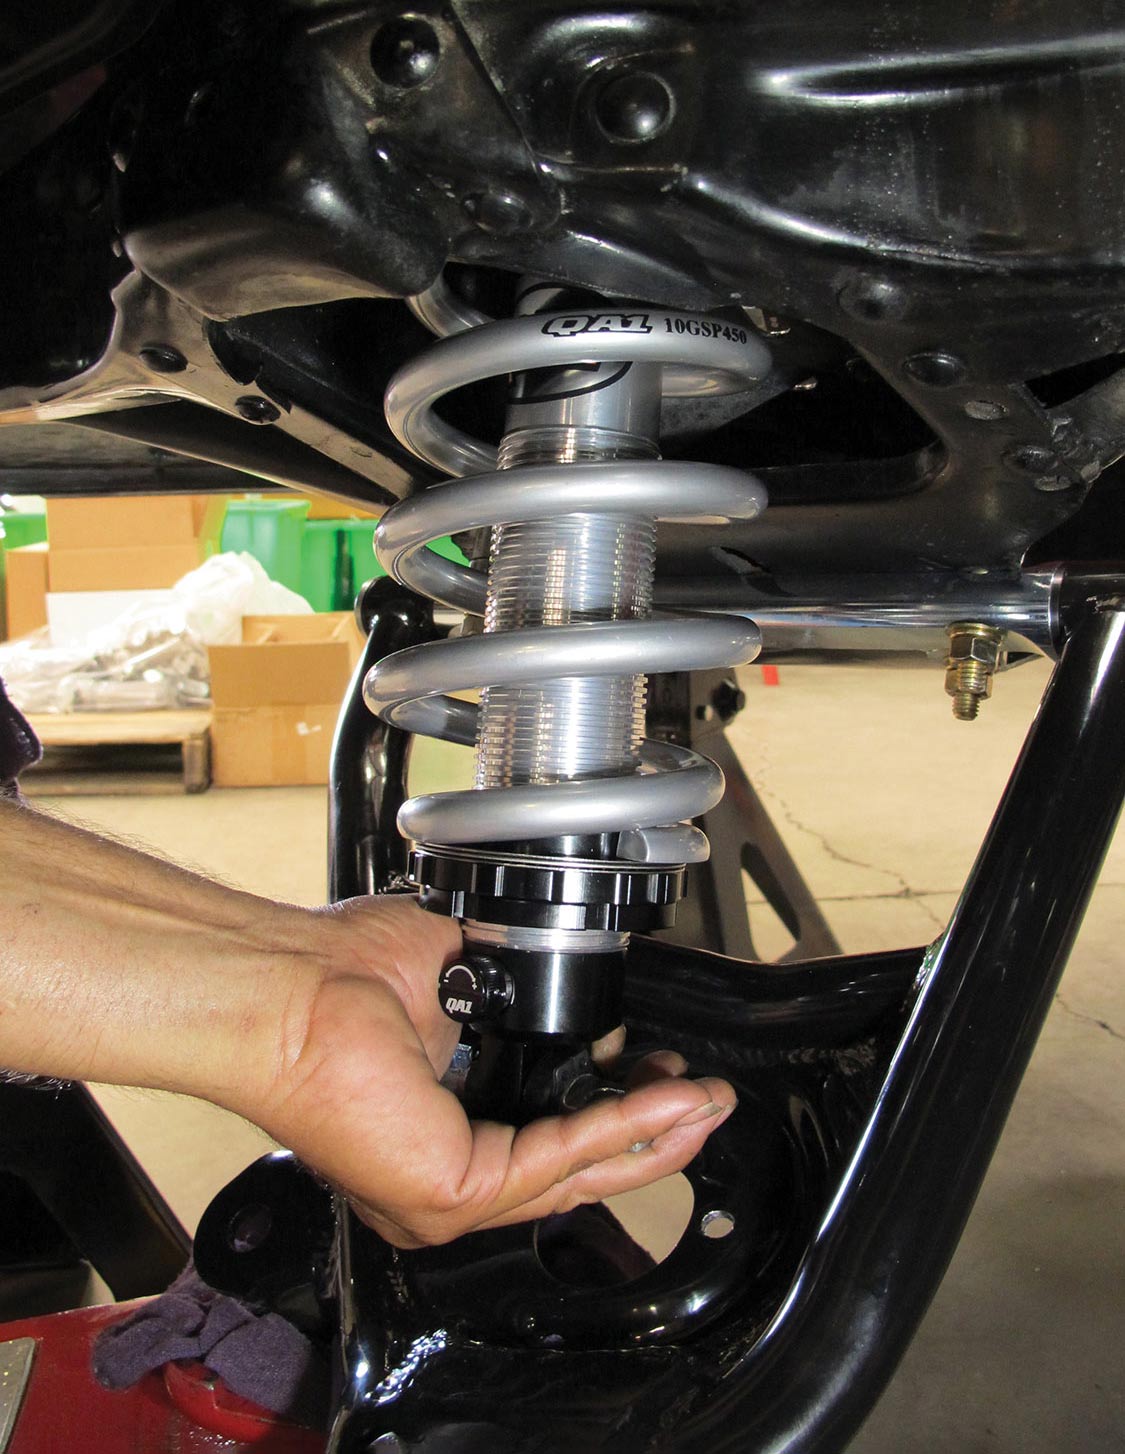
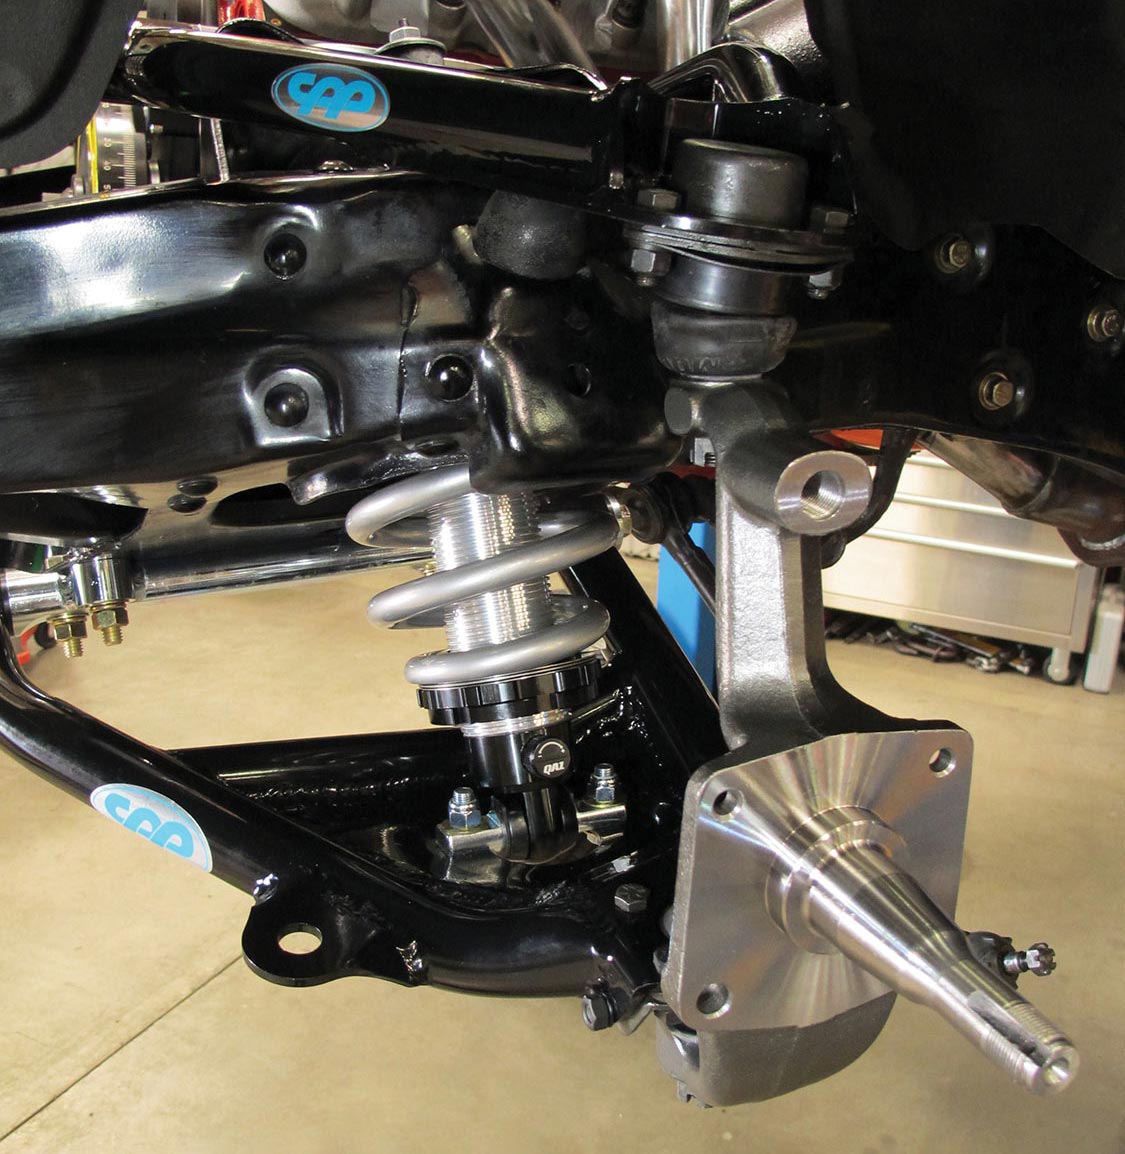
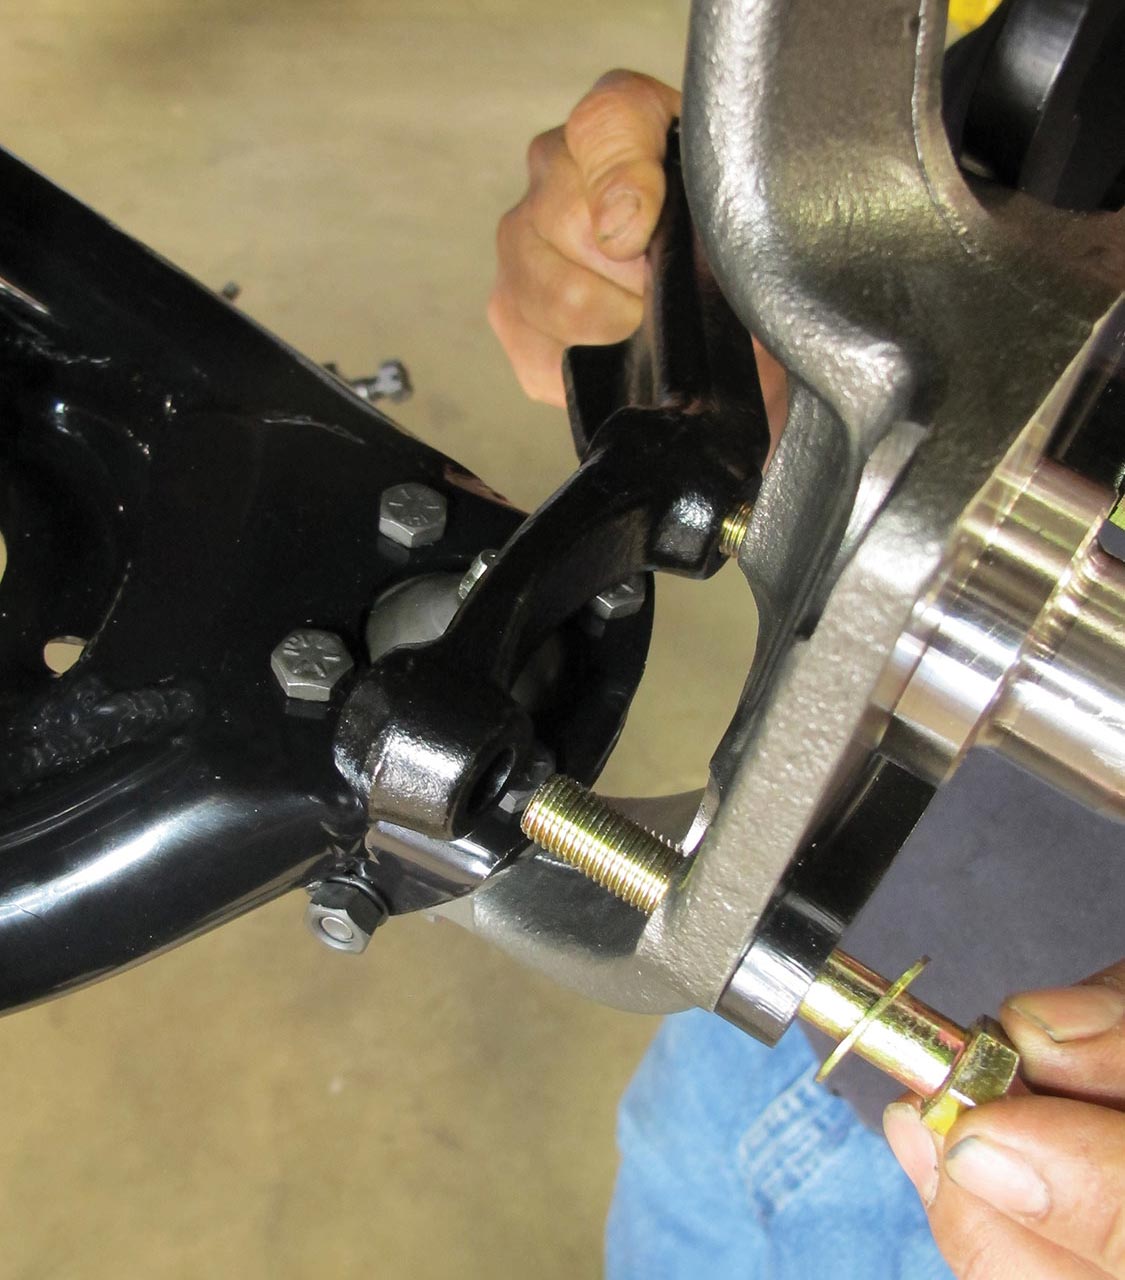
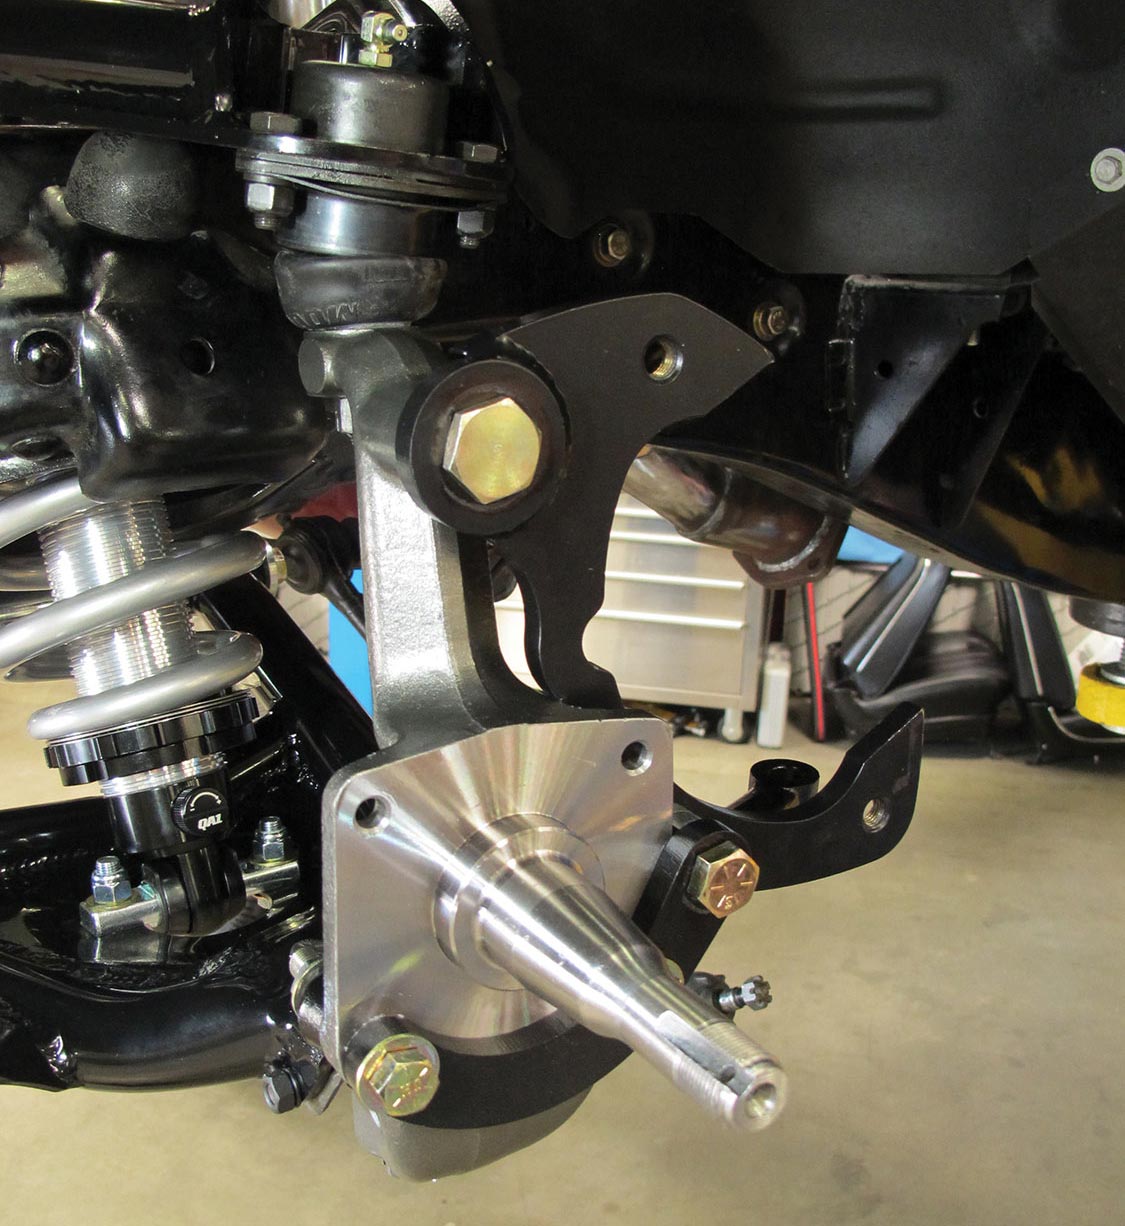
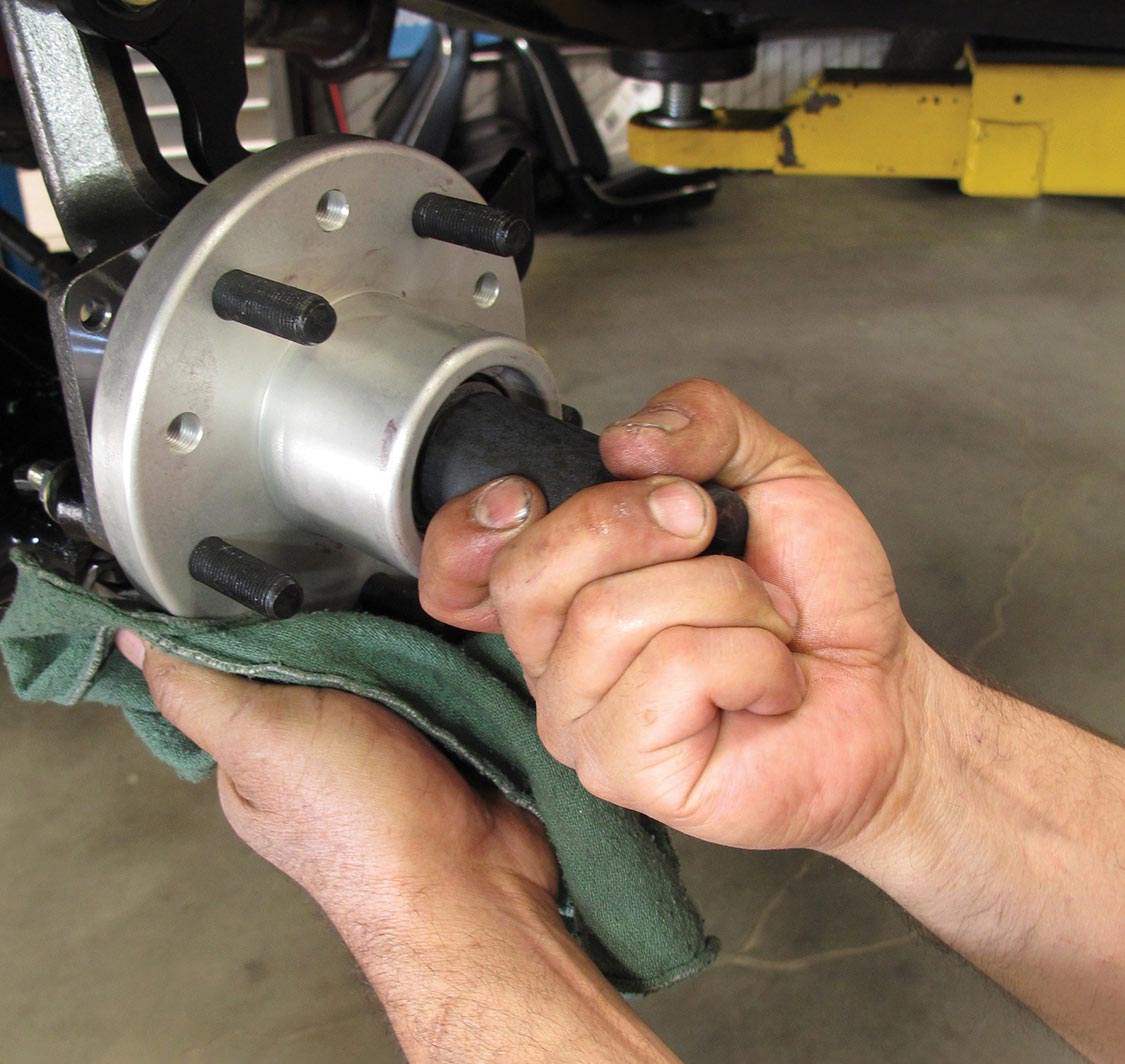
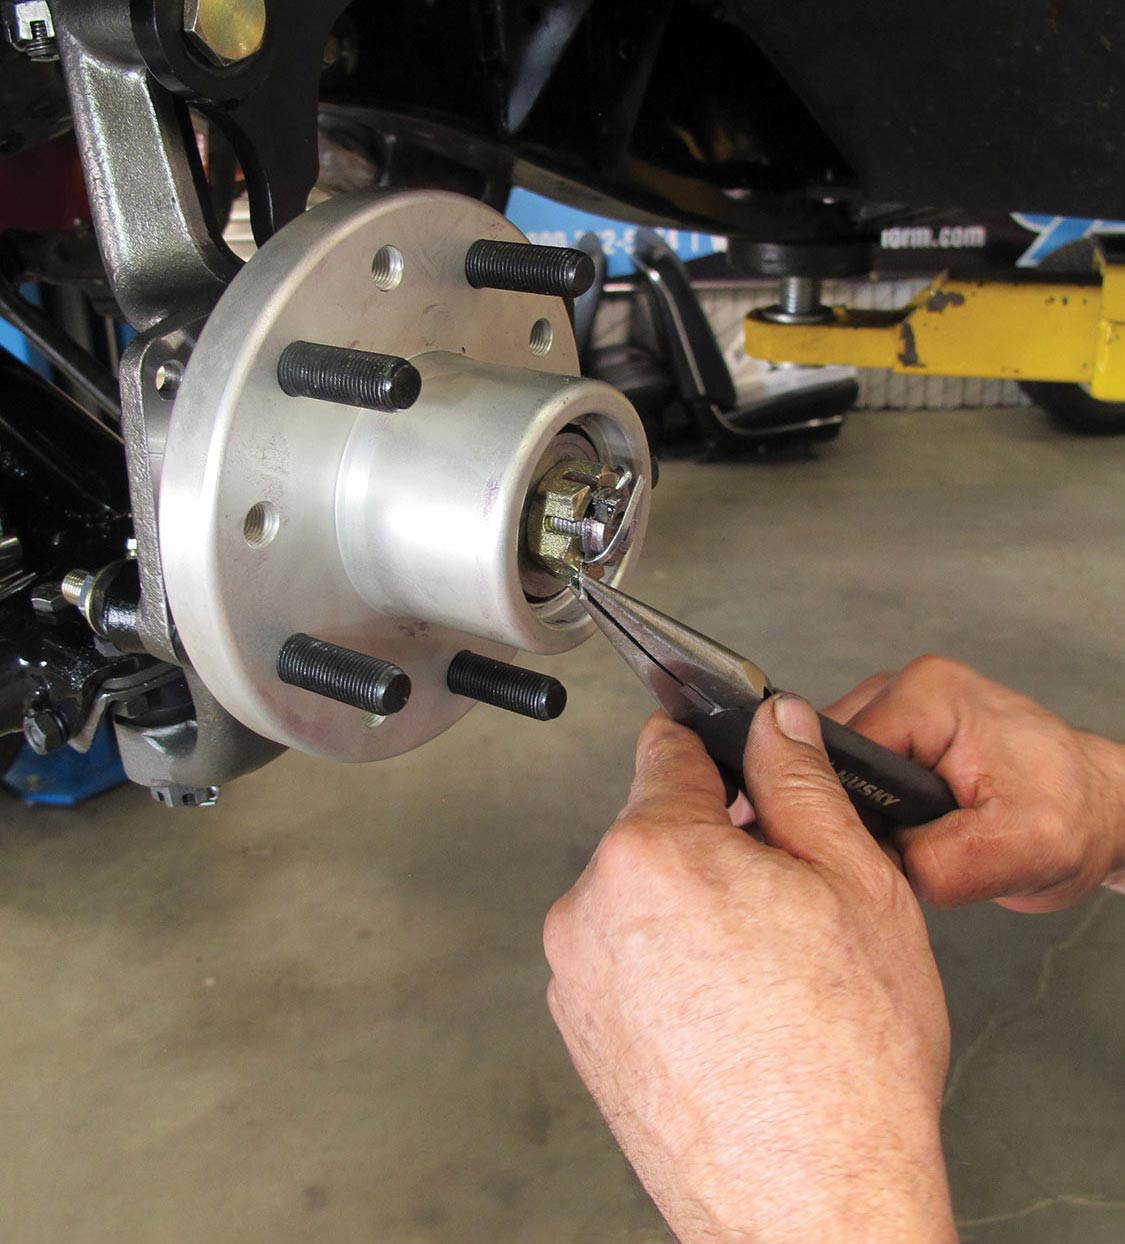
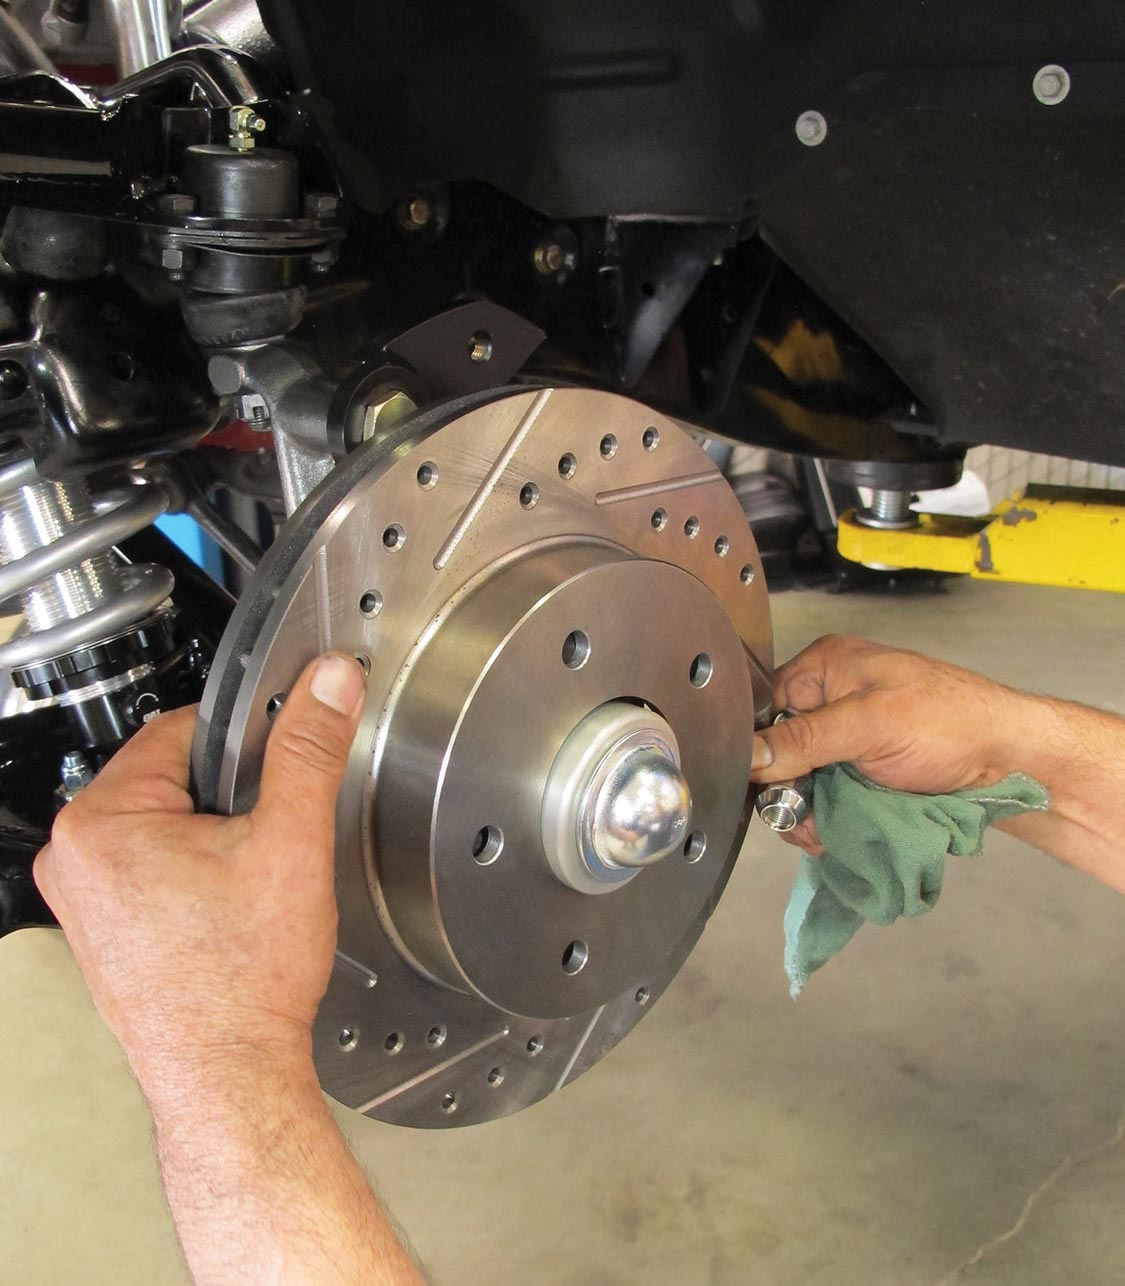
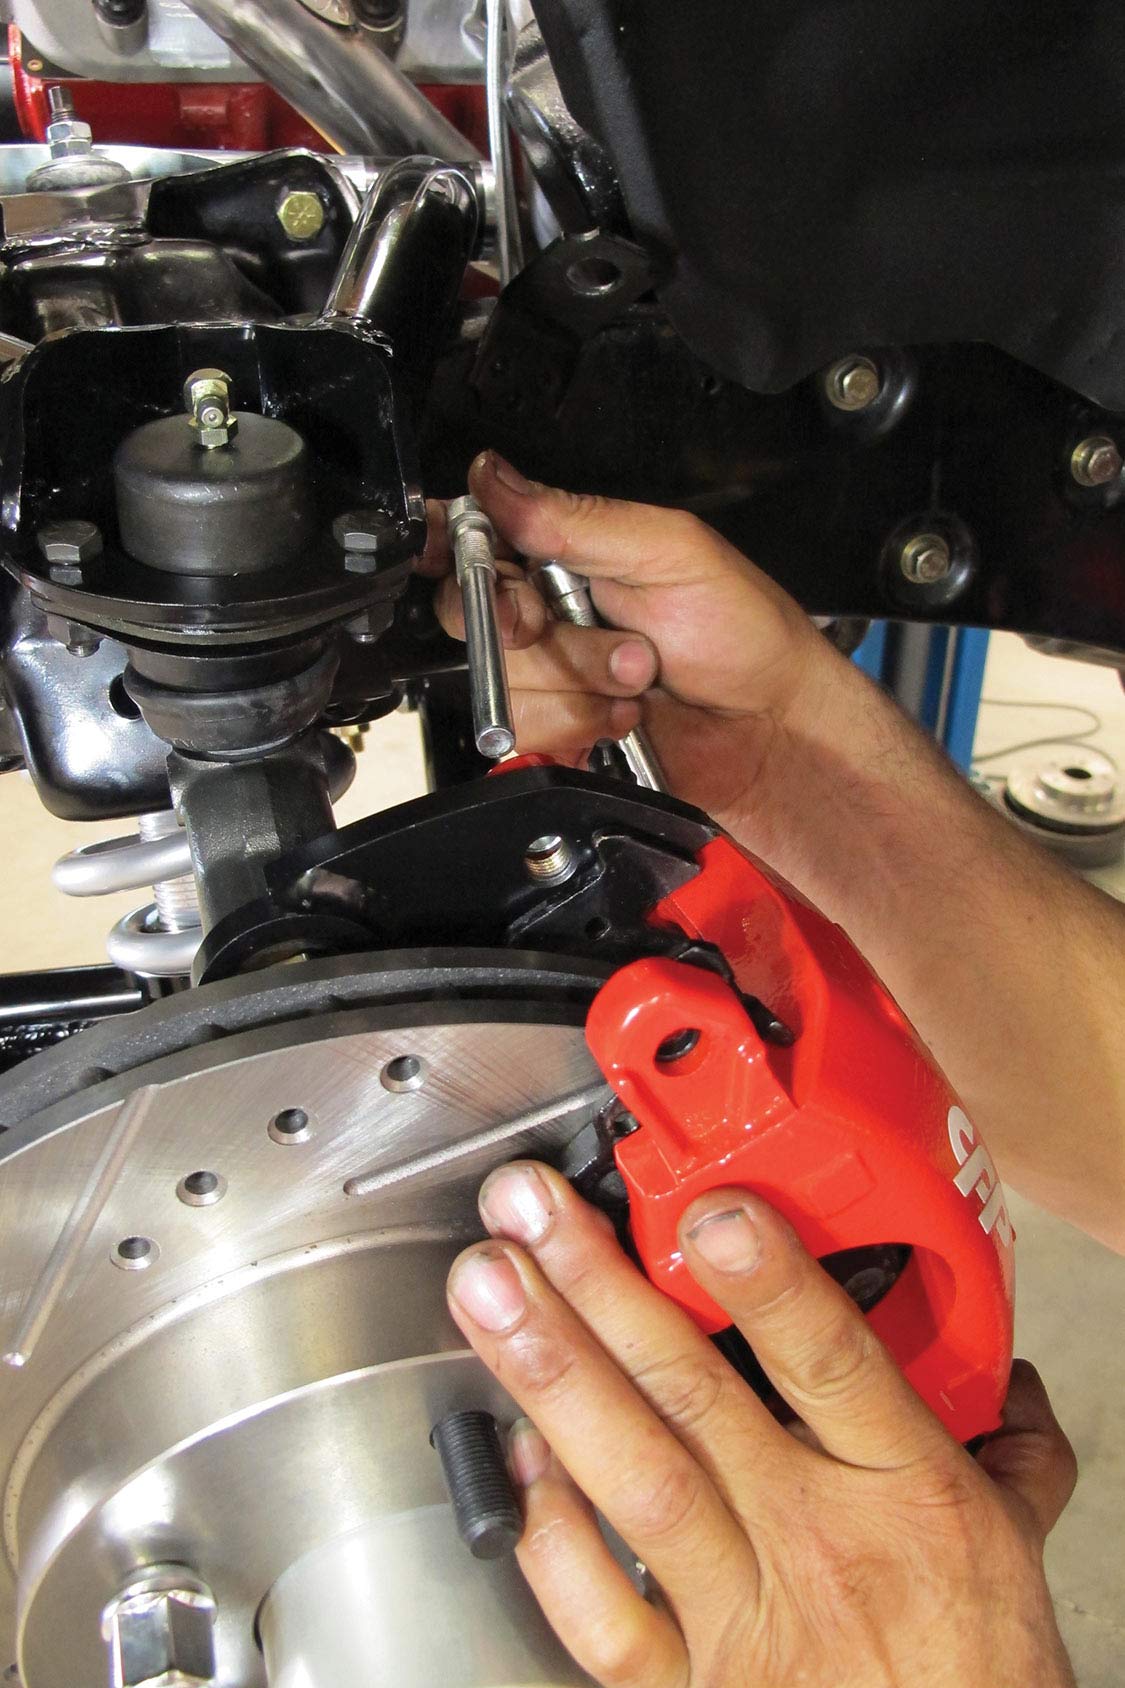
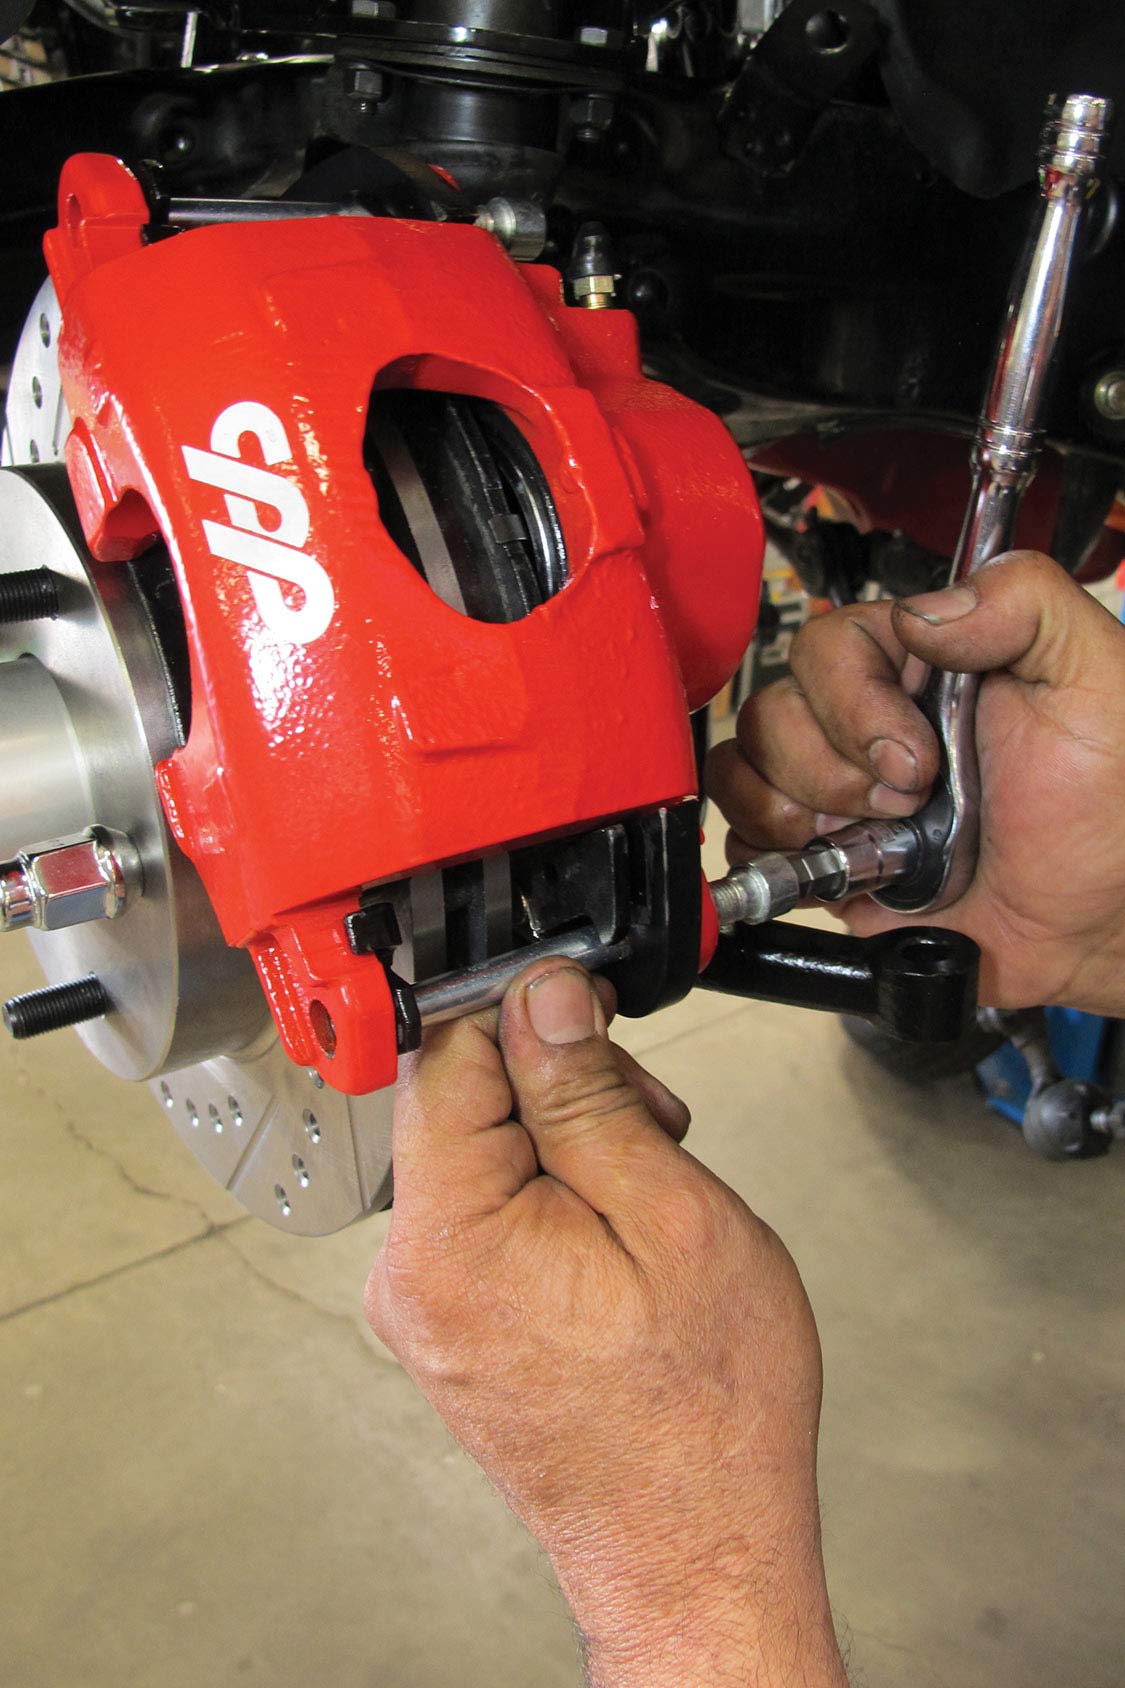
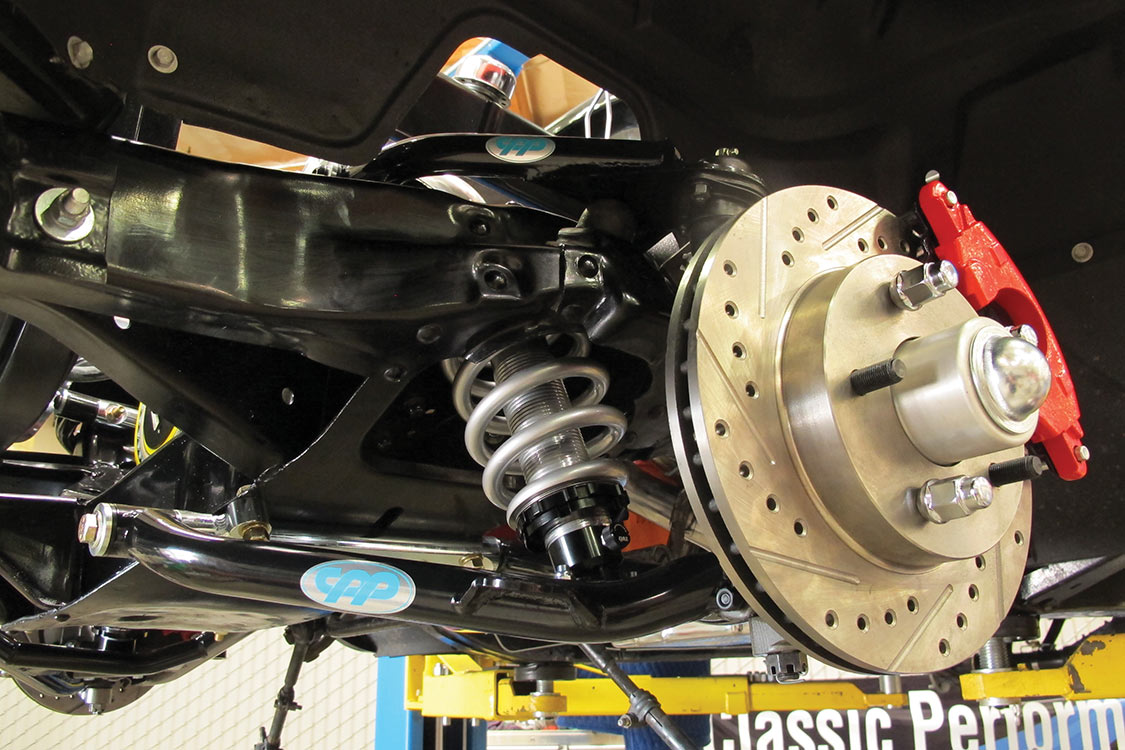
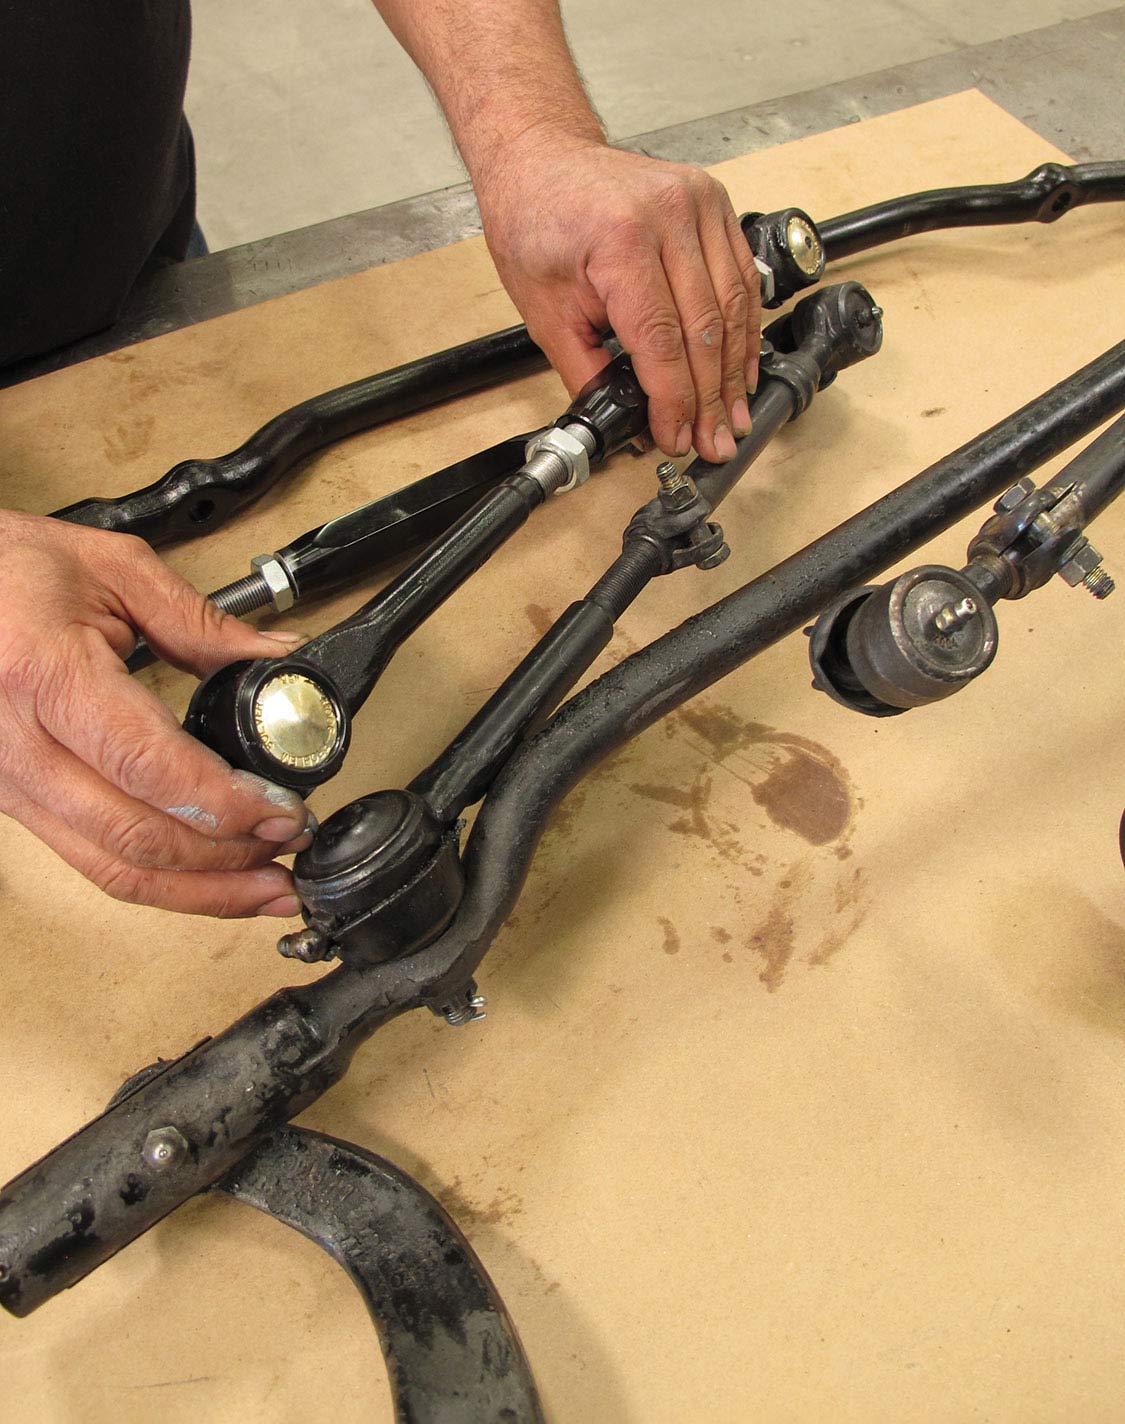
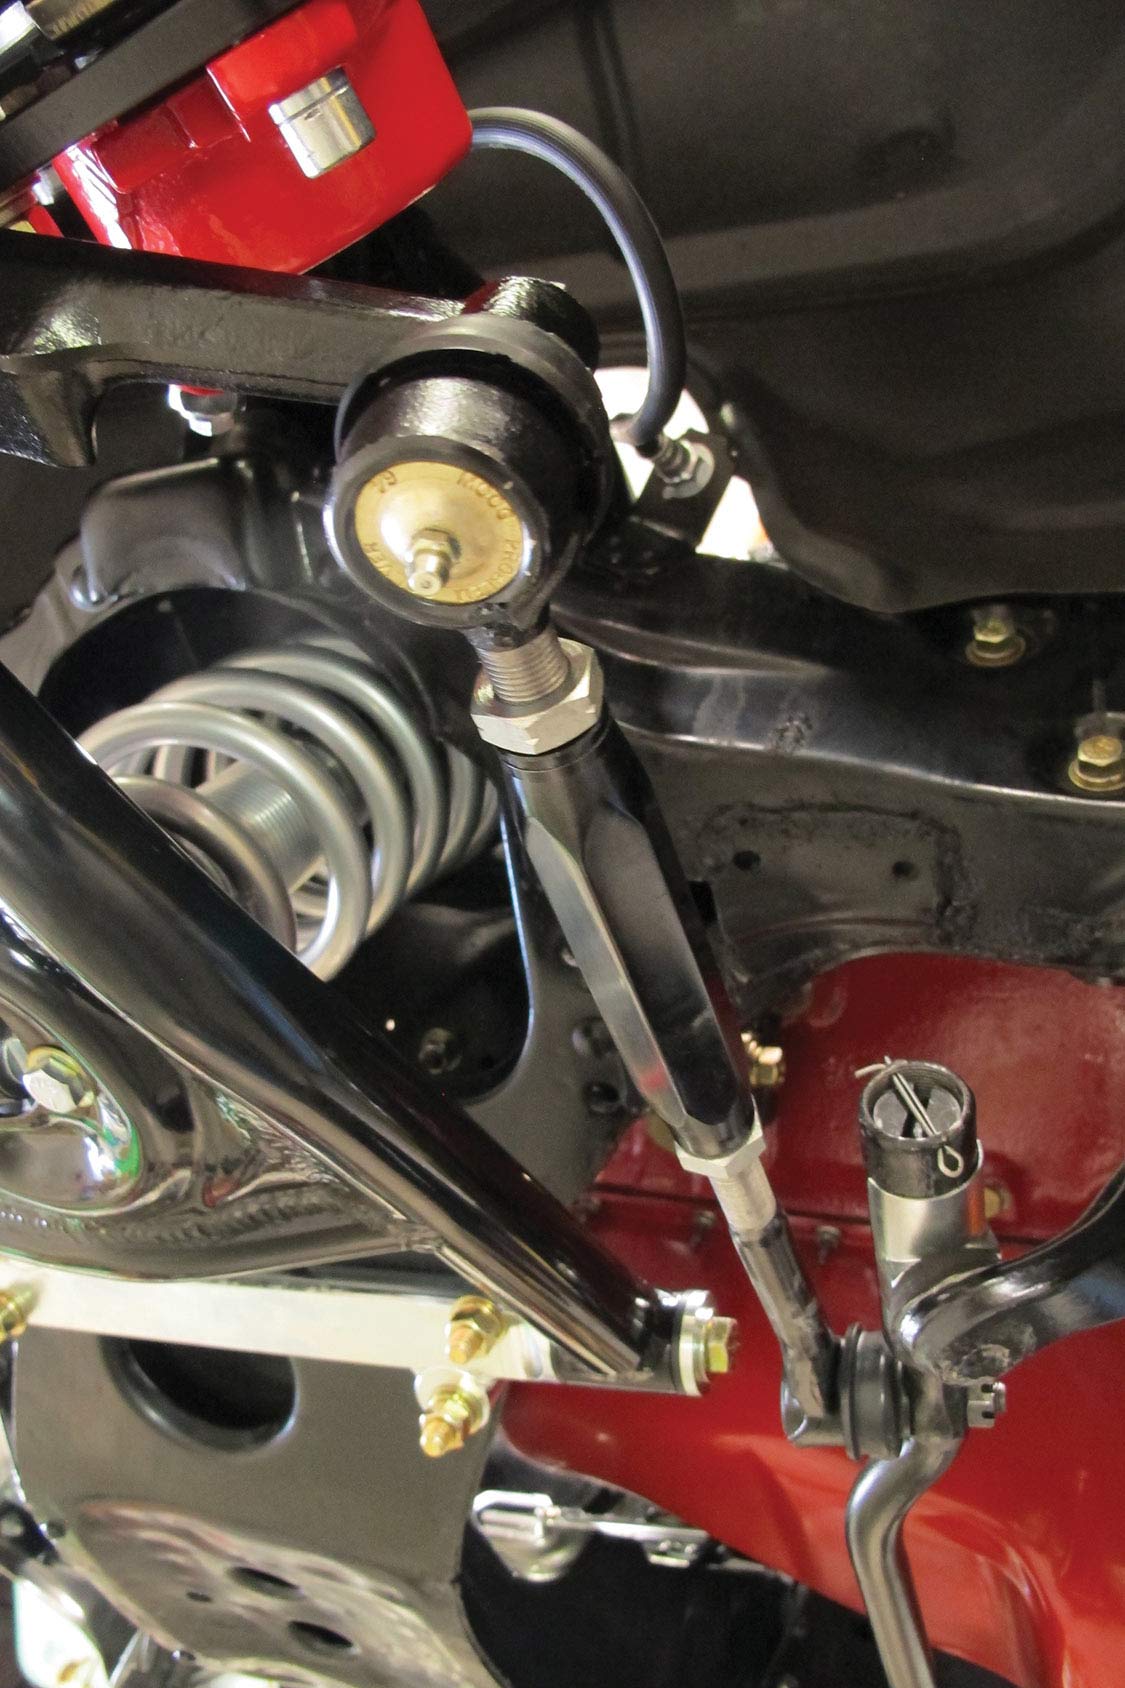
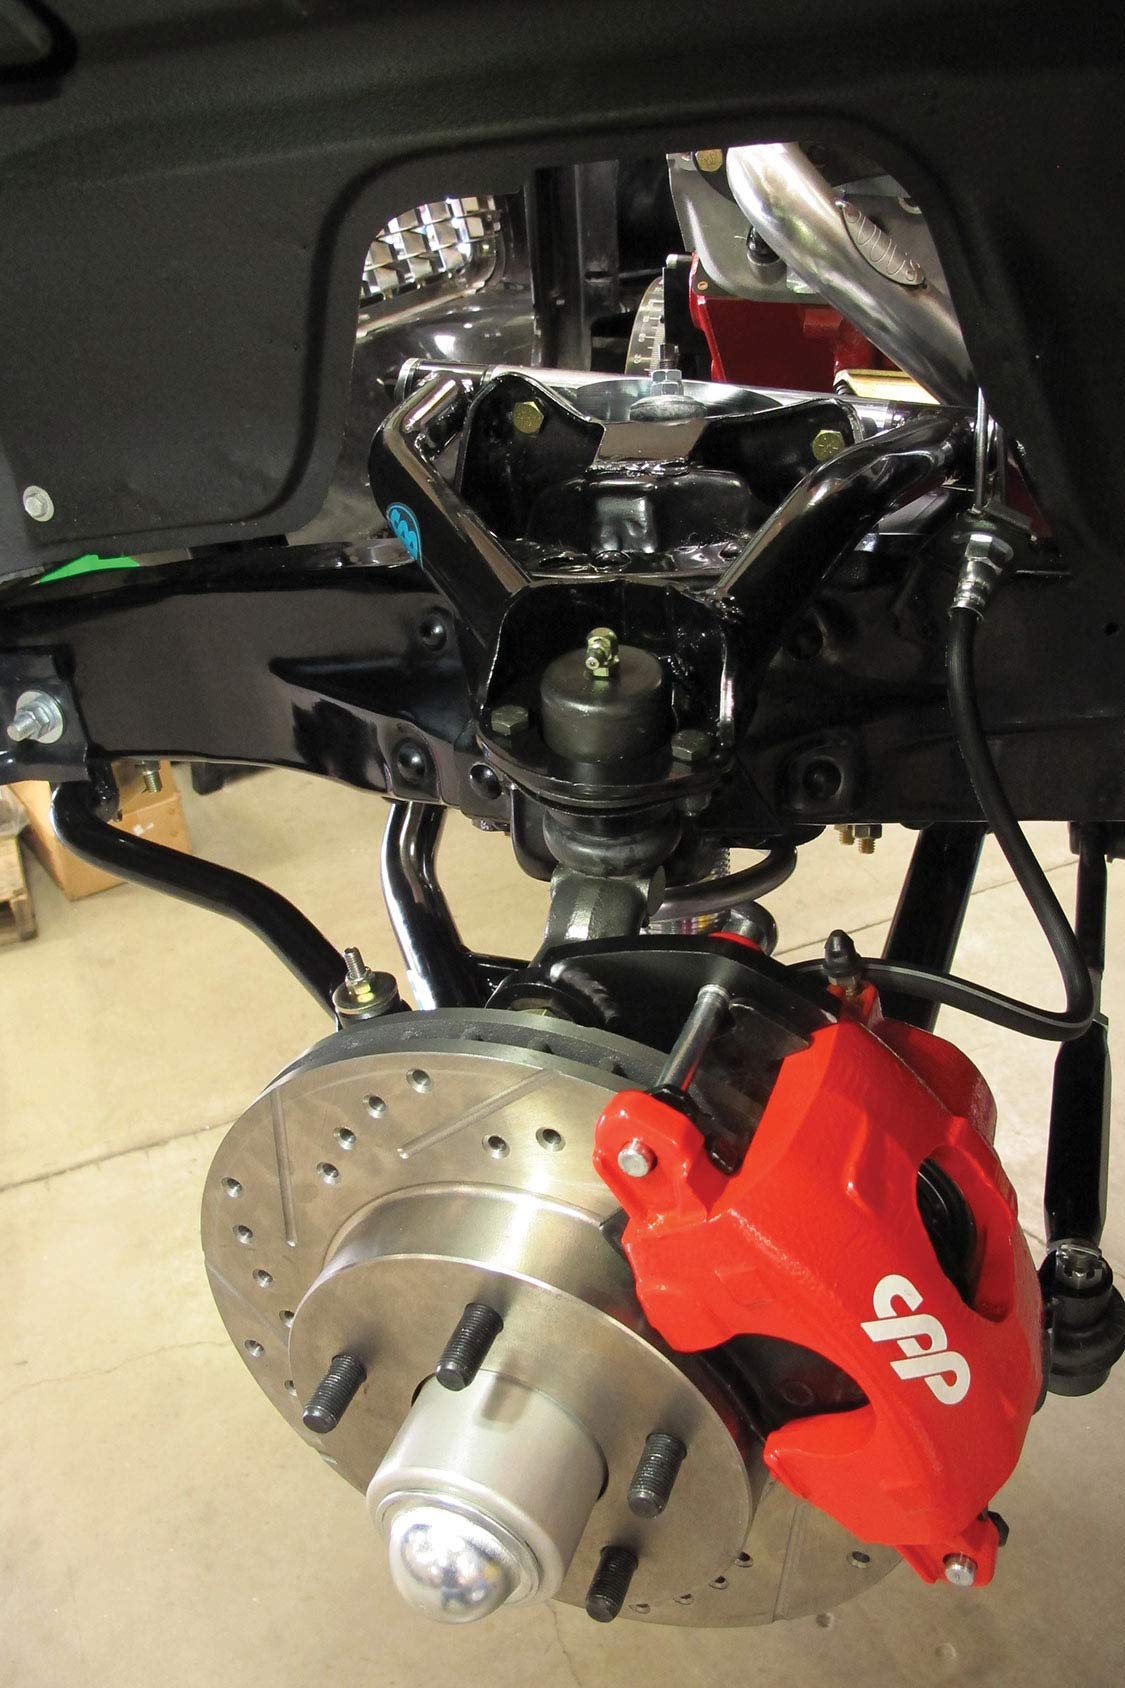
If you’re looking to make an upgrade and take your Tri-Five project to the next level, check CPP’s control arms and coil-overs plus brake kit. We provide the steps for the installation and show you how it’s done on a ‘55 Chevy Bel Air.


Classic Performance Produts
378 E. Orangethorpe Ave.,
Placentia, CA 92870
Classicperform.com

All Feature Vehicles
Speedway Motors Mustang II T-Bar Mock-up Kit Speedway’s new Mustang II T-bar mock-up kit is the perfect way to determine your vehicle’s final ride height… Continue reading
MAXIMUM DRIVE STAFF . May 25, 2022
All Feature Vehicles
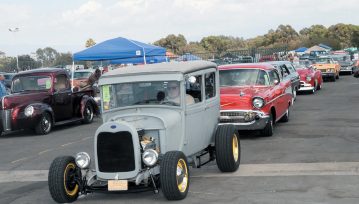
The 15th Annual Charity Car Cruise and Show There are many important car shows that take place around the country, and we’re lucky that one… Continue reading
Roger Rohrdanz . October 13, 2022
All Feature Vehicles
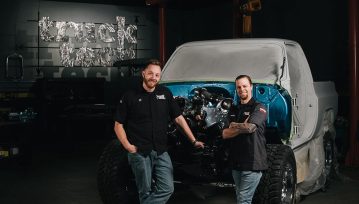
I’m a fan and regular viewer of PowerNation’s popular Truck Tech. Truck Tech gives viewers insight and information from the mechanic’s perspective. Their knowledge definitely… Continue reading
MICHAEL ECKERSON . February 03, 2023

All Feature Vehicles
The Accessible (Exotic) Supercar In the first half of 2014, after an absence of almost 20 years, the storied Alfa Romeo brand officially returns to… Continue reading
RICH TRUESDELL . May 25, 2022
All Feature Vehicles
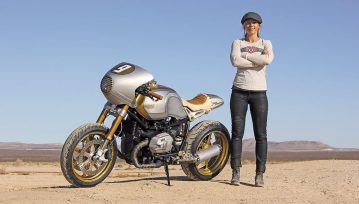
Jessi Combs: An Inspiration We’ll Never Forget On Aug. 27, 2019, we lost one of the most influential and endearing off-road automotive greats: Jessi Combs.… Continue reading
Mercedes Lilienthal . January 18, 2023

All Feature Vehicles
The legendary bluesman talks about the Tres Hombres album art and the inspiration of Mexican food You probably know the Reverend Billy F. Gibbons from… Continue reading
TOM GOMEZ . March 13, 2023


Classics With The Cardinals, Santa Barbara’s Premier Car Show
Bishop Diego High School - Football Field 4000 La Colina Rd
Goodguys 35th Speedway Motors Heartland Nationals Presented By FiTech Fuel Injection
Iowa State Fairgrounds 3000 East Grand Avenue, Des Moines, IA 50317
Goodguys 28th Summit Racing Nationals Presented By Grundy Insurance
Ohio Expo Center 717 East 17th Avenue, Columbus, OH 43211
Stray Angels Show & Shine
Stray Angels Show & Shine at Melrose Vineyards 885 Melqua Rd. Roseburg OR. 97471
43rd Annual Stray Angels Show & Shine
Melrose Vineyards, Roseburg, Oregon
We use cookies to enhance your browsing experience, serve personalized ads or content, and analyze our traffic. By clicking "Accept All", you consent to our use of cookies. Visit our Cookie Policy for more info.
 Please wait...
Share Link