 TOM GOMEZ
.
May 12, 2023
.
All Feature Vehicles
TOM GOMEZ
.
May 12, 2023
.
All Feature Vehicles
One of the best ways to customize your late model vehicle is to change the factory interior and exterior surfaces using a vinyl wrap. Changing the stock trim to an updated style personalizes the look of any vehicle.
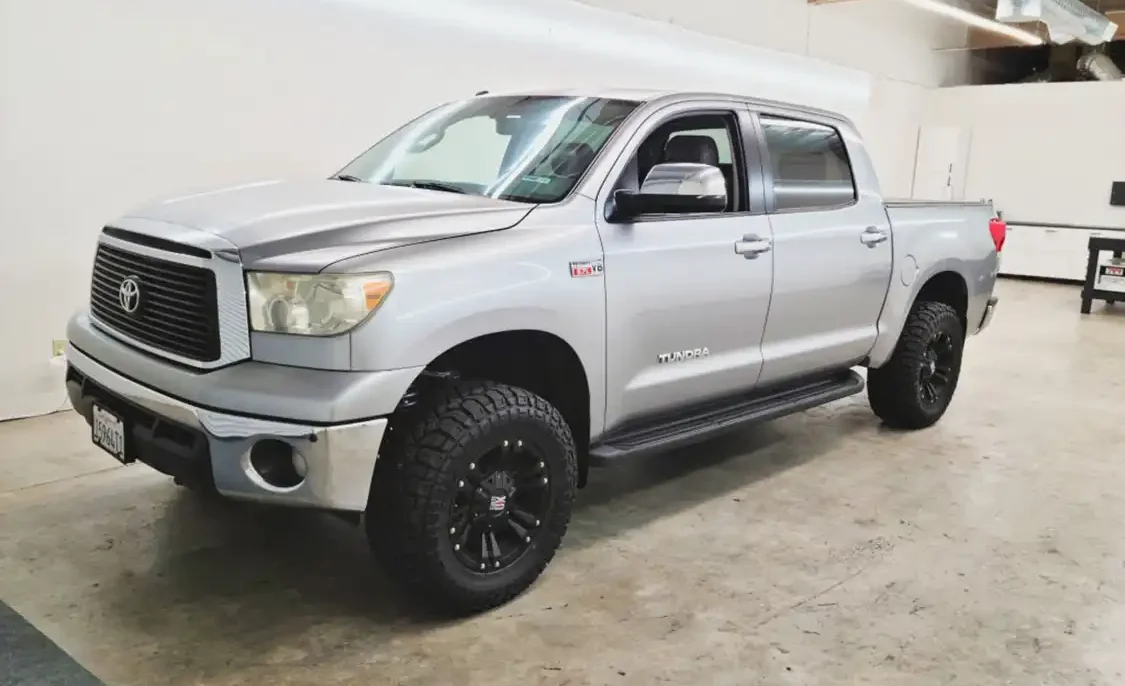
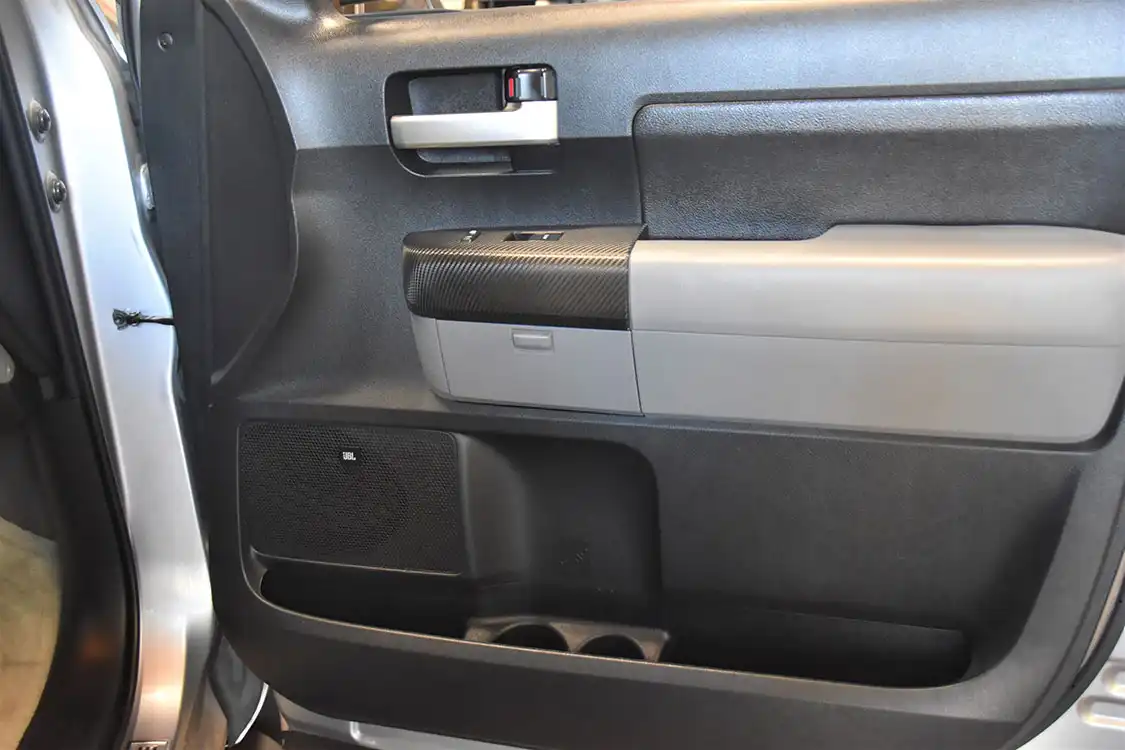
To demonstrate the ease with which you can achieve this style upgrade we took a 2010 Toyota Tundra Platinum Edition and changed the factory simulated wood trim on the dash and door panels.
There are many articles and videos on how to vinyl wrap a vehicle to change the vehicle’s exterior. We wanted to show you how quick changes to common interior finishes add a dramatic style change and make your ride less factory… and more you.


We contacted Miguel at 805 Wraps located in Ventura, California and showed him our Tundra’s outdated faux wood accents. He took one look and said “No problem, what do you want to change it to?” He pulled out a huge key ring of sample styles to choose from. Wow, with so many choices we are going to have a hard time picking just one!
Back in the ‘80s when wrapping surfaces with vinyl began to be an option, it was limited to basic primary colors but today the choices are almost endless. With finish options that range from gloss to a flat matte style, all the way up to a color-changing chameleon wrap – in case you didn’t want to settle for just one color.
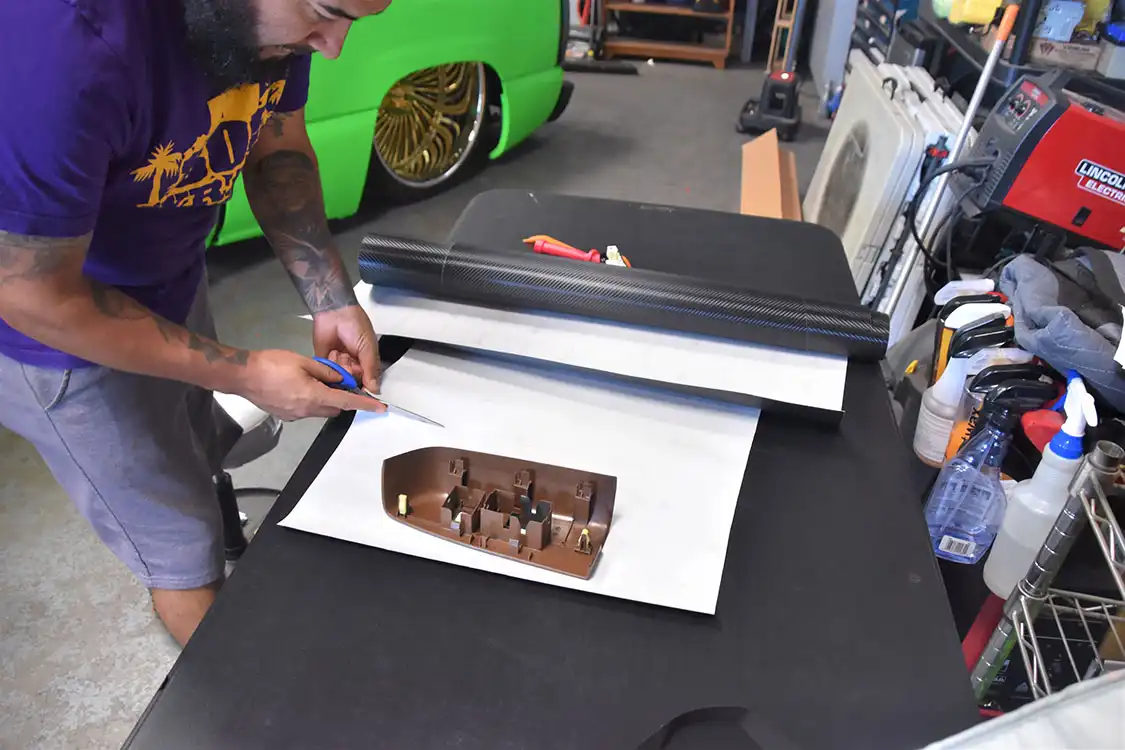
With so many choices it was difficult to choose but when Miguel showed us a carbon fiber-style wrap we thought it would look perfect on all the door panels of the Tundra. Sweet! Let’s do it!
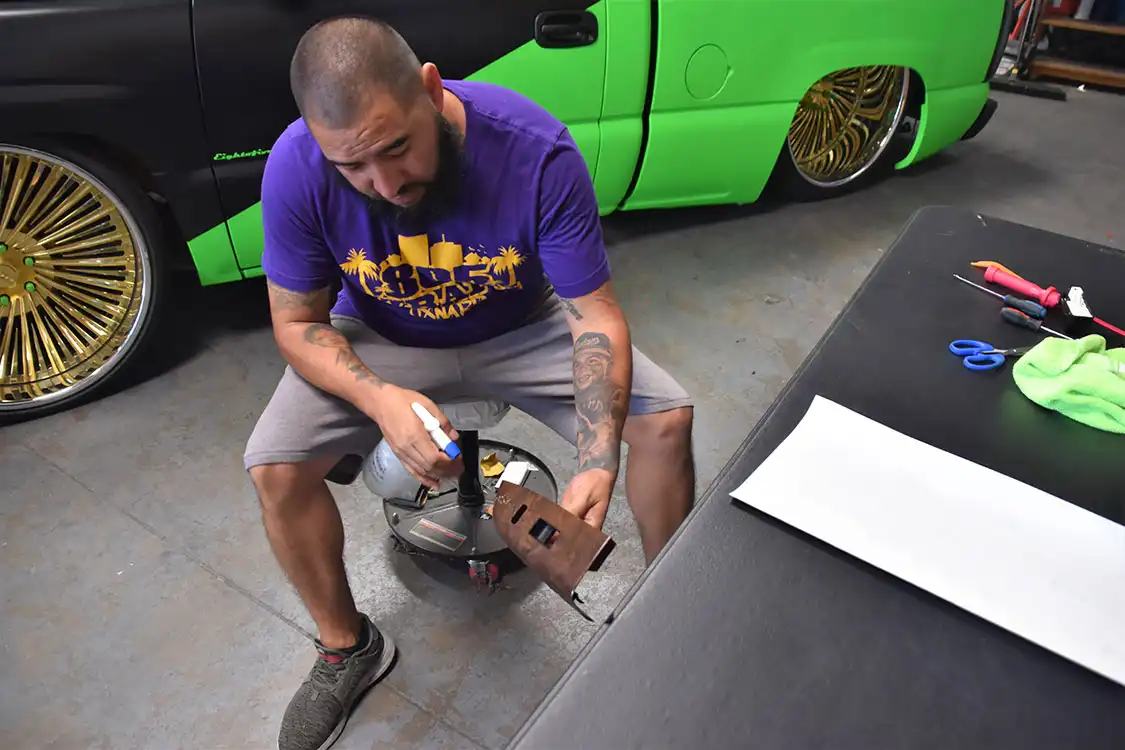
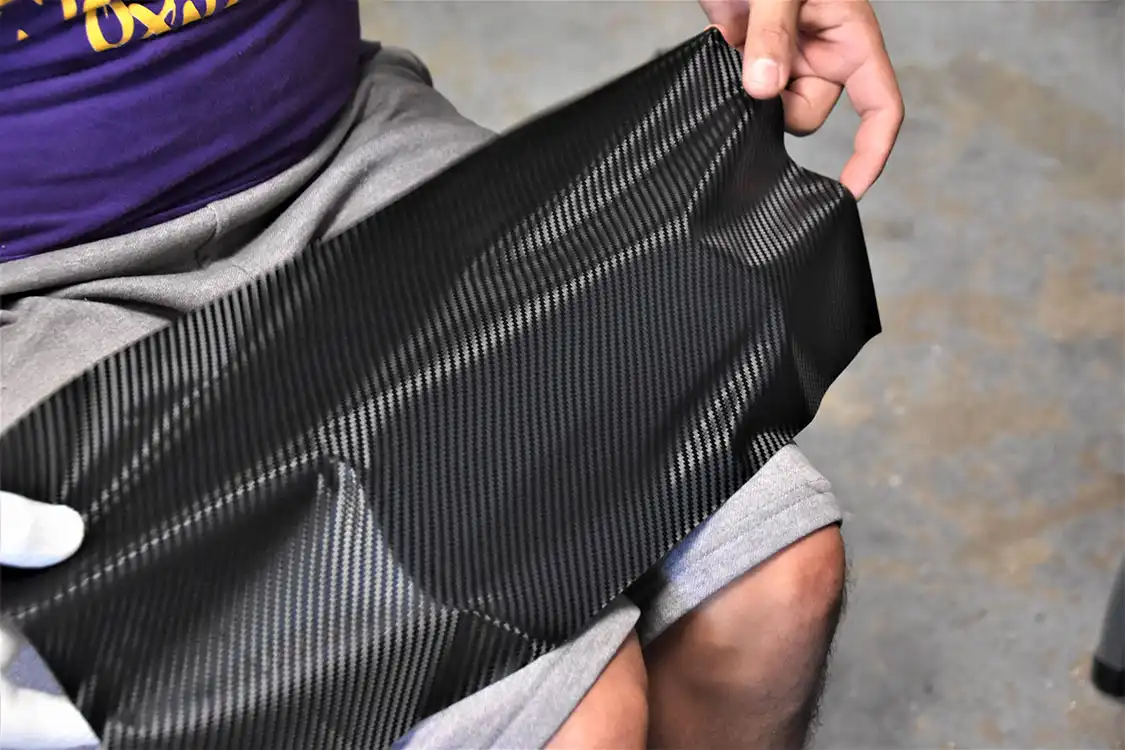
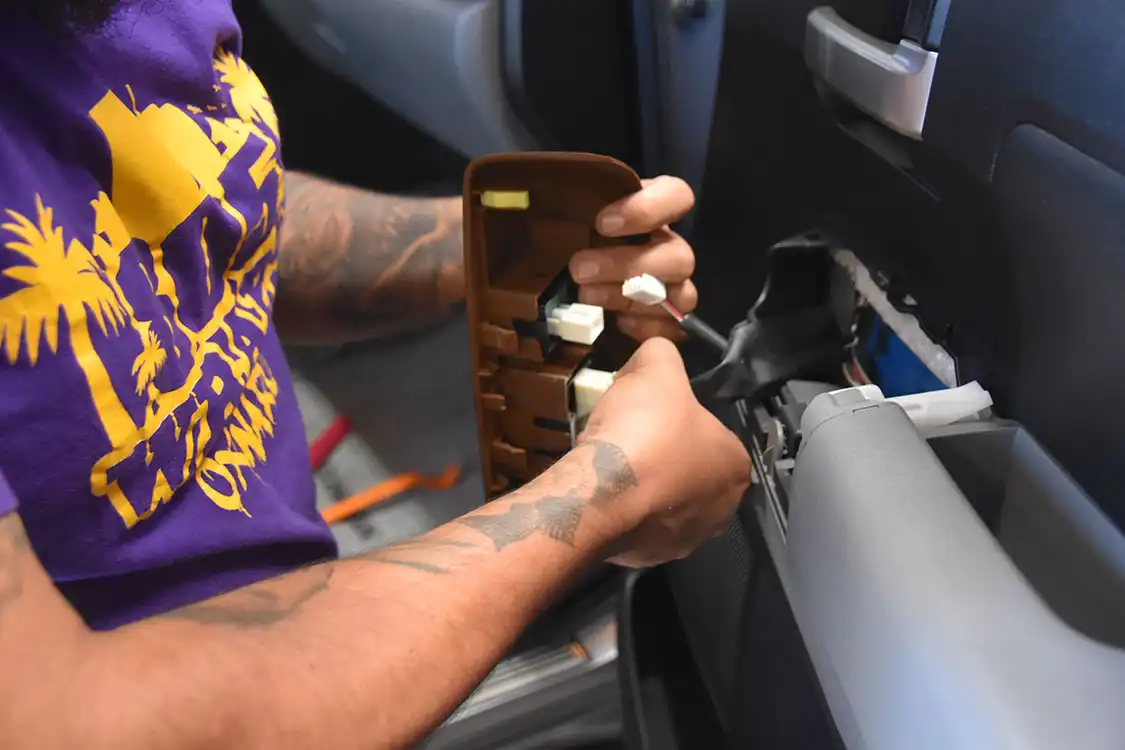
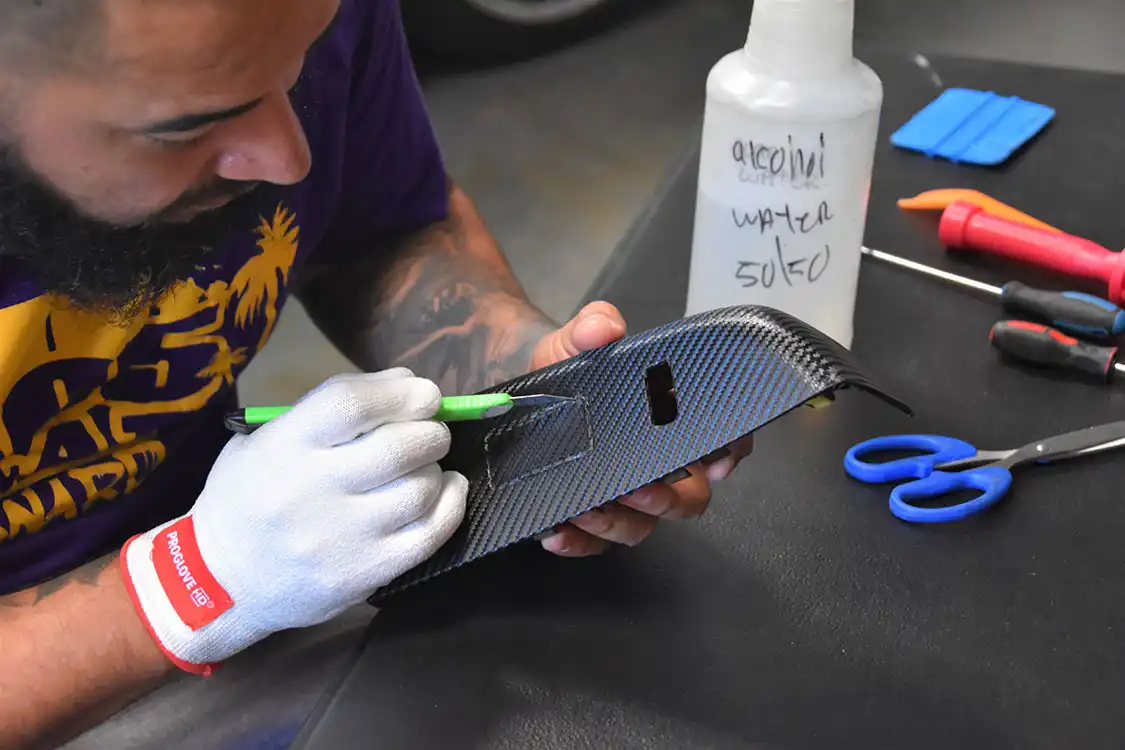
Within minutes Miguel had the armrests removed and he was prepping each of them by wiping down the surfaces with a 50% Isopropyl alcohol/water mix to remove any dirt or oil so the vinyl wrap adheres to the faux wood finish armrests.
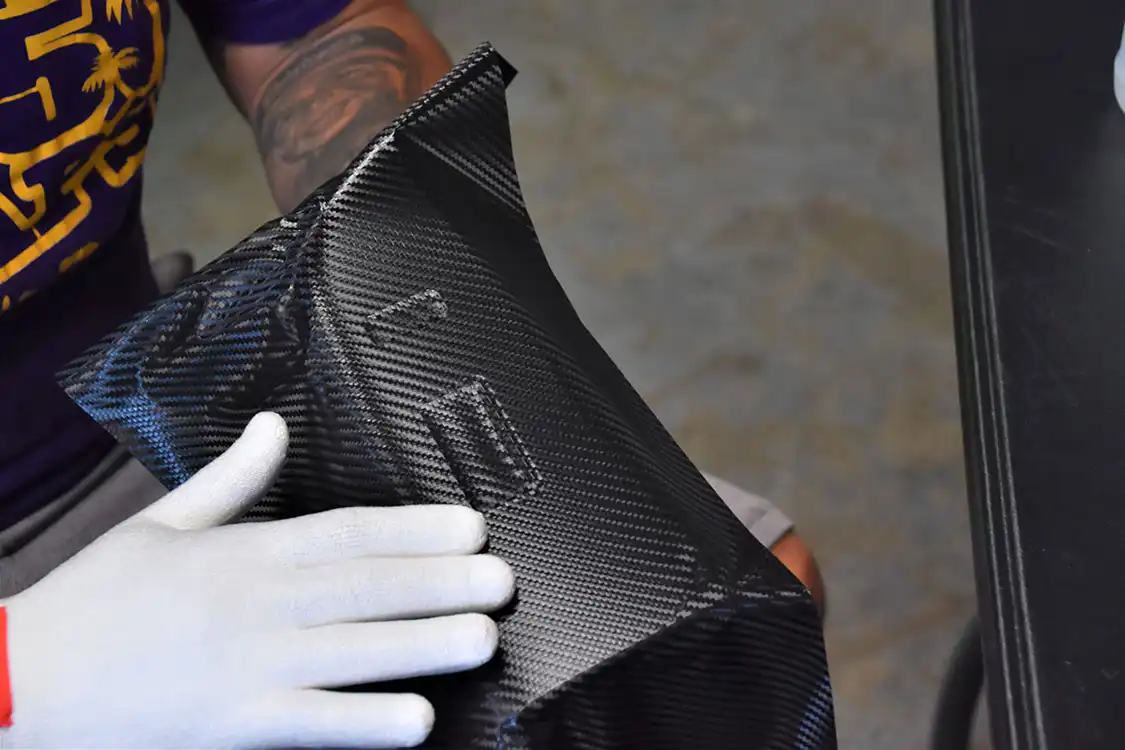
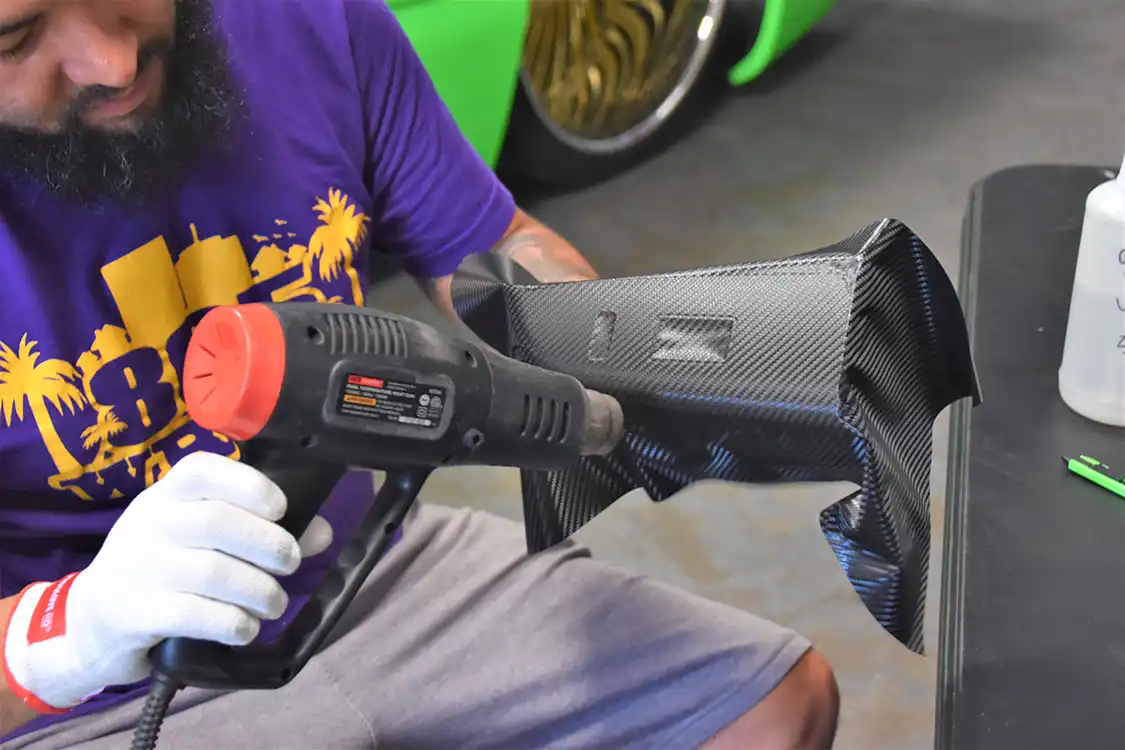
Once the surfaces were clean it was time to fit the carbon fiber wrap. The first thing was to stretch the fabric over the armrest and basically start molding it around all the curves and the areas where the switches would go. With a little help from a heat gun the fabric bonded tight to the armrest. This is where experience and technique come into play. Knowing how much to stretch the wrap and how much heat is applied to the certain areas that you are working on so there isn’t too much distortion to the vinyl and you achieve good adhesion. Miguel made it look easy.
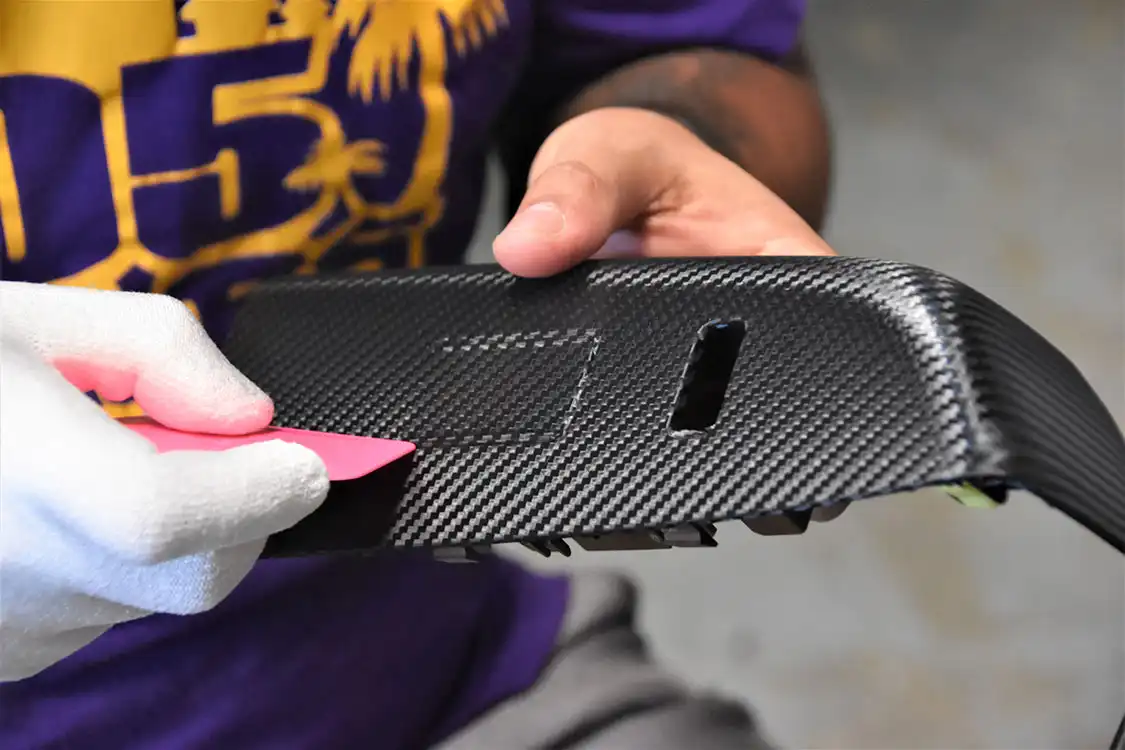
Once the armrest was wrapped, Miguel used an X-acto knife to carefully trim all the excess material and cut out the areas where the window and door lock switches would be. A quick once-over with a heat gun and the former boring, fake wood trim armrest was now a bitchin’ looking carbon fiber finish piece.

Miguel repeated the process on the rest of the doors and within an hour our fake wood-trimmed armrests were a thing of the past. We didn’t have Miguel do the same treatment to the dash because of our limited time and budget but just changing the armrests made a huge difference in the way the interior looked.
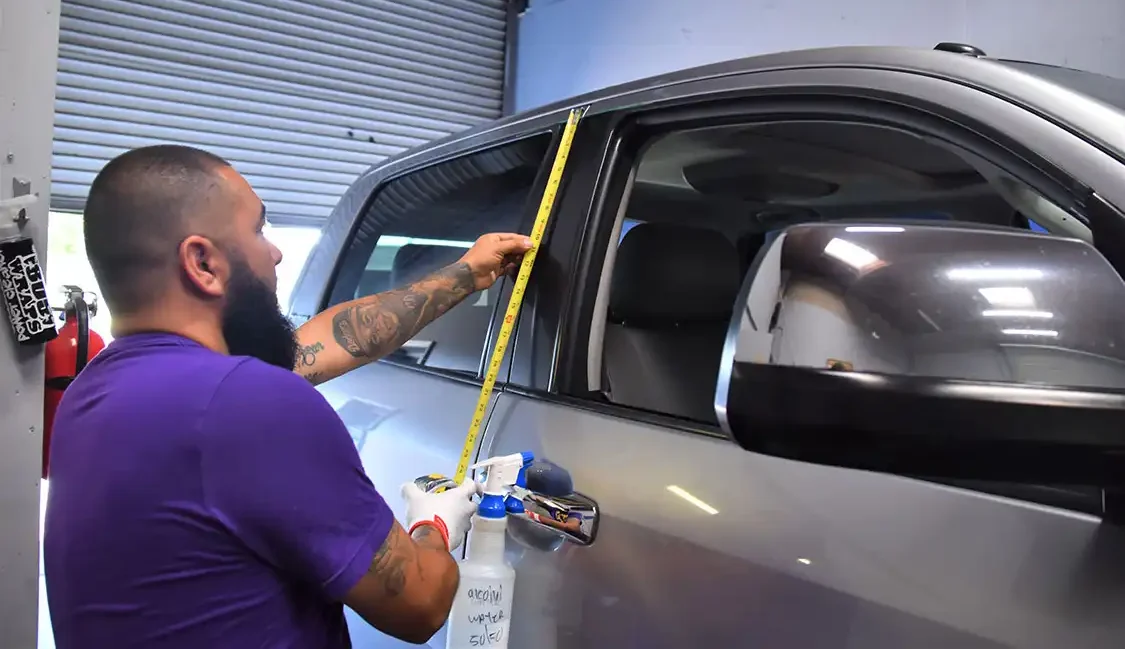
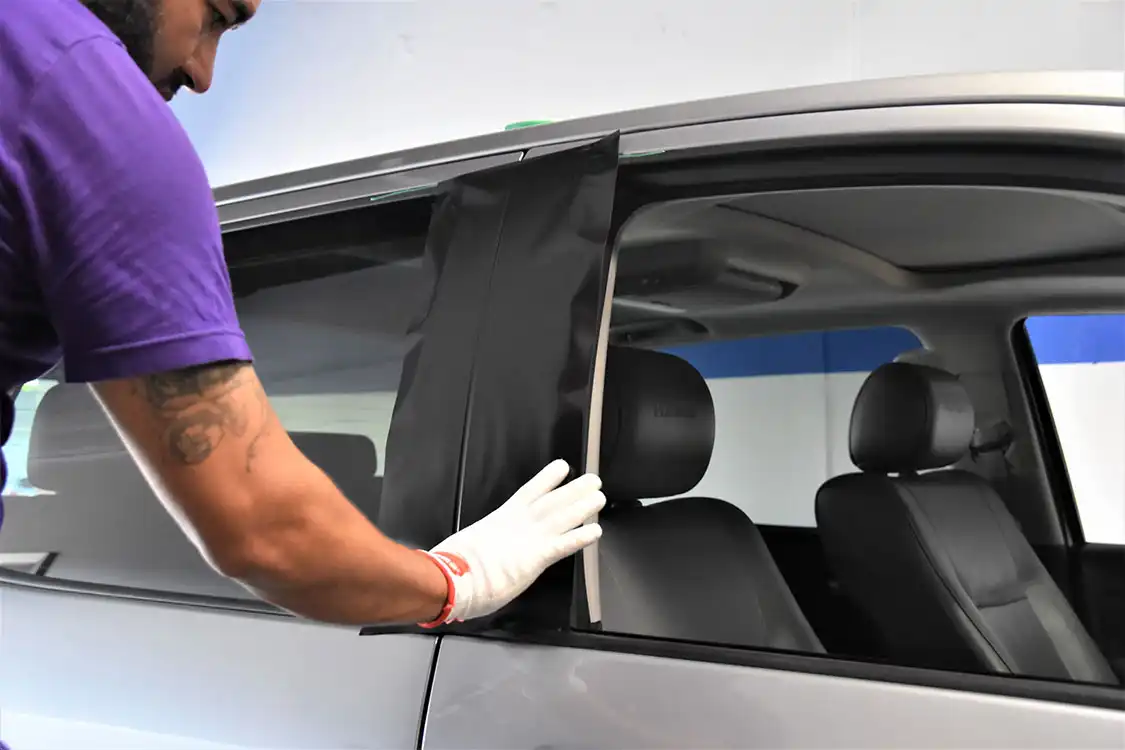
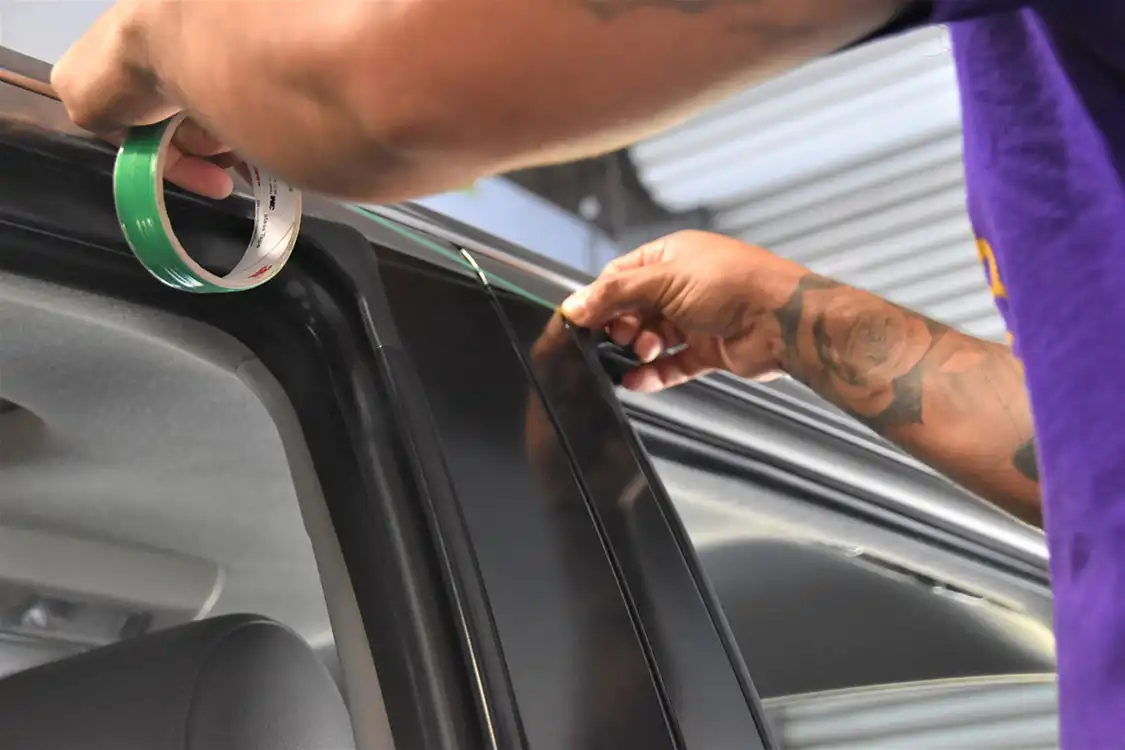
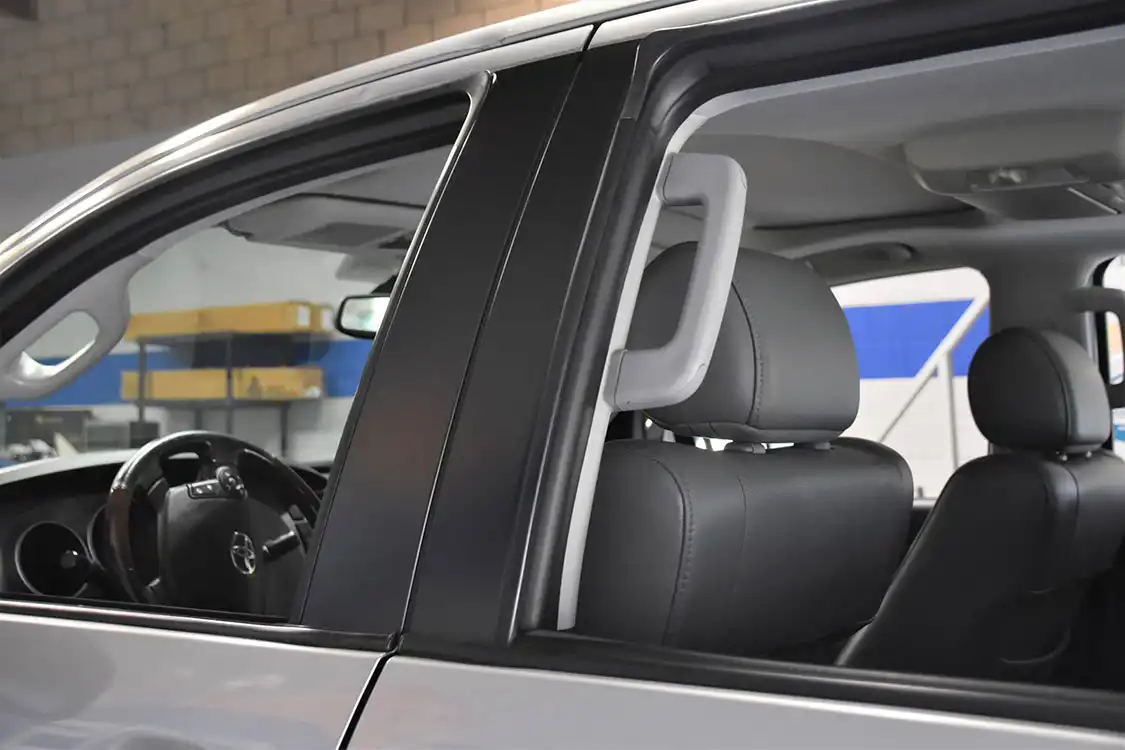
Miguel’s keen eye spotted our worn and scratched side window pillars which came from the factory in black. Miguel recommended applying a new swatch of black vinyl so it covered the old, scratched pillars. He said he could have it done in about 30-minutes. True to his word, he transformed the old faded black window side pillars into ones that looked brand new! Good job, Miguel!
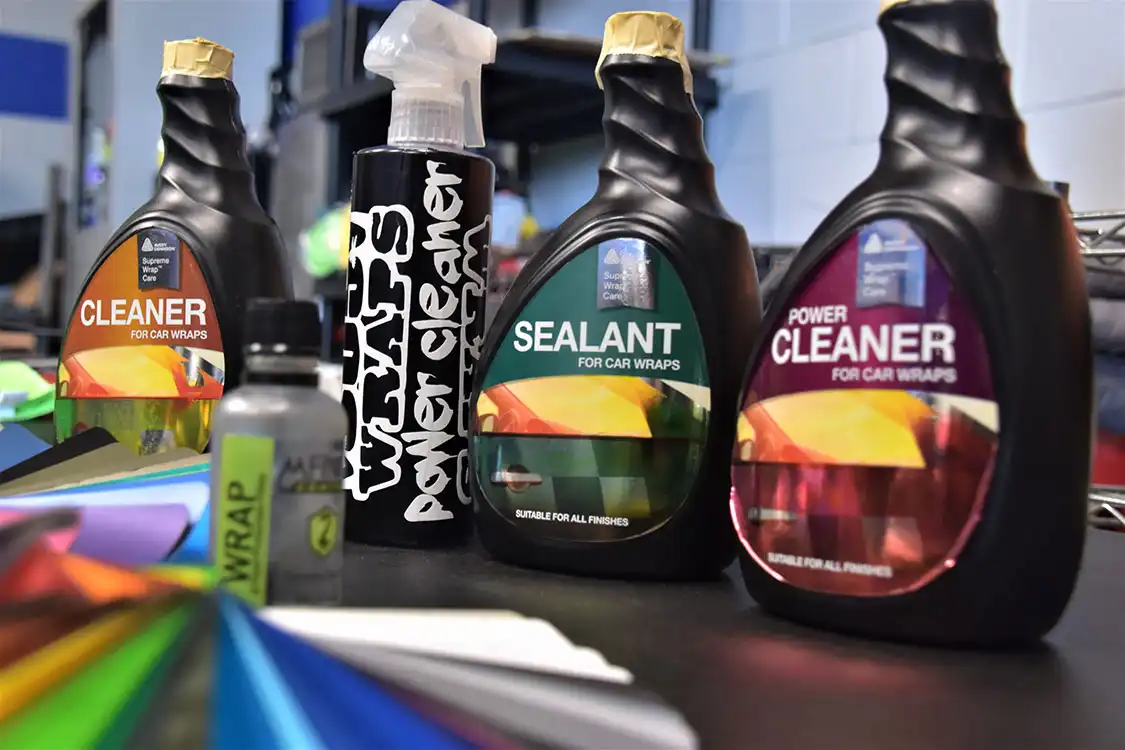
Once everything was done and looking spiffy, we asked Miguel if there is a special way to take care of your vinyl wrap and he said there was. Avery Dennison is one top-brand that manufactures an assortment of products made specifically for the care of vinyl wraps. Miguel advised us if you do normal care of your vehicle and use these products as directed on the bottle. With proper care, your wrap will last 3-4 years before needing a makeover.
The interior and exterior vinyl wrap treatments made this OG Tundra look better than new. Our Tundra looked very stylish with its new carbon fiber armrests and window pillars. We said goodbye and thank you to Miguel.
As we sped off we played “Wrap it Up” by the Fabulous Thunderbirds. Seemed appropriate.
If you’re in the Ventura / Oxnard, California area give Miguel a call and see what he can wrap for you.

805 Wraps
Miguel Ochoa
INSTAGRAM / @EightOFiveWraps
EMAIL: info@eightOfivewraps.com
WEBSITE: eightOfivewraps.COM
PHONE: 805-814-5416
ADDRESS:
805 Wraps
6353 Ventura Blvd., Unit 41
Ventura CA 93003

All Feature Vehicles
Surf City Veterans Car Show This year Veterans Day fell on a Tuesday, November 11th, so the Surf City Veterans Car Show was held on… Continue reading
Drive Staff . October 16, 2022
All Feature Vehicles
Traditional Hot Rod Style won’t die or fade away in the Suede Palace It was really good to see how young people at the GNRS… Continue reading
Richard Parks . December 23, 2022

All Feature Vehicles
The racing season began at the Auto Club Raceway at Pomona, CA in February and after 24 races over a 10-month time span the championship… Continue reading
Roger Rohrdanz . October 18, 2022
All Feature Vehicles
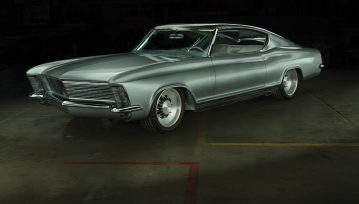
Marcy Molkenthen’s 1963 Buick Riviera X-11 While she was vending at a car show, Marcy Molkenthen spent all weekend staring at the 1963 Riviera parked… Continue reading
ALAN GALBRAITH . February 14, 2023

All Feature Vehicles
AXC Engine Start Event 2013 The Alex Xydias Center for Automotive Arts (AXC) is in its third year of operation and has surpassed all expectations.… Continue reading
PETE CHAPOURIS . September 26, 2022
All Feature Vehicles
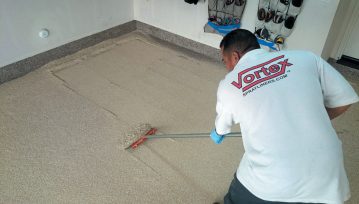
Going country with vortex Everyone is familiar with spray-on liner for a truck bed, but you can get products from companies like Vortex Sprayliners, Inc.… Continue reading
Drive Staff . October 12, 2022


Park & Recreation
Broussard, LA
Park & Recreation
Broussard, LA
Goodguys 1st BASF Legends Of Hot Rodding
Nashville Fairgrounds 401 Wingrove Street Nashville, TN 37203
High Tides & Low Rides
High Tides & Low Rides Winchester Bay, Oregon
Goodguys 26th LMC Truck Southeastern Nationals
Georgia National Fairgrounds & Agriculture Center 401 Larry Walker Parkway, Perry, GA 31069
 Please wait...
Share Link