 Tucker Harris
.
April 02, 2024
.
Diesel World
Tucker Harris
.
April 02, 2024
.
Diesel World
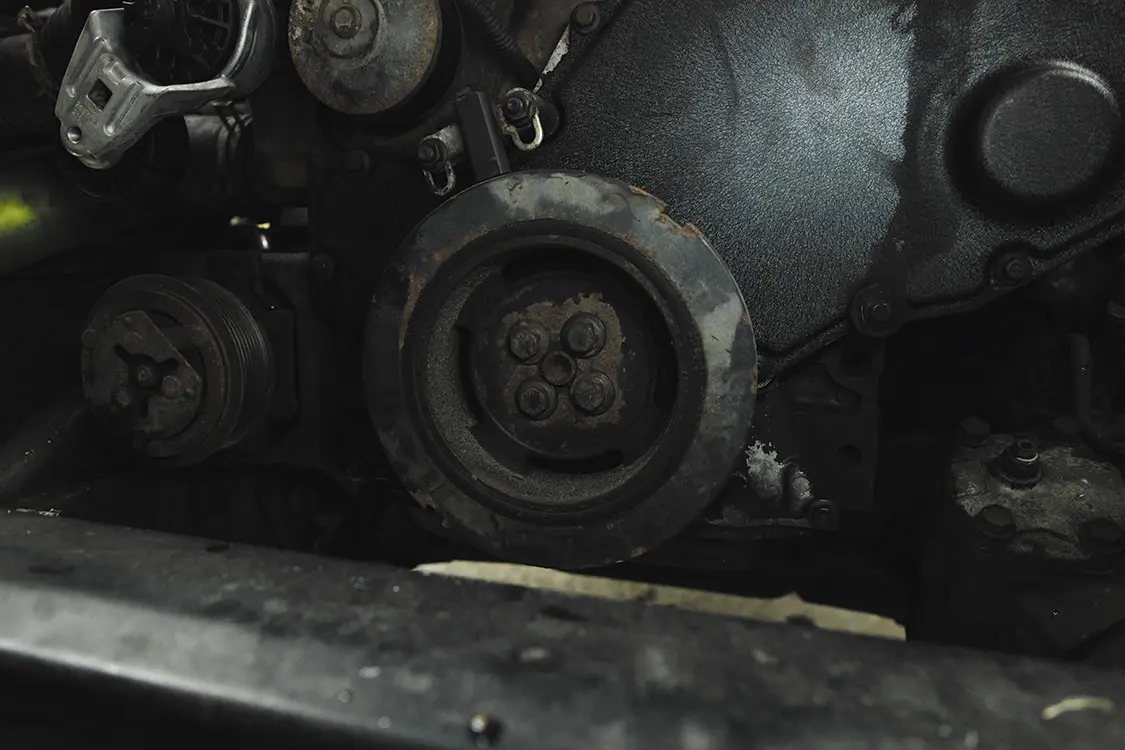
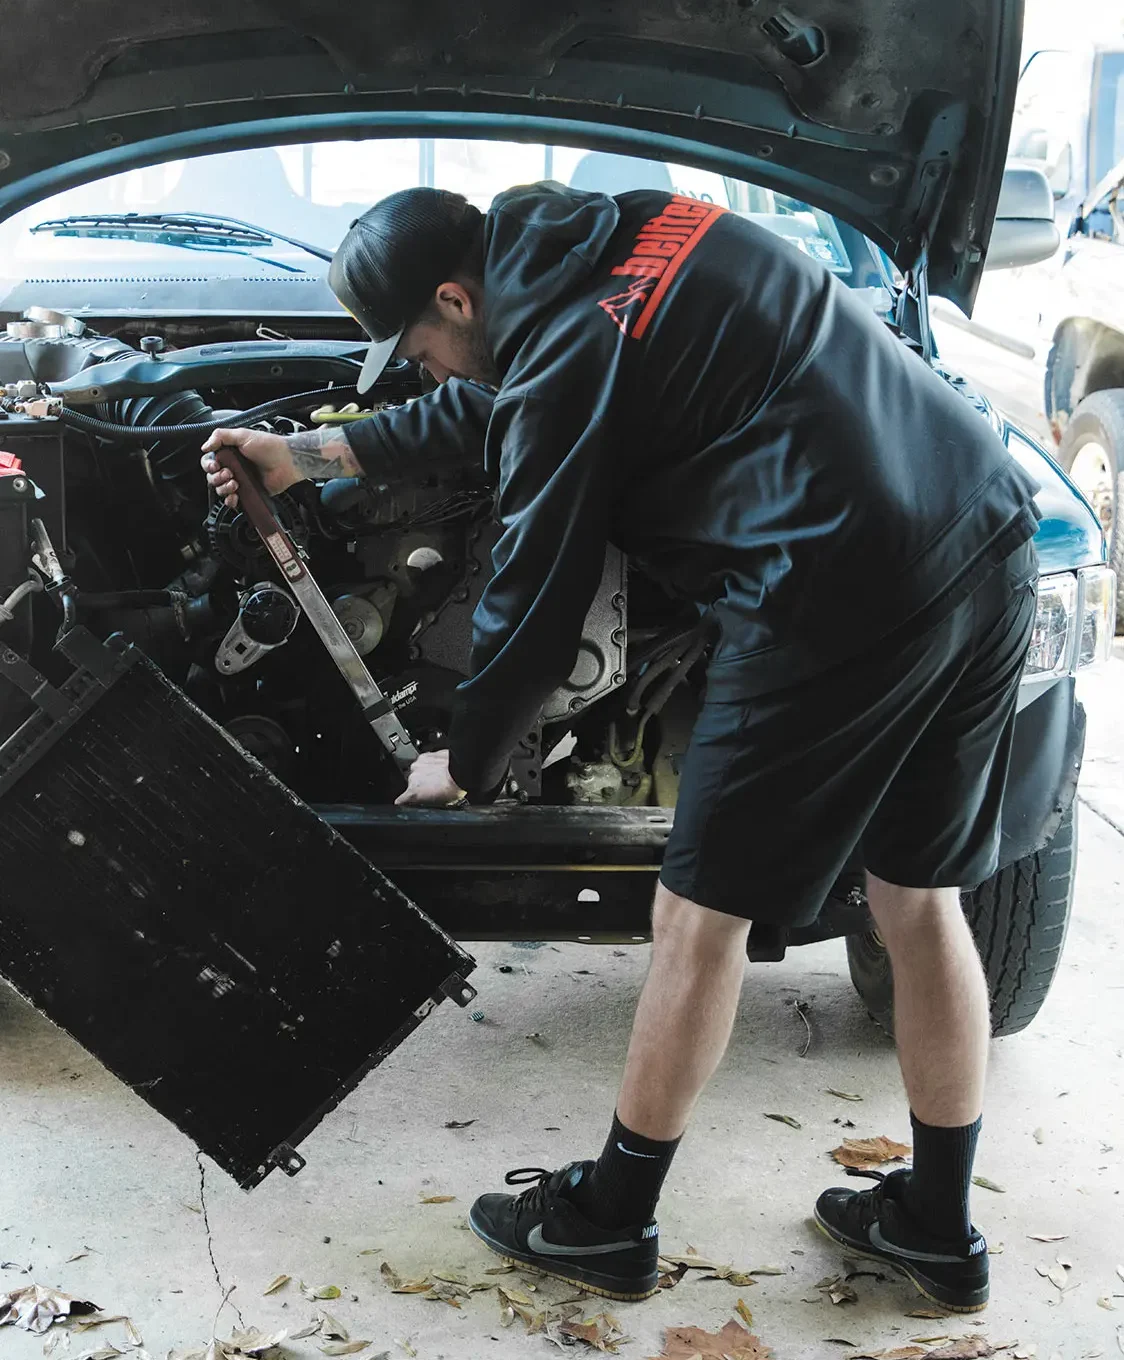
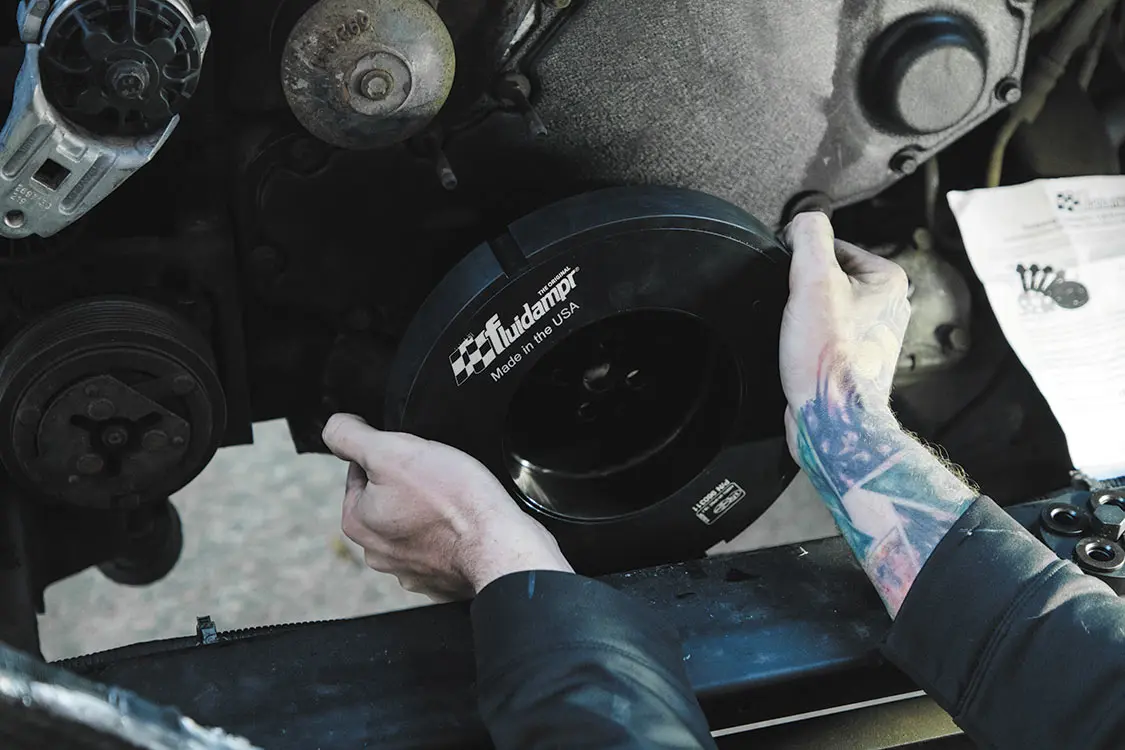
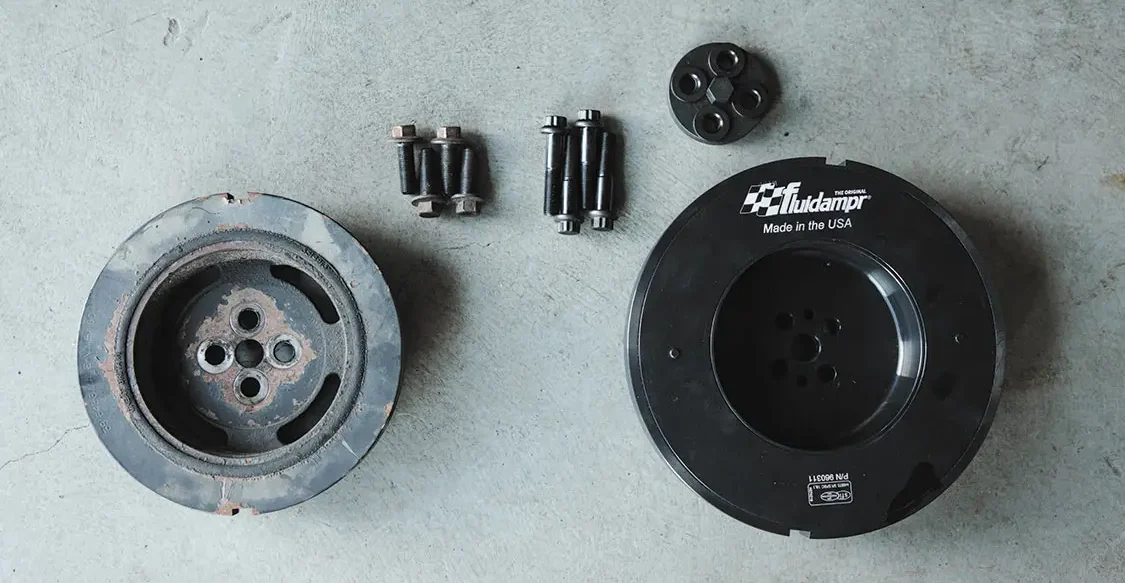
If you’ve been following along the past few months, we’ve been in a mad rush to get our Stock To Not 12-valve Cummins project going as quickly as possible. We’ve upgraded everything on this engine to make it support our 700hp goal and then some, but there’s one piece that we’ve been wanting to do, but haven’t yet—replacing the truck’s stock harmonic balancer. Cue Nick from Fluidampr to save the day.
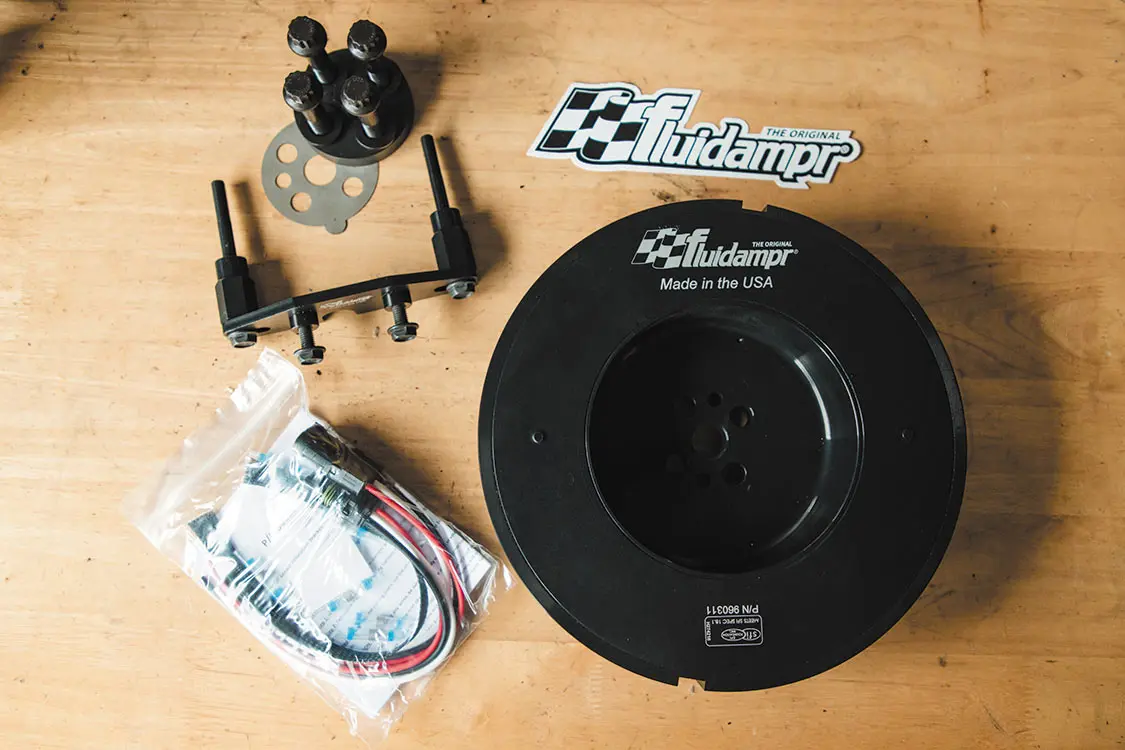
Today we’re going to install a diesel performance Fluidampr kit on our RAM! These dampers never need to be rebuilt or retuned, as it self-tunes in real time to the harmonics of the engine throughout the entire RPM range. It’s built to last the life of the engine and is also a SFI-certified product that is made in the USA.
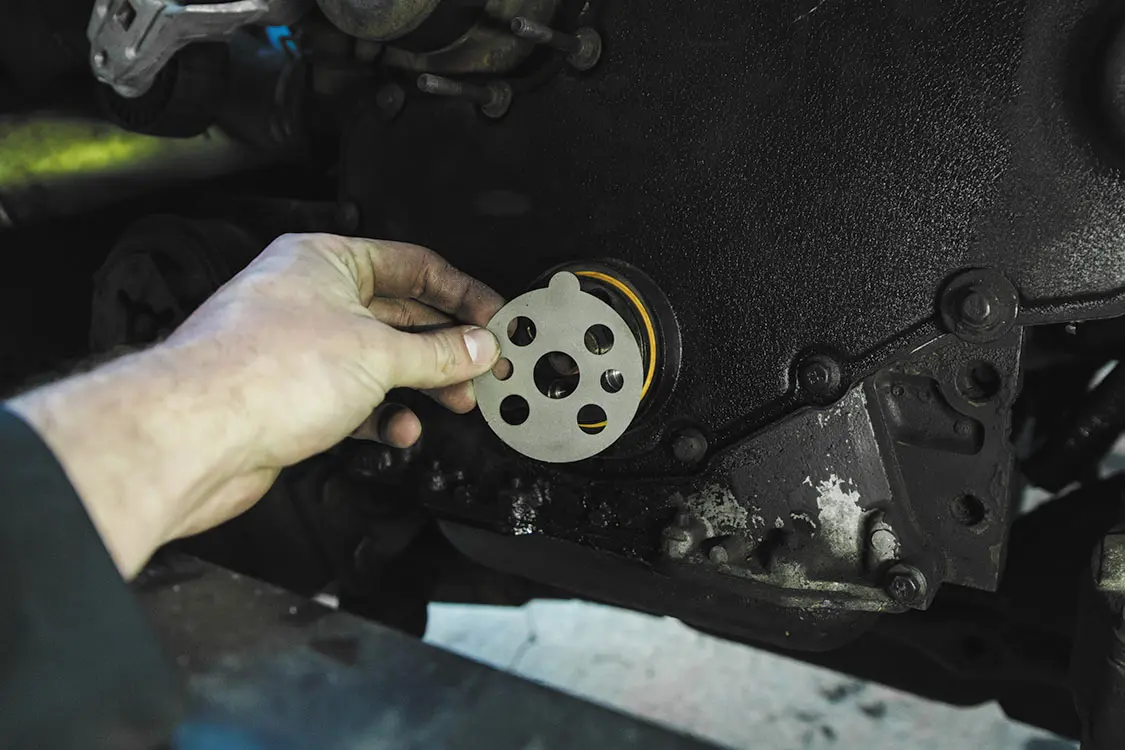
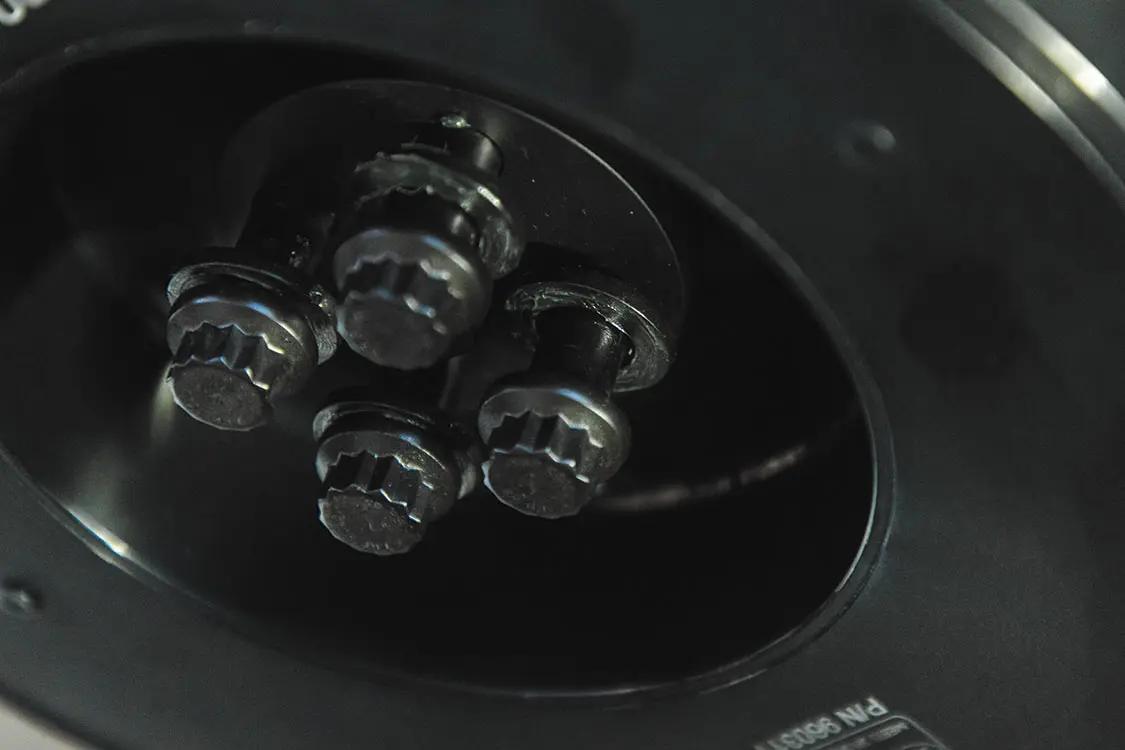
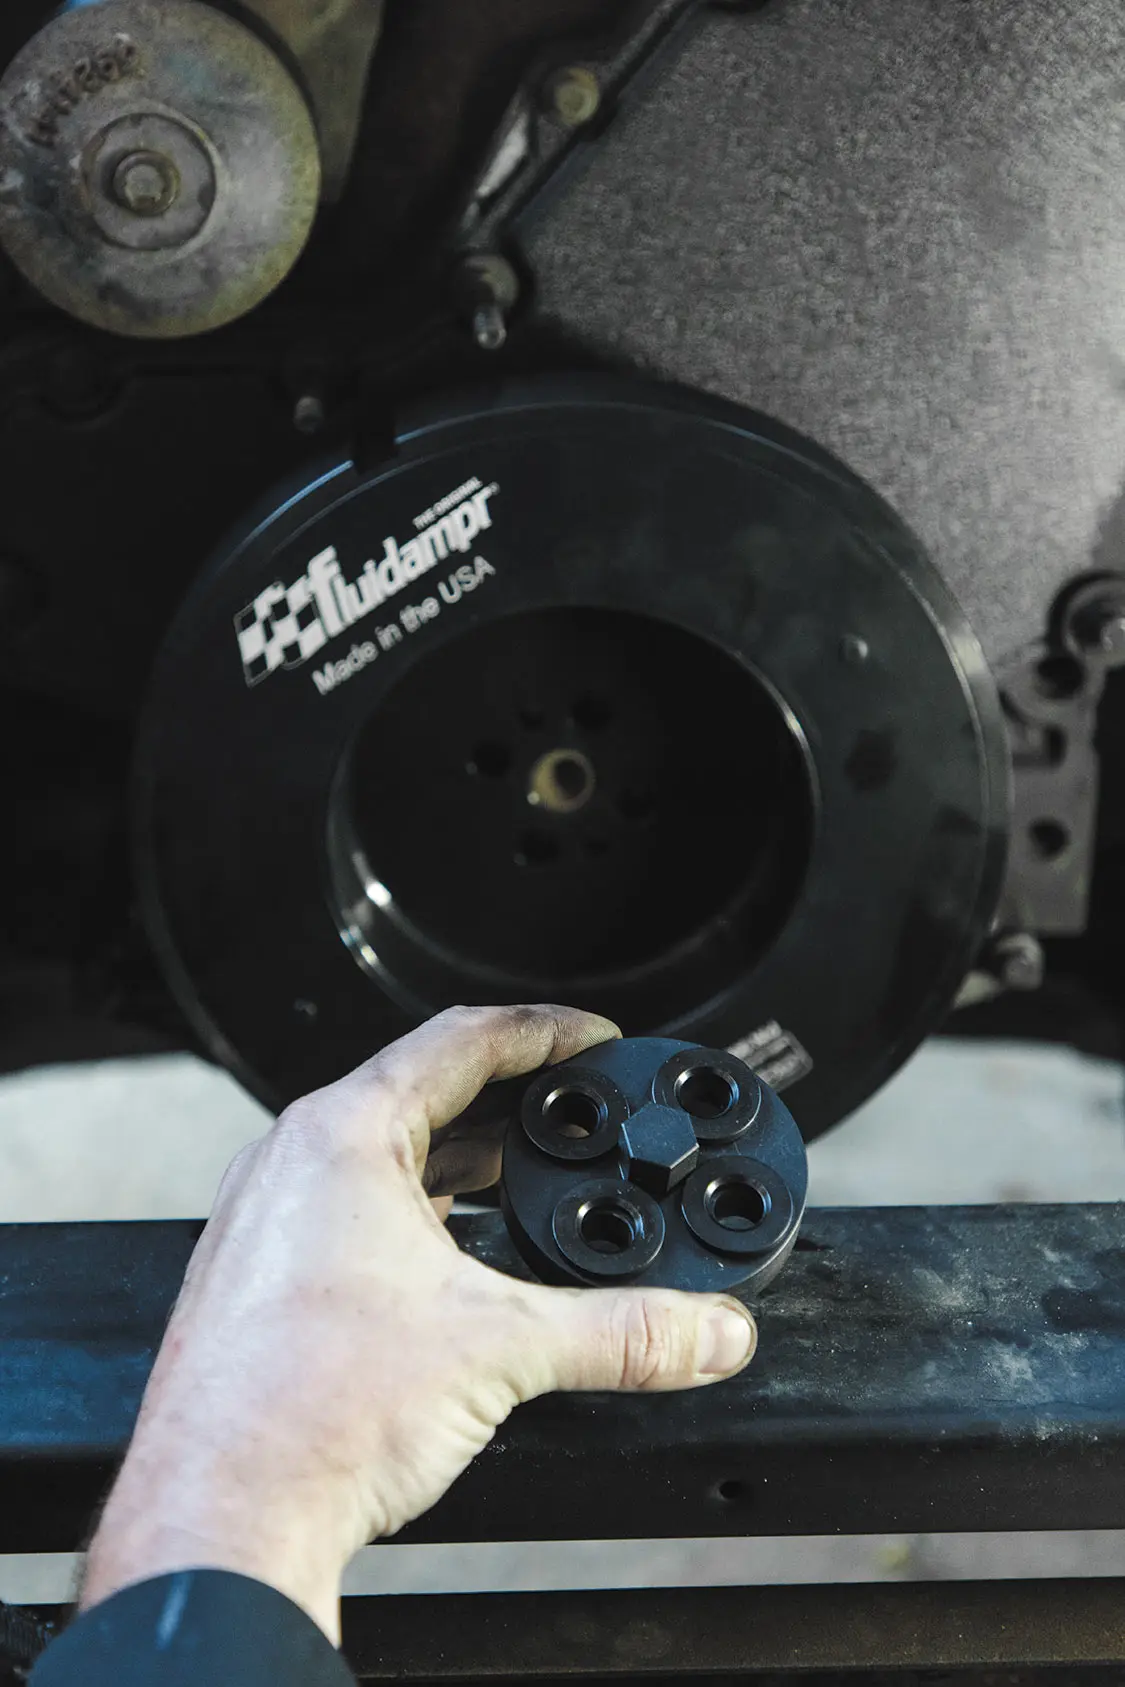
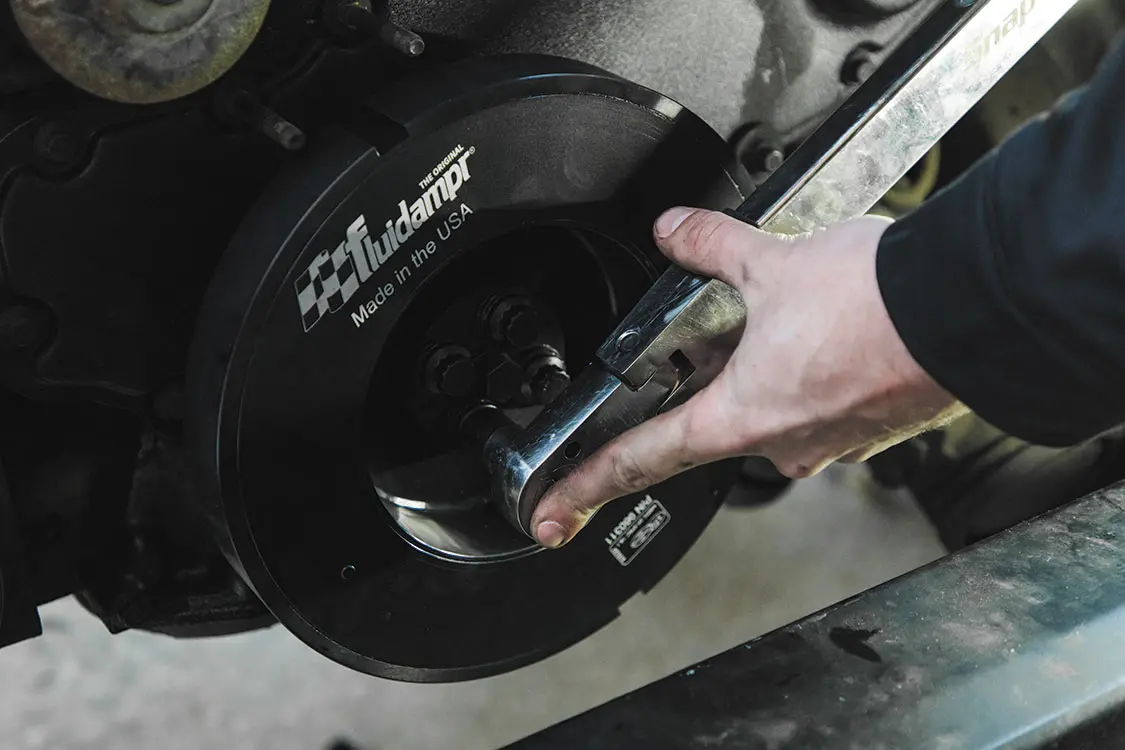
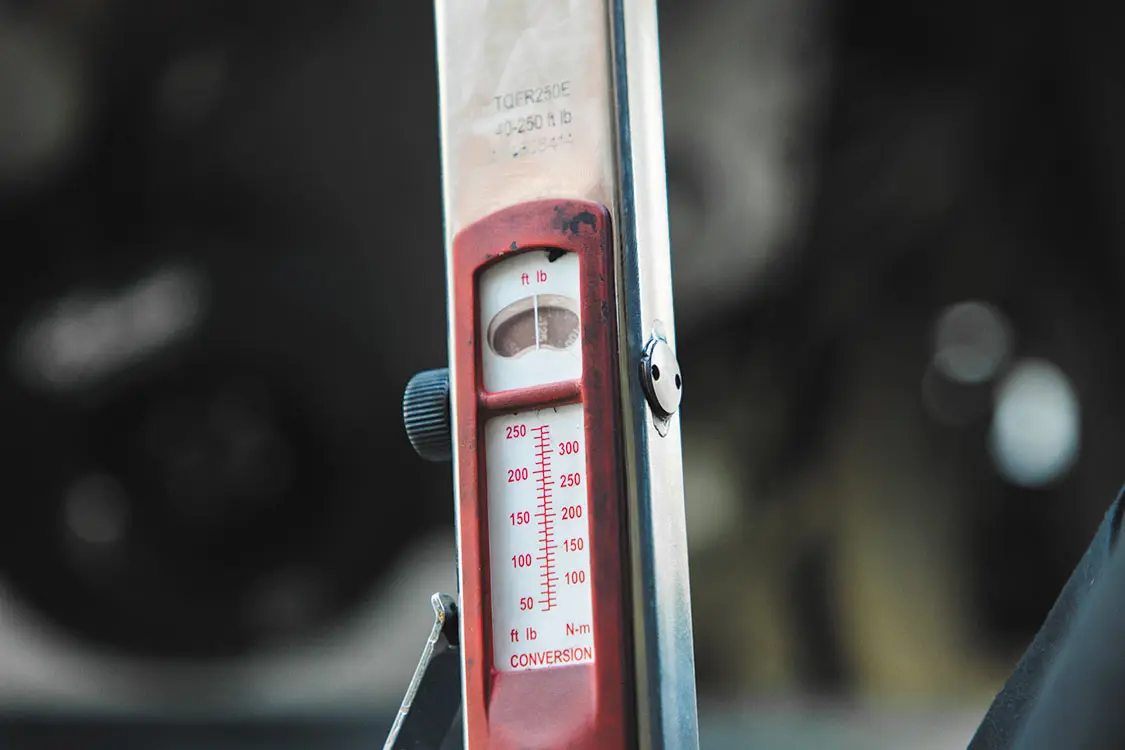
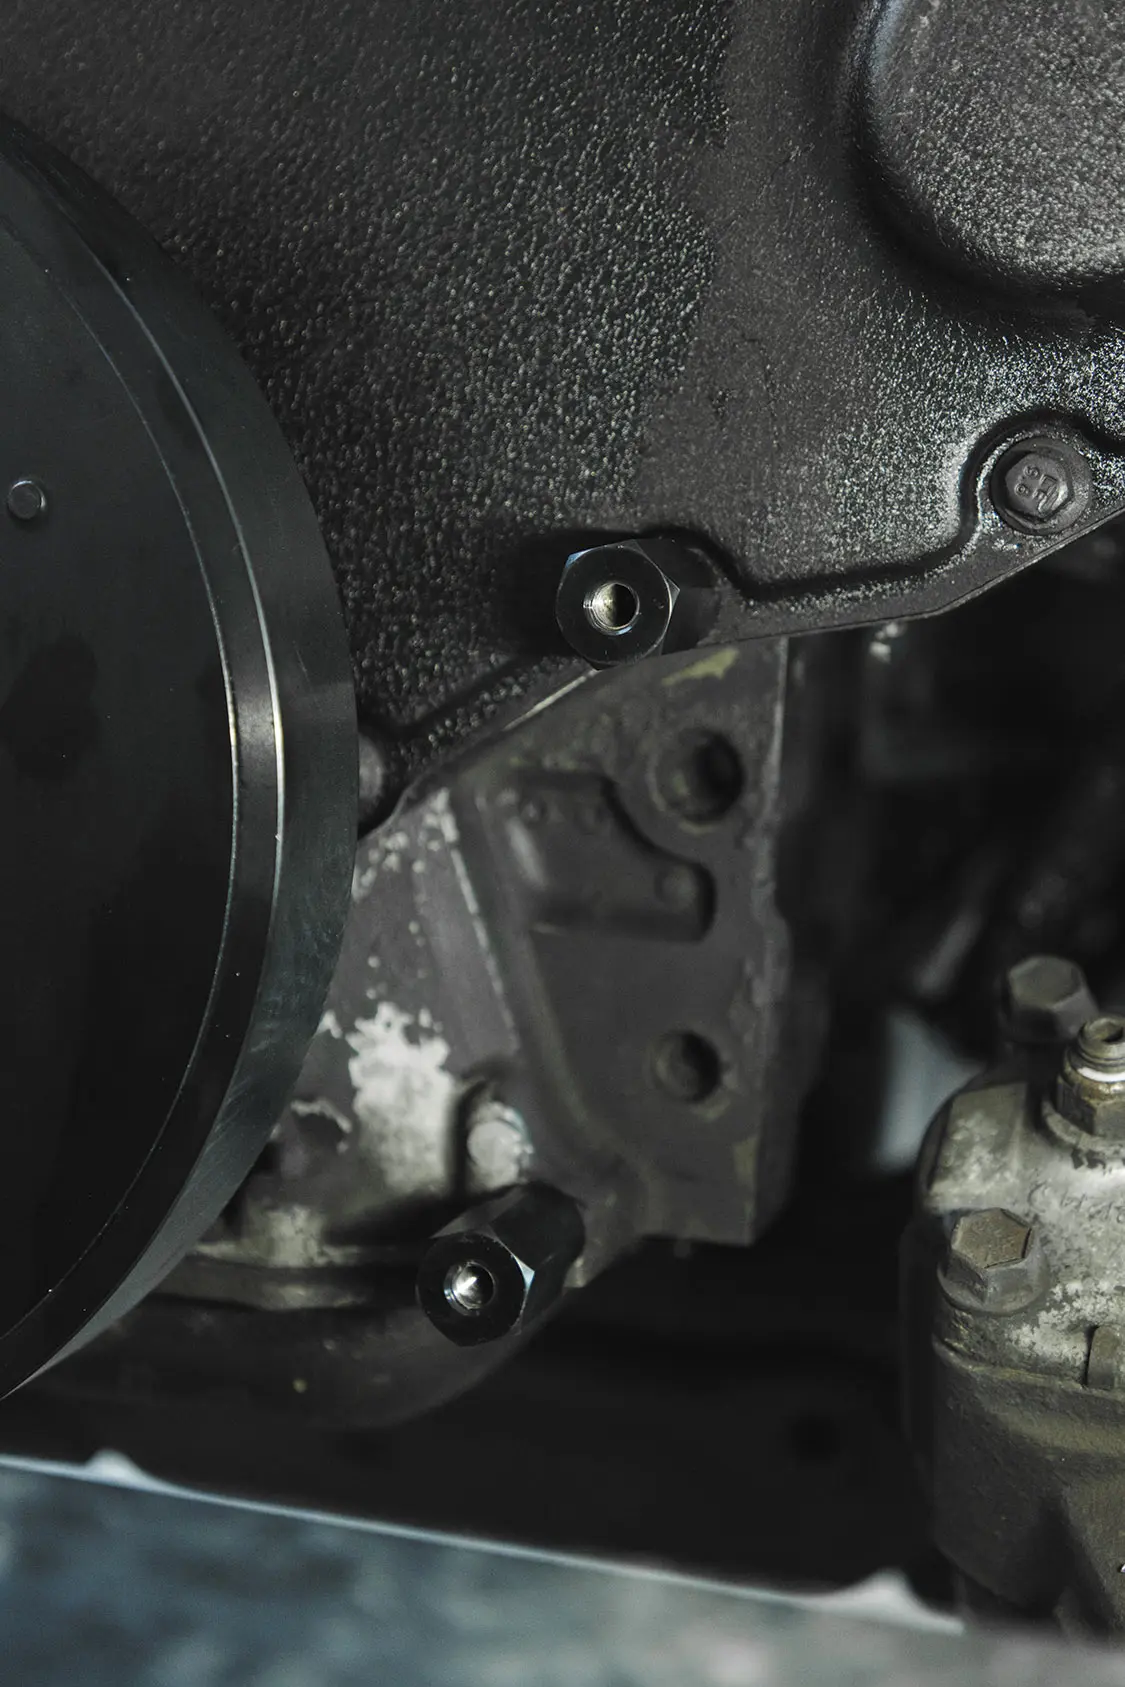
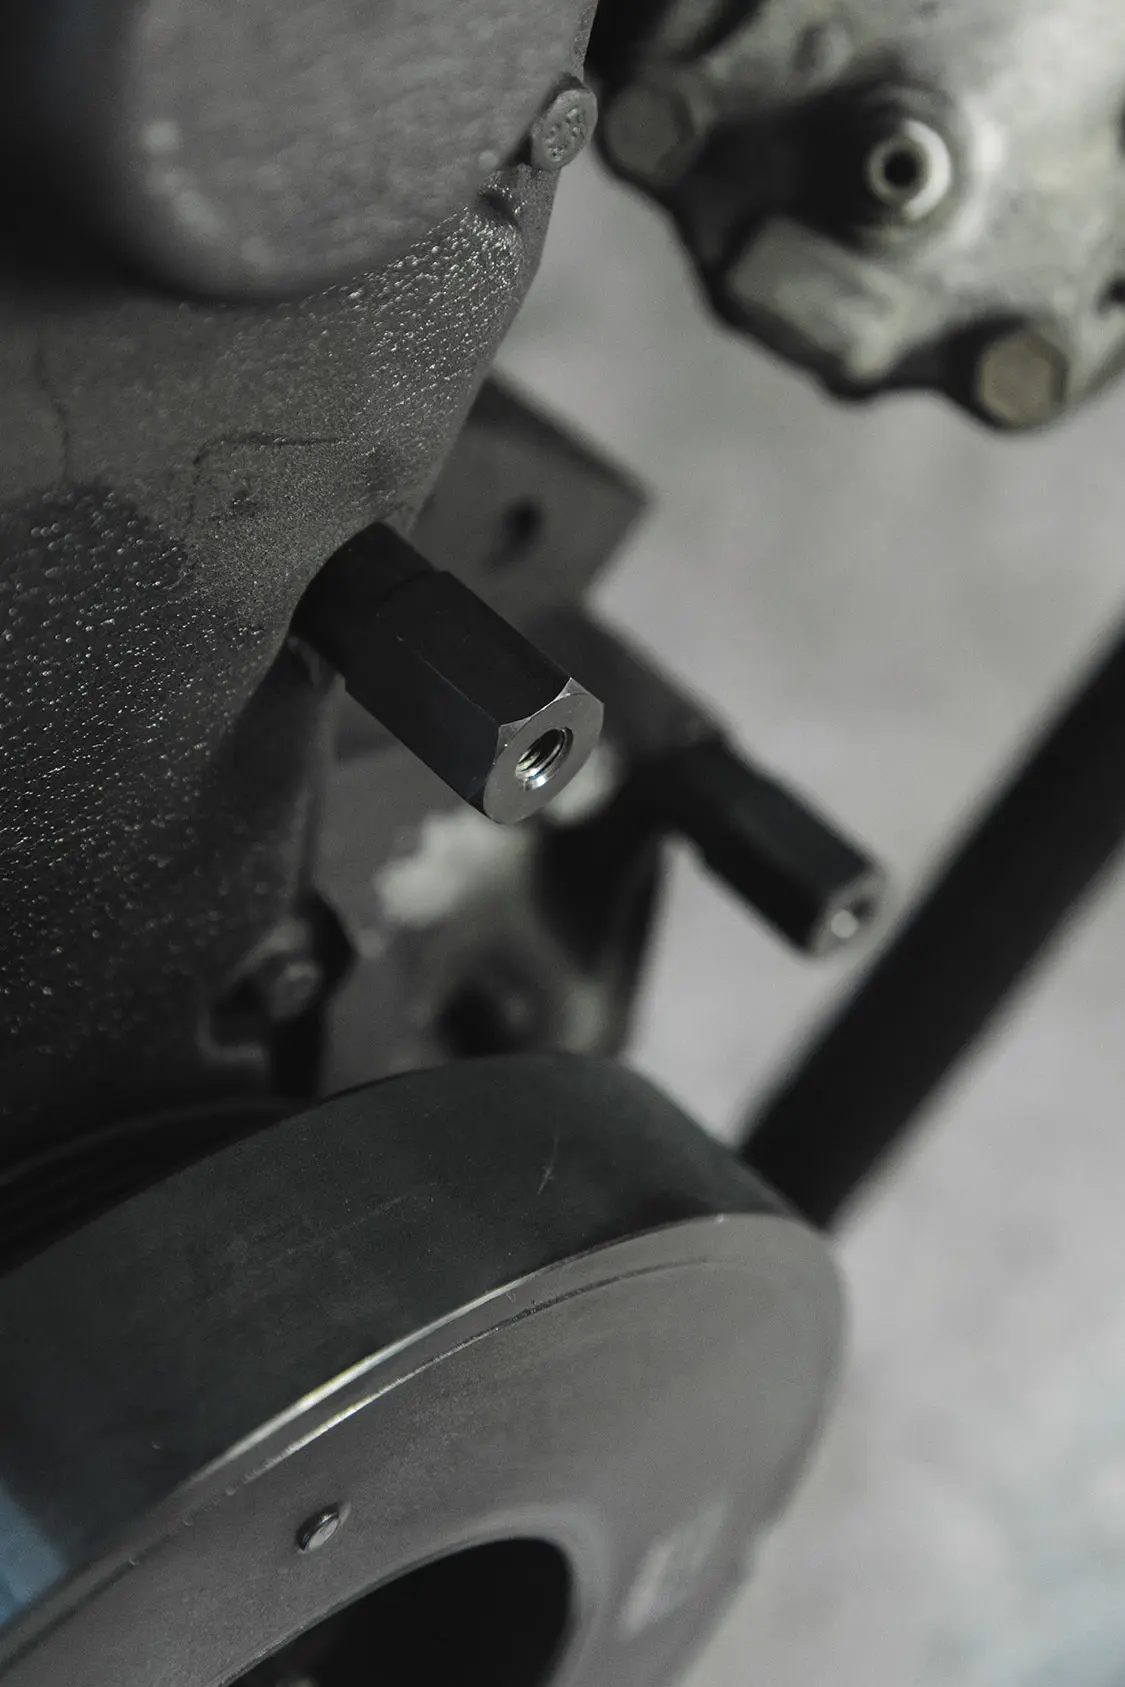
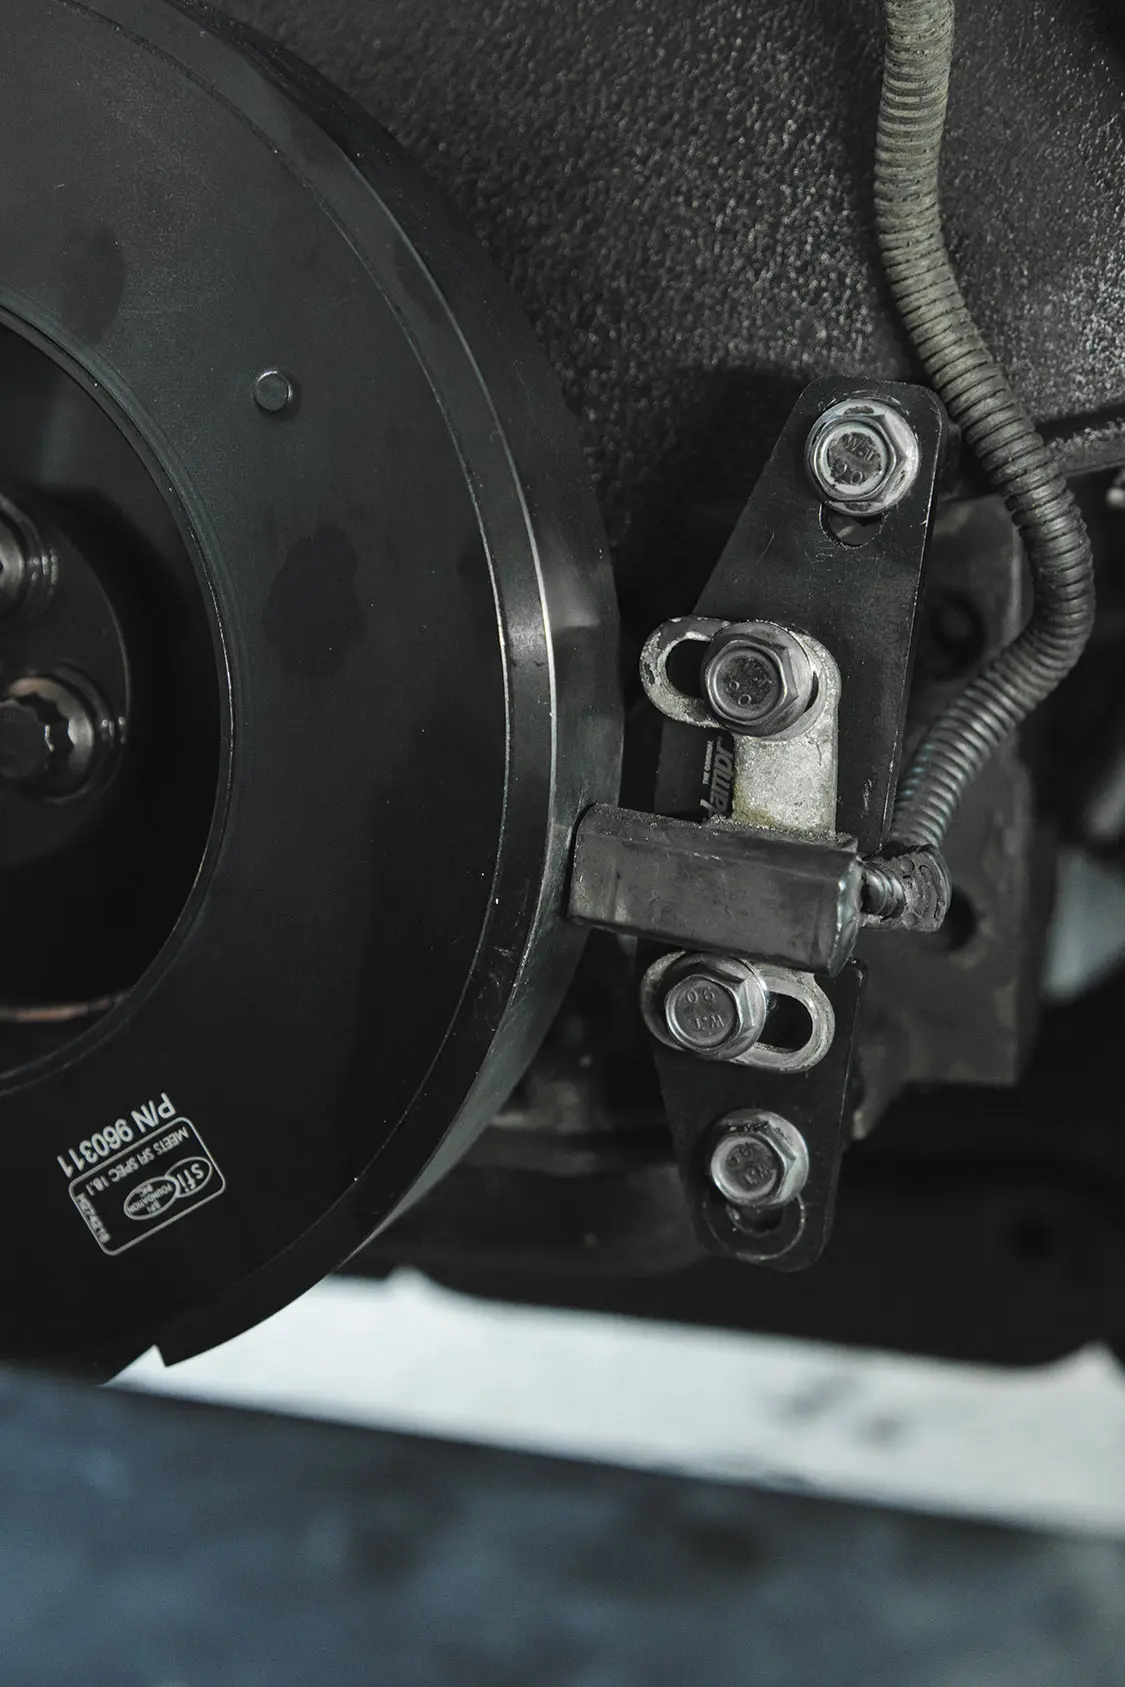
This kit includes the damper itself (part #960311), full power kit with extended bolts (part #300008) , and the crank sensor relocation kit (part #300003). Make sure you have a powerful ½-inch impact and/or a barring tool to keep your crank from spinning over, and a torque wrench to finish the project.
As you can see, we opted to take the intercooler, radiator, and fan clutch off so we had a big open space to show this installation, but it isn’t necessary for installation.

All Feature Vehicles
Brian builds another Coronet To authenticate his Mopar roots to the uninitiated, a Brian Dickey “background check” is in order. Dickey grew up in the… Continue reading
Lou Leto . April 26, 2023

Chevrolet
When it comes to the world of diesel trucks, performance and style go hand in hand. Fusion Bumpers understands this synergy perfectly and presents an… Continue reading
Chris Hamilton . January 03, 2024
Events
Packed with Over 500 Custom Vehicles The O’Reilly Auto Parts Sacramento Autorama at Cal Expo is one of the world’s longest-running indoor car shows, and… Continue reading
Chris Hamilton . January 13, 2025
EV Builders Guide
Prevent Electrical Accidents with These Key Safety Principals The most effective way to prevent electrical injury is to eliminate the hazard by establishing an electrically… Continue reading
EVBG STAFF . November 21, 2023

Buyer’s Guides
Everardo Ozuna’s 2007 GMC Sierra Classic Everyone has something that motivates them. Regardless of their focus or passion, many were led to their path by… Continue reading
Jon Hansen . February 12, 2026

Buyer’s Guides
A Gorgeous Chevy K5 Gets the Ultimate Custom Treatment The 1960s and ’70s played host to the original explosion of offerings in the SUV market,… Continue reading
Lindsey Fisher . June 21, 2024


Classics With The Cardinals, Santa Barbara’s Premier Car Show
Bishop Diego High School - Football Field 4000 La Colina Rd
Goodguys 35th Speedway Motors Heartland Nationals Presented By FiTech Fuel Injection
Iowa State Fairgrounds 3000 East Grand Avenue, Des Moines, IA 50317
Goodguys 28th Summit Racing Nationals Presented By Grundy Insurance
Ohio Expo Center 717 East 17th Avenue, Columbus, OH 43211
Stray Angels Show & Shine
Stray Angels Show & Shine at Melrose Vineyards 885 Melqua Rd. Roseburg OR. 97471
43rd Annual Stray Angels Show & Shine
Melrose Vineyards, Roseburg, Oregon
We use cookies to enhance your browsing experience, serve personalized ads or content, and analyze our traffic. By clicking "Accept All", you consent to our use of cookies. Visit our Cookie Policy for more info.

 Please wait...
Share Link