 Motortopia Staff
.
July 09, 2025
.
Industry Updates
Motortopia Staff
.
July 09, 2025
.
Industry Updates
Installing turn signals and lighting accessories in powersports vehicles enhances safety and visibility. A well-executed installation not only improves functionality but also adds a personal touch to your ride. With expert guidance, you can confidently tackle these upgrades.
In the realm of powersports, ensuring that your vehicle is equipped with properly functioning turn signals and lighting accessories is crucial for safety and style. As these components play a vital role in your visibility on the road, their installation requires precision and care. Expert tips provide you with guidance that simplifies this process, empowering you to enhance your vehicle’s capabilities effectively. By following these guidelines, enthusiasts can confidently undertake the task, ensuring both safety and aesthetic appeal.
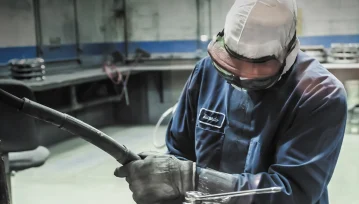
Before diving into any DIY installation project, understanding the importance of safety precautions is paramount. Ensuring a safe environment not only protects you from potential hazards but also prevents damage to your vehicle’s electrical systems. Always disconnect the battery before beginning any electrical work to avoid accidental shocks or short circuits. Additionally, wearing protective gear such as gloves and safety glasses is advisable to shield yourself from unexpected sparks or debris.
Another critical aspect is working in a well-lit area. Adequate lighting allows you to see all components clearly and reduces the likelihood of mistakes during the installation process. It’s also beneficial to have a fire extinguisher nearby as a precautionary measure when dealing with electrical installations. Lastly, make sure to consult your vehicle’s manual for specific guidelines related to its electrical systems, which can provide crucial insights tailored to your model.
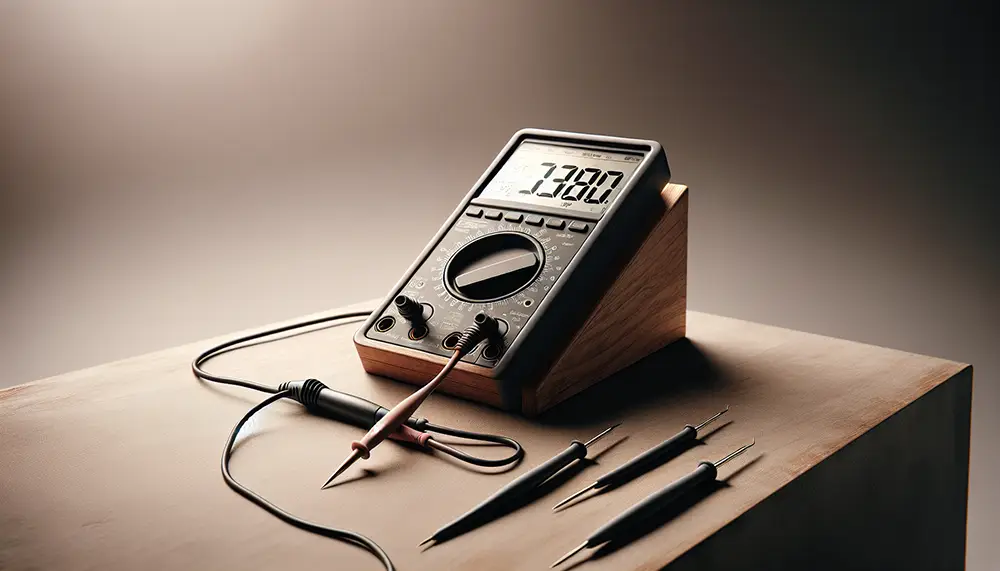
A successful installation hinges on having the right tools and equipment at your disposal. Essential items include wire cutters, crimping tools, a multimeter for testing voltage, and an assortment of screwdrivers for various fasteners. Additionally, heat shrink tubing and electrical tape are necessary for securing connections and preventing exposure to elements that could cause corrosion over time.
Having a complete set of socket wrenches is also advisable for detaching any parts that might obstruct access to wiring or mounting points. For those looking to achieve a professional finish, consider investing in a soldering iron for creating durable connections that stand up to vibrations common in powersports vehicles. With these tools, you’re well-equipped to handle most aspects of the installation process efficiently.
The installation process can be broken down into manageable steps, allowing even novices to follow along with ease. Begin by planning your layout; identify where each component will be placed on your vehicle. This helps streamline the process and prevents unnecessary adjustments later on. Next, carefully run wires along existing pathways whenever possible to maintain an organized appearance.
Once your layout is determined, proceed with connecting wires according to their designated functions – typically color-coded for convenience. Secure these connections using crimping tools or soldering irons for lasting durability. After making all necessary connections, test each function using a multimeter before reassembling any disassembled parts. This ensures everything operates as expected without needing further troubleshooting.
Despite meticulous planning, issues may arise during or after installation. A common problem is non-functional lights; this often stems from poor connections or faulty bulbs. To address this, revisit each connection point using a multimeter to verify voltage flow and replace any defective components promptly. Another frequent issue involves flickering lights; this usually indicates loose connections that require re-tightening or re-soldering.
If problems persist despite these efforts, consulting online forums or seeking advice from seasoned enthusiasts can provide additional insights into resolving more complex issues. By remaining patient and methodical in your approach, you’ll gain valuable experience while ensuring optimal performance from your newly installed accessories.
Feature Stories
We Pay Homage to One of the Best Anyone who’s been around classic trucks, hot rods, drag-racing, or motorsports in general from the ’80s on… Continue reading
Mike Alexander . September 01, 2023
Industry Updates
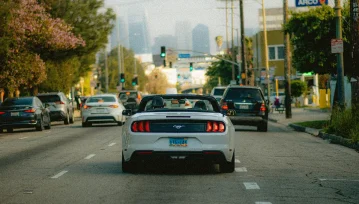
Image source: pexels.com/photo/convertible-driving-through-los-angeles-streets-33383462/ We hear about the power of artificial intelligence and its growing impact on every imaginable sector. It is transforming the media and… Continue reading
Motortopia Staff . April 14, 2026

Feature Stories
Put your best foot forward Black Rhino / Fuji The Black Rhino Fuji monoblock wheel is inspired by the off-road wheels on Dakar Rally support… Continue reading
TREAD STAFF . August 22, 2023

Cadillac
Modern windshields are carefully designed to protect passengers during accidents. But why do windshields not shatter into dangerous pieces on impact? The answer lies in… Continue reading
Motortopia Staff . January 14, 2025

Drive Online
Experiences from The Family Coppola Hideaways 1. 10 Night Central America Safari experience Adventure in Guatemalan and Belizean style with the ten-night Central America Safari… Continue reading
Nicole Hamilton . October 26, 2023

Buyer’s Guides
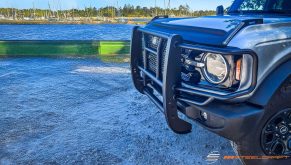
Exploring the Alluring World of F-Series Ford Trucks Rev up your engines and brace yourselves for a game-changing evolution in the world of Ford truck… Continue reading
Chris Hamilton . October 16, 2023


Classics With The Cardinals, Santa Barbara’s Premier Car Show
Bishop Diego High School - Football Field 4000 La Colina Rd
Goodguys 35th Speedway Motors Heartland Nationals Presented By FiTech Fuel Injection
Iowa State Fairgrounds 3000 East Grand Avenue, Des Moines, IA 50317
Goodguys 28th Summit Racing Nationals Presented By Grundy Insurance
Ohio Expo Center 717 East 17th Avenue, Columbus, OH 43211
Stray Angels Show & Shine
Stray Angels Show & Shine at Melrose Vineyards 885 Melqua Rd. Roseburg OR. 97471
43rd Annual Stray Angels Show & Shine
Melrose Vineyards, Roseburg, Oregon
We use cookies to enhance your browsing experience, serve personalized ads or content, and analyze our traffic. By clicking "Accept All", you consent to our use of cookies. Visit our Cookie Policy for more info.

 Please wait...
Share Link