 Motortopia Staff
.
September 30, 2025
.
News
Motortopia Staff
.
September 30, 2025
.
News
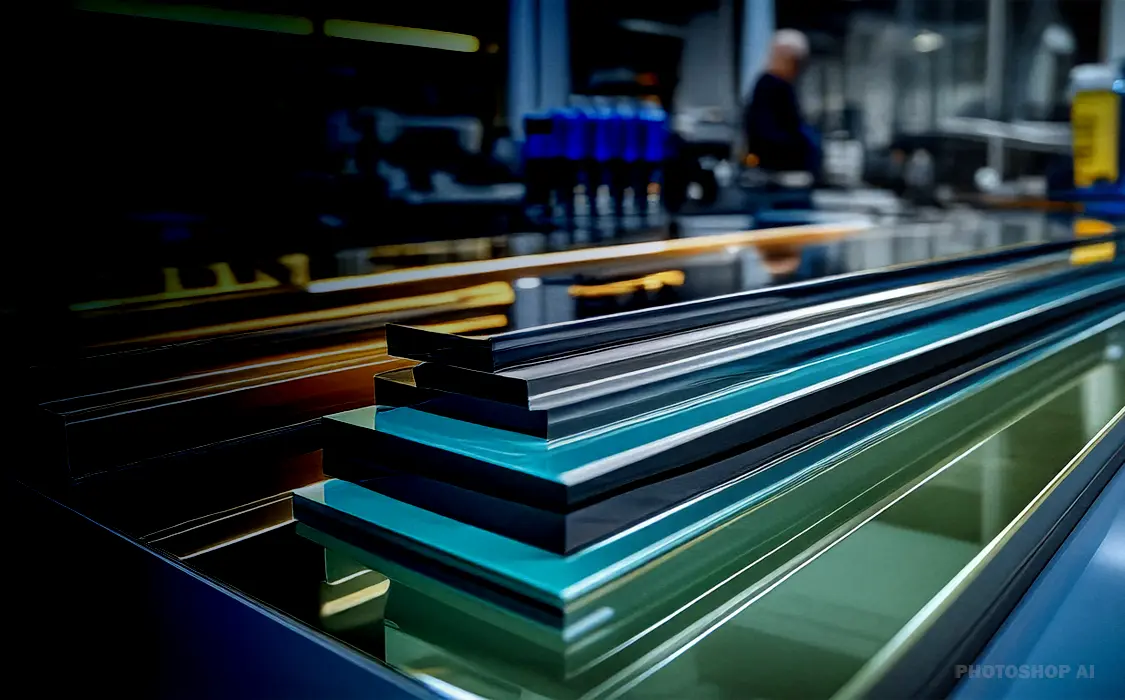
Print-through (telegraphing) happens when your adhesive sinks, shrinks, or exotherms hard enough that the show surface reflects what’s going on underneath. If you’re bonding carbon skins to honeycomb, fiberglass panels with gelcoat, or thin SMC doors, the fix is simple in concept: use a slower, lower-shrink, more forgiving adhesive and control bondline thickness from day one.
Why print-through happens in the first place
Most telegraphing comes from three culprits: shrinkage, heat, and uneven pressure. High-shrink chemistries pull the skin as they cure. High-exotherm mixes spike temperature and soften thin laminates, imprinting cells or ribs below. And if the bondline varies—from 0.2 mm in one zone to 1.2 mm in another—you’ll see it on a glossy panel.
Composite stacks amplify the problem. Carbon fiber has low through-thickness conductivity and telegraphs any local heat. Gelcoated fiberglass shows sink more readily than primered metal. Even your core matters: coarse honeycomb or stiff ribs push harder on hot, soft skins.
Adhesive chemistries that minimize telegraphing
For thin painted or clear-coated skins, start with toughened epoxy pastes tuned for low exotherm and low shrink. They wet composite well, keep shape (thixotropy), and cure to a stable, sandable bondline. Methyl methacrylate (MMA) adhesives also bond dissimilar materials without heavy surface prep and have forgiving toughness—but choose low-odor, low-exotherm grades for cosmetics. Silyl-modified polymers (SMP/MS) and high-modulus urethanes are excellent when vibration and sealing matter; they’re slower, flexible, and very low shrink, which keeps show surfaces calm.
If you need a short list to evaluate, consider testing purpose-built custom-formulated adhesive solutions on your exact panel stack—carbon over honeycomb behaves differently than SMC over ribs. Match cure time and exotherm to part thickness, paint schedule, and handling windows.
Bondline control beats brute clamping
Target a consistent bondline (often 0.5–1.5 mm for panel work). Use glass or polymer spacer beads mixed into the adhesive, or discrete shims around the perimeter and at structural islands. Uniform pressure matters; spring clamps create hot spots, while a vacuum bag or evenly spaced weights keep pressure flat without starving the joint.
Mind cure temperature. Fast, hot cures risk sink and print; room-temperature cures with a gentle post-cure after paint often produce the best finish. Where rib tops telegraph, consider a thin, low-density core cap or a skim of lightweight fairing compound before final bond to spread load.
Surface prep that actually moves the needle
Keep it boring and repeatable. On composite skins: solvent-clean, then abrade with a fine non-woven pad, then clean again; skip polishing compounds that leave wax. On metals: degrease, light abrasion, and a conversion coat or primer if specified. Peel ply is your friend—remove it right before bonding for a chemically active, uniform surface without dust.
Run quick scabs. Bond two 100 × 100 mm coupons with your intended stack and cure cycle. Shoot a raking light across the A-side after paint. If you see ghost ribs, adjust bead size, cure speed, or switch to a lower-exotherm grade before committing to the whole door or hood.
Bottom line
Choose a low-shrink, low-exotherm adhesive, lock in a consistent bondline, and validate on small panels first—do that, and your lightweight composite skins stay glass-smooth with no print-through.
News
Providence is a vibrant and tightly connected city, where the roads are often as busy as the communities that surround them. With dense traffic patterns… Continue reading
Motortopia Staff . October 13, 2025

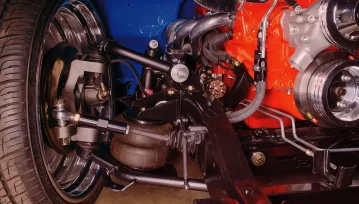
Jeep
The Jeep Gladiator, a unique blend of rugged truck capability and iconic Jeep open-air freedom, has quickly captured the hearts of off-road enthusiasts and daily… Continue reading
Motortopia Staff . July 02, 2025
News
Some cars are too good to die. A BMW M3 with a dented frame, a Tesla Model S with a cracked battery case, an Audi… Continue reading
Motortopia Staff . December 23, 2025
News
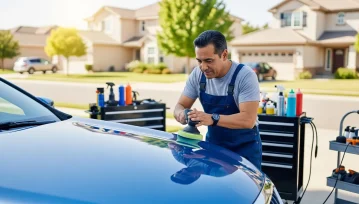
Caring for a car is always a tiresome exercise. Whether it is cleaning the exterior or cleaning the interior thoroughly, maintaining a car in its… Continue reading
Motortopia Staff . September 02, 2025

EV Builders Guide
As we wrap up this issue, one thing is crystal clear: The electrifying surge of enthusiasm for EV-converted classics and custom modern EVs is propelling… Continue reading
Jerome Andre . February 05, 2026

News
A car isn’t just metal, glass, and gears. It’s memories, movement, and money. But when the engine coughs or the brakes screech, those dreams begin… Continue reading
Motortopia Staff . July 17, 2025


Terminal Takeover 2026
21 airport rd Ext, Greenville, SC
Altered Metal 2026
Rayne, LA
Orange Beach Invasion 2026
The Wharf Orange Beach, Alabama
Southern Tradition Car/Truck Show 2026
Etowah River Park Canton, GA
Local Studebaker Drivers Club Chapter Private Tour Of John Muir House
John Muir House 4202 Alhambra Ave., Martinez, CA

 Please wait...
Share Link