 MARK OJA
.
September 18, 2023
.
Feature Stories
MARK OJA
.
September 18, 2023
.
Feature Stories
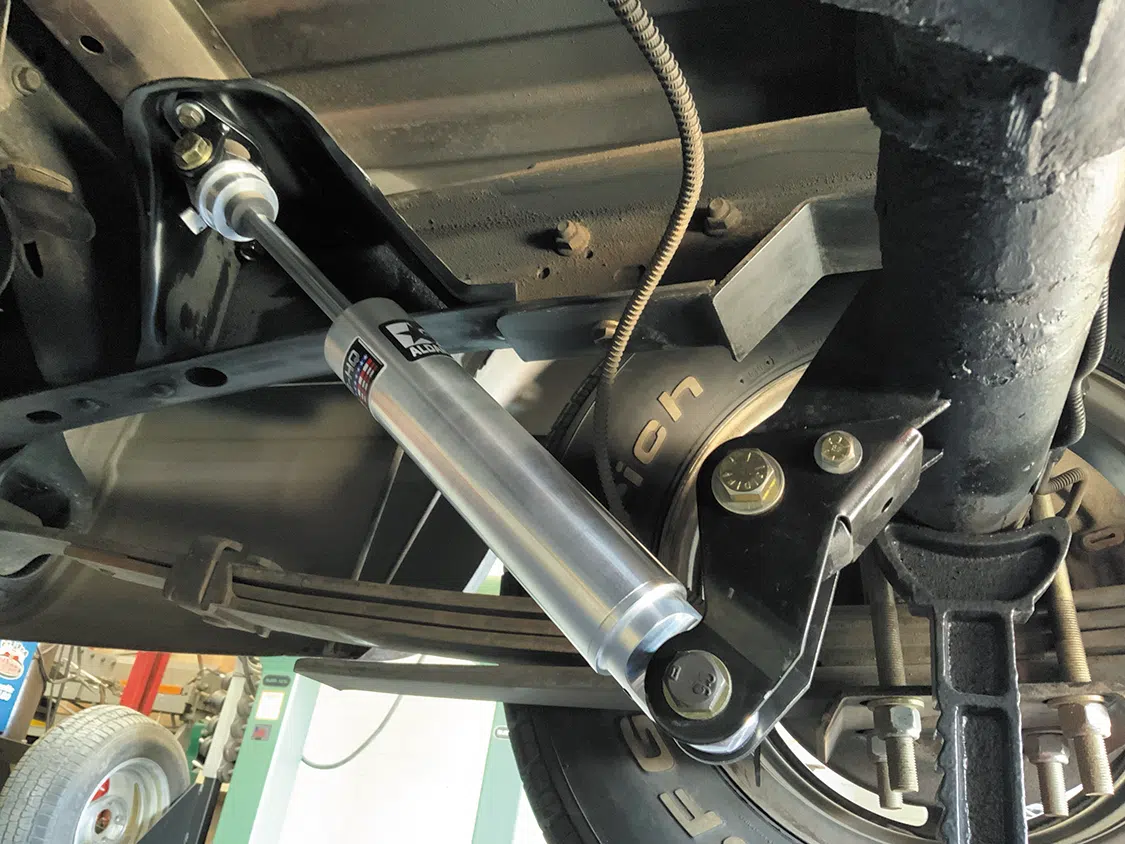
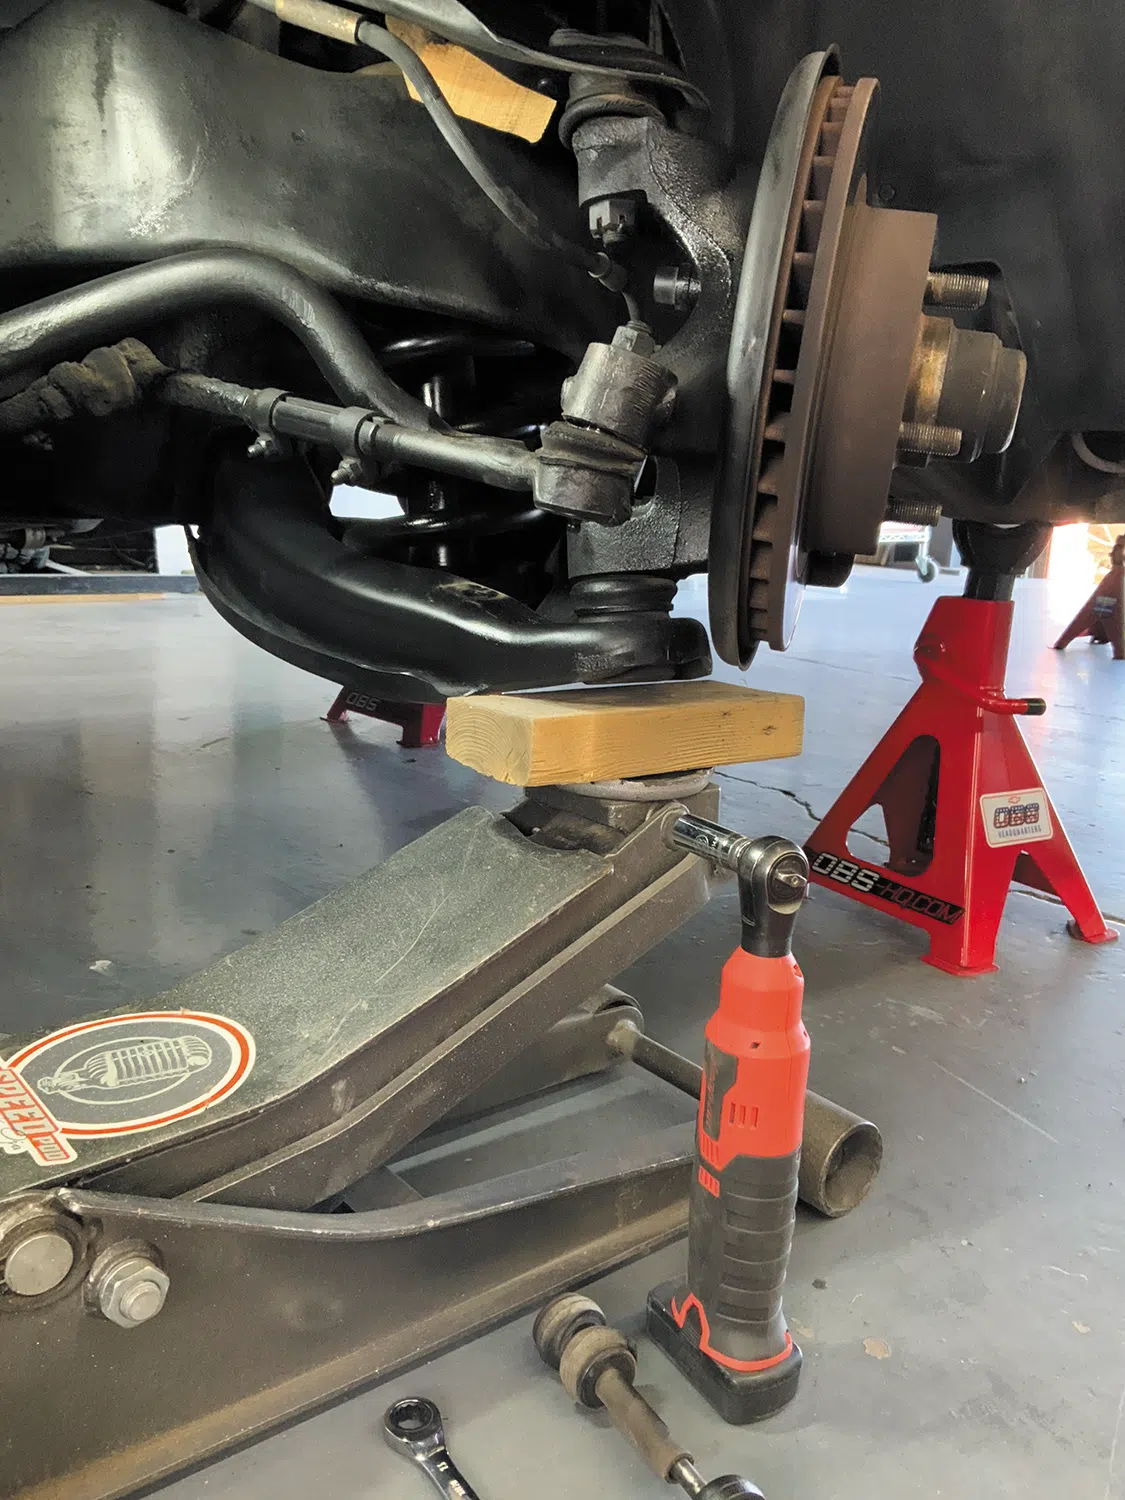
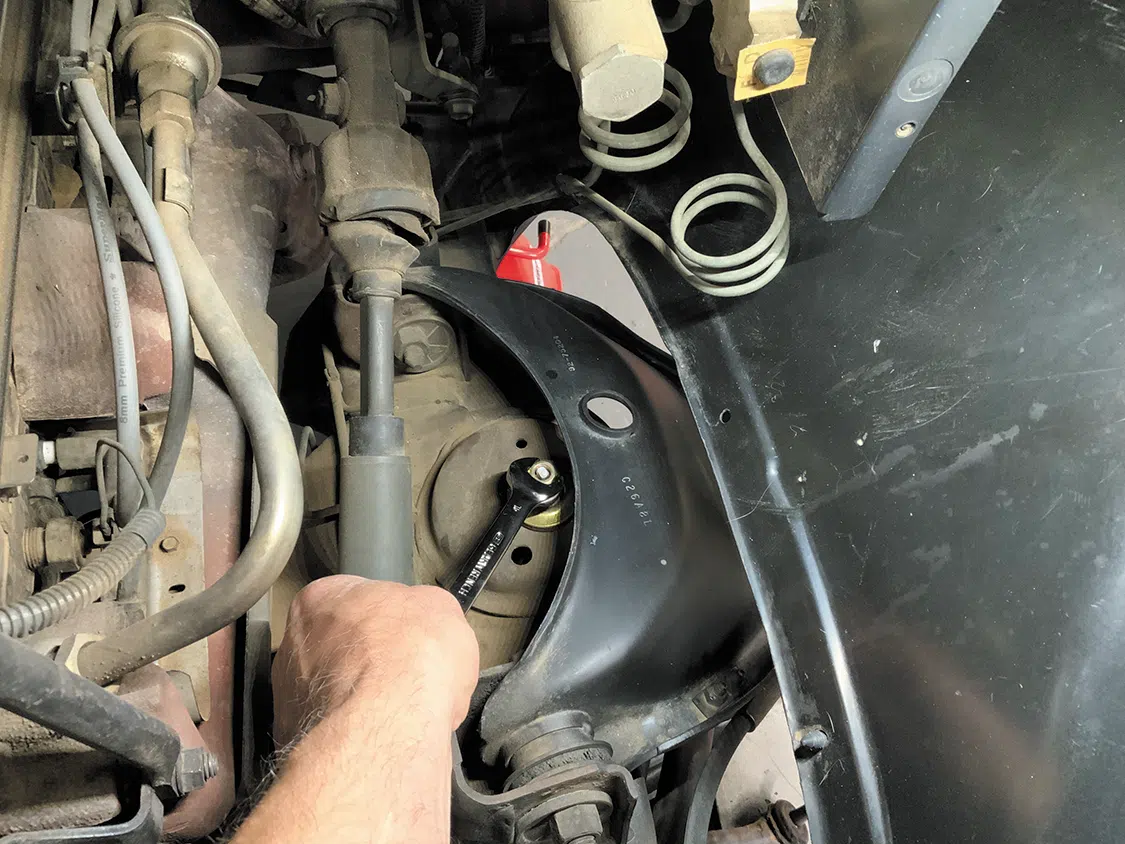
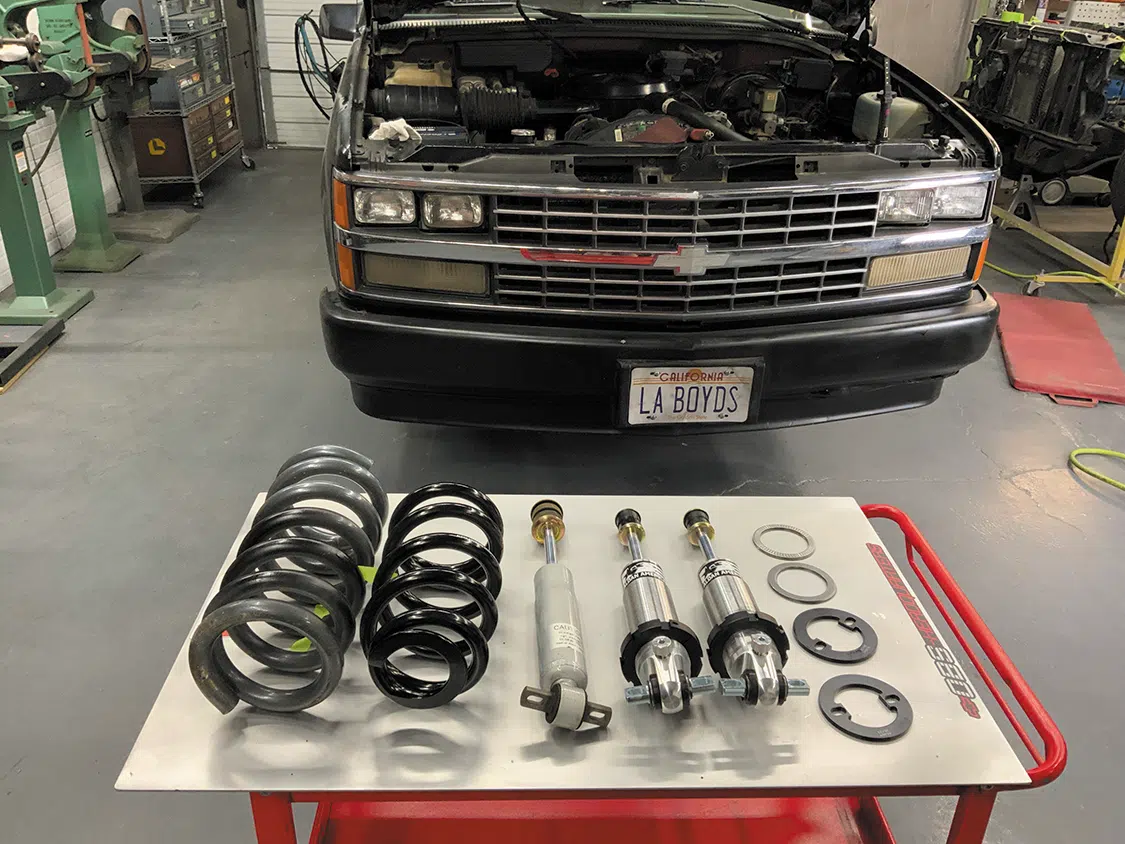
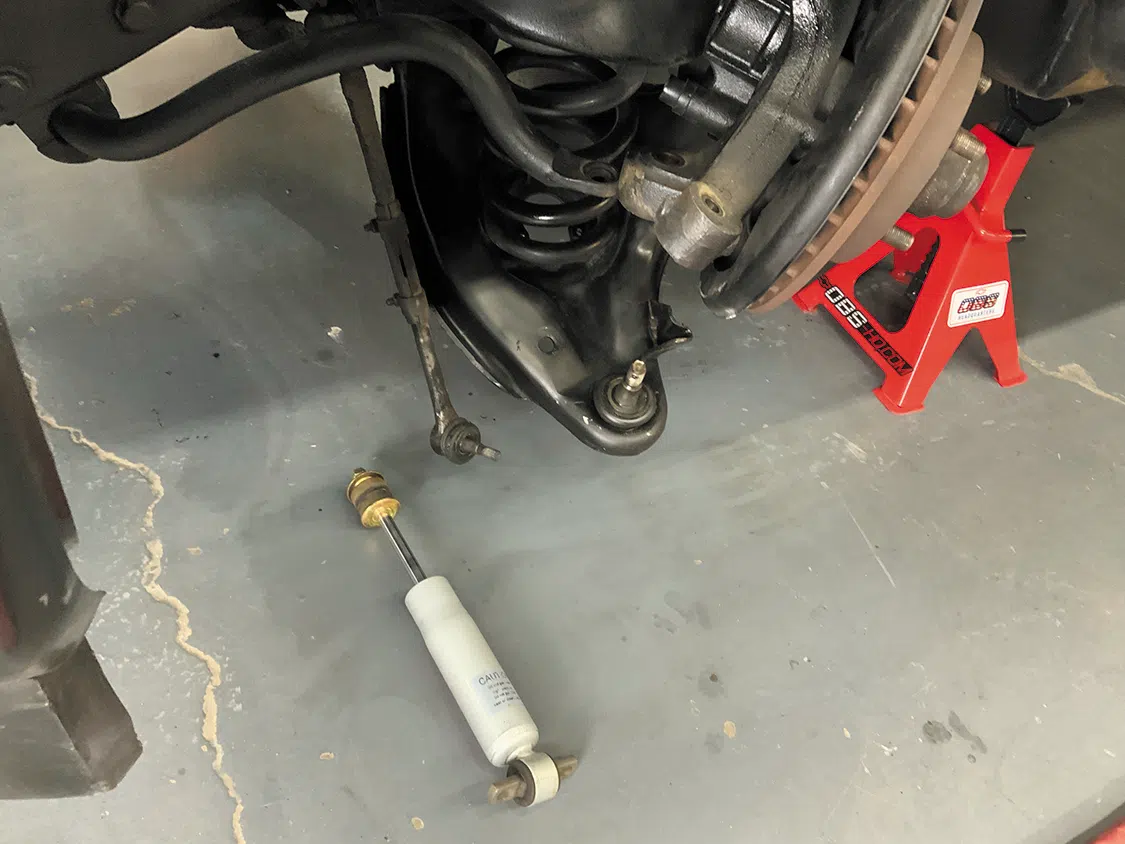
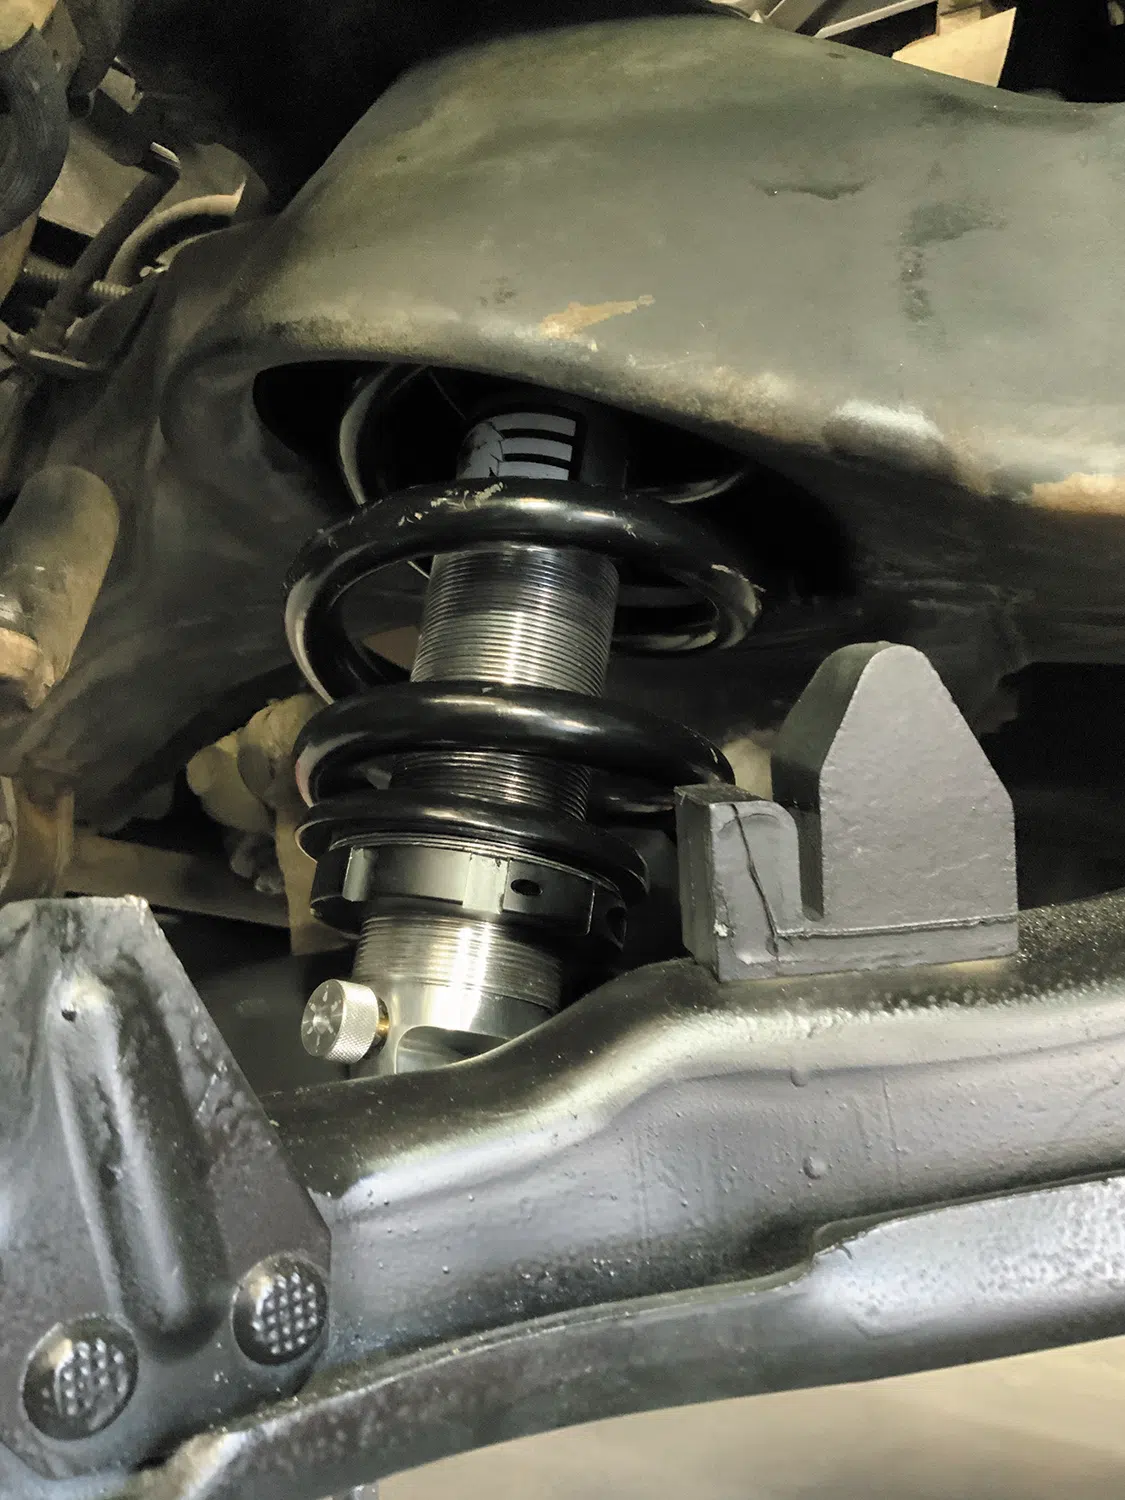
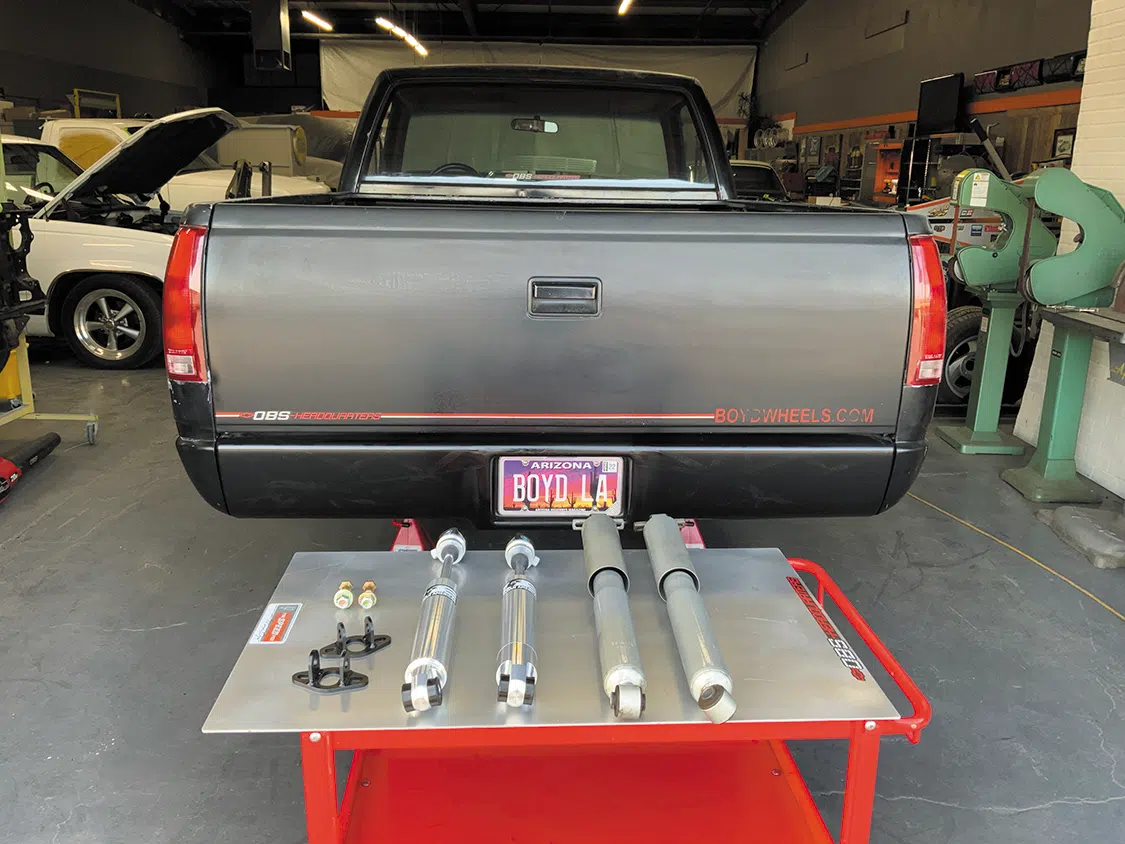
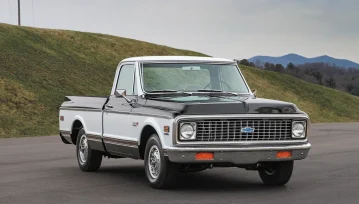
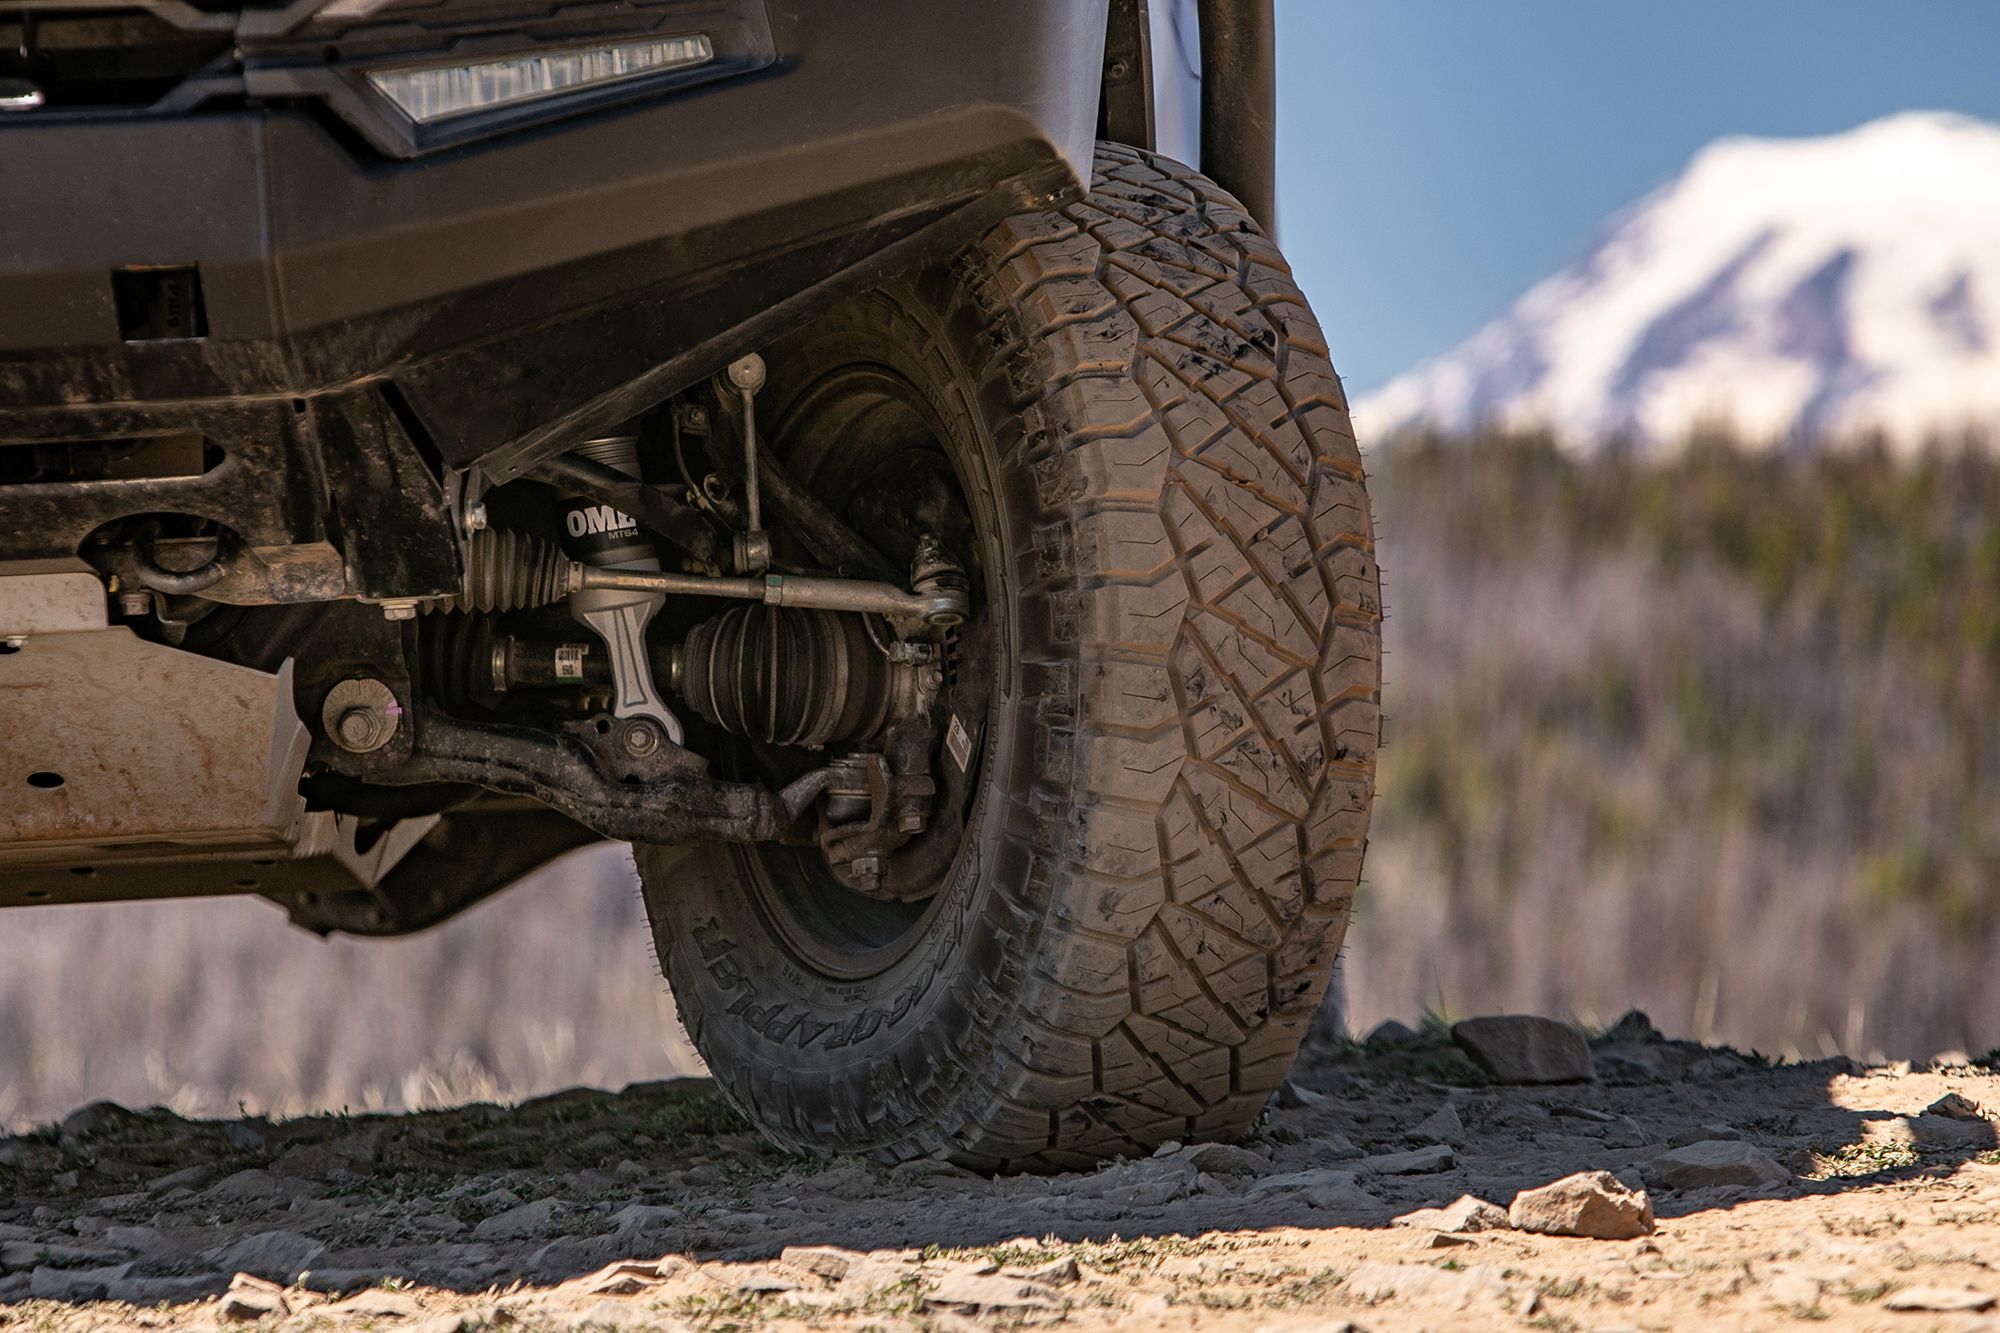
A coilover conversion offers numerous benefits for an OBS pickup, providing enhanced adjustability, improved handling and stability, and customization potential. By replacing the stock suspension components with coilover, truck enthusiasts can achieve a more dynamic driving experience tailored to their preferences. Reduced body roll, improved cornering stability, and improved overall handling performance provide a more controlled and confident driving experience.
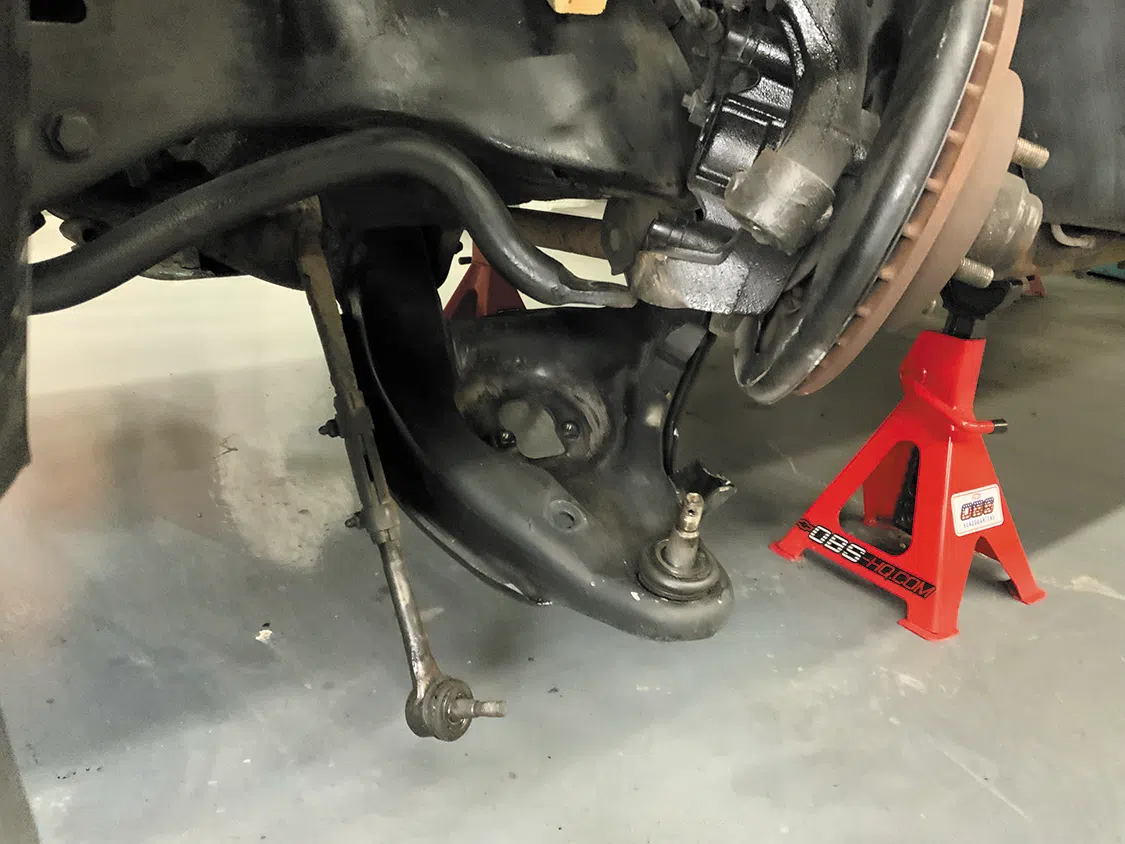
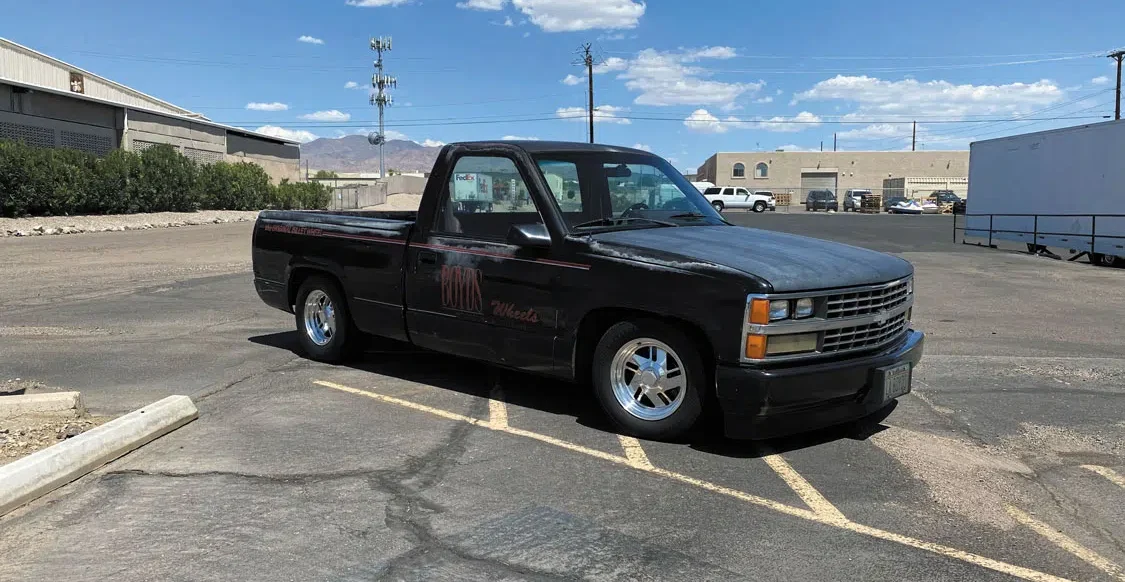
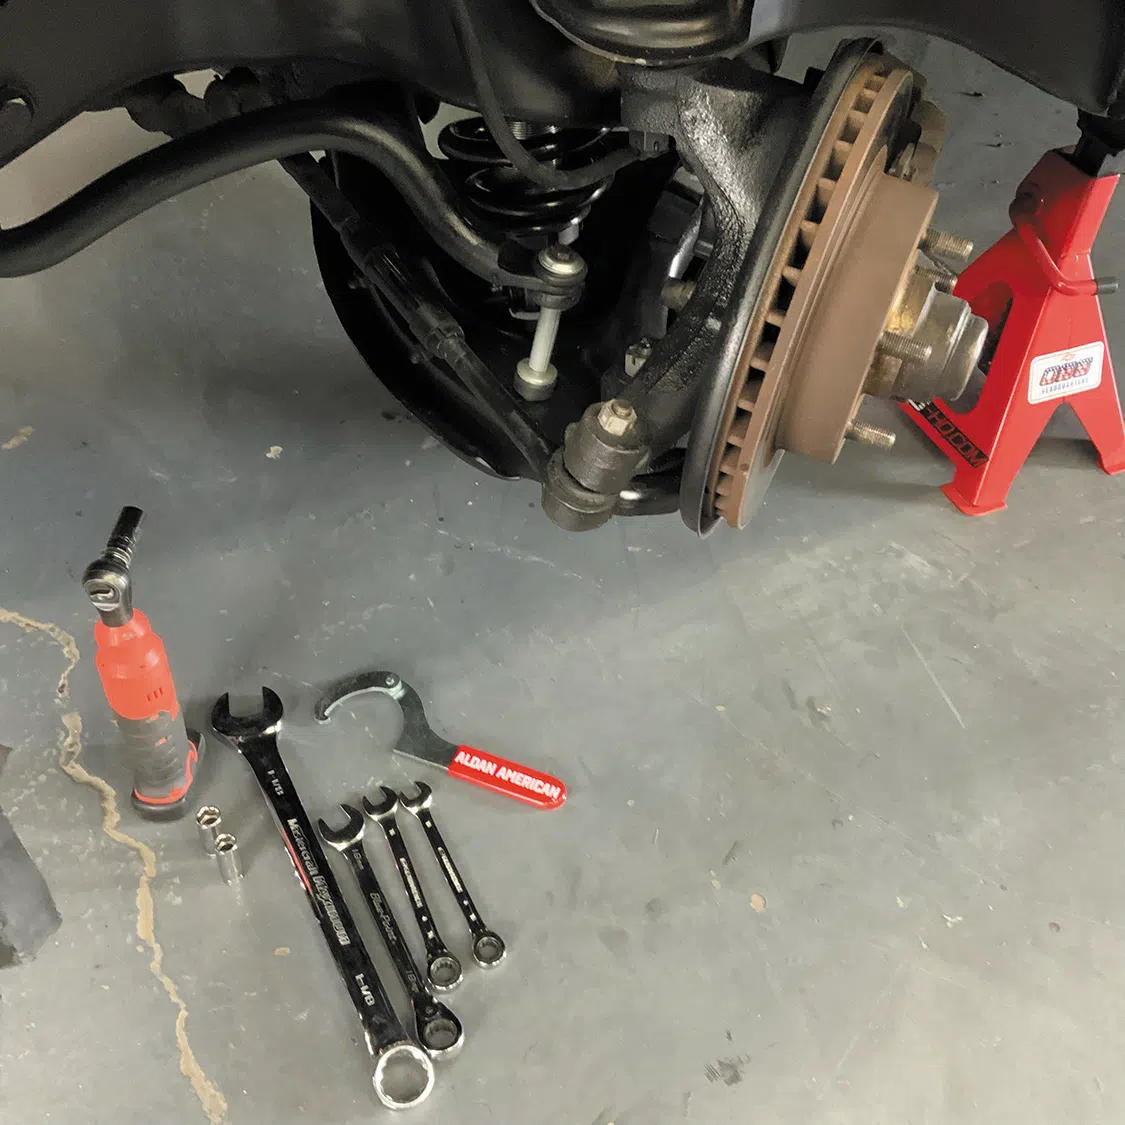
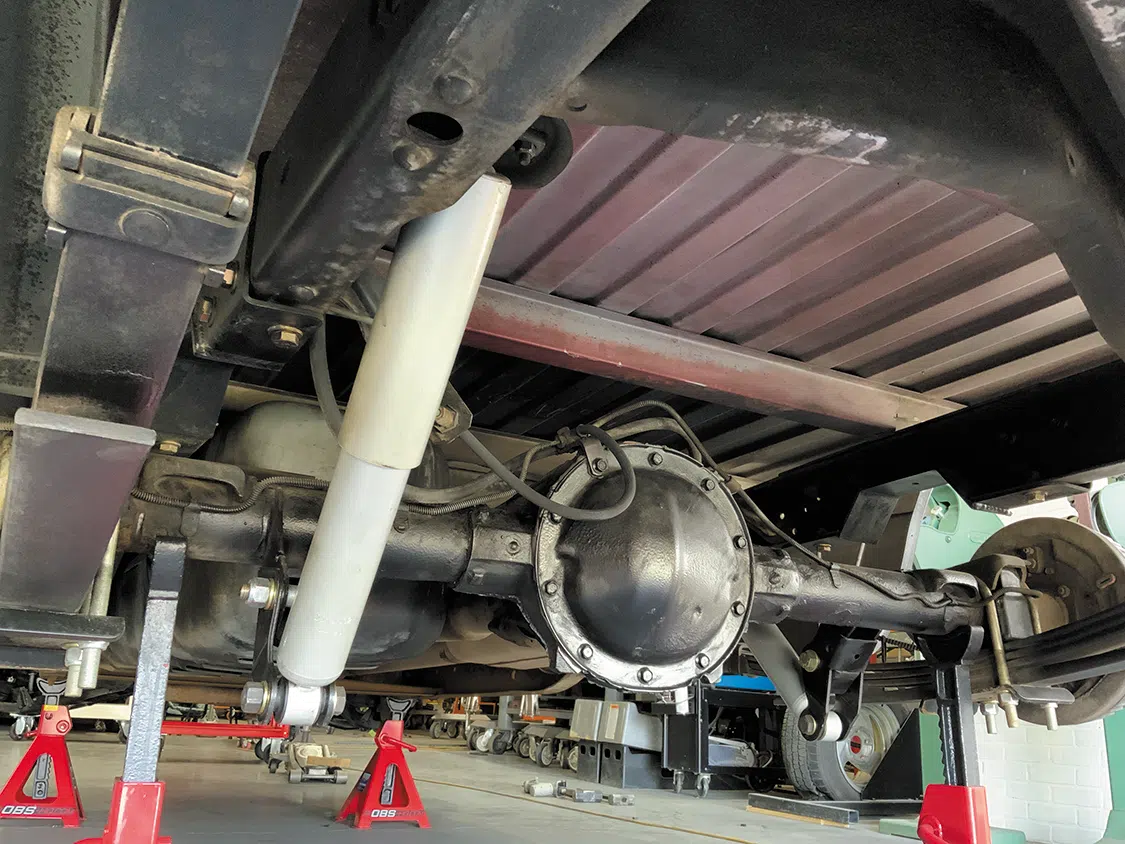
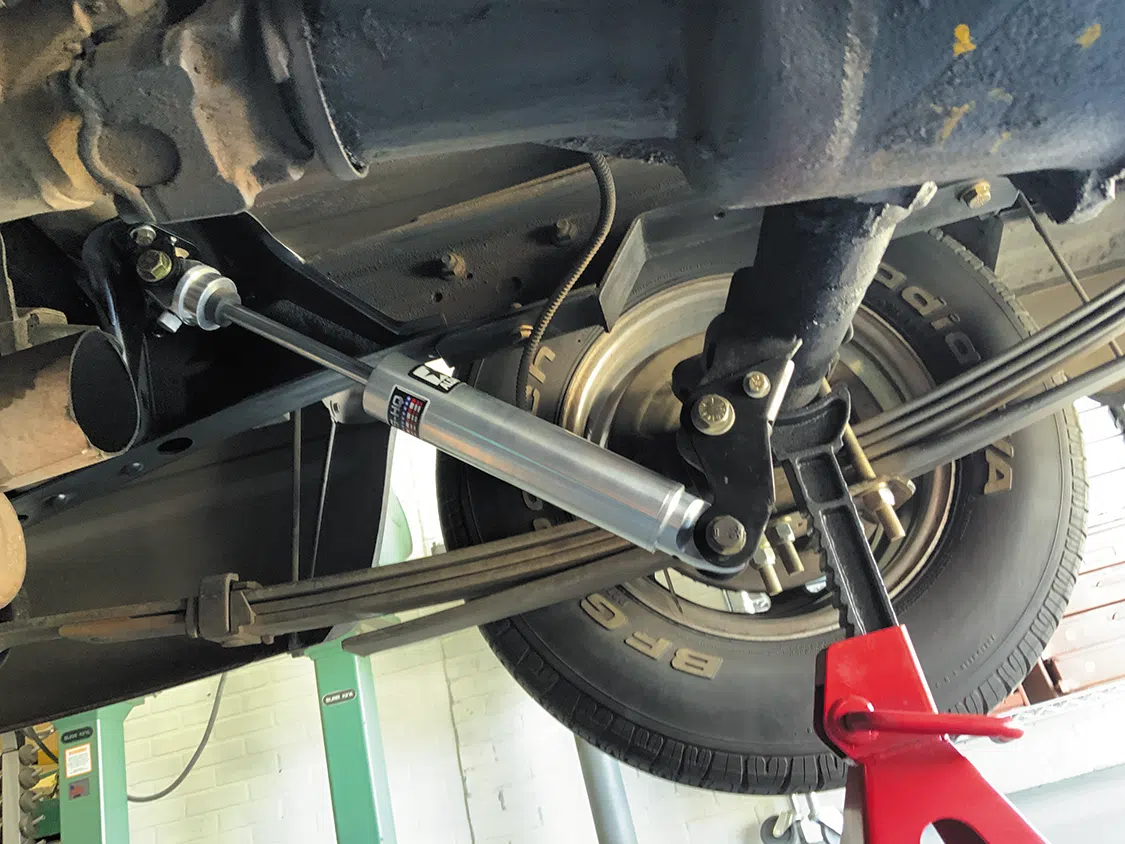
We are continuing to upgrade our shop project, the 1988 shortbed, the “Billet Beater.” We are leaving the exterior in its original paint but improving the suspension, drivetrain, and interior. It’s a perfect platform for an Aldan American coilover conversion kit.
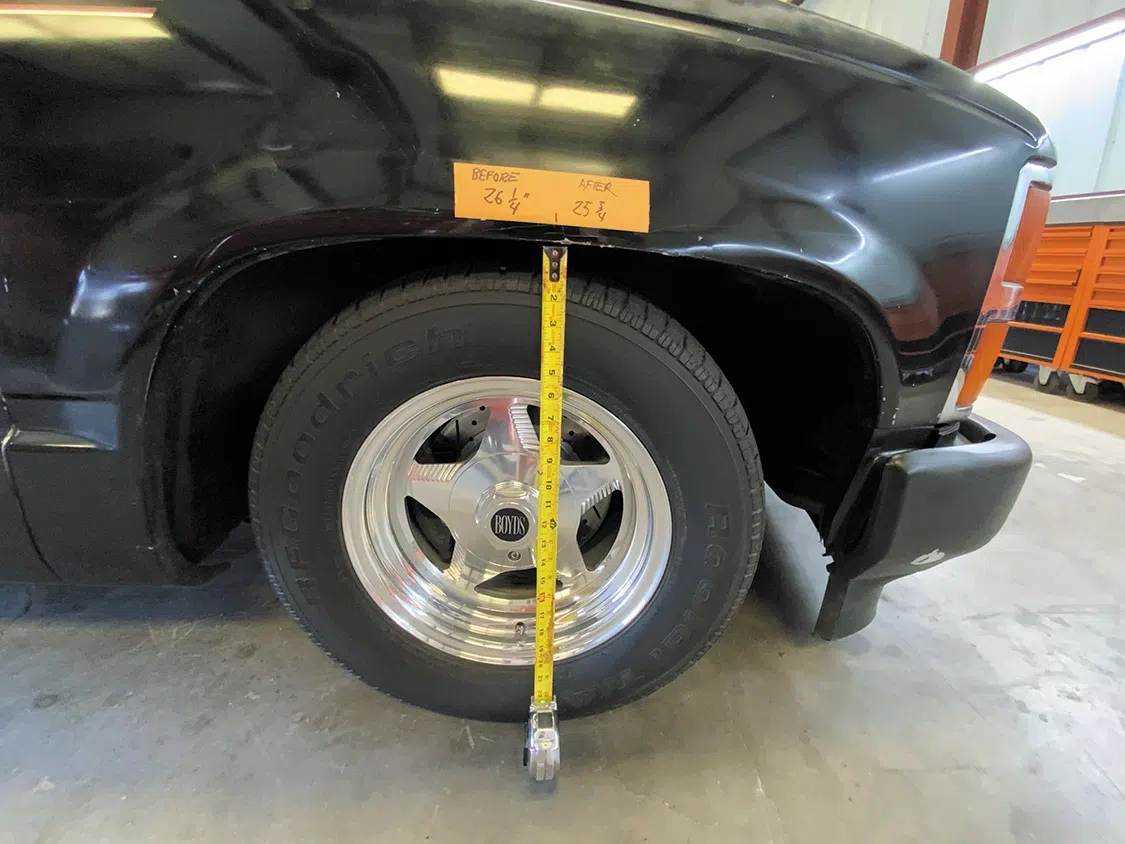
Established in 1981, Aldan American’s products are designed, tested, and made in the USA. The Road Comp Series is designed for a OEM-like fitment that offers greater tune-ability and up to a 2-inch front height adjustment. A true bolt-on design, it’s easy to tune, a smoother ride on the street, fully rebuildable, and offers a lifetime warranty. Take the time to get a new frontend alignment, too, to save those tires. Let’s go!


Aldan American
310-421-0685
aldanamerican.com
Chevrolet
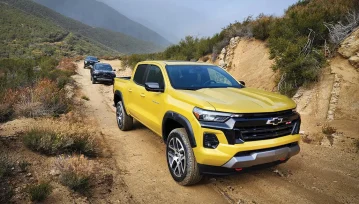
The 2023 Chevrolet Colorado Z71 & Trail Boss Showcase All-New Appeal With Tip-to-Tail Makeovers After nearly nine years on the market, the midsize Chevrolet Colorado… Continue reading
Mercedes Lilienthal . July 12, 2023
Buyer’s Guides
New Management, Innovative Changes From Sept. 21-23, 2023, the Sevierville Convention Center in Tennessee became a haven for Ford enthusiasts as it played host to… Continue reading
Devan Ence . December 08, 2023
Feature Stories
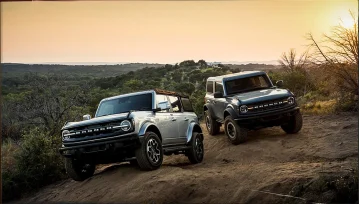
While the Ford Bronco wasn’t the first sport utility vehicle when it was introduced for the 1966 model year, Ford could legitimately lay claim to… Continue reading
TODD ZUERCHER . October 02, 2023
C10 Builders Guide
Must… Not… Cut… Up… In the world of classic trucks, few models hold a candle to the illustrious 1967-1972 Chevy C10s. With their unique design and… Continue reading
Chris Hamilton . October 06, 2023
New Products
After freshening up our 2018 Chevy Tahoe LTZ, we wanted a tire that could keep the factory stance while making the daily drive feel more… Continue reading
Chris Hamilton . February 26, 2025
OBS Builders Guide
Mike Morris’ OG OBS Tahoe When most folks thing about the OBS name, the Silverado pickup naturally comes to mind, and that’s totally fine. It… Continue reading
John Mata Jr. . August 02, 2022


Classics With The Cardinals, Santa Barbara’s Premier Car Show
Bishop Diego High School - Football Field 4000 La Colina Rd
Goodguys 35th Speedway Motors Heartland Nationals Presented By FiTech Fuel Injection
Iowa State Fairgrounds 3000 East Grand Avenue, Des Moines, IA 50317
Goodguys 28th Summit Racing Nationals Presented By Grundy Insurance
Ohio Expo Center 717 East 17th Avenue, Columbus, OH 43211
Stray Angels Show & Shine
Stray Angels Show & Shine at Melrose Vineyards 885 Melqua Rd. Roseburg OR. 97471
43rd Annual Stray Angels Show & Shine
Melrose Vineyards, Roseburg, Oregon
We use cookies to enhance your browsing experience, serve personalized ads or content, and analyze our traffic. By clicking "Accept All", you consent to our use of cookies. Visit our Cookie Policy for more info.
 Please wait...
Share Link