 BOB RYDER
.
May 30, 2022
.
All Feature Vehicles
BOB RYDER
.
May 30, 2022
.
All Feature Vehicles
Today we’re seeing more street rod and muscle car enthusiasts moving away from carburetion toward computerized fuel injection. Fuel injection is the wave of the future because it produces better performance and fuel economy and generates fewer fuel emissions, but there are diehards who like the nostalgic appearance and performance of carburetors.
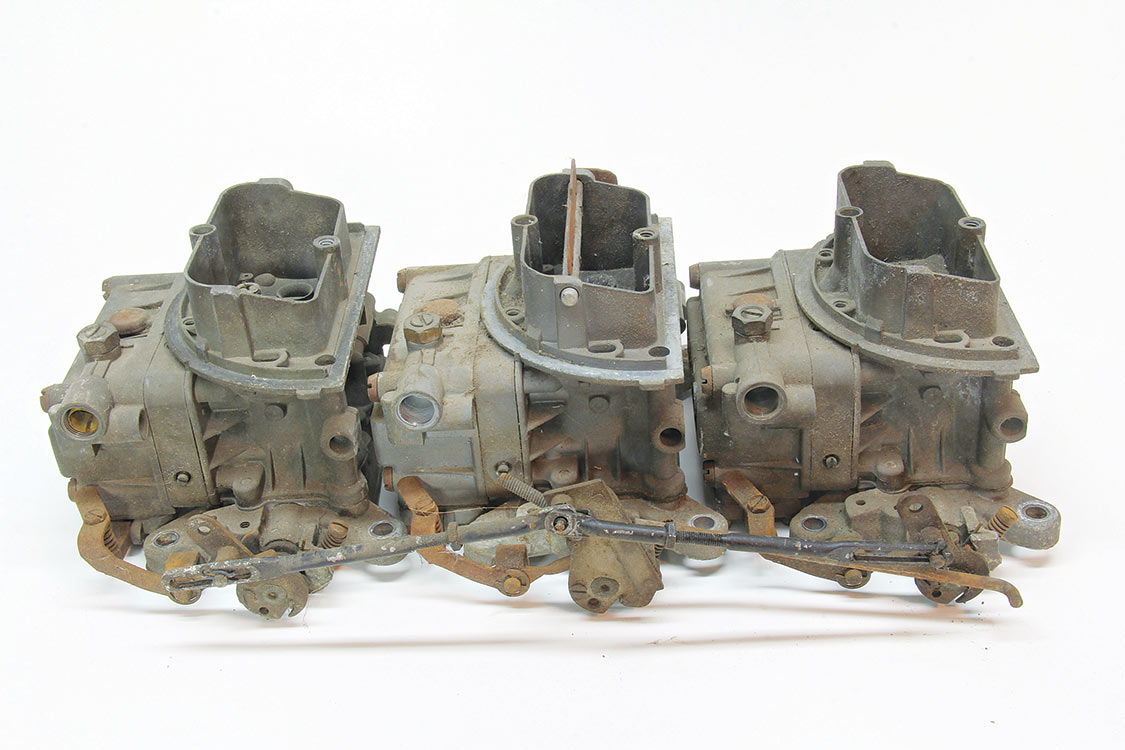
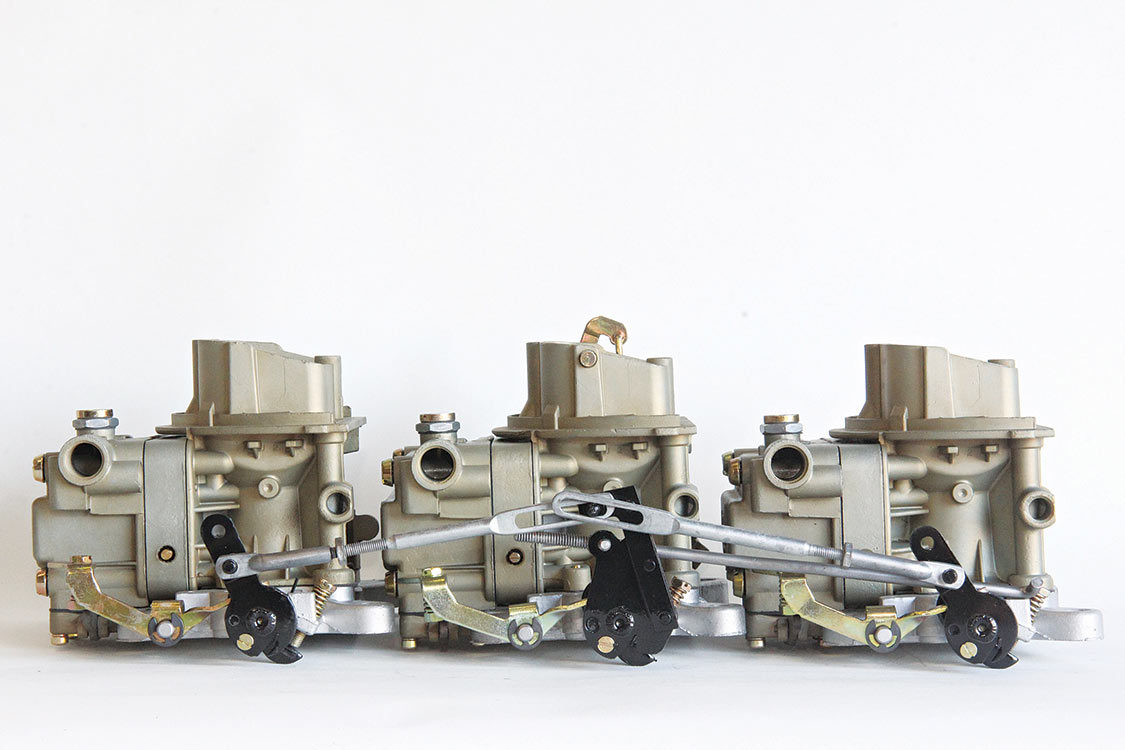
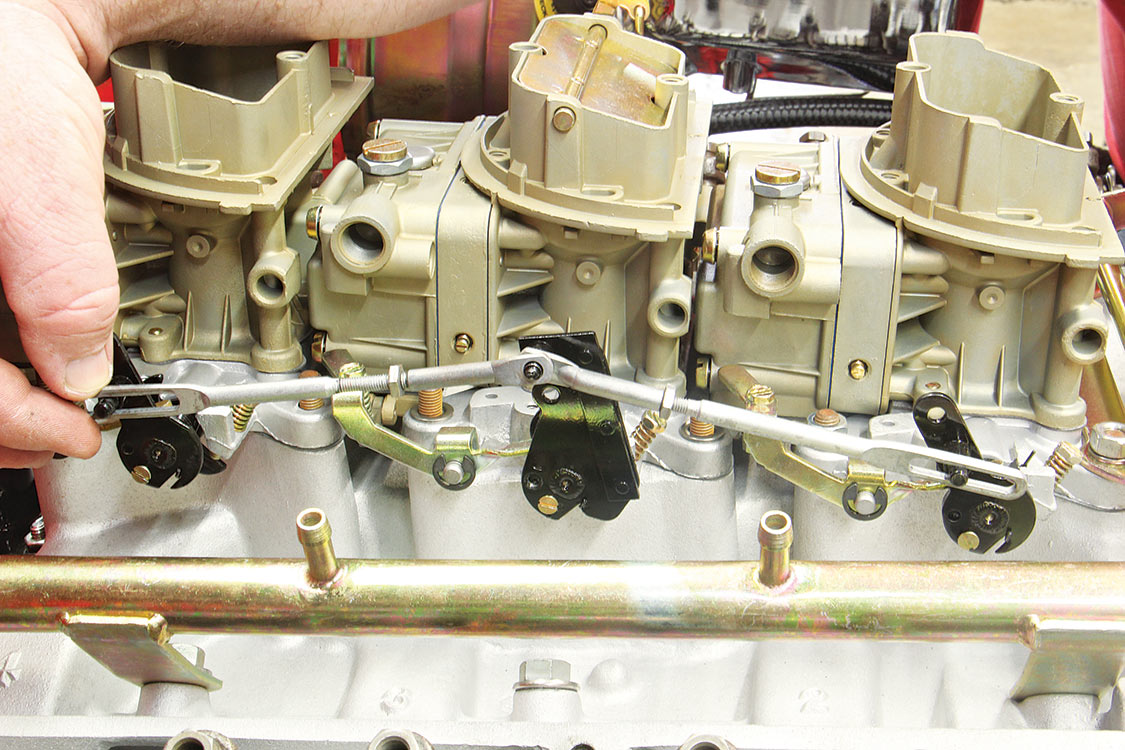
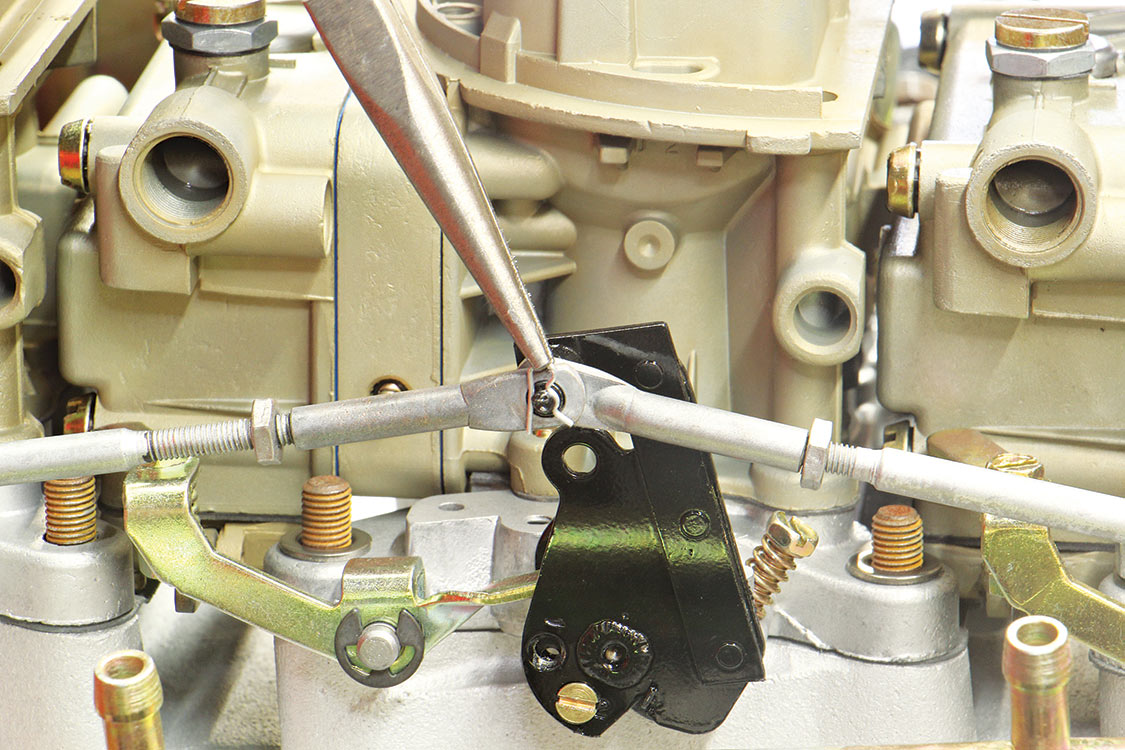
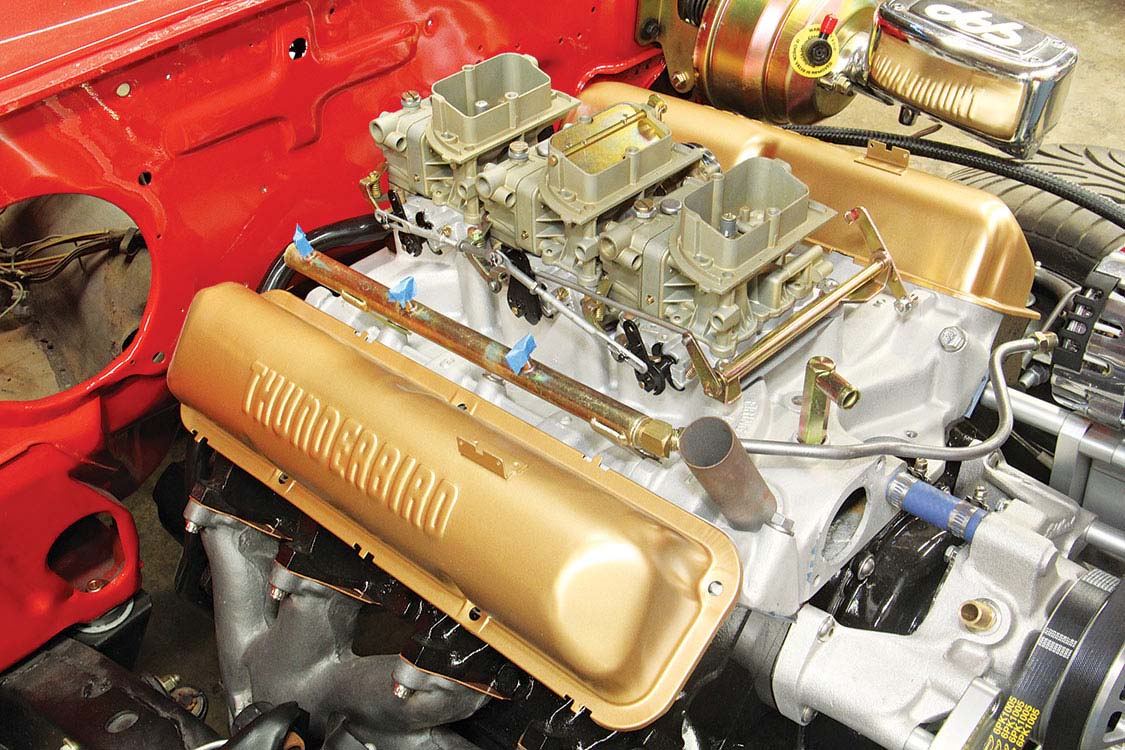
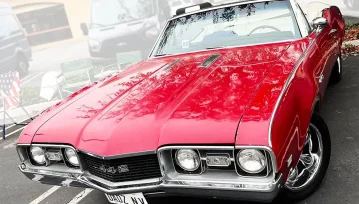
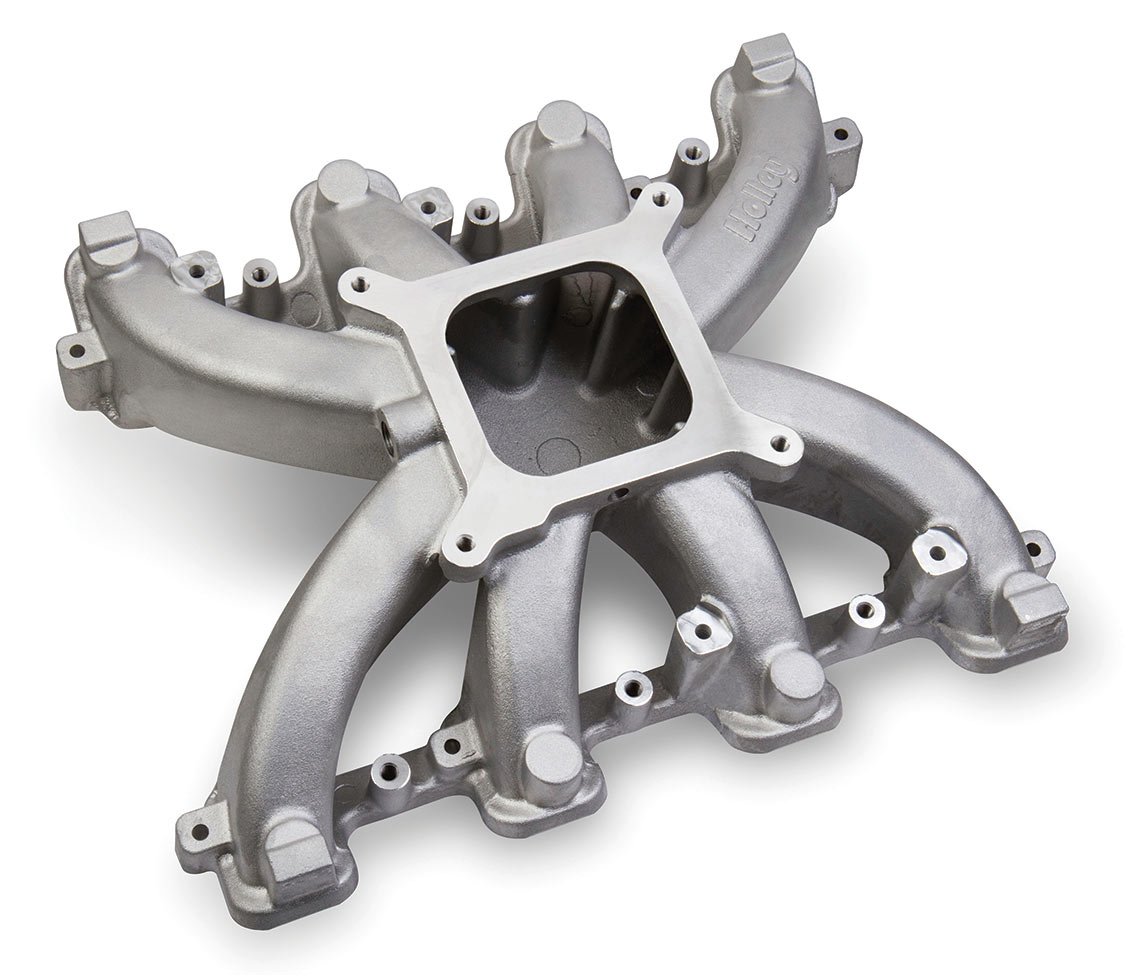
During the early muscle car golden era from 1962-72, carburetors were the induction type of choice. We saw one- and two-barrel, single four-barrel, dual-quad, four-barrel and three two-barrel carburetion. When Ford introduced the 406-ci FE big-block engine in 1962 it was offered with different carburetor counts: single 2V (two-barrel carb), a single 4V (dual-quad four-barrel carb), 2 or 4V carbs and the tri-power (three two-barrel 6V carburetors). The Holley tri-power 3×2 carb setup was offered as a high performance package with the 1962-63, Galaxy and Tunderbird 406-ci engines.
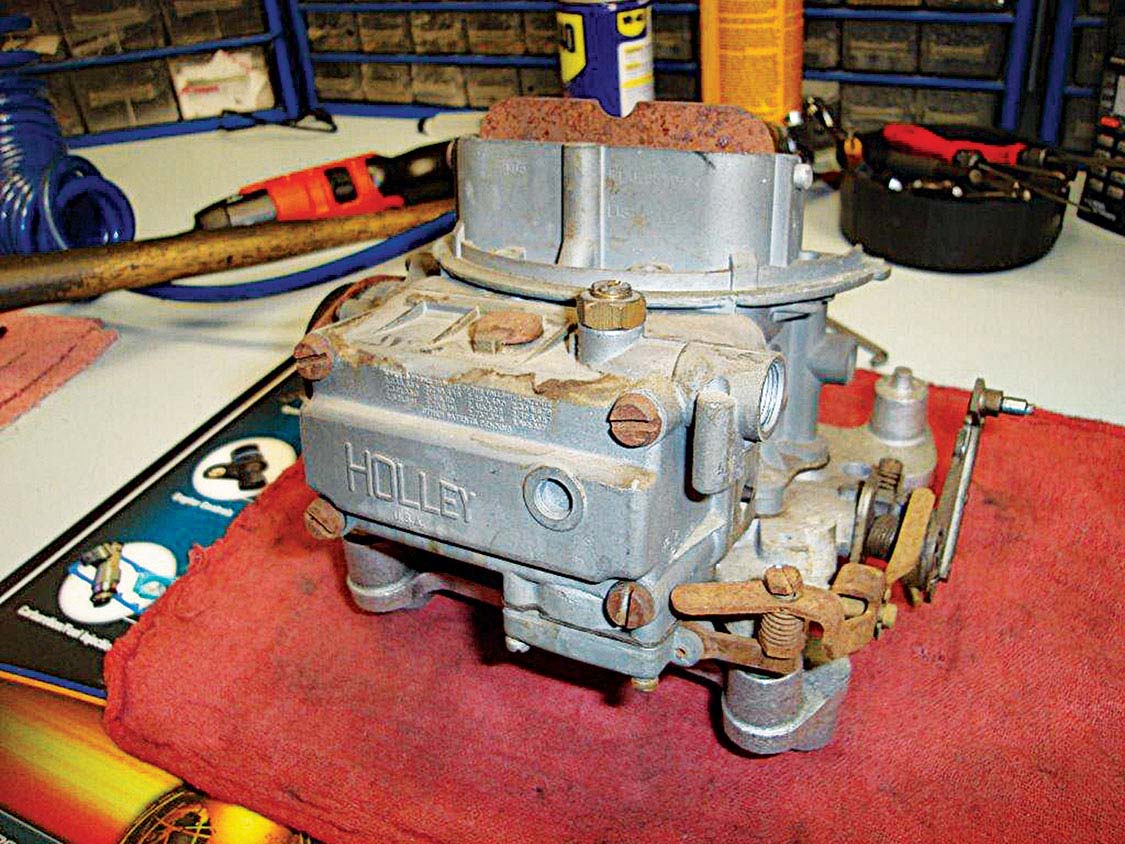
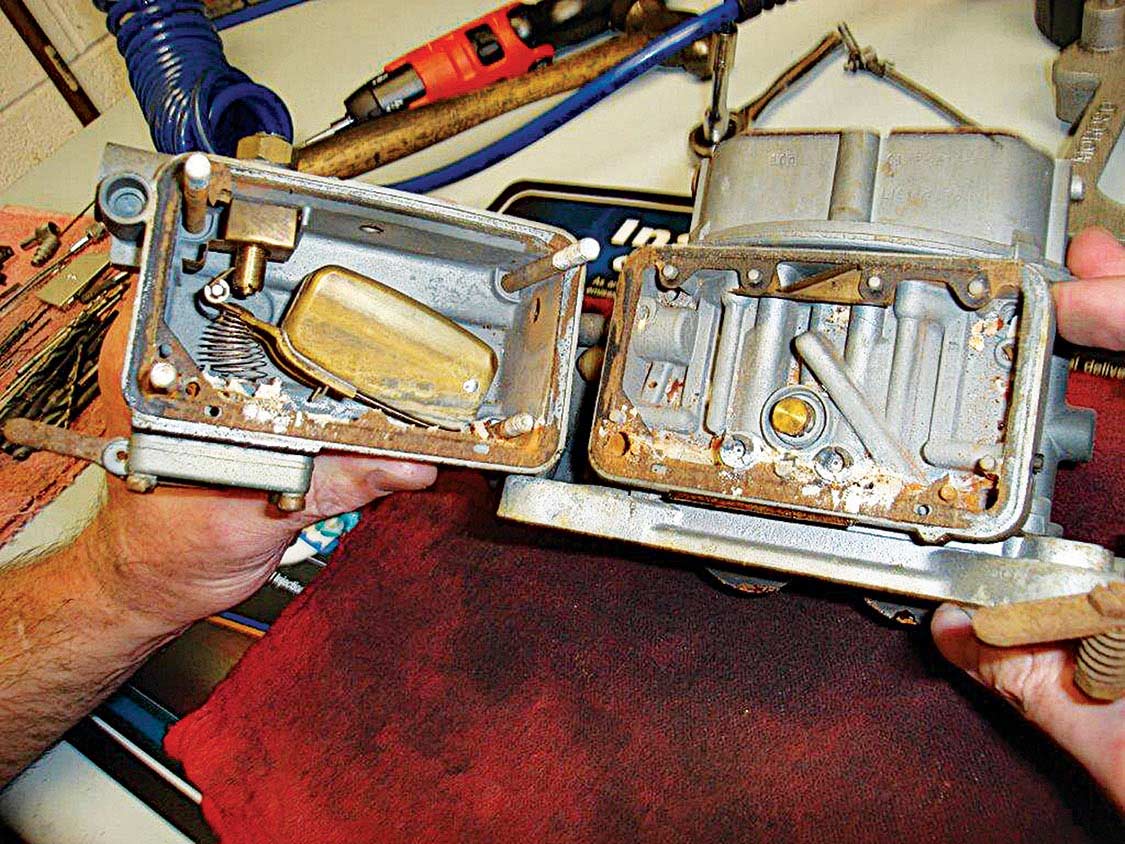
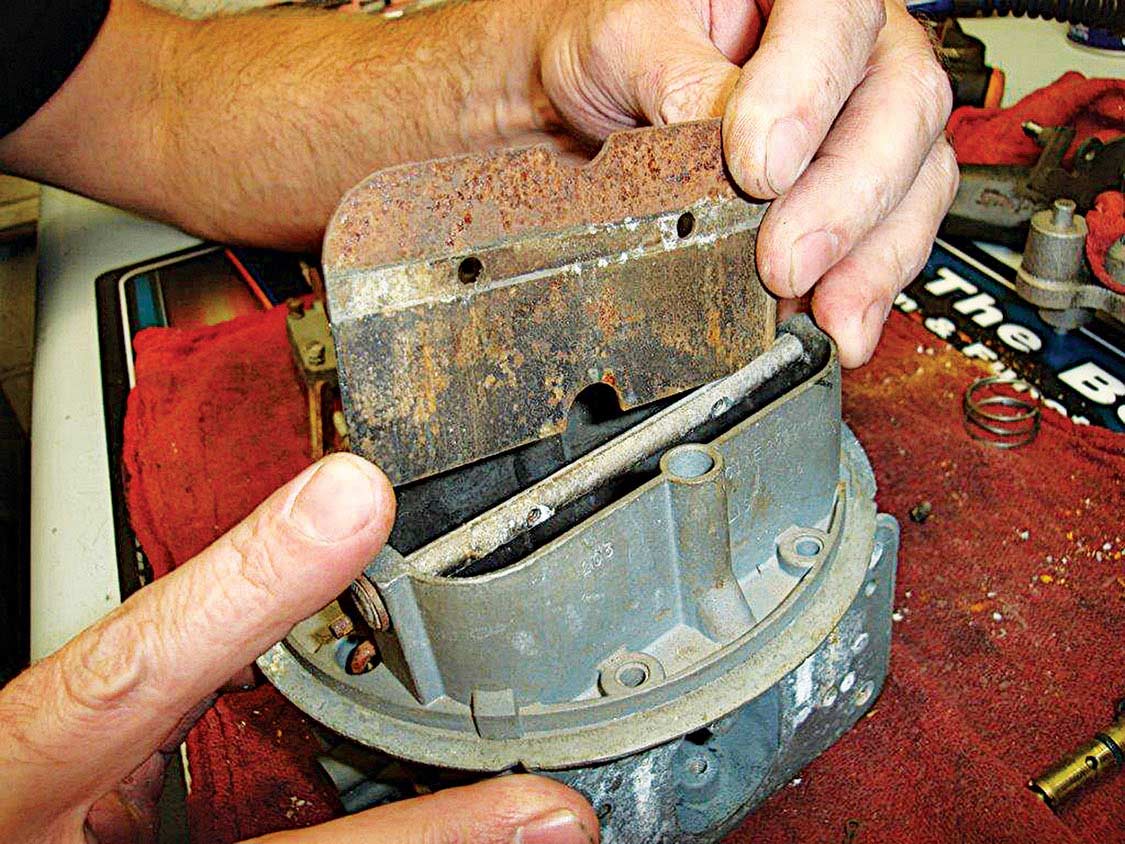
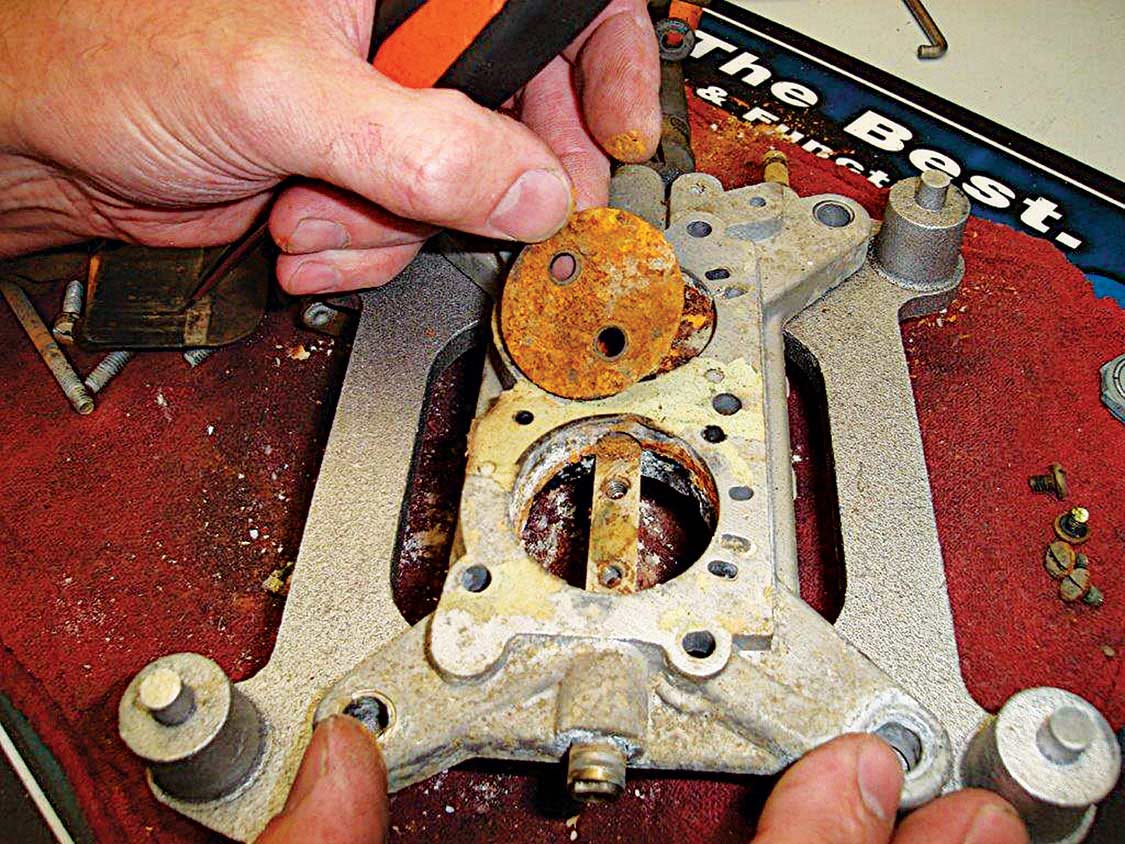
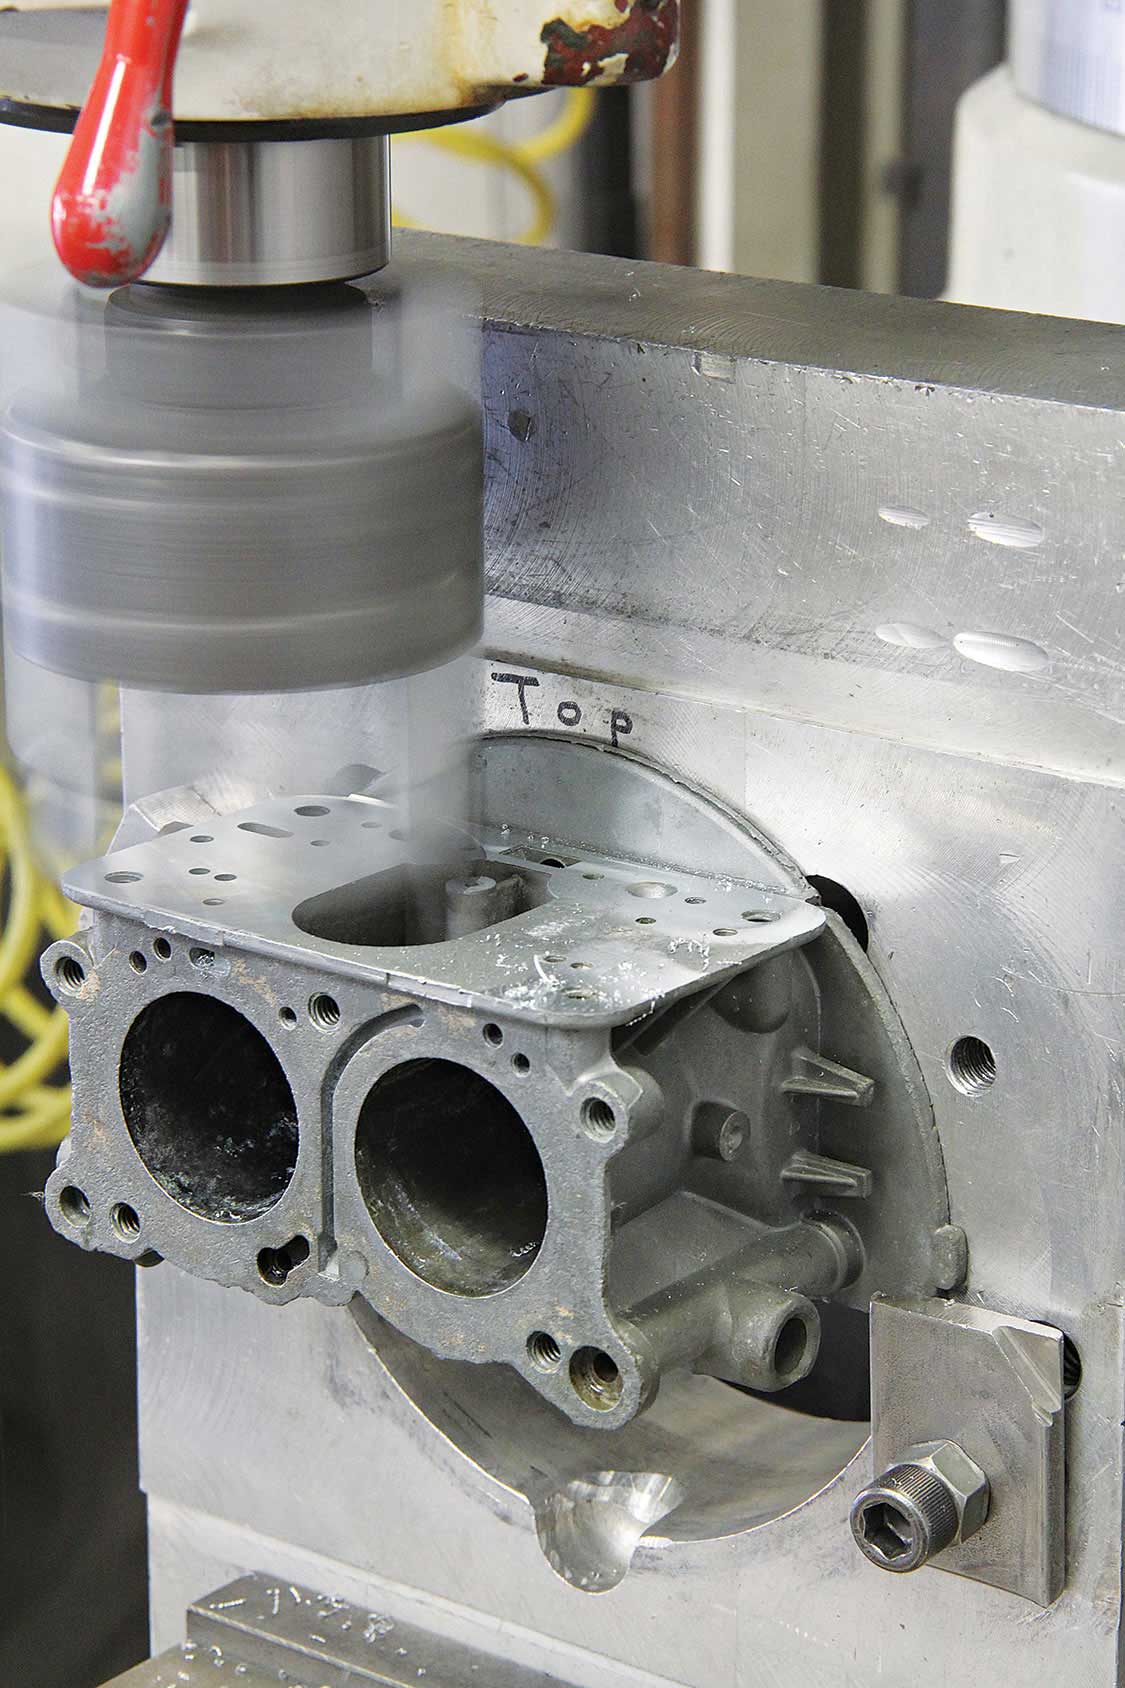
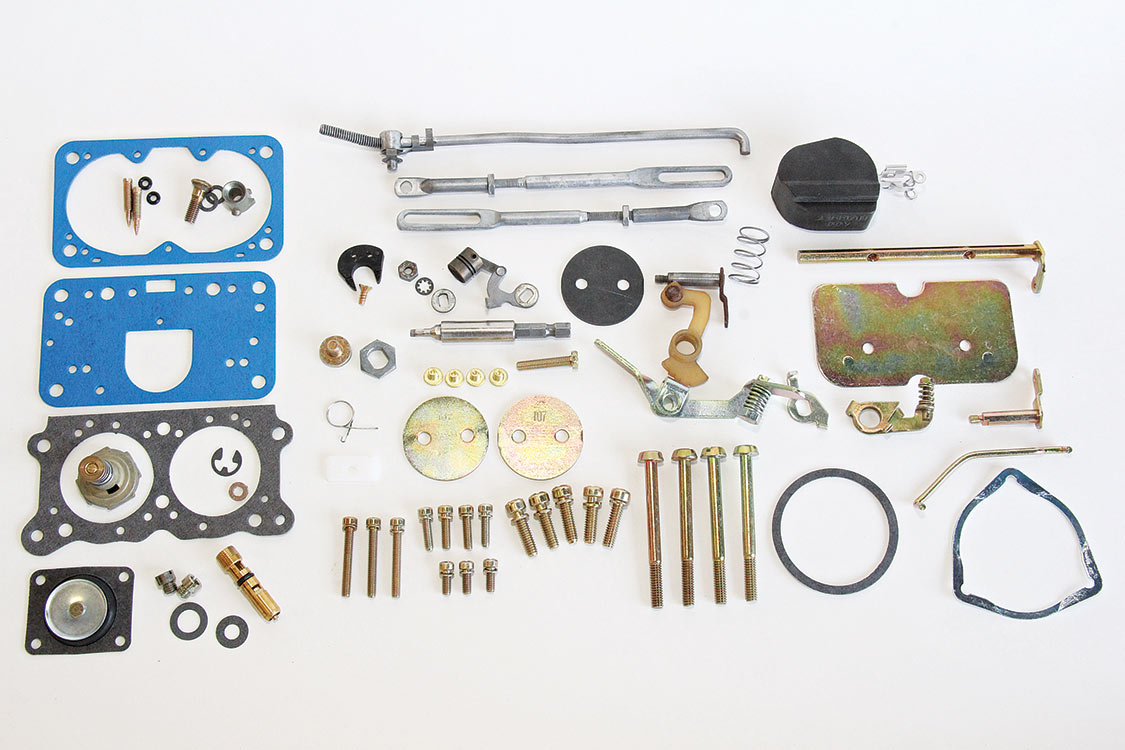
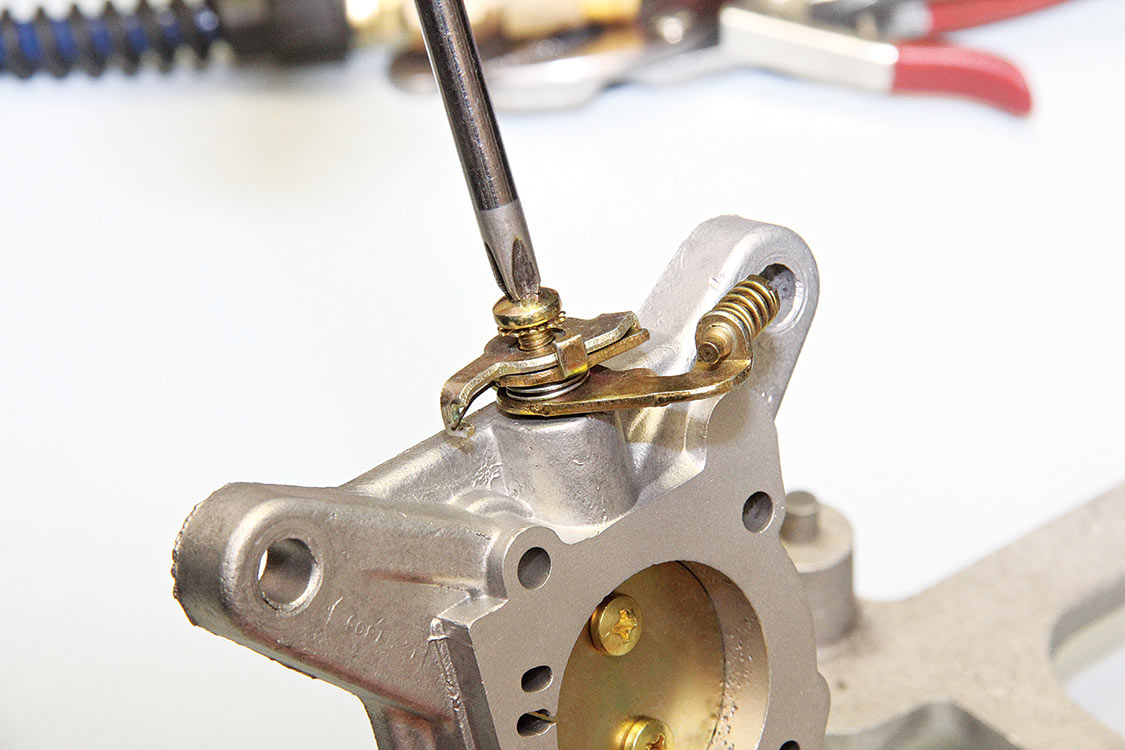
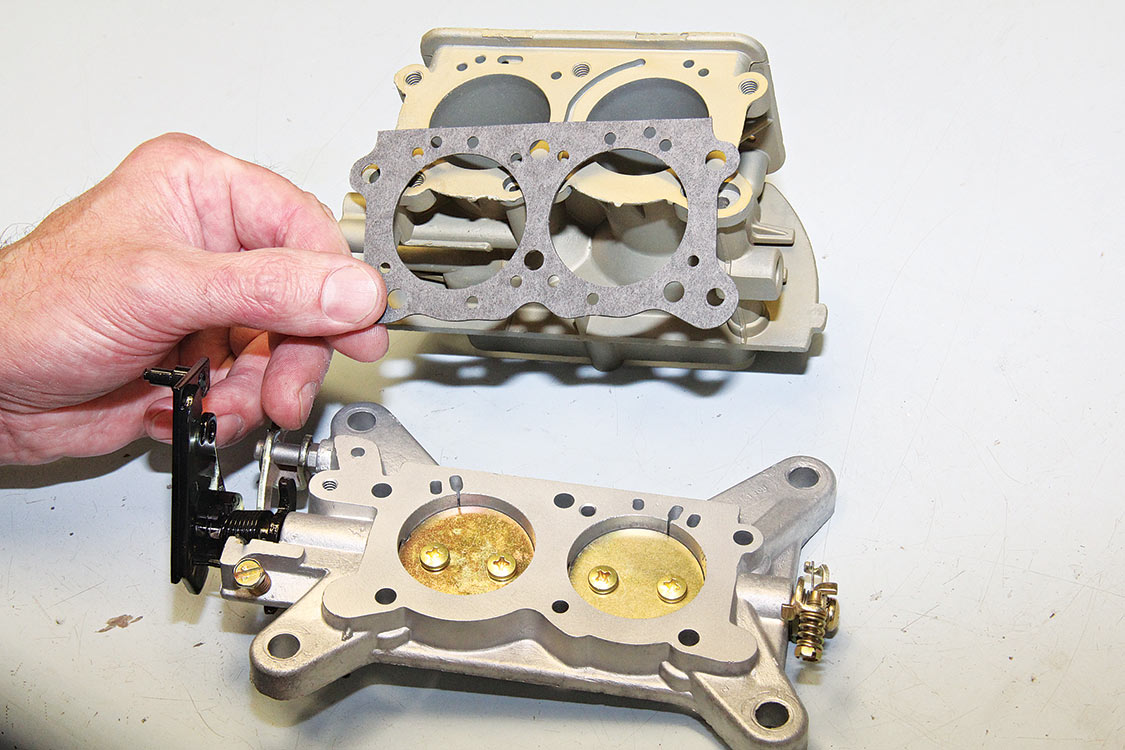
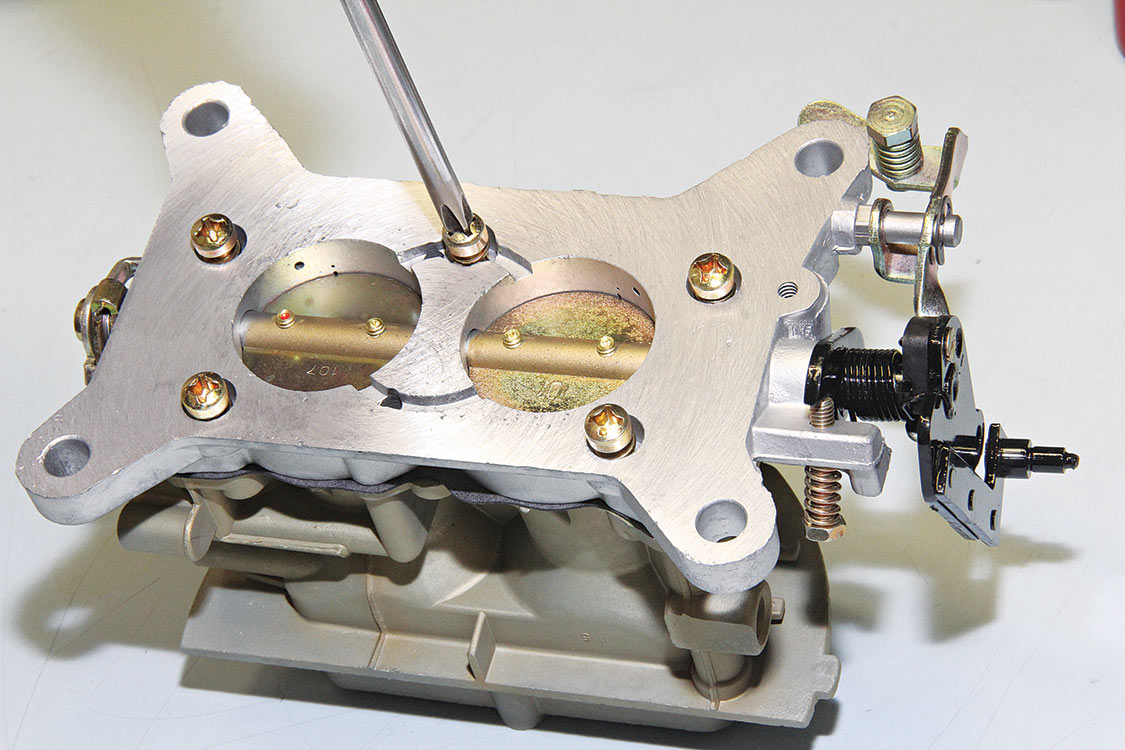
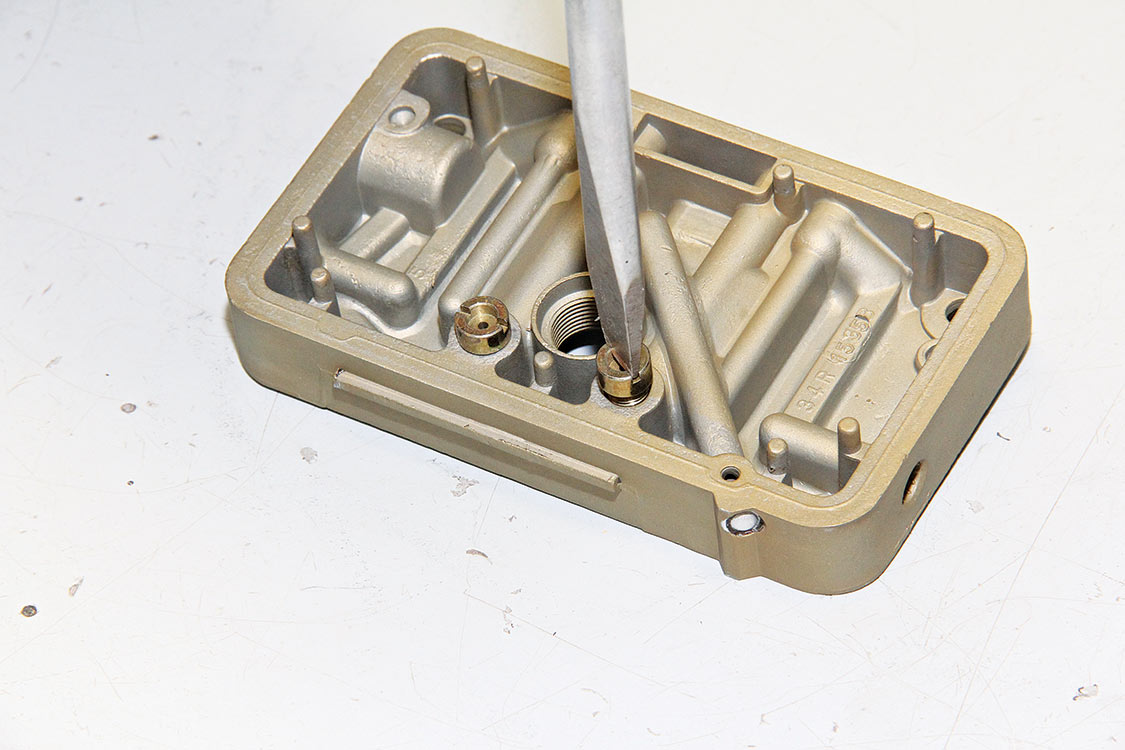
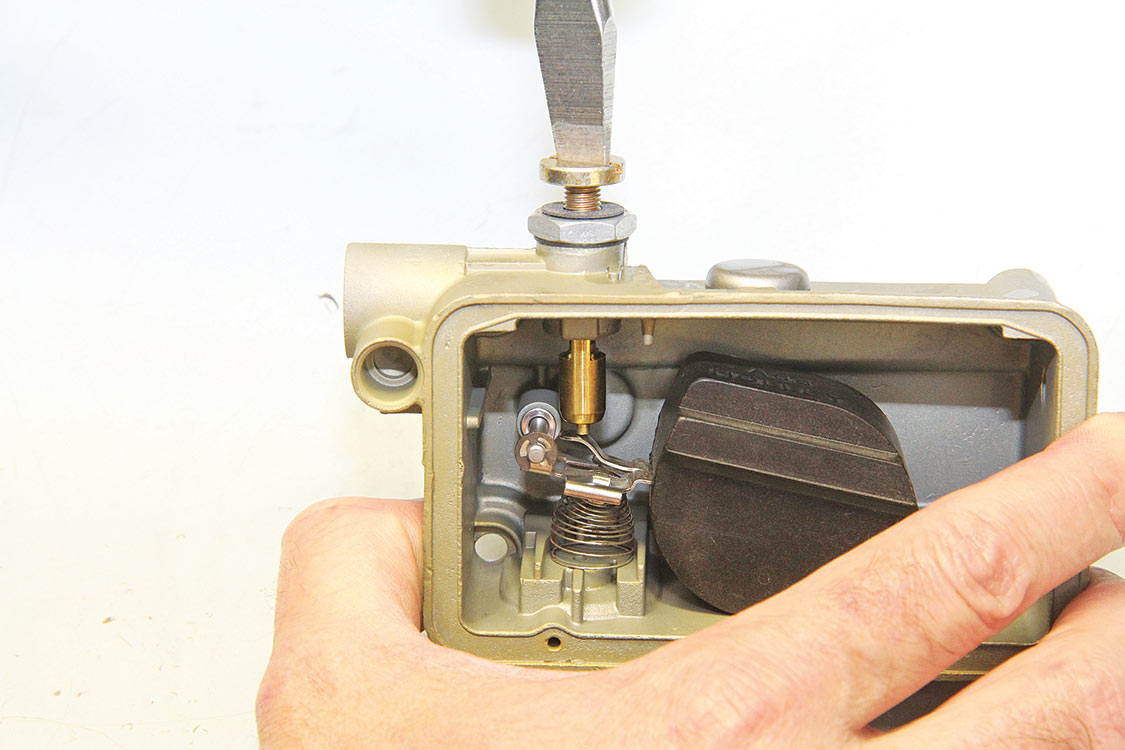
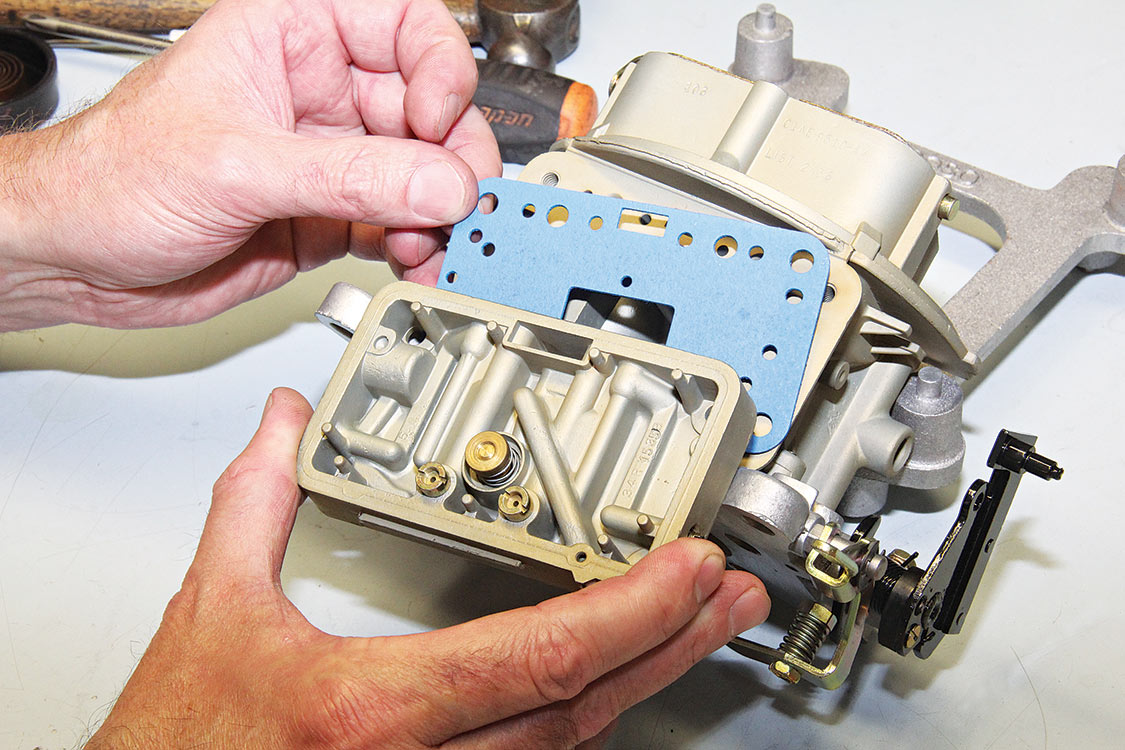
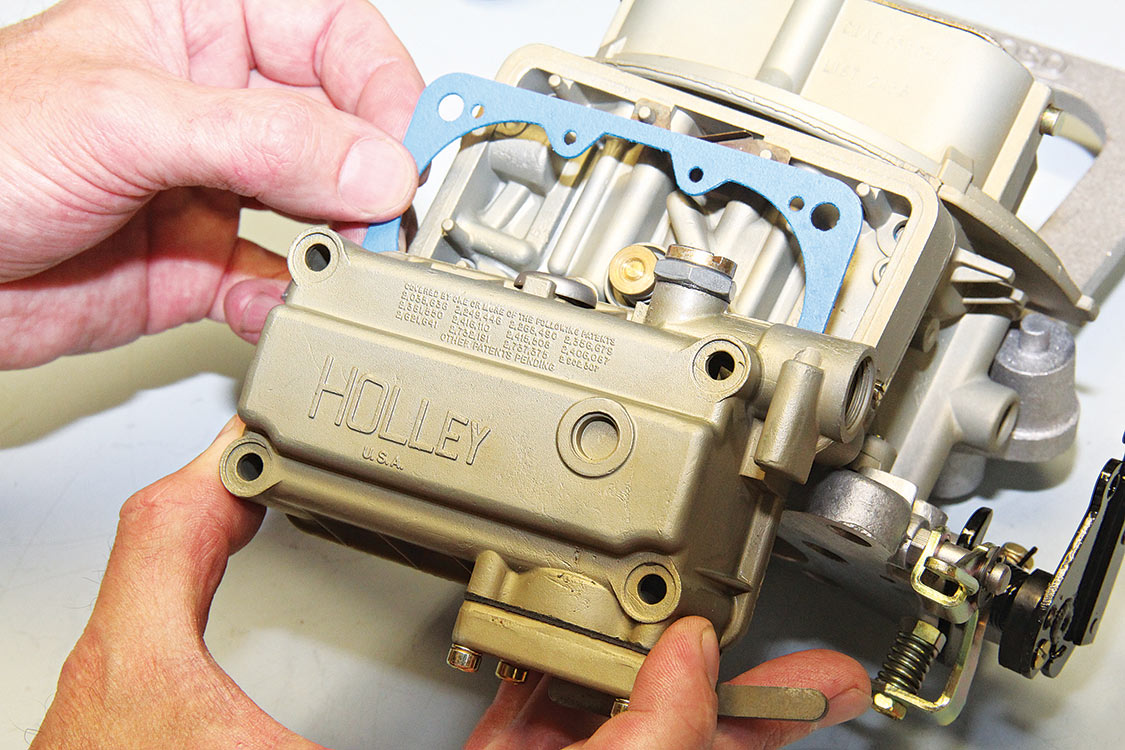
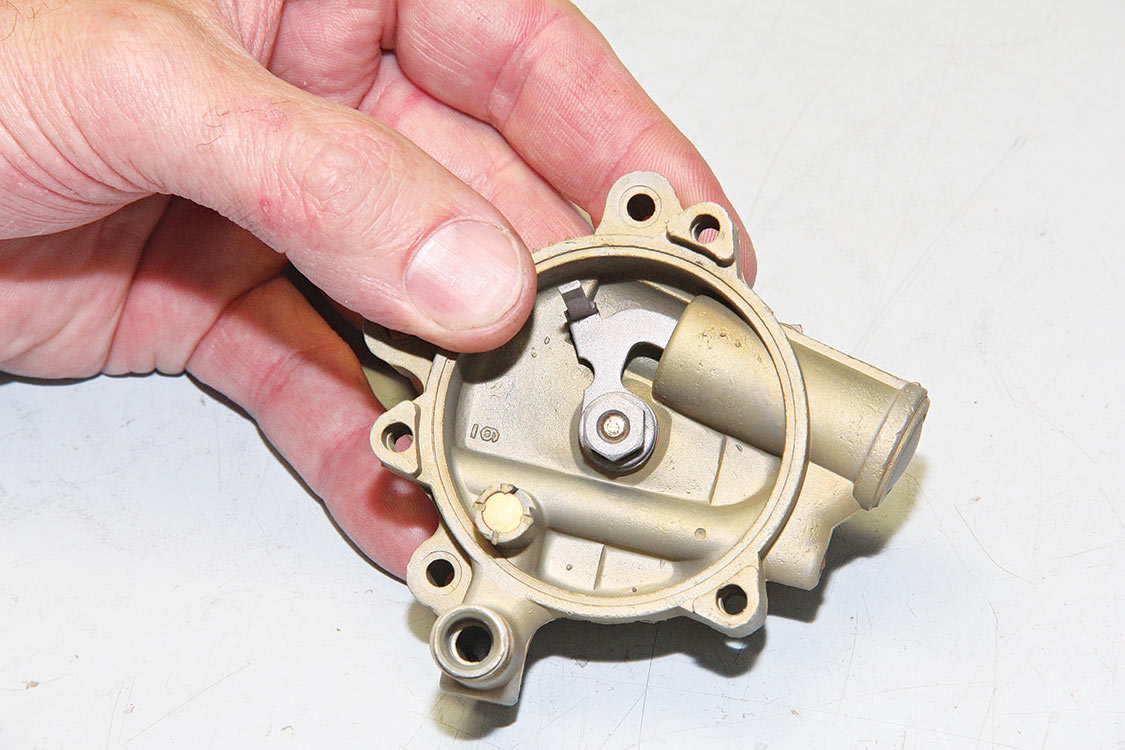
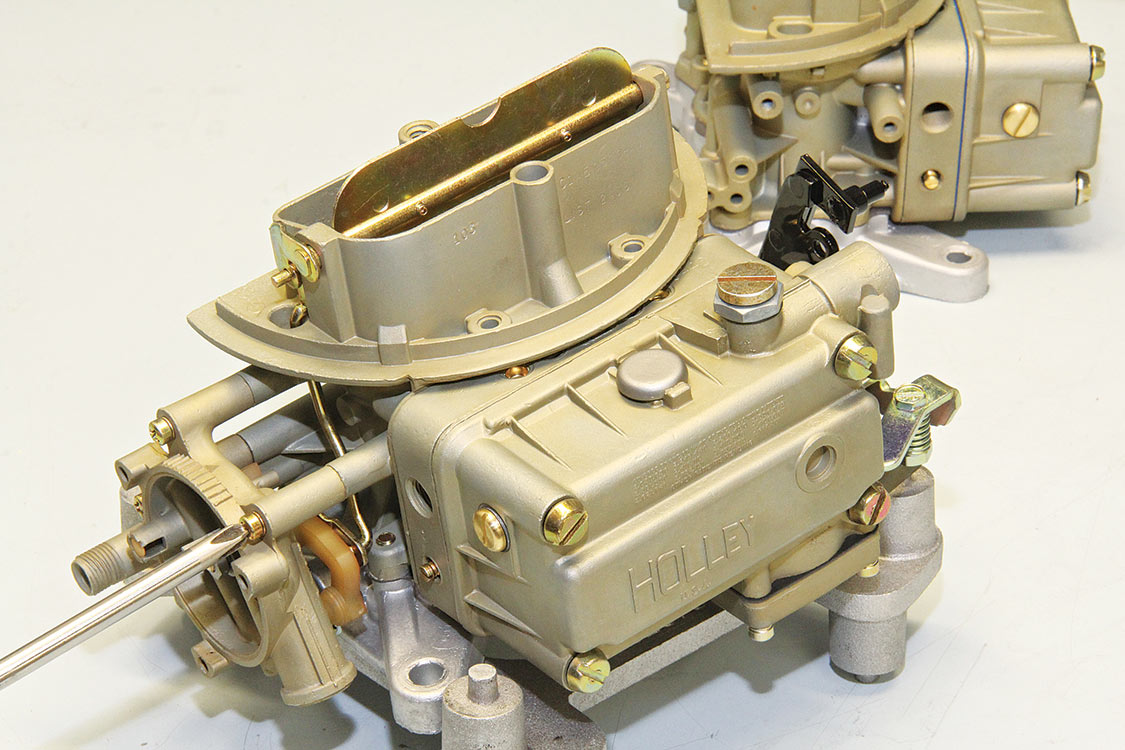
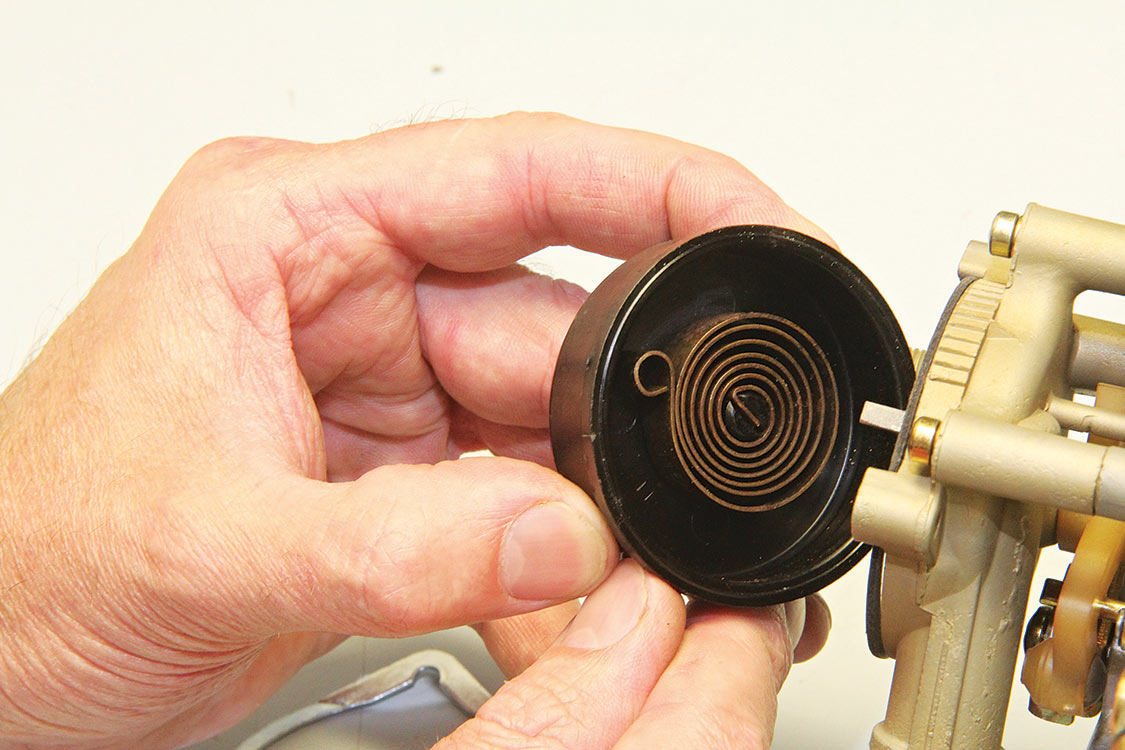
The Holley 2300 tri-power carburetors are basically the same with a couple of exceptions. The two outboard carburetors contain all of the usual systems except there is no choke, power valve, accelerating pump, idle and spark advance. The outboard carburetors are equipped with #56 jets because they don’t have power valves. Each carburetor is equipped with a throttle control vacuum diaphragm. The outboard carburetors are connected to the center main carburetor’s slotted throttle lever by two adjustable connector rods. The slotted throttle lever of the center carburetor allows the throttle valve to open on the outboard carburetors as vacuum requires and close mechanically with the controlling center carburetor.
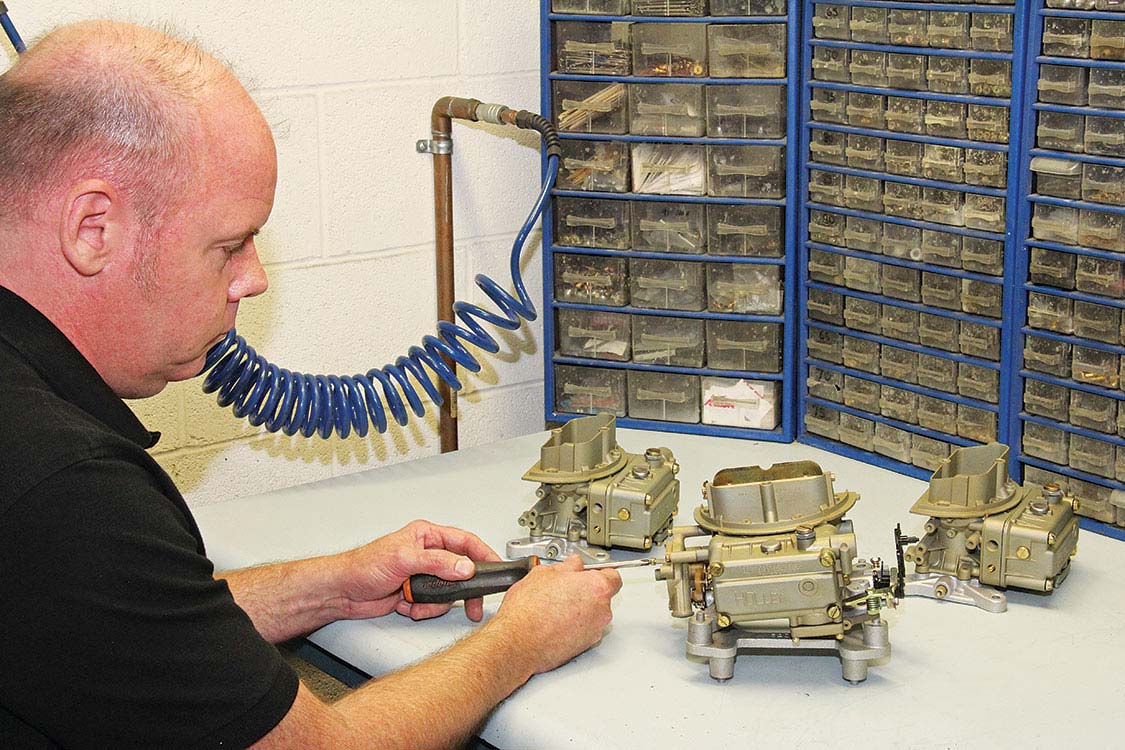
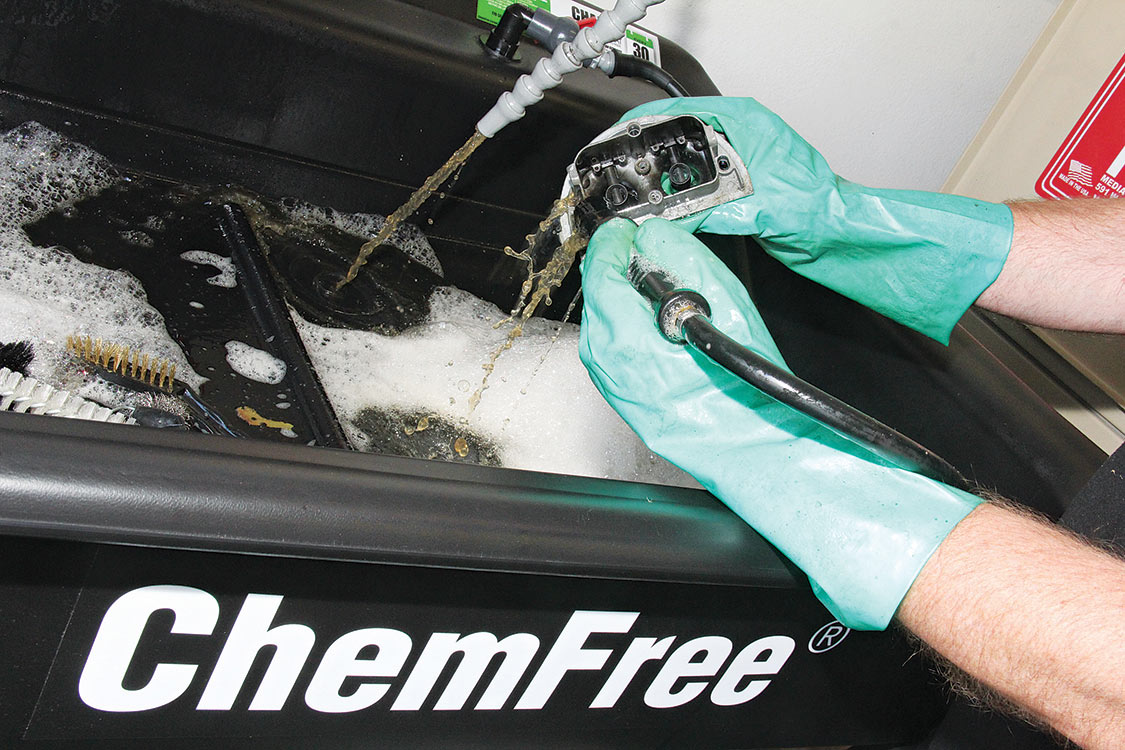
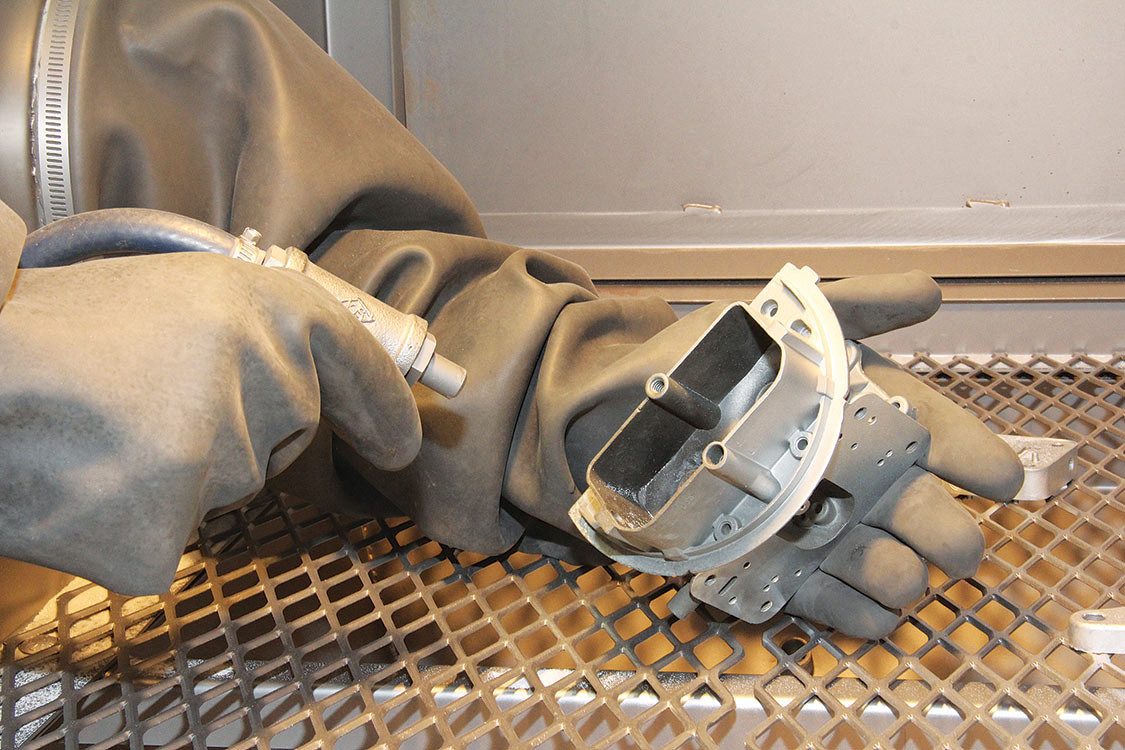
Sean Murphy, owner of SMI in Huntington Beach, California, shared his high-performance induction expertise and wisdom with us in a recent visit. He specializes in both Holley and Rochester carburetors. Sean has spent many years improving carburetor fuel delivery systems for drag, road and oval racing. He’s become one of the masters of performance carburetors. During our visit we also gathered knowledge from Sean’s assistant, James Ferguson.
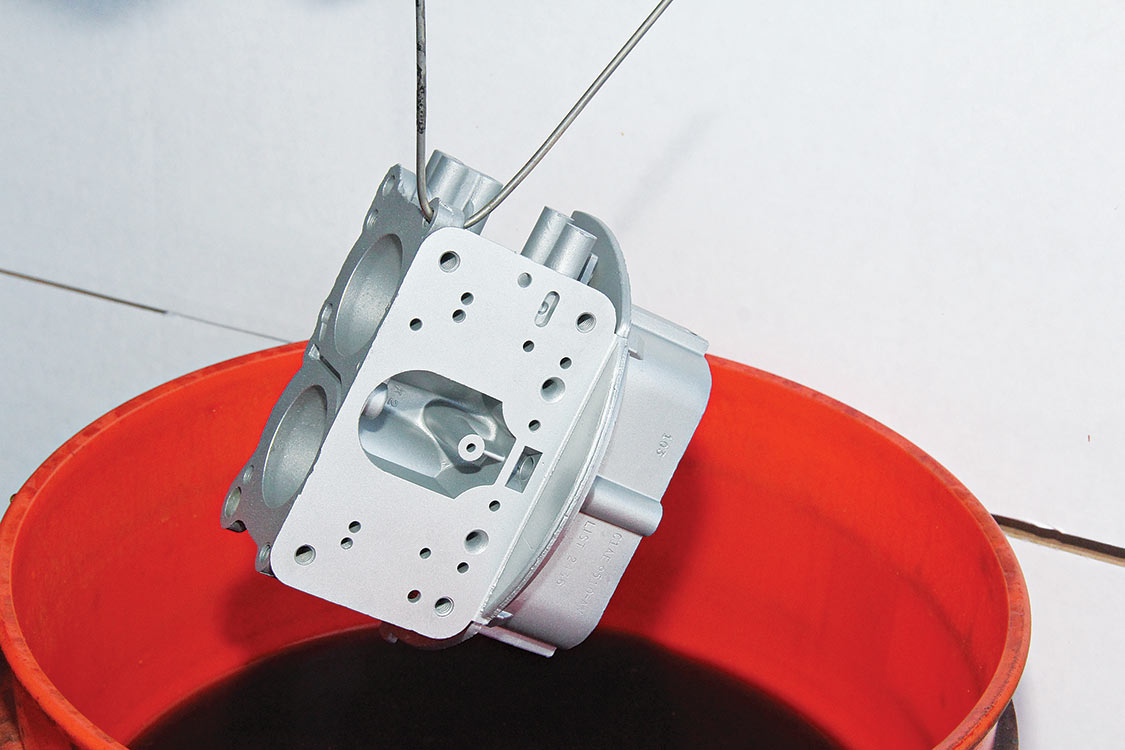
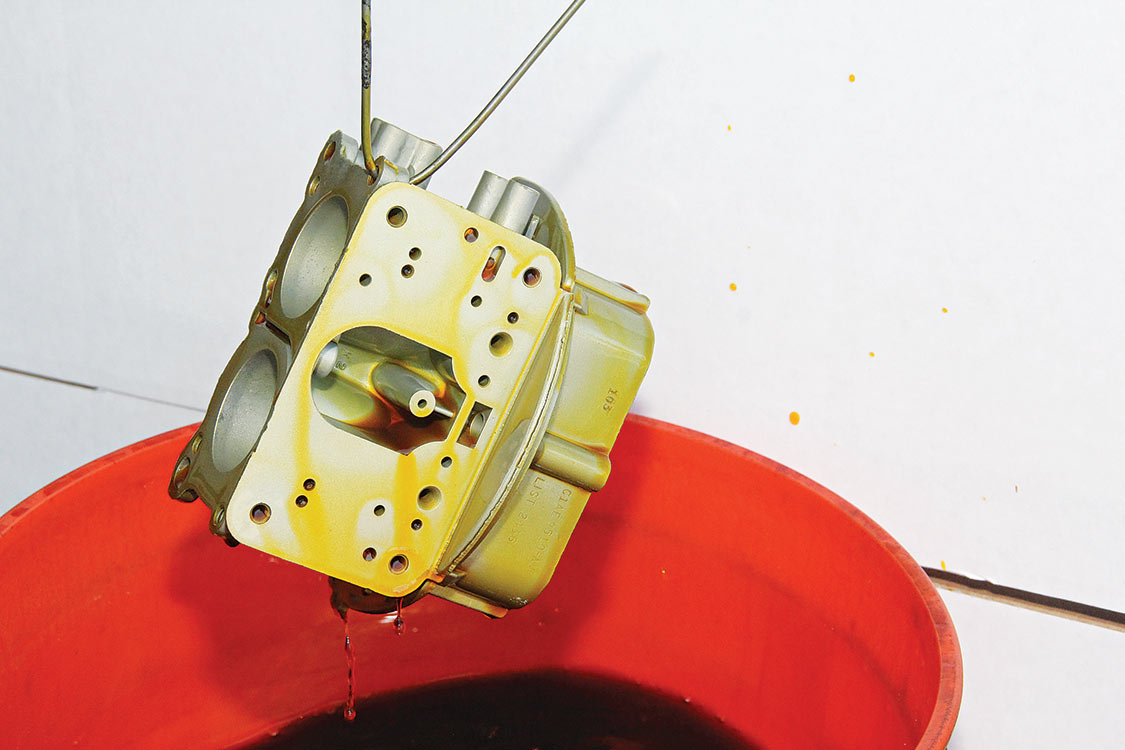
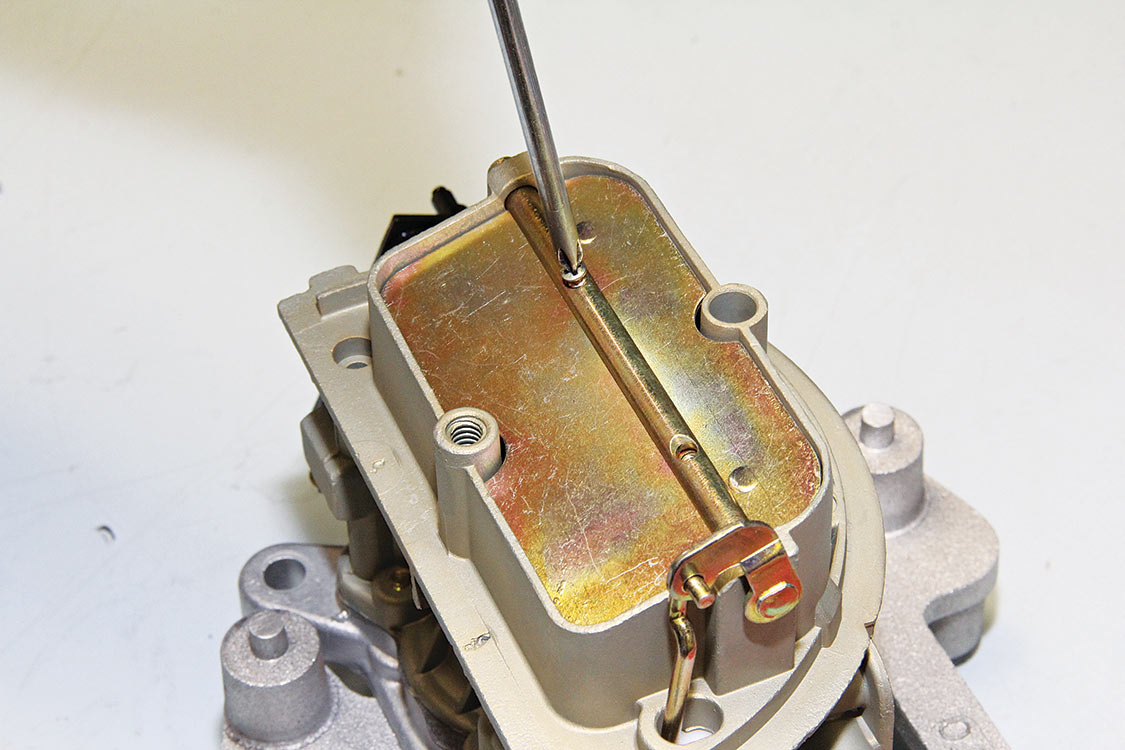
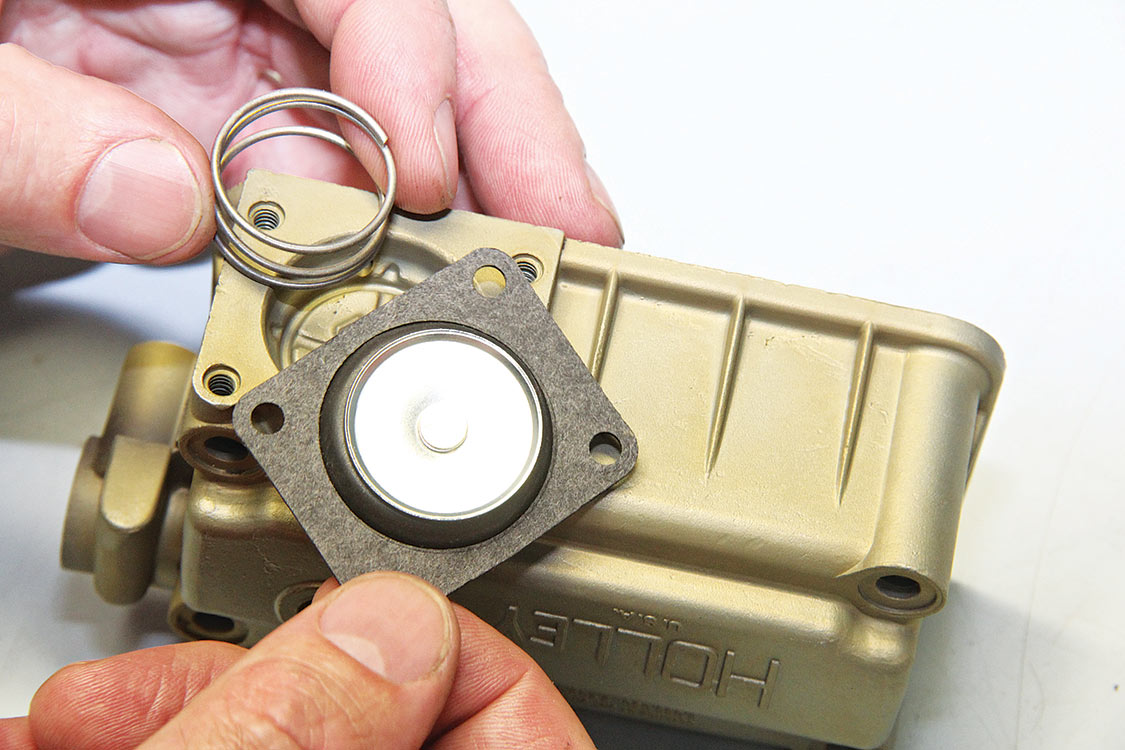
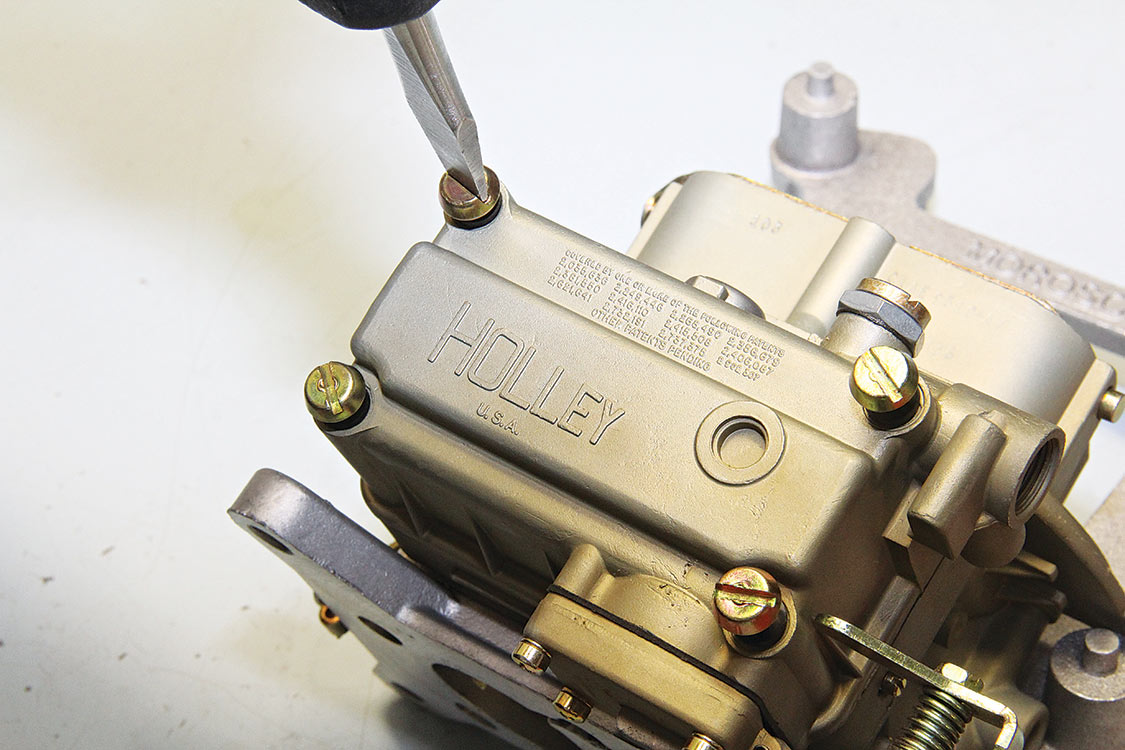
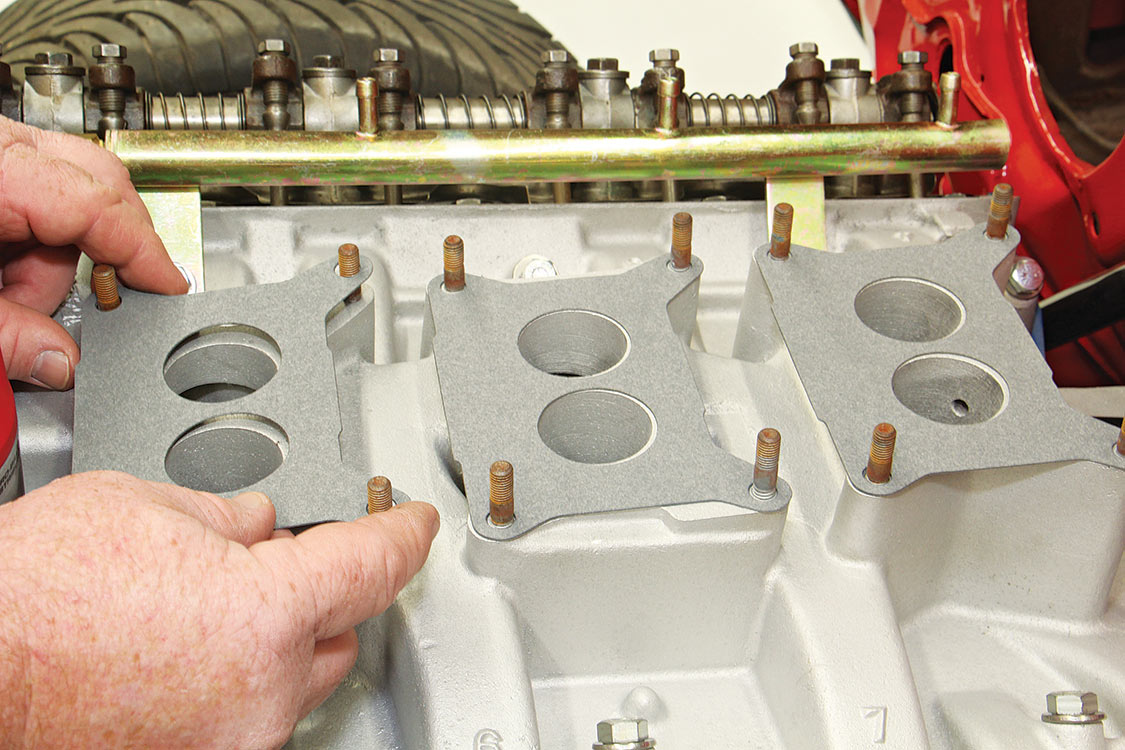
Sean and James showed us the highlights of proper cleaning, machining and reassembly of the Holley 2300 C main/center carburetor of the tri-power 3×2 system. The other two outboard Holley 2300 series carburetors were also cleaned, machined and reassembled separately. The disassembly and reassembly of the two outboard Holley 2300 carburetors are not shown in this article.


SMI Sean Murphy Induction
17671 Metzler Lane, Unit A7
Huntington Beach, CA 92647
714.843.9169
ChemFree Corp.
8 Meca Way
Norcross, GA 30093
770.564.5580
Chemfree.com
All Feature Vehicles
In March 1970, Don Garlits’ Swamp Rat 13 slingshot altered drag racing forever. Of the 34 dragsters built by Don Garlits and his team from… Continue reading
John L. Stein . June 02, 2022

All Feature Vehicles
Sometimes we scan the mass amounts of automotive Instagram pics, every once in a while we’ll see a post from someone who has incredible talent.… Continue reading
TOM GOMEZ . March 01, 2023
All Feature Vehicles
The Event: The Santa Barbara Drags is a street-racing event put on by The Race Of Gentlemen group, who normally race on the beach of… Continue reading
Dean Powers . December 28, 2022

All Feature Vehicles
Herb Stuart’s EFI, dohc, 32-valve, road race Cougar is the cure for the common Mustang Legend has it that when Ford execs approached Carroll Shelby about… Continue reading
Stephen Kim . March 21, 2023
All Feature Vehicles
One of the best Cars & Coffee events in the upper valley of Thousand Oaks, Craig Casey’s CONEJO VALLEY CARS & COFFEE is an amazing… Continue reading
Fireball Fireball . February 27, 2023
All Feature Vehicles
30th Annual Car show At Pepper Tree Frosty, Vista, CA. On January 14, 2017 “The Best Little Car Show in San Diego County” was presented… Continue reading
Roger Rohrdanz . January 29, 2023


Classics With The Cardinals, Santa Barbara’s Premier Car Show
Bishop Diego High School - Football Field 4000 La Colina Rd
Goodguys 35th Speedway Motors Heartland Nationals Presented By FiTech Fuel Injection
Iowa State Fairgrounds 3000 East Grand Avenue, Des Moines, IA 50317
Goodguys 28th Summit Racing Nationals Presented By Grundy Insurance
Ohio Expo Center 717 East 17th Avenue, Columbus, OH 43211
Stray Angels Show & Shine
Stray Angels Show & Shine at Melrose Vineyards 885 Melqua Rd. Roseburg OR. 97471
43rd Annual Stray Angels Show & Shine
Melrose Vineyards, Roseburg, Oregon
We use cookies to enhance your browsing experience, serve personalized ads or content, and analyze our traffic. By clicking "Accept All", you consent to our use of cookies. Visit our Cookie Policy for more info.
 Please wait...
Share Link