 Tucker Harris
.
June 02, 2026
.
Diesel World
Tucker Harris
.
June 02, 2026
.
Diesel World
AS SEEN IN OUR DIESEL WORLD JULY 2026 ISSUE – Buy Now!
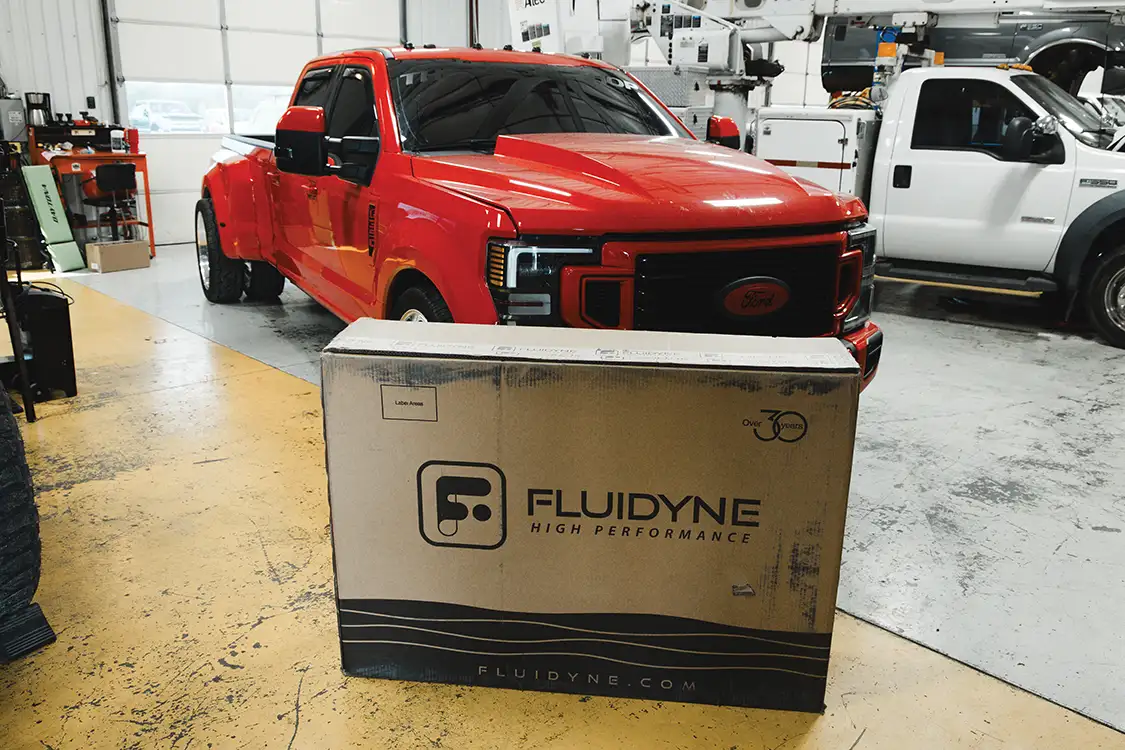
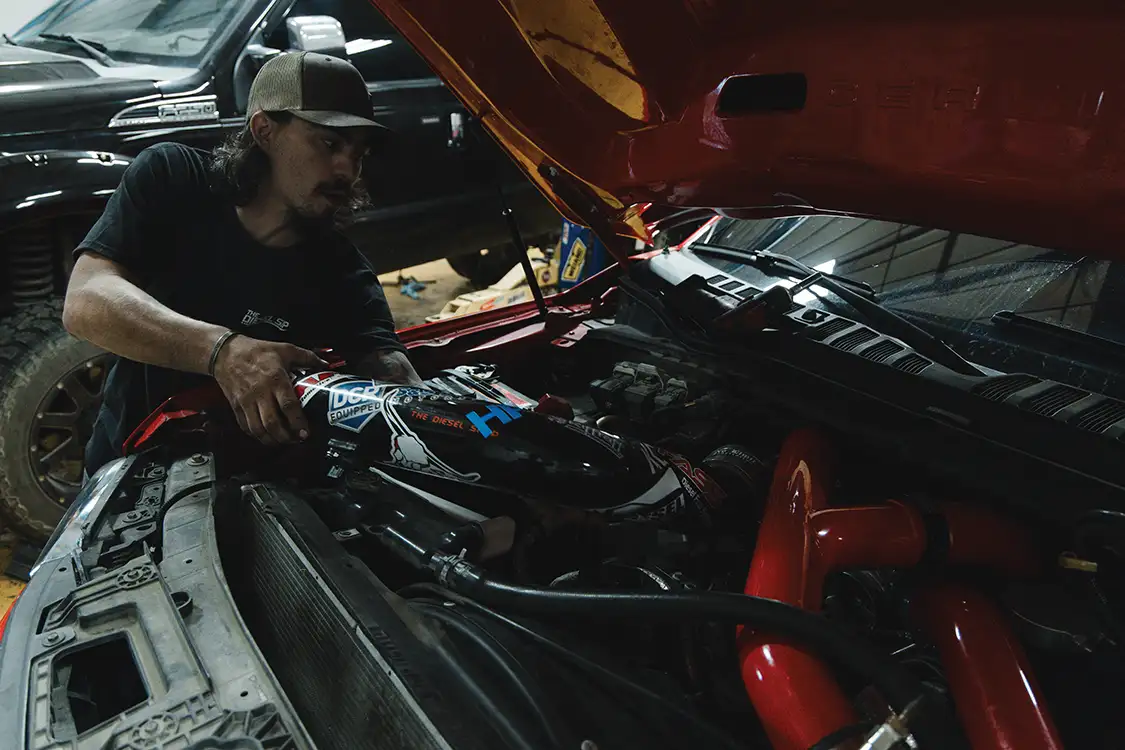
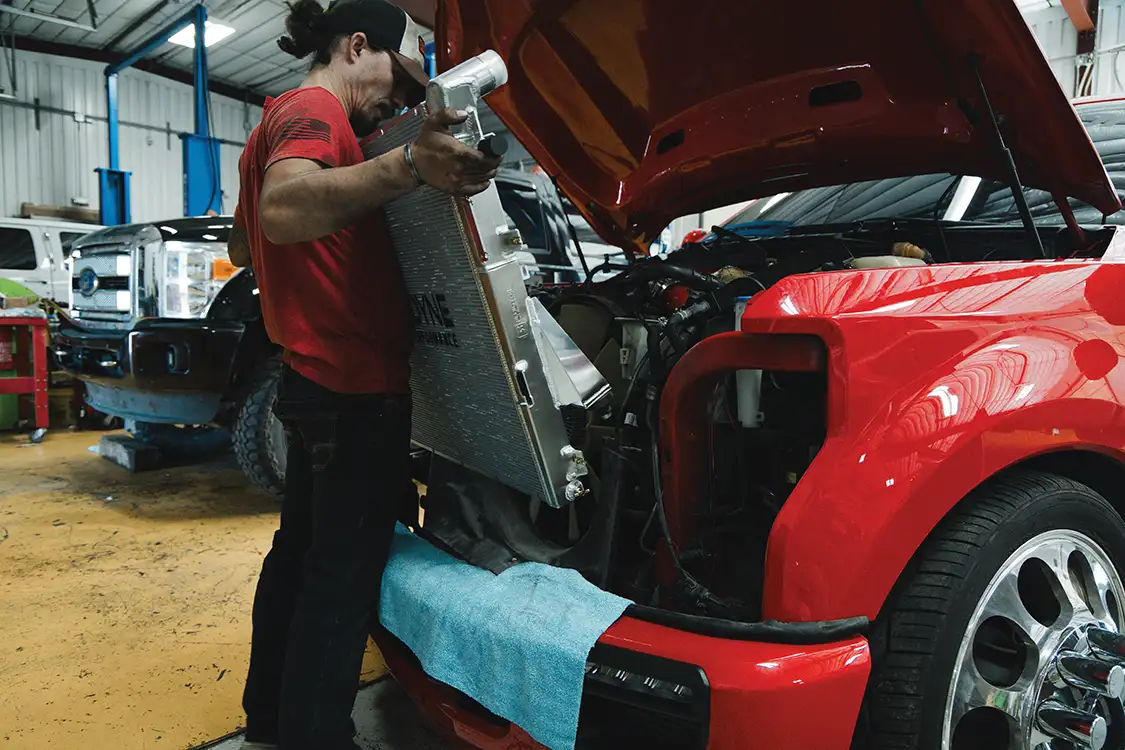
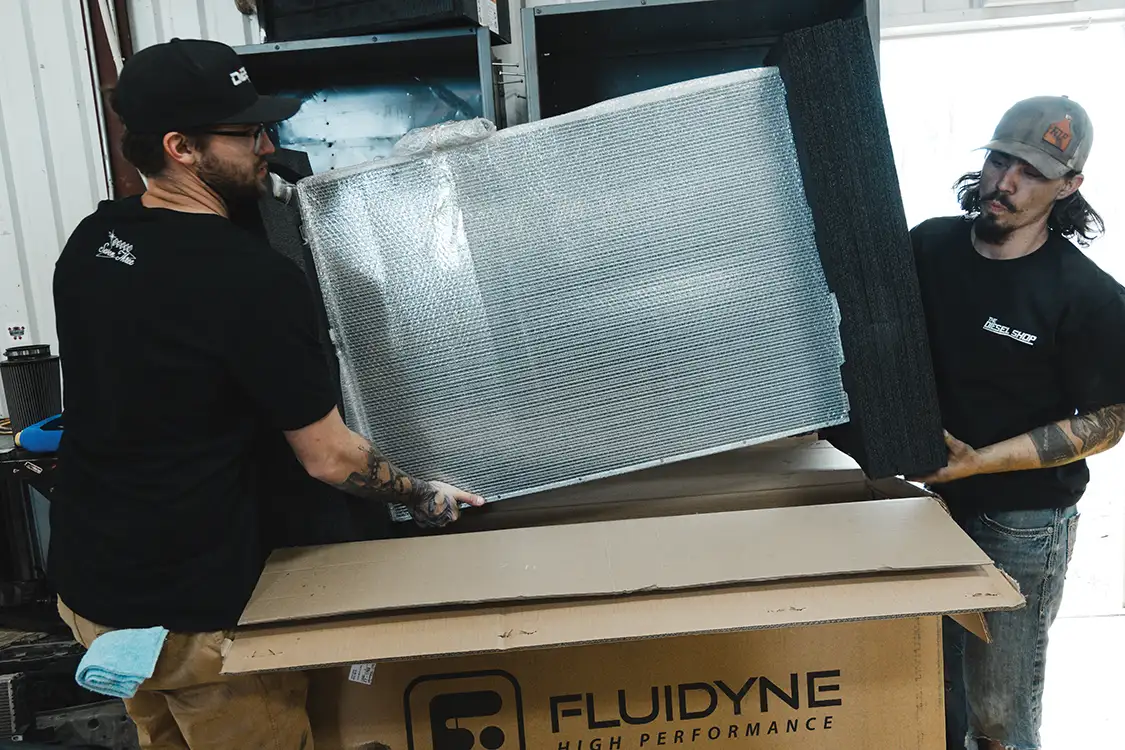
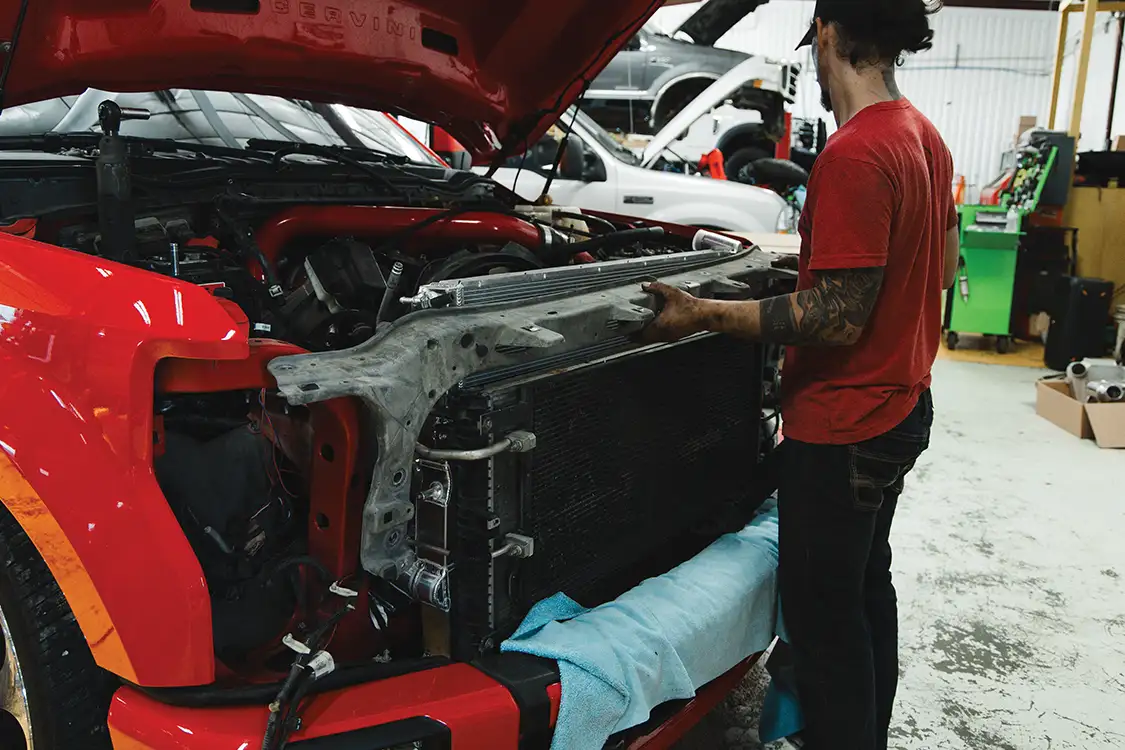
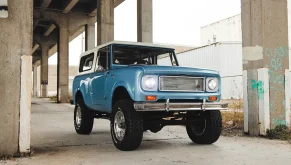
Something that we love to see brought into the diesel world is innovation, so today we’re bringing you some race car-inspired technology by Fluidyne High Performance in the form of its radiators. The truck we’re working on is a past Diesel World cover truck from The Diesel Shop in Locust Grove, Oklahoma, but who’s to say that a high-caliber build can’t be further upgraded?
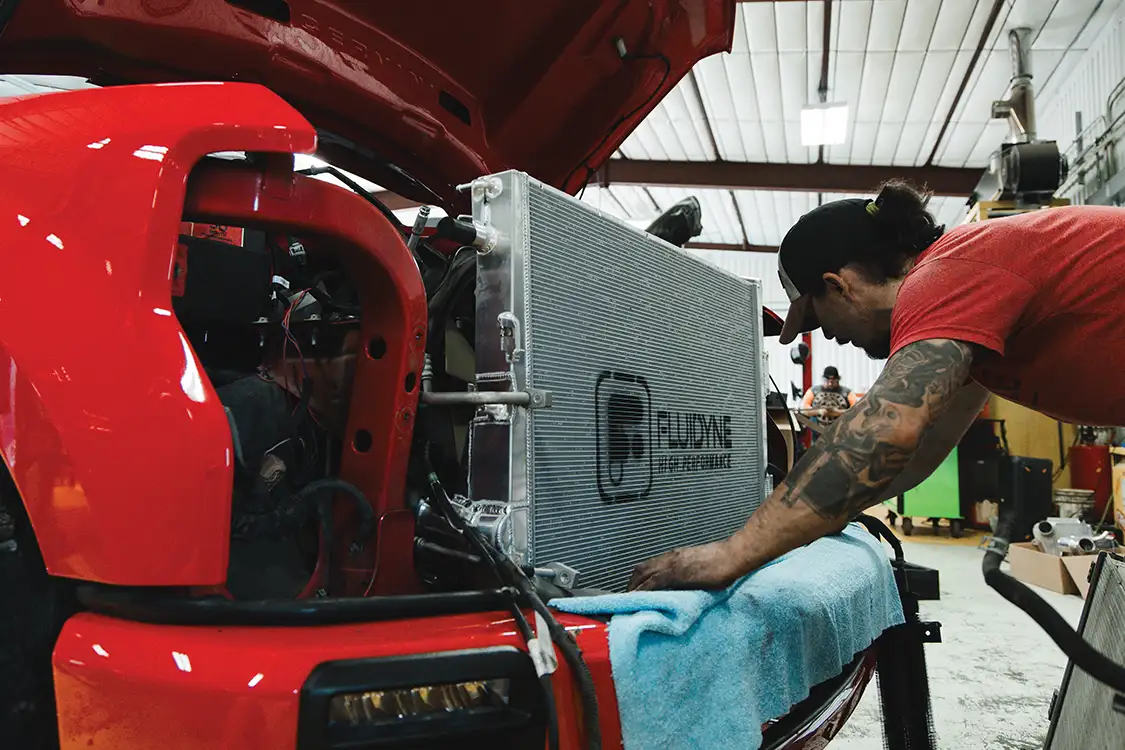
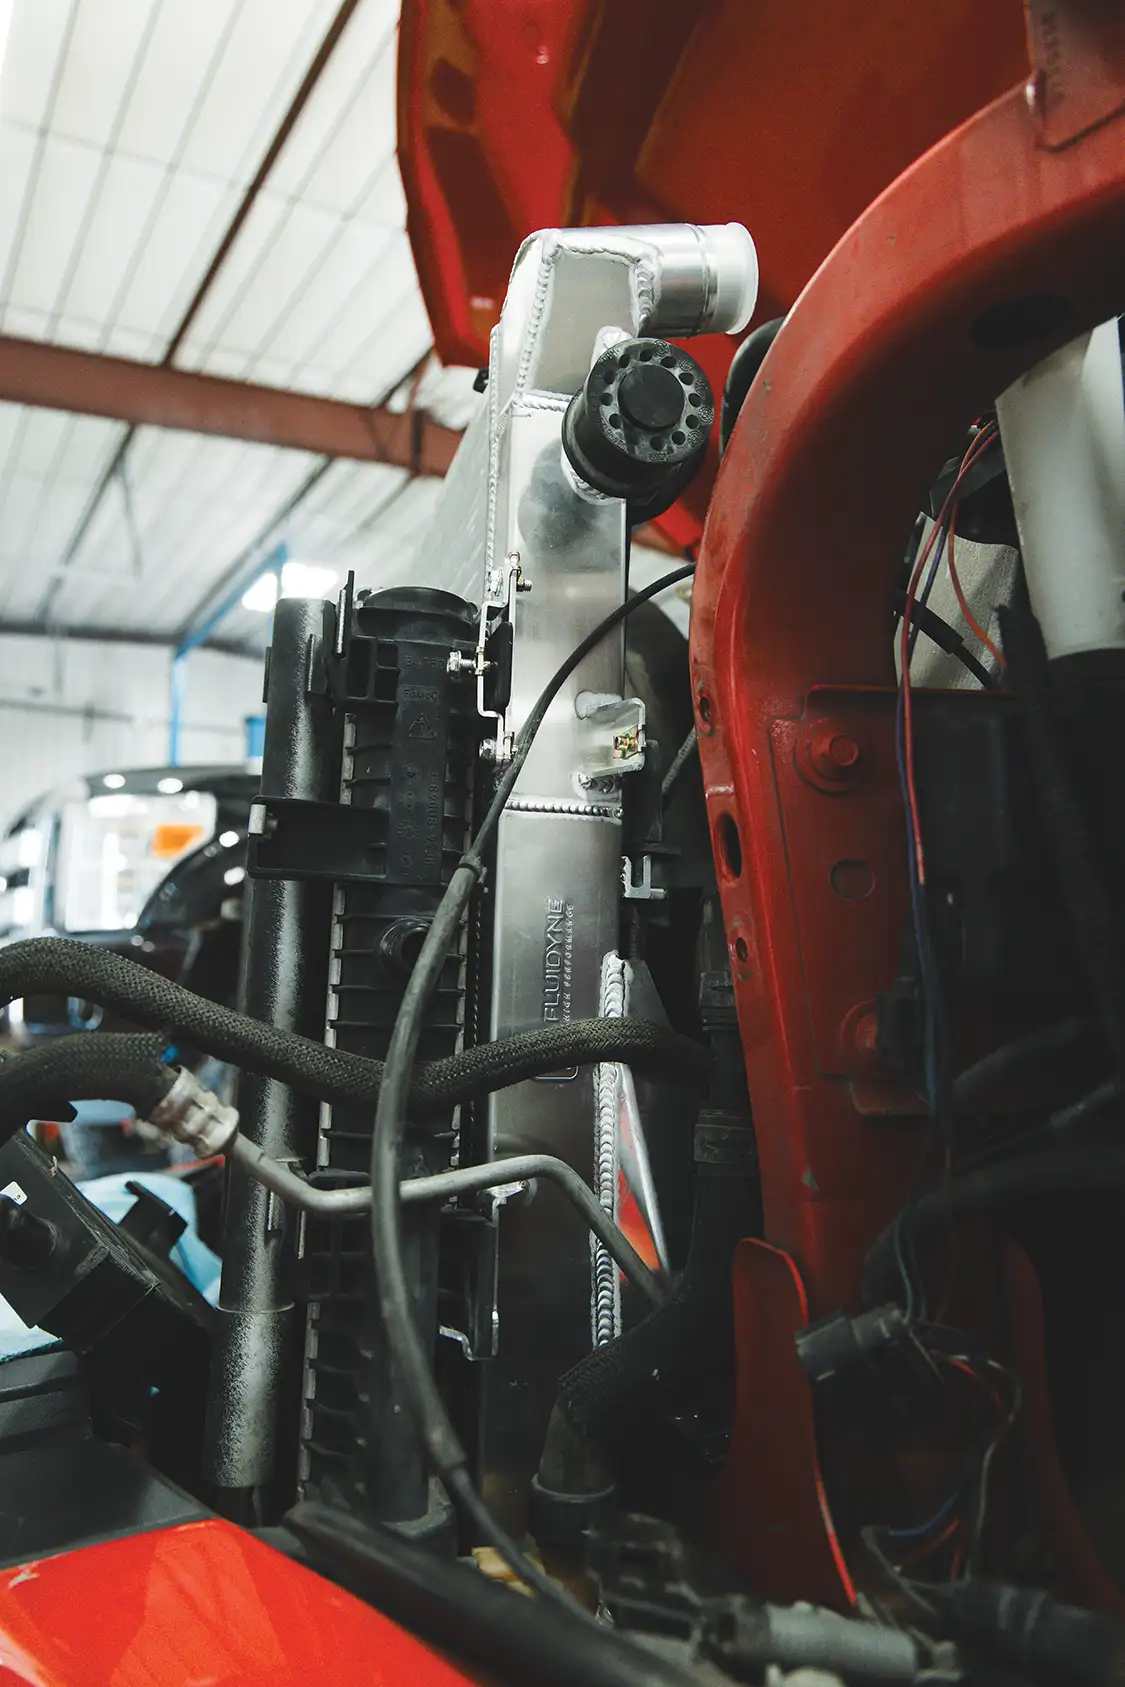
Even though the front clip of this F-350 says it’s a newer truck, you can rest assured that we are installing the correct radiator on this 2017 6.7L Power Stroke. This radiator fits 2017-2019 F-250/350 models.
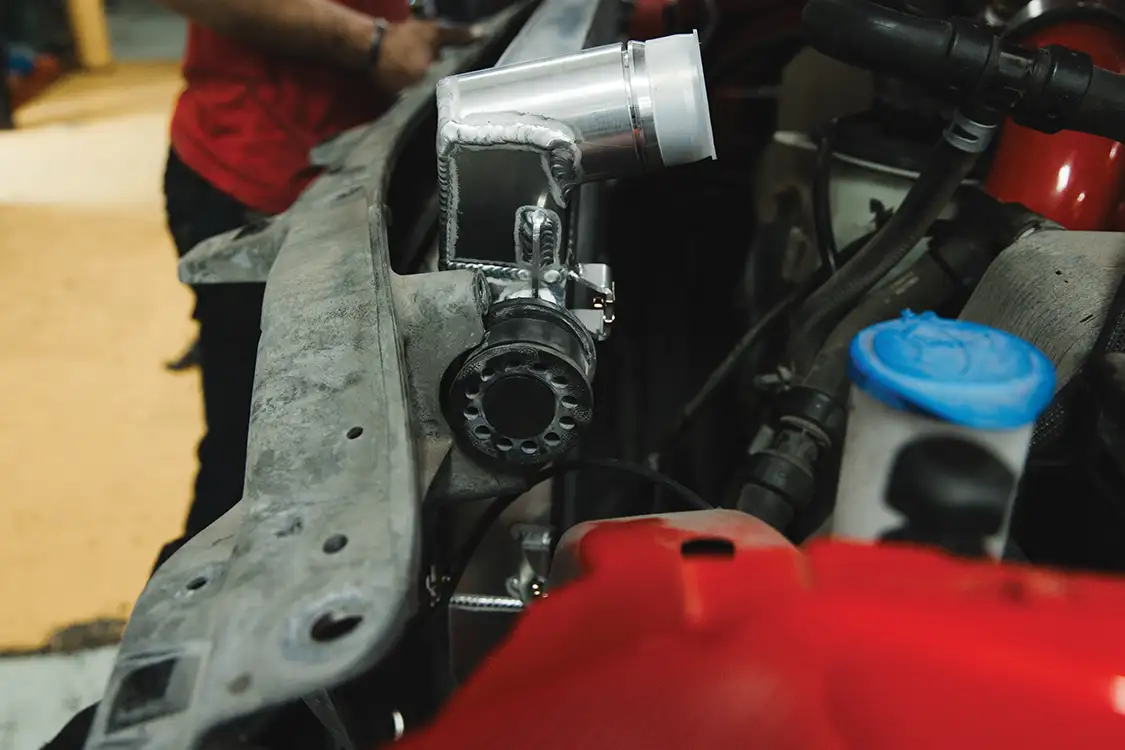
These Fluidyne radiators are the only extruded tube units on the market for diesel trucks as of right now, which is the same design and technology that Fluidyne has been using in its NASCAR radiators for decades—perfectly curated for the diesel scene. They’re fully TIG-welded, and feature the thickest material on the market. The competition takes a piece of flat plate, bends it into the shape of a tube, and laser welds it, making them susceptible to failure. Fluidyne’s tubes, on the other hand, are made through a process called ‘extrusion’. Tube extrusion is a manufacturing process that forces heated metal or molten plastic through a die, using a mandrel to create a hollow center, forming continuous tubing. This technique ensures precise outer diameters and wall thicknesses, which is the extra durability that Fluidyne provides.
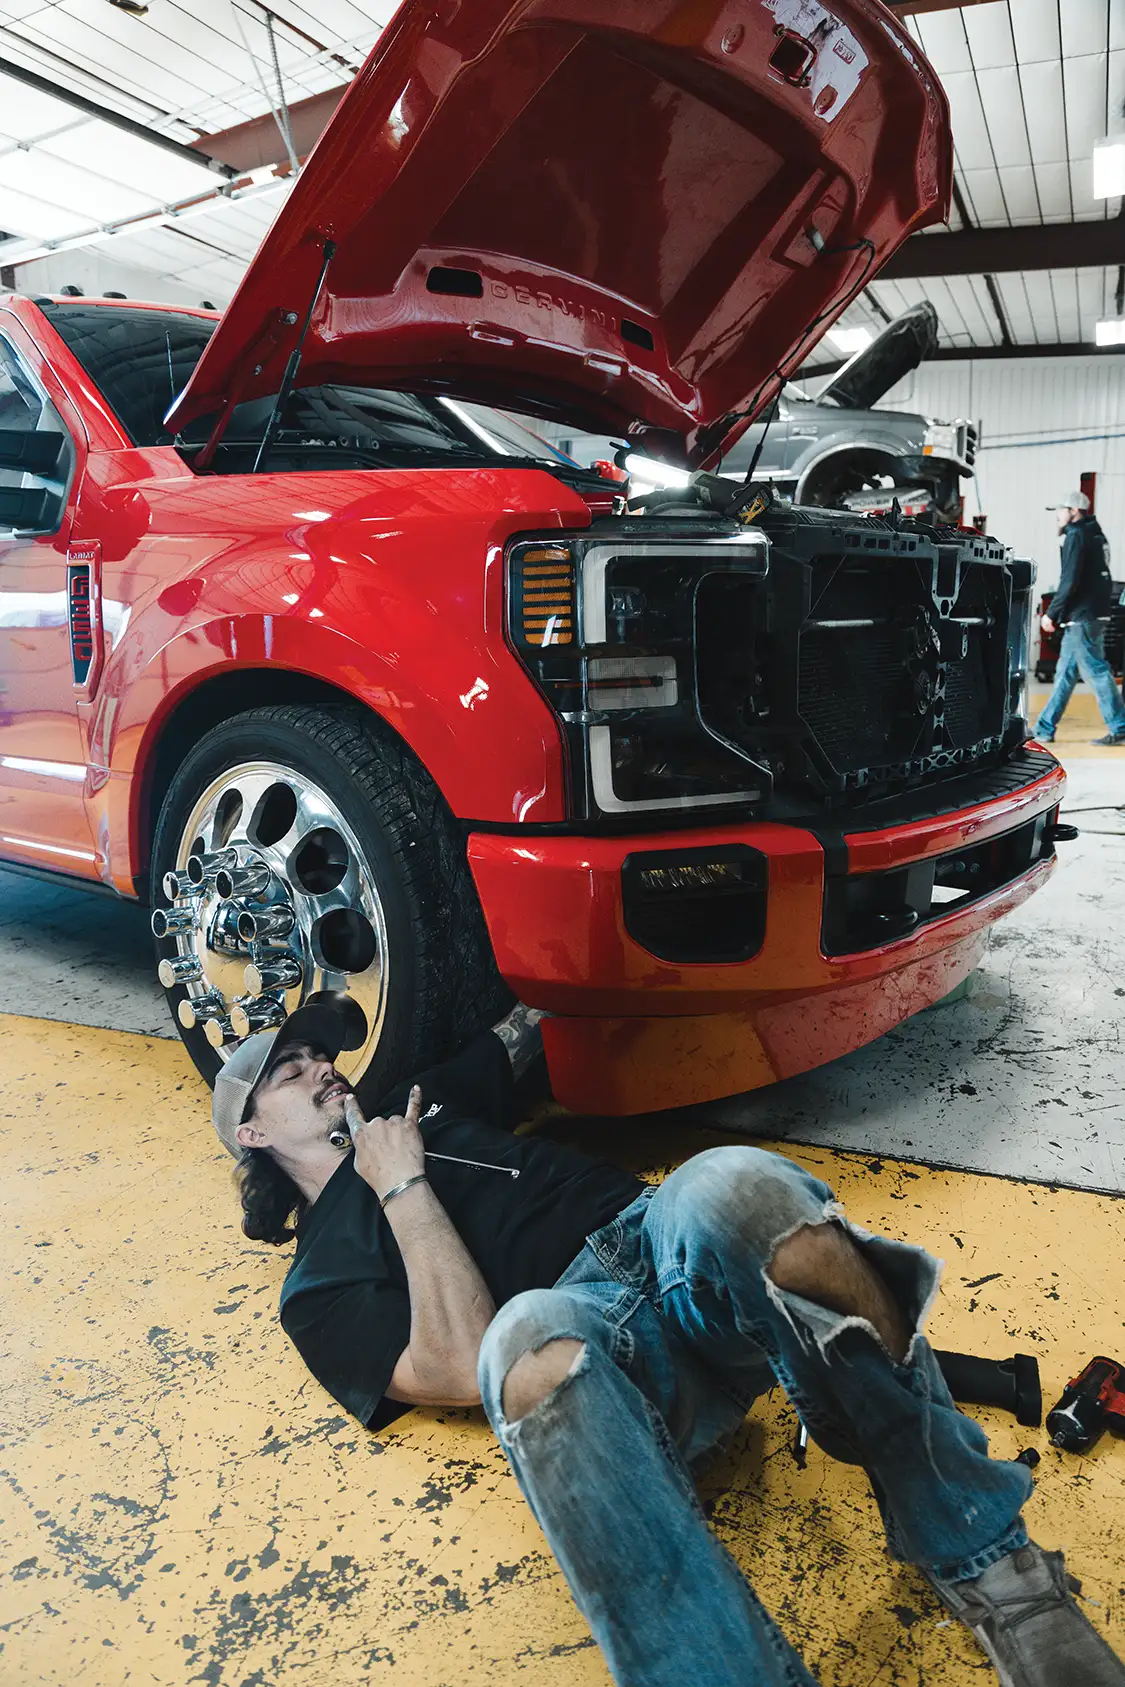
This installation is a time-consuming affair, so let’s get right into it!
Step 1: Recover the A/C System
Before touching anything up front, the A/C system must be properly discharged using a certified recovery machine. Venting refrigerant is illegal and unsafe, so this step needs to be done at a shop if you don’t have the equipment.
Once the system is fully evacuated, you can safely disconnect A/C components later in the process.

Step 2: Drain the Cooling System
Place a drain pan under the truck and open the radiator drain valve (petcock). Remove the degas bottle cap to allow the system to vent and fully drain.
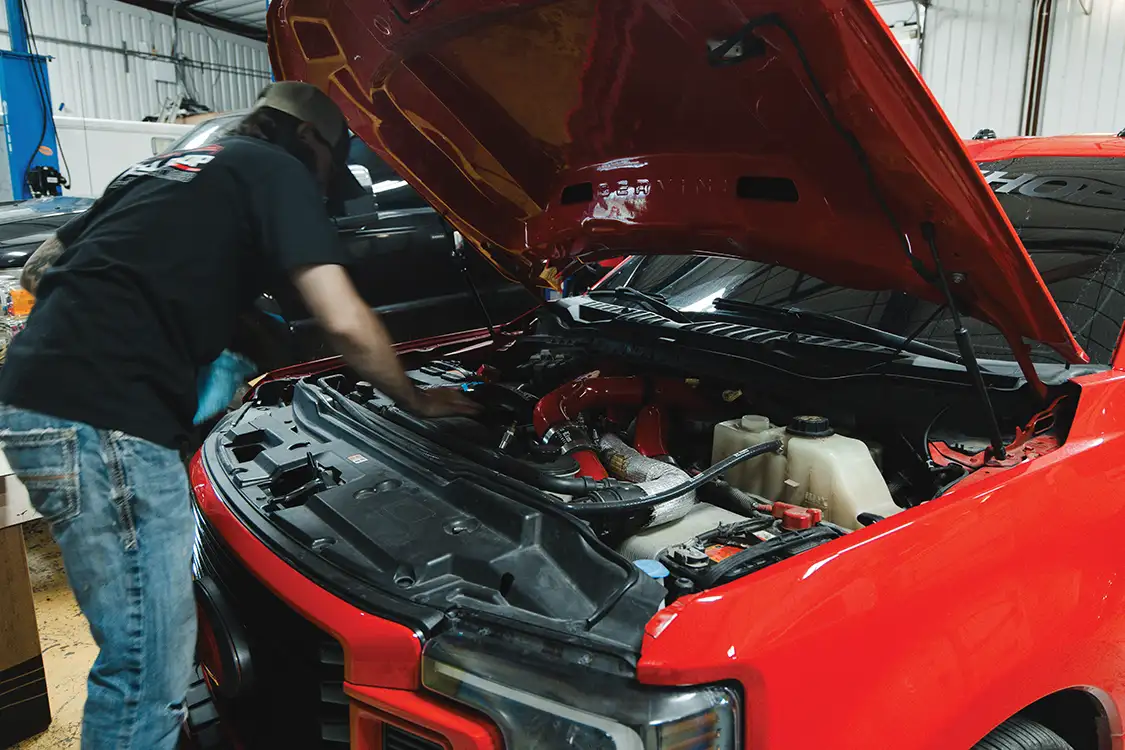
Step 3: Remove Intake and Upper Components
Remove the air intake tube and airbox assembly
Disconnect the upper radiator hose
Remove the degas bottle (coolant reservoir)
Unplug any sensors attached to the radiator or fan shroud
These steps clear the working room up top.
Step 4: Remove
Remove the fan and shroud together or separately depending on clearance
This step opens up the front of the engine bay significantly.
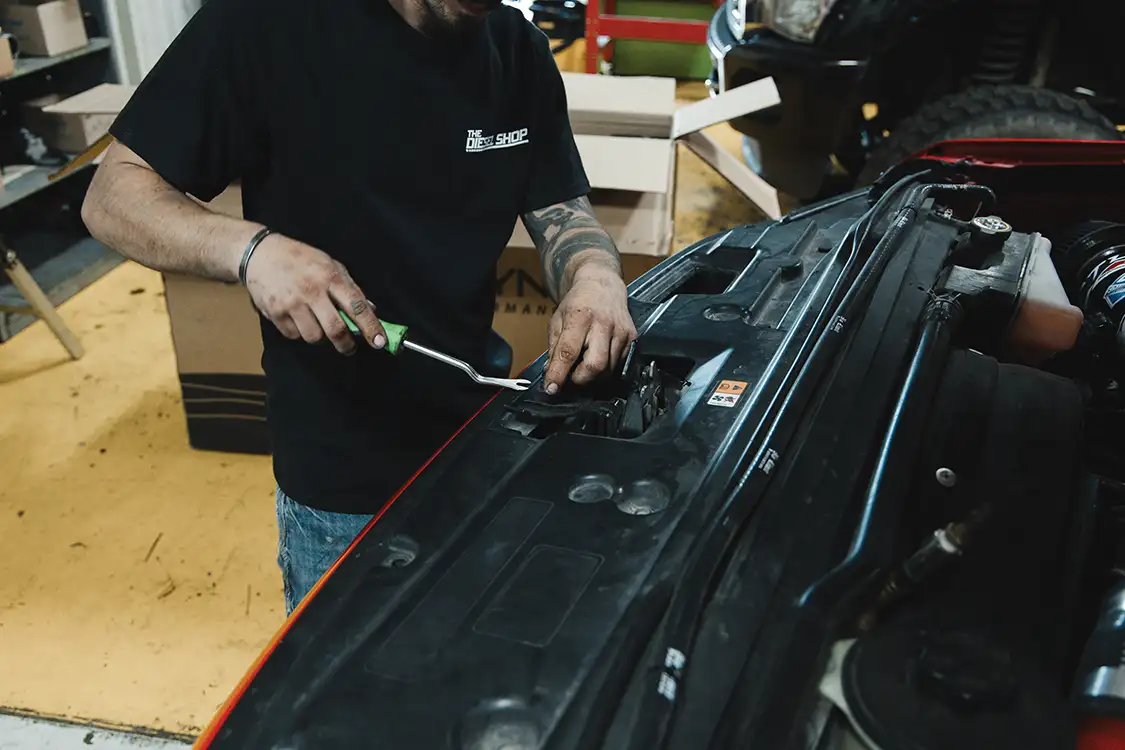
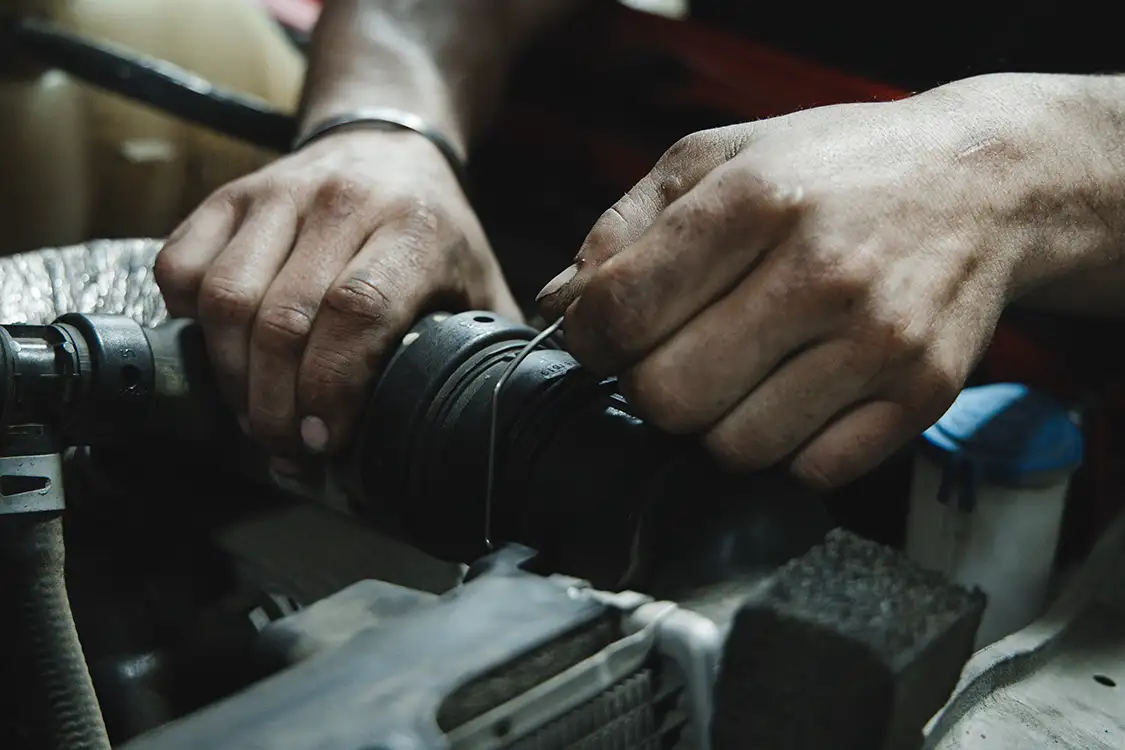
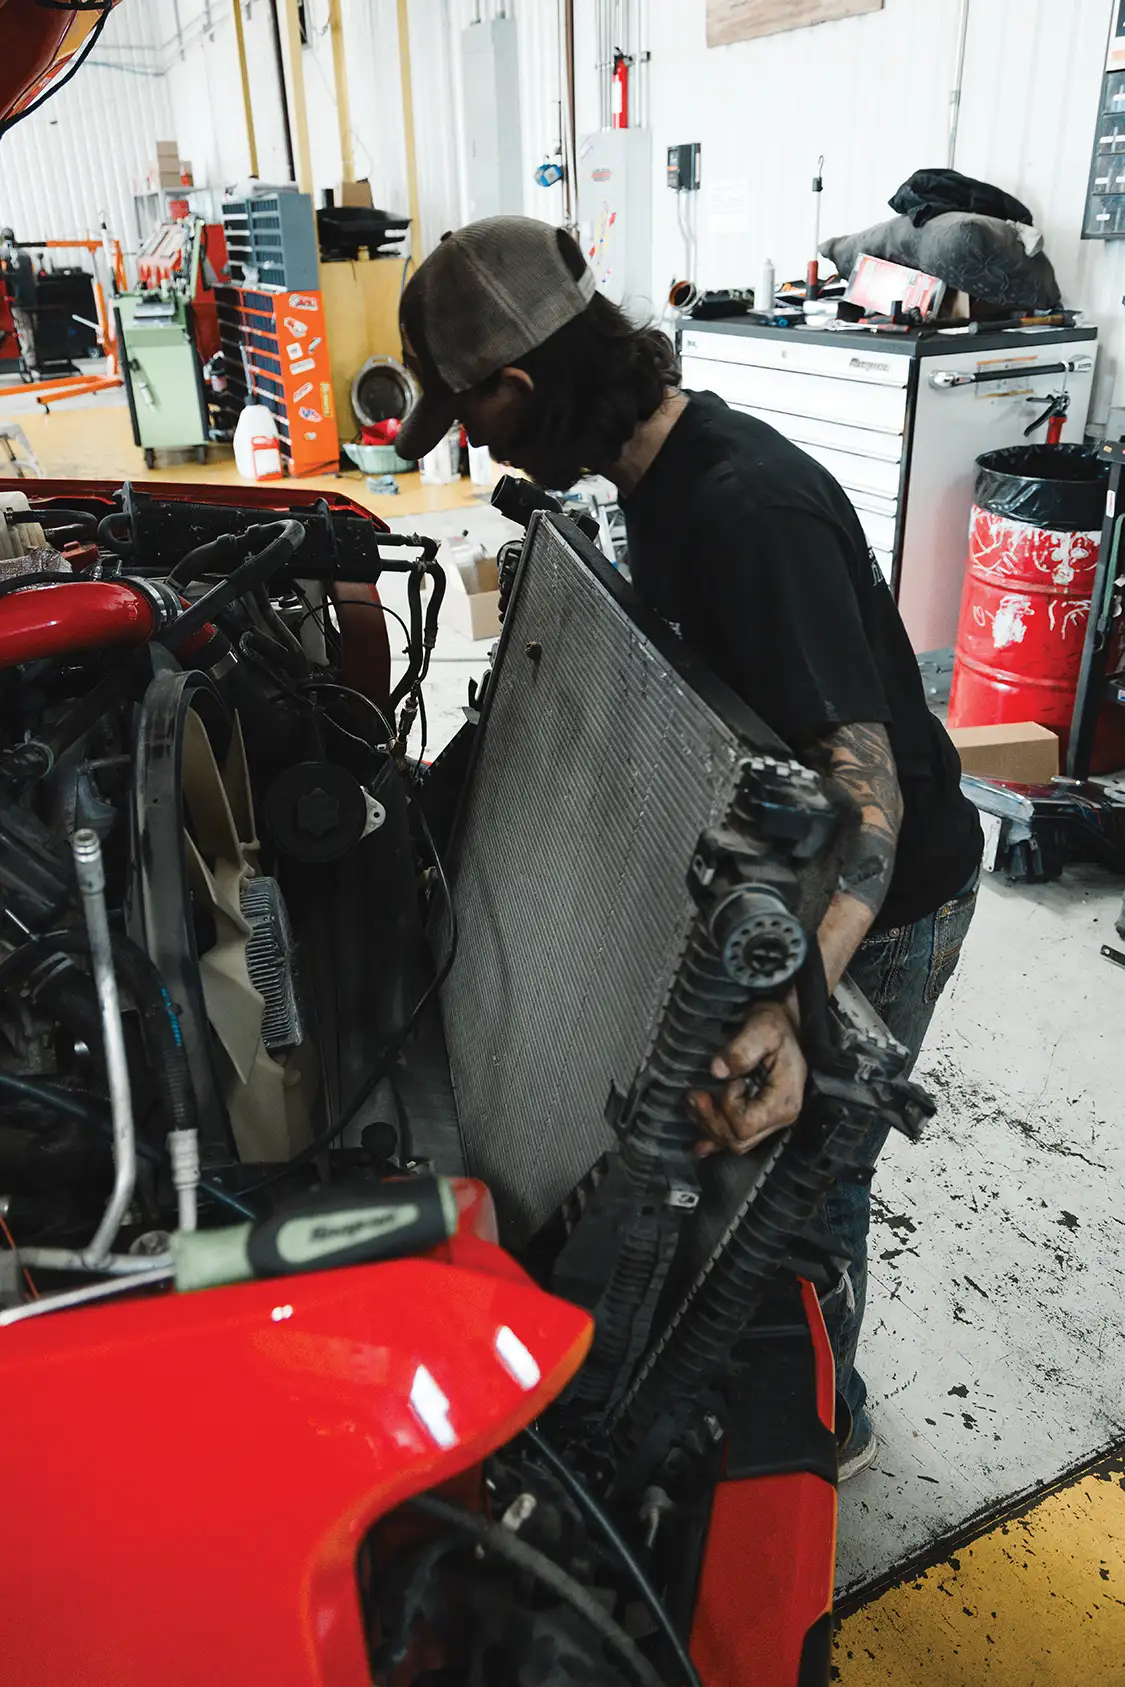
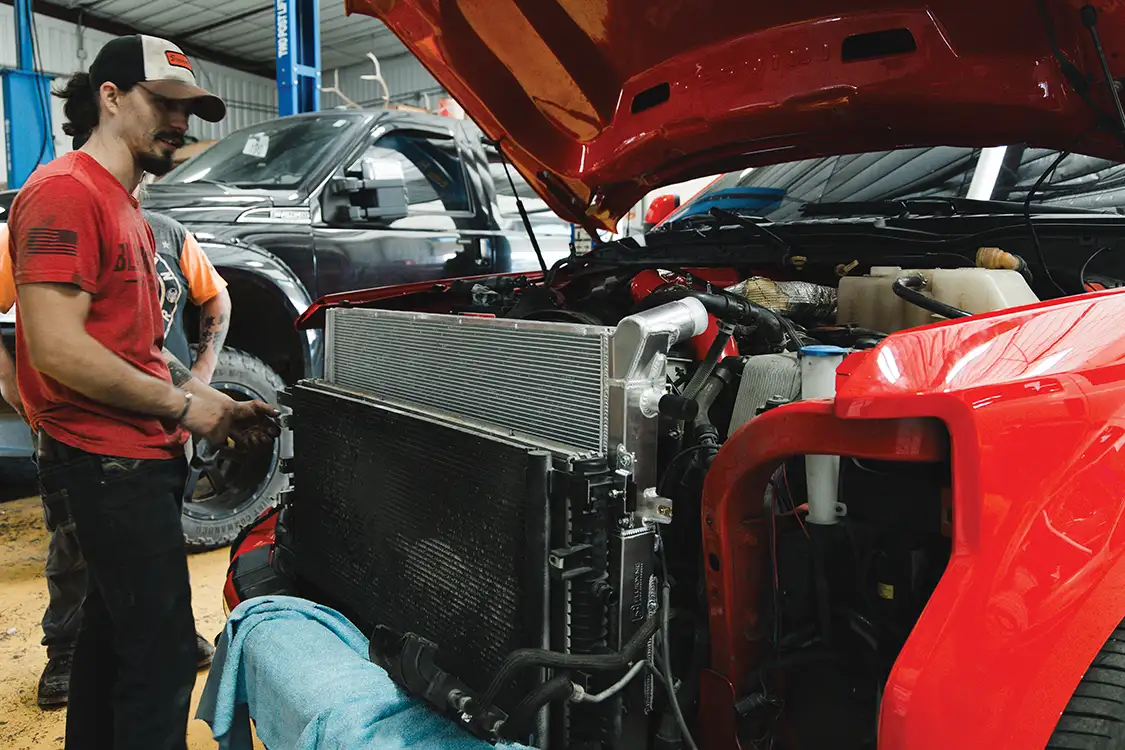
Step 5: Separate the Cooling Stack
Now you’re getting into the tight part of the job.
Unbolt the upper core support brackets
Disconnect the A/C condenser lines (since the system is discharged)
Carefully separate the condenser from the radiator (do not bend the fins)
In some cases, the intercooler may need to be loosened or moved slightly
You’re essentially “unstacking” the cooling pack enough to slide the radiator out.

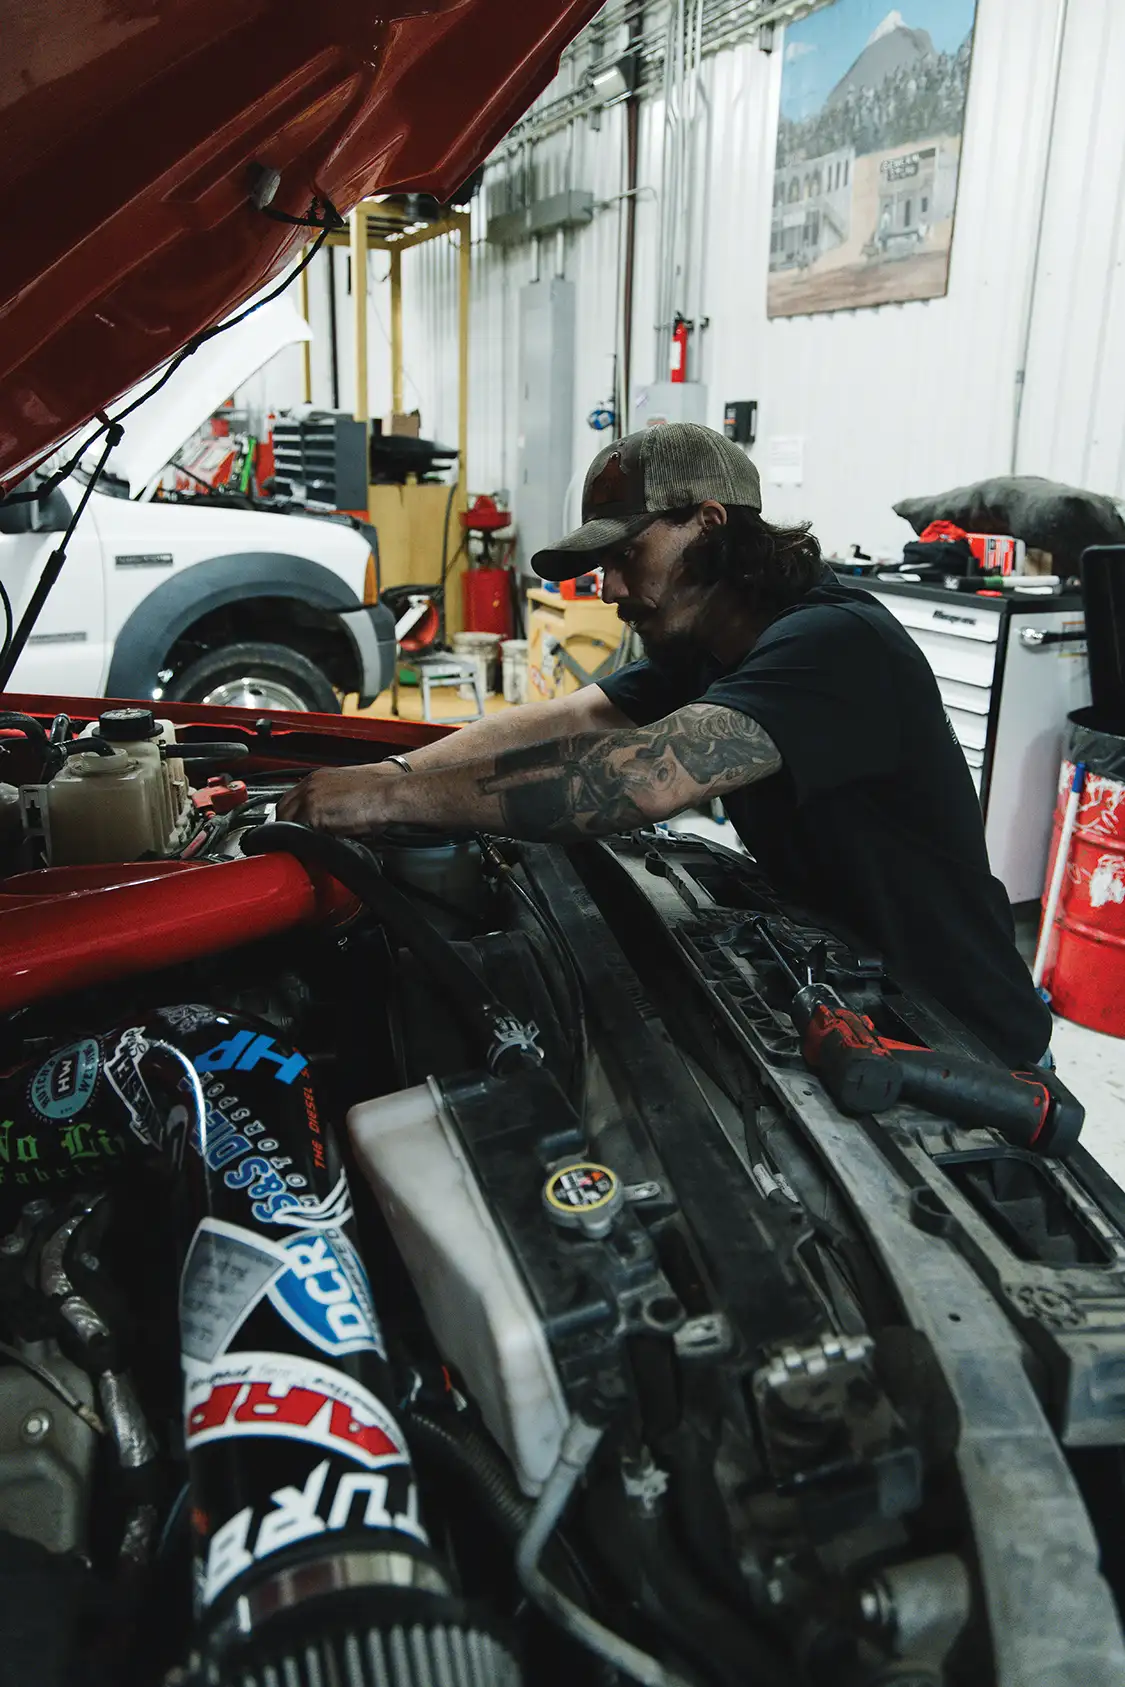
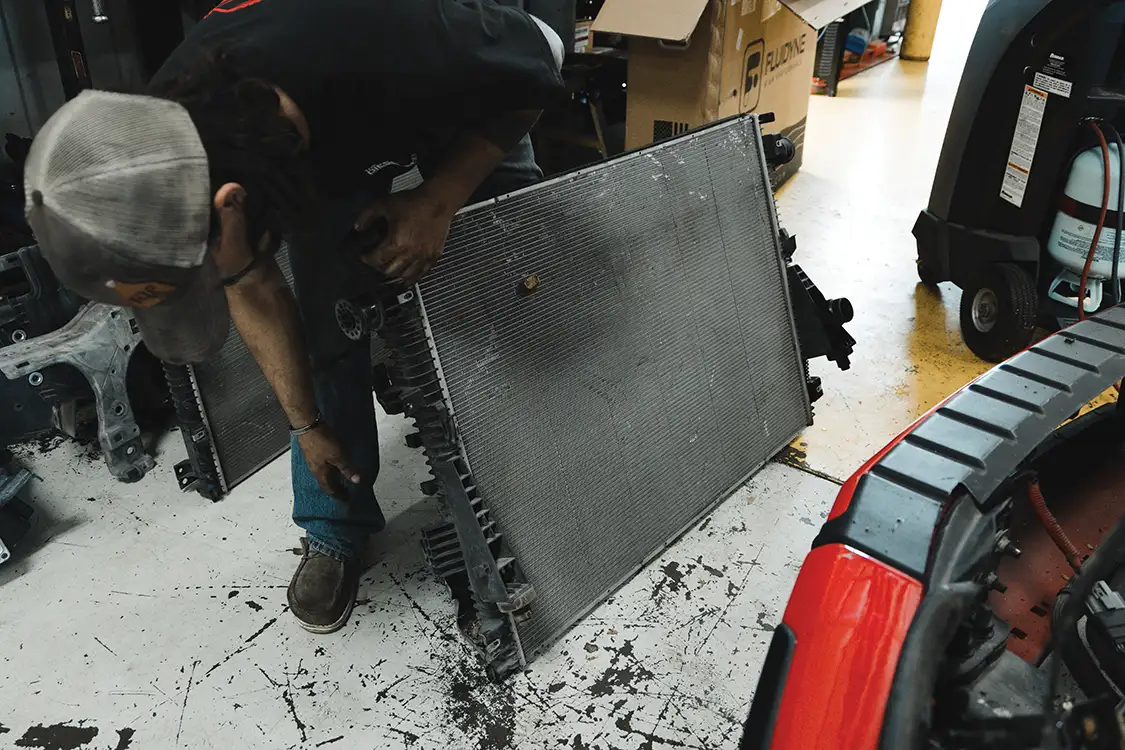
Step 6: Remove the Radiator
With everything loose:
Lift the radiator straight up and out of the lower mounts
Be mindful of remaining fluid and any wiring still attached
At this point, inspect the rubber isolators and mounts. Replace if worn.
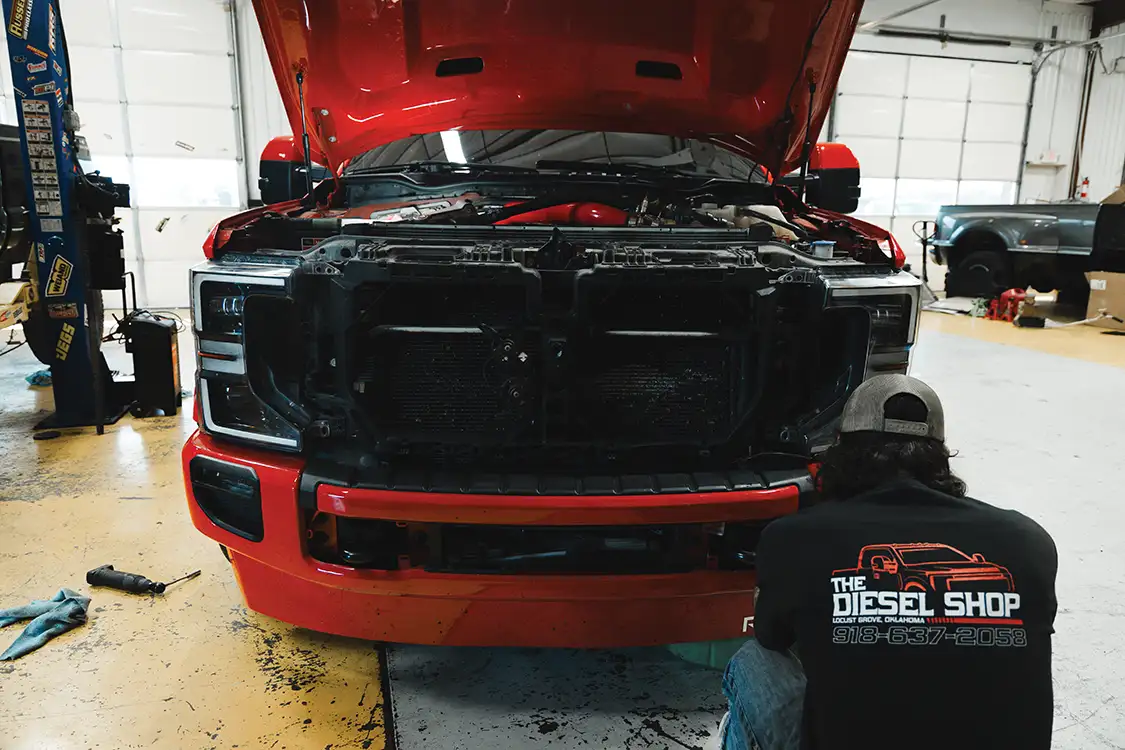
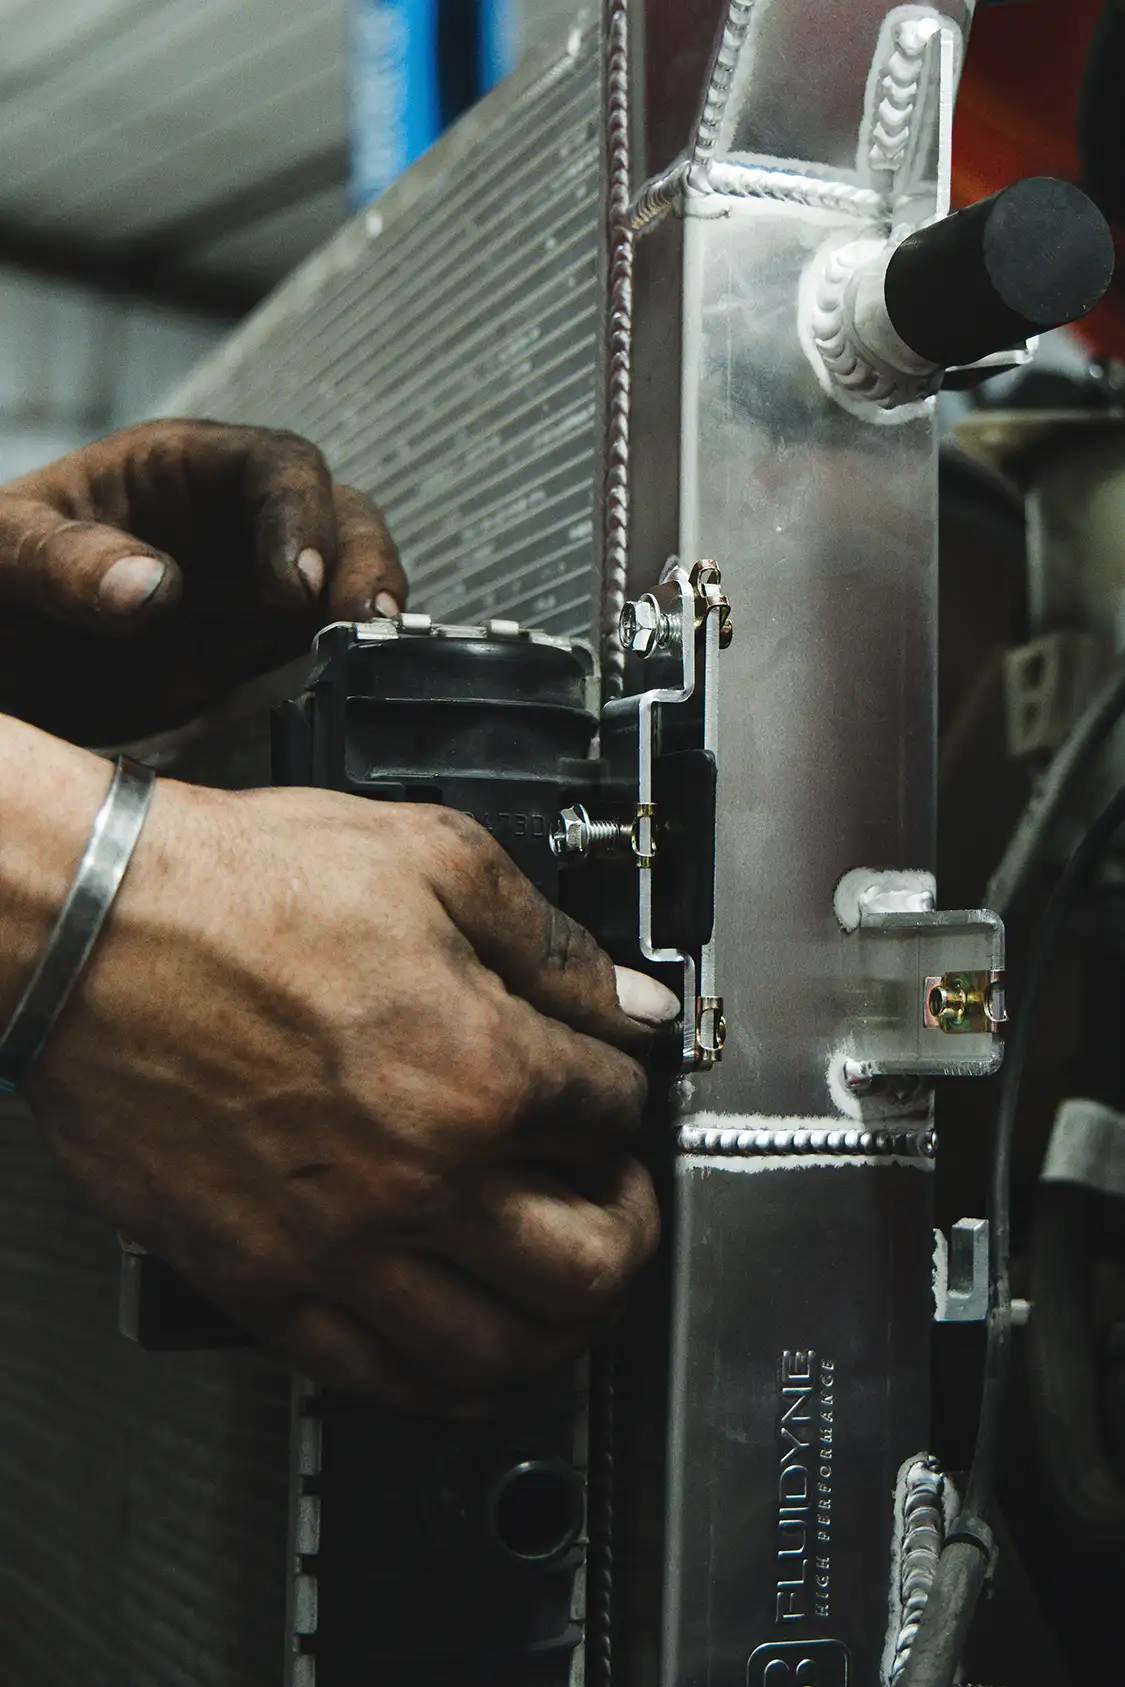
Step 7: Install the New Radiator
Installation is the reverse of removal, but take your time.
Lower the new radiator into place, ensuring it seats properly in the lower mounts
Reattach the condenser and any brackets
Reconnect transmission cooler lines
Reinstall fan, shroud, hoses, and intake components
Torque fasteners to factory spec where applicable.
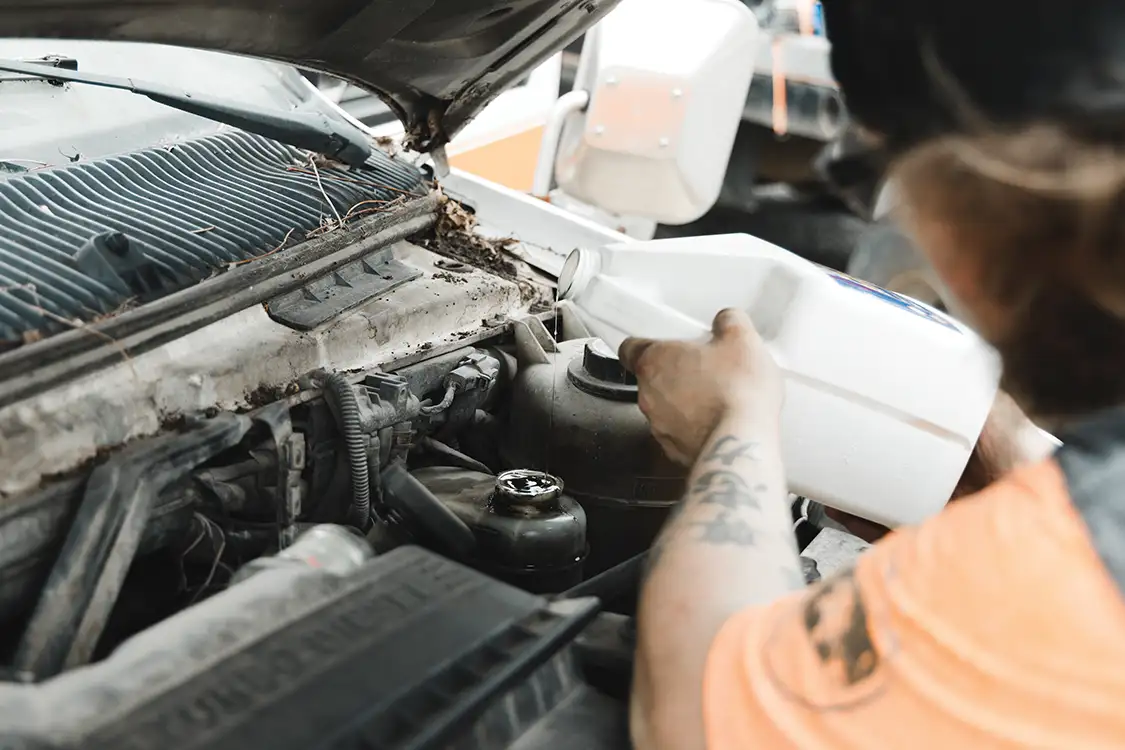
Step 8: Refill and Bleed the Cooling System
Refill with the correct coolant. A vacuum fill tool is highly recommended to prevent air pockets in the 6.7L cooling system.
Let the truck idle and come up to temp with the cap off, topping off as needed.
Step 9: Recharge the A/C System
Once everything is buttoned up, the A/C system needs to be vacuumed down and recharged to factory spec. Again, this process requires proper equipment, so plan accordingly.

C10 Builders Guide
Jimmy Stewart’s Slammed Diesel-Powered War Rig When Jimmy Stewart decided to build his dream truck, he didn’t just aim to turn heads—he aimed to break… Continue reading
Corey Decker . November 12, 2025
Diesel World
The Environment, the Crowd, the Horsepower Make Great Event By the time the sun came up on Friday, I was out of bed and on… Continue reading
DUSTIN KORTH . September 12, 2024
Chevrolet
You Won’t See This Truck on Craigslist New projects have a habit of sneaking up on you when you least expect them. Trey Scheerer was… Continue reading
Mike Self . March 02, 2026
Feature Stories
The Tire-Burning, Gear-Banging, Hell-Raising ‘76 F-100 When building a “dream build” truck, some prioritize comfort for cruising. Some want a beautiful truck to park at… Continue reading
Charlie Smurthwaite . January 09, 2026
Feature Stories
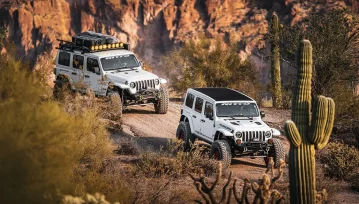
Packing a family of seven into two Jeeps is quite the feat. We all agree that the only thing better than hitting the trail for… Continue reading
Anya Murphy . June 08, 2023

Events
Off-Road Adventures and Beyond The Winter 4×4 Jamboree in Hurricane, Utah, has become an established event for off-road enthusiasts, drawing participants and spectators from across… Continue reading
Carol Steck . September 09, 2024


Goodguys 38th Griot's Garage Pacific Northwest Nationals Presented By Wicked Fabrication
Washington State Fair Events Center 110 9th Avenue SW, Puyallup, WA 98371
Showdown in the Valley
Maggie Valley, NC
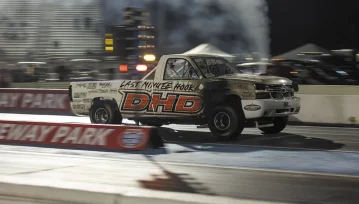
All Diesel Drags
Ozark Raceway Park / Rogersville, MO
Goodguys 39th West Coast Nationals
Alameda County Fairgrounds 4501 Pleasanton Avenue, Pleasanton, CA 94566
Lowered Limits
L’Auberge Casino Resort Lake Charles, LA
We use cookies to enhance your browsing experience, serve personalized ads or content, and analyze our traffic. By clicking "Accept All", you consent to our use of cookies. Visit our Cookie Policy for more info.
 Please wait...
Share Link