










 Motortopia Staff
.
November 12, 2026
.
Industry Updates
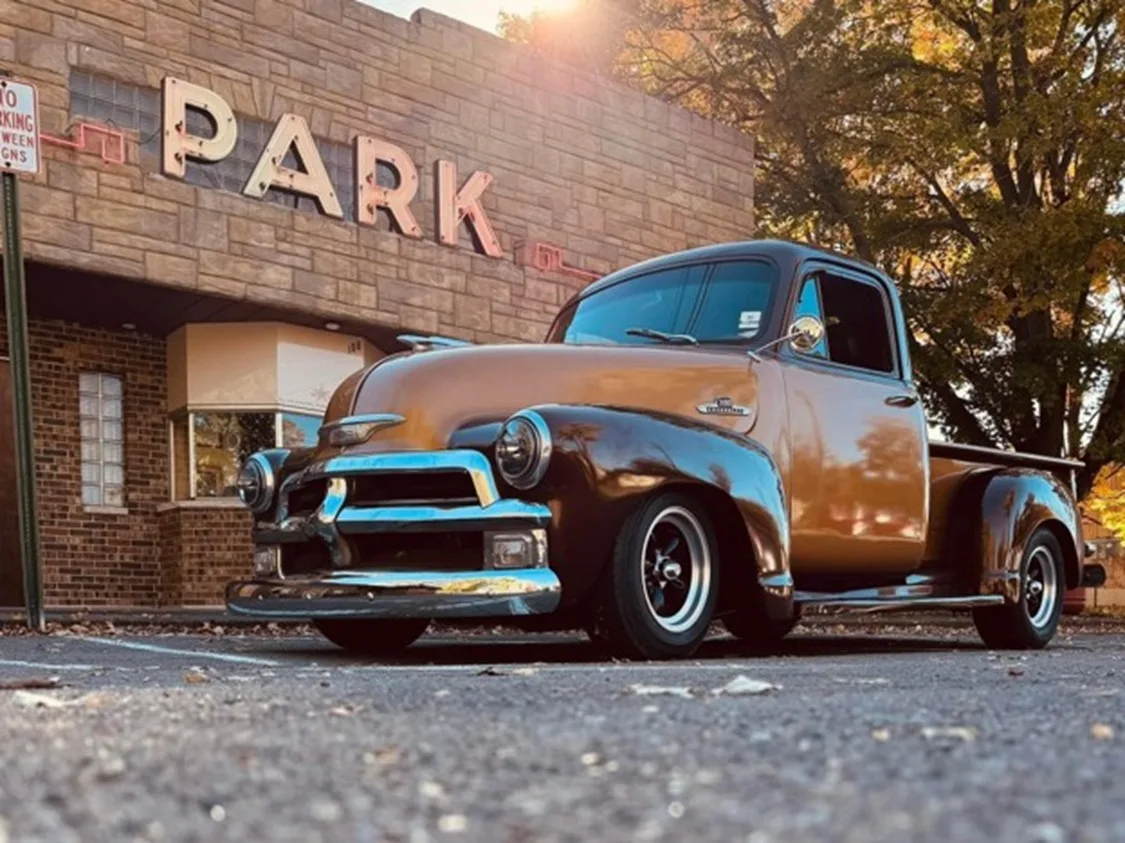
Every classic truck story starts the same way. You find one in a field or behind somebody’s garage. The lines are perfect, the price is almost reasonable, and you’re already picturing it on the road. Then the real list shows up: rust you can’t see yet, a front end that wanders, and a pile of parts you didn’t know you needed.
None of that is a reason to walk away. It’s a reason to sort the list in the right order, so the truck gets back on the road without eating your whole budget.
Chevy trucks went through a lot of changes in fifty years, and parts don’t always carry over from one generation to the next. Here’s the quick version:
Even inside one generation, small details matter. 1967 was the only year with the small rear window, and 1971 was when disc brakes became standard on light duty trucks. Those little differences are exactly why you should nail down your year, cab style, and bed before you order anything.
A catalog organized by truck saves you a lot of returns, and Eckler’s classic Chevy truck parts hub is a good place to start browsing once you know what you’re working with.
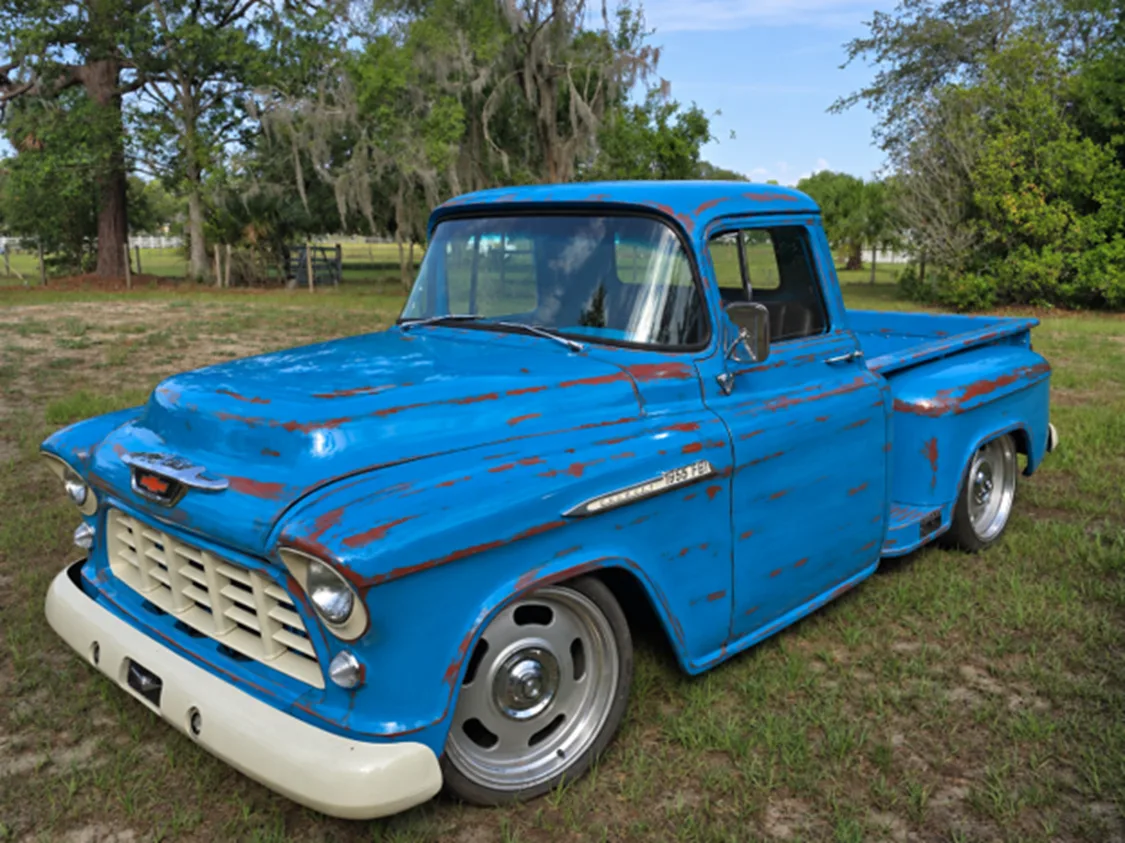
Rust is the thing that turns a $5,000 truck into a $15,000 project, so look for it before you do anything else. Old Chevy trucks tend to rot in the same handful of places:
Bring a small screwdriver and a flashlight, and don’t be shy about poking. Surface rust is normal and fixable. Soft metal, flaking panels, and paint bubbling over a seam usually mean there’s more going on underneath.
The good news is that most of these areas have solid replacement options. Everything from rockers and cab corners to floor pans and bed parts is available as replacement body panels, so even a rough truck is rarely a lost cause. Cut out the bad metal and weld in new steel. It beats a thick layer of body filler every time, and you’ll sleep better knowing the repair will last.
Once the body is solid, turn your attention to how the truck feels on the road. After 40 or 50 years, original suspension parts are tired. Springs sag, bushings crumble, ball joints wear, and shocks give up. A lot of “this old truck just drives like that” turns out to be worn out parts rather than character.
Get the truck back to a solid baseline first. New bushings, shocks, and a fresh set of ball joints and tie rod ends can transform a truck that wanders down the highway.
After that, the fun starts. Lowering is one of the most popular moves for classic Chevy trucks, and there are a lot of suspension upgrades to choose from, including lowering springs, drop spindles, coilover kits, and leveling options if you’d rather go the other direction. A few things to keep in mind:
If you’re not sure where to start, this sequence keeps you from redoing work:
The biggest mistake I see on classic truck projects is spending money where it shows and ignoring what’s underneath. Fresh paint over rusty metal, big wheels on worn out suspension, or a shiny interior in a cab with a rotten floor all end the same way, with the work coming back out later.
A classic Chevy truck doesn’t have to be perfect to be great, but it does need a solid foundation. Get the body right, get it driving right, and then have fun with the finishing touches. That’s the version of the project you’ll still be proud of years down the road.

News
There’s a new kind of build taking over truck shows across the country. Classic American iron on the outside. Late-model diesel muscle under the hood.… Continue reading
Motortopia Staff . May 07, 2026

News
Most U.S. states and the District of Columbia permit sobriety checkpoints. Only 12 states either prohibit them or do not conduct them. The U.S. Supreme… Continue reading
Motortopia Staff . June 15, 2026
News
Sedans Lost the Status War. SUVs Won It. Here’s Why Image Source: https://unsplash.com/photos/man-in-suit-walks-past-black-suvs-in-parking-lot-KDA9cnw8jZw Back at the end of the last century, status cars in the… Continue reading
Motortopia Staff . May 04, 2026

Events
Overland Expo heads north to Redmond, Oregon, during early July for #overlandexpopnw 2023. Bringing over 300 exhibitors, lots of classes and roundtables hosted by industry… Continue reading
Nicole Hamilton . August 03, 2023

News
Car tracking without the owner’s knowledge is technically possible using various modern technologies. The following paragraphs explain how it is done, the legal risks, and… Continue reading
Motortopia Staff . April 10, 2026

Industry Updates
We all know that daily drivers are often designed for practicality, efficiency, and comfort, but that doesn’t mean they can’t be fun to drive. While… Continue reading
Motortopia Staff . April 06, 2025

Dino's Git-Down
State Farm Stadium, Glendale, AZ
Dino's Git-Down
State Farm Stadium
Goodguys 36th Autumn Get-Together
Alameda County Fairgrounds 4501 Pleasanton Avenue, Pleasanton, CA 94566
Goodguys 29th Speedway Motors Southwest Nationals
WestWorld of Scottsdale 16601 North Pima Road, Scottsdale, AZ 85260
We use cookies to enhance your browsing experience, serve personalized ads or content, and analyze our traffic. By clicking "Accept All", you consent to our use of cookies. Visit our Cookie Policy for more info.


 Please wait...
Share Link