 BOB RYDER
.
May 23, 2023
.
Chevrolet
BOB RYDER
.
May 23, 2023
.
Chevrolet

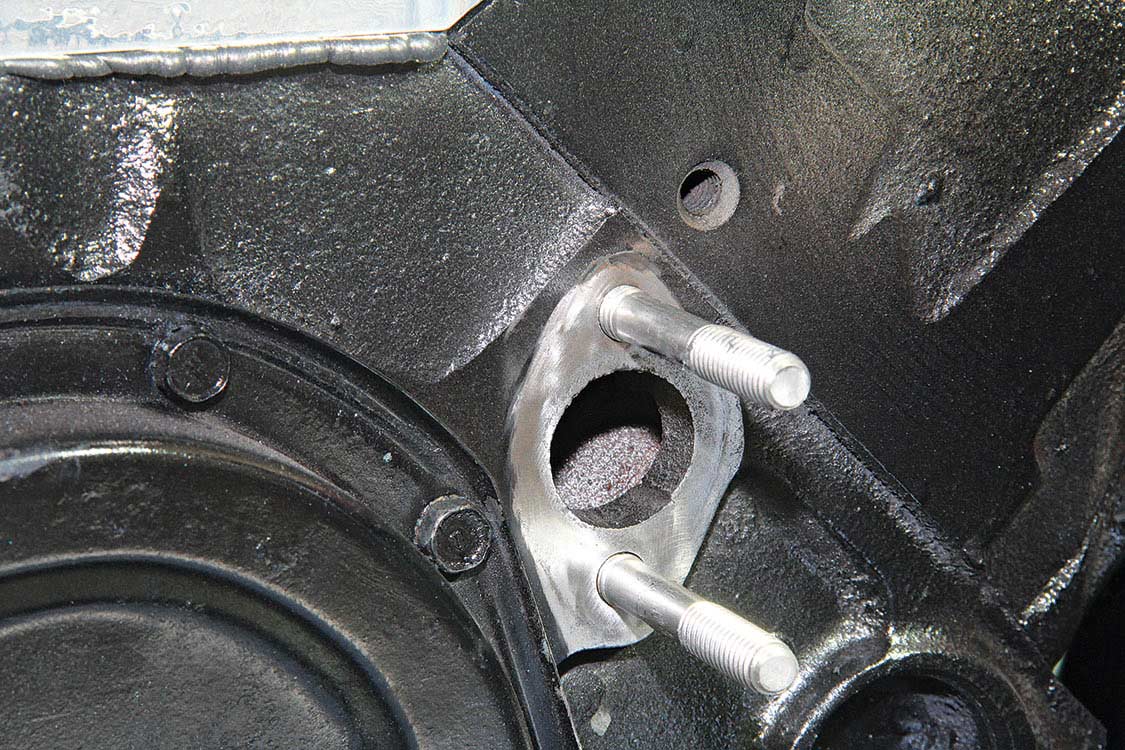
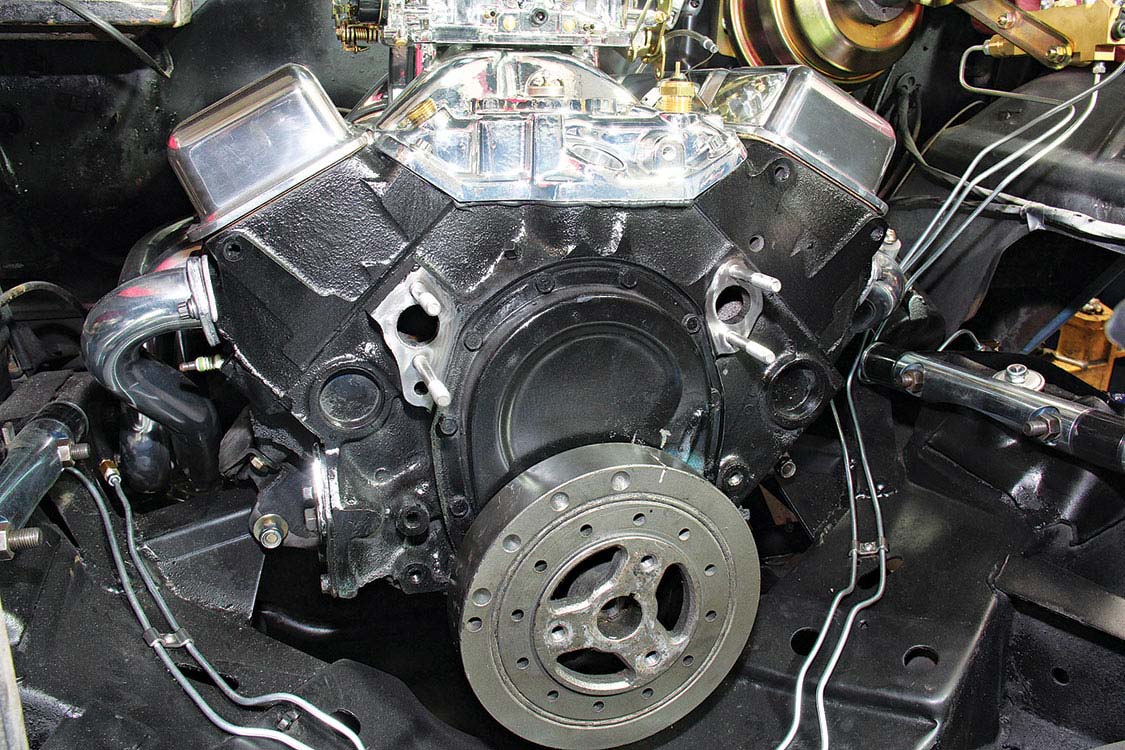
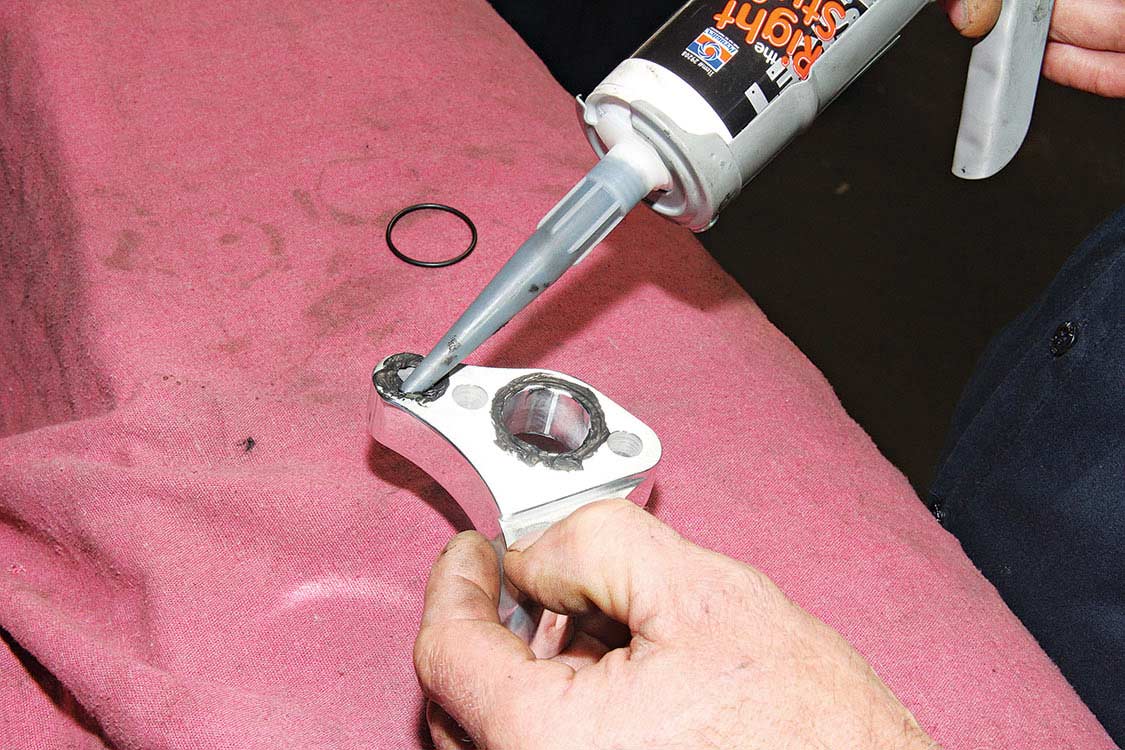
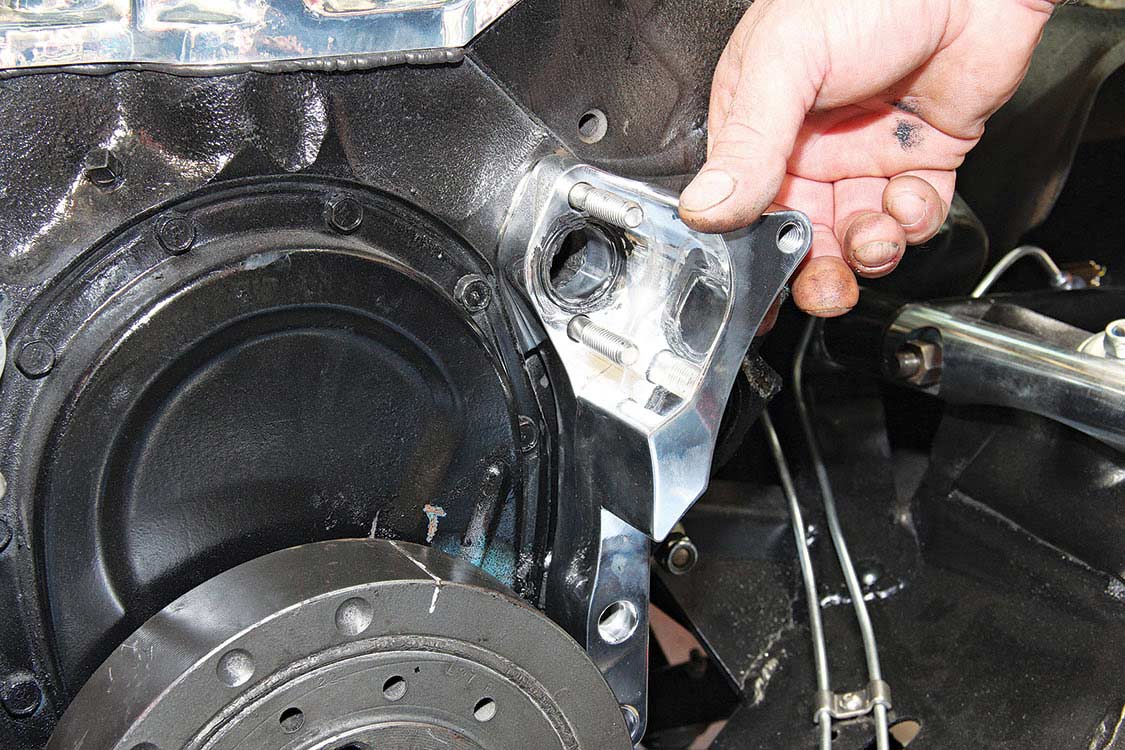
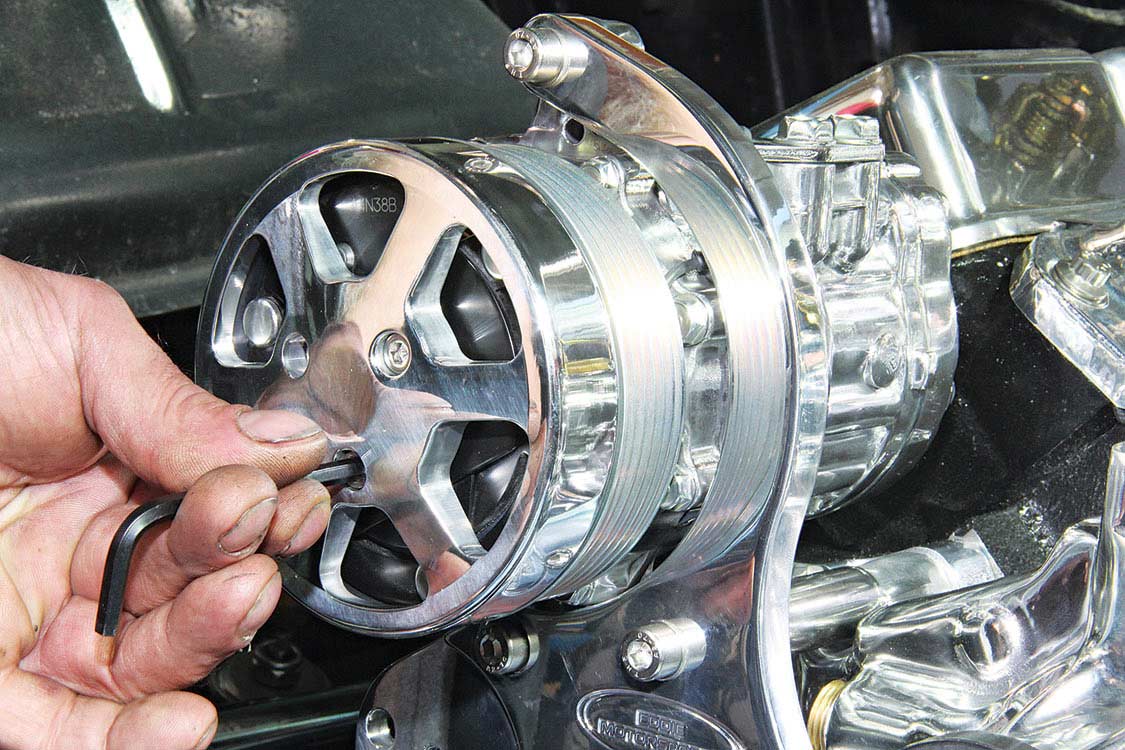
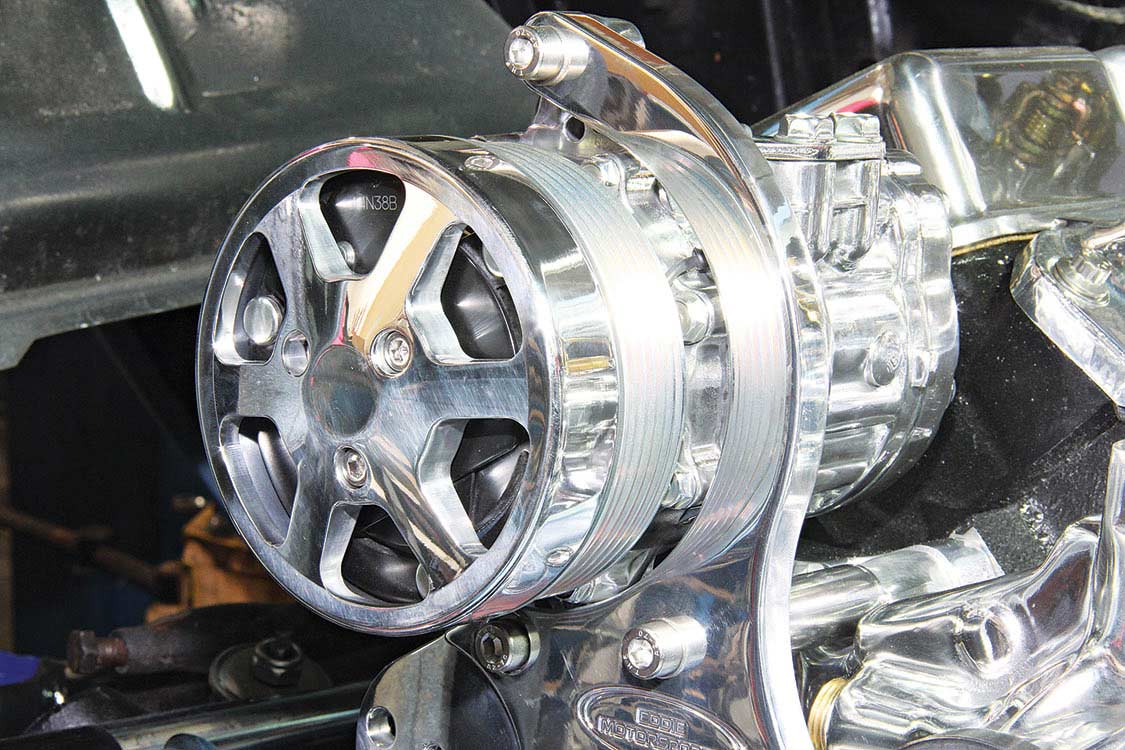
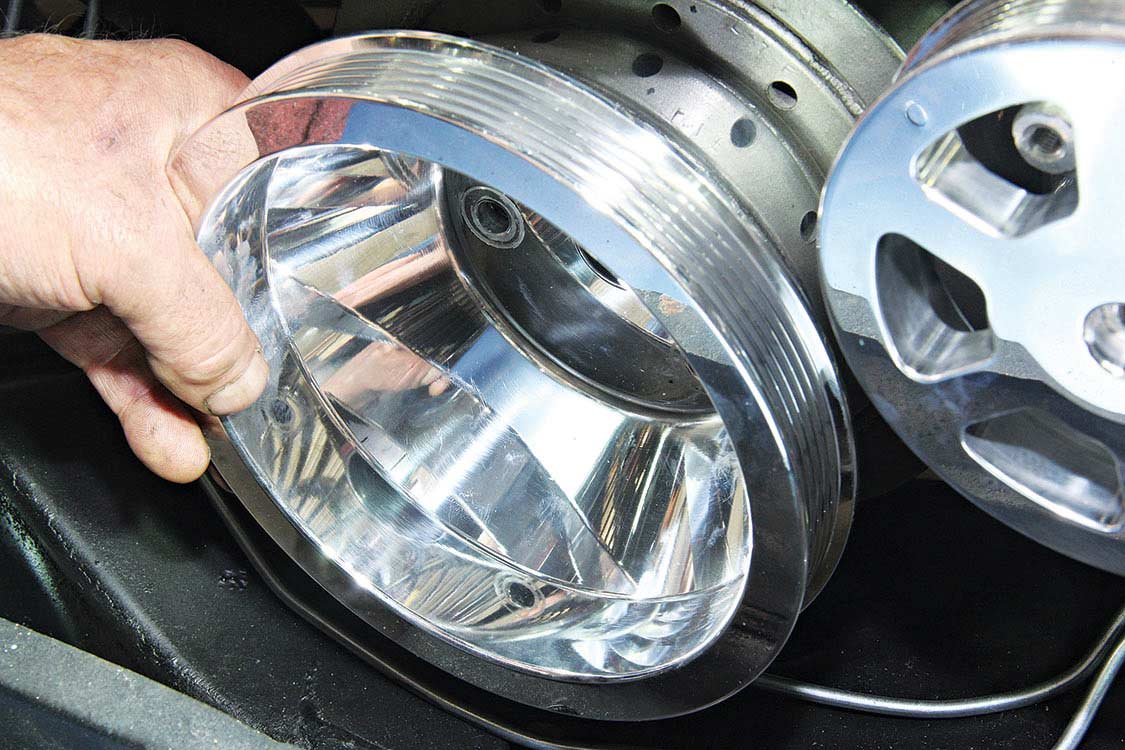
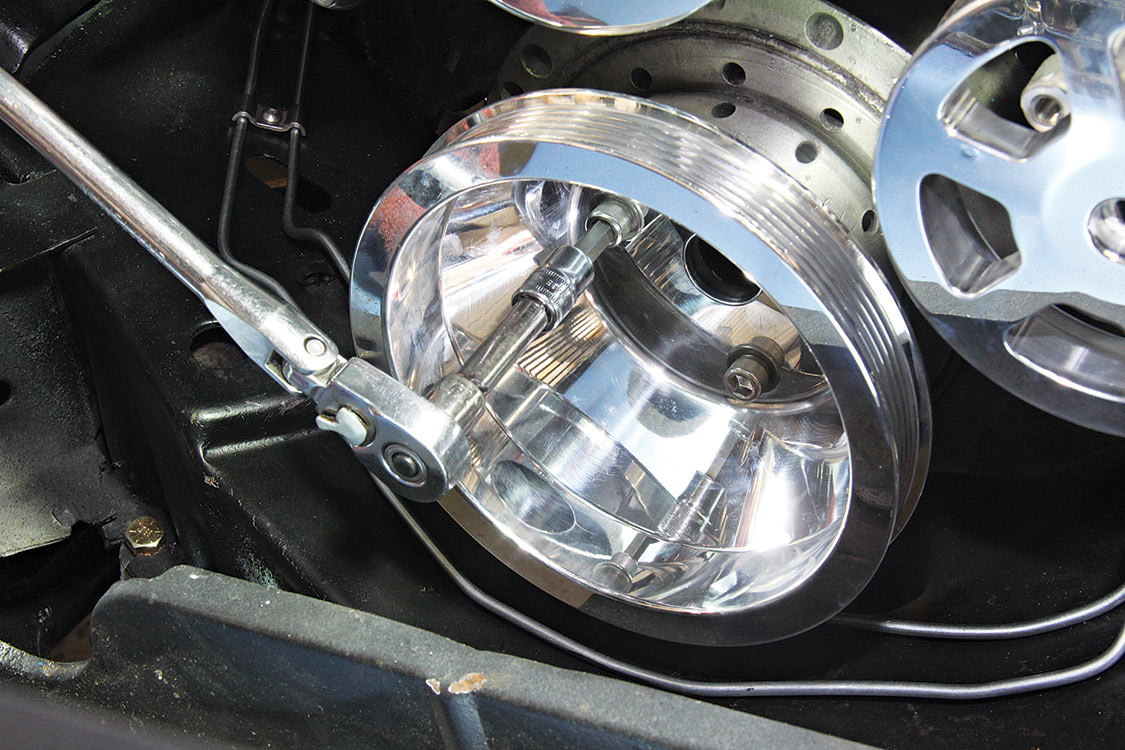
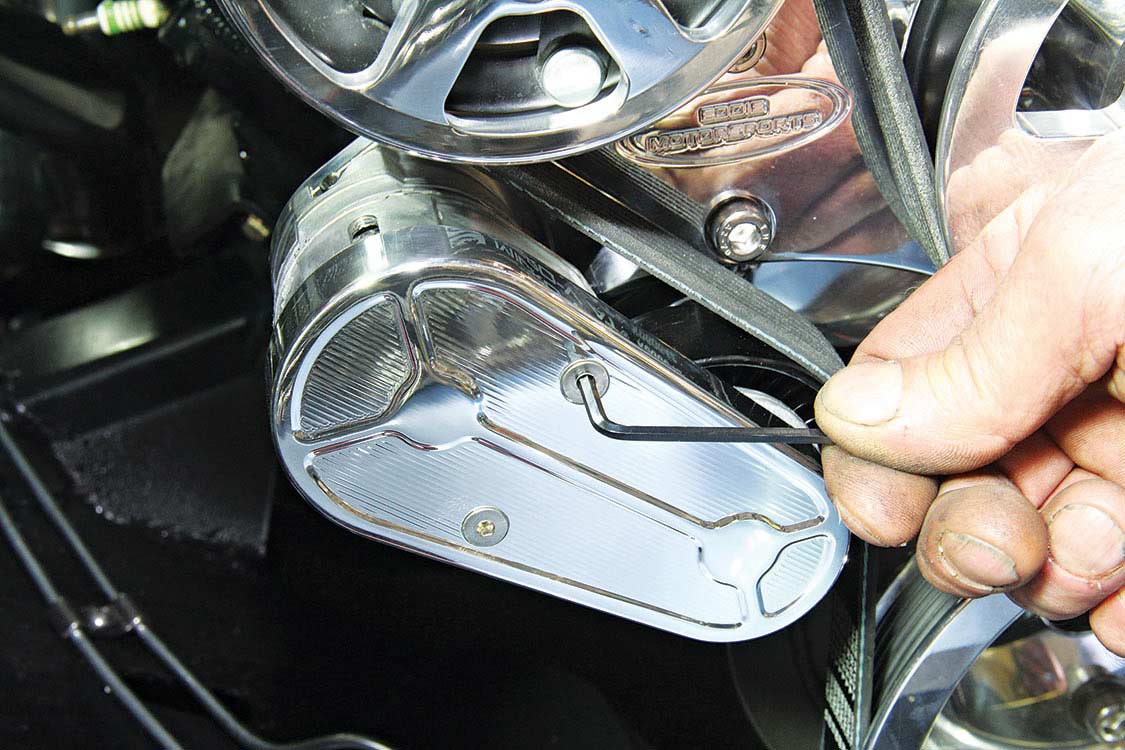
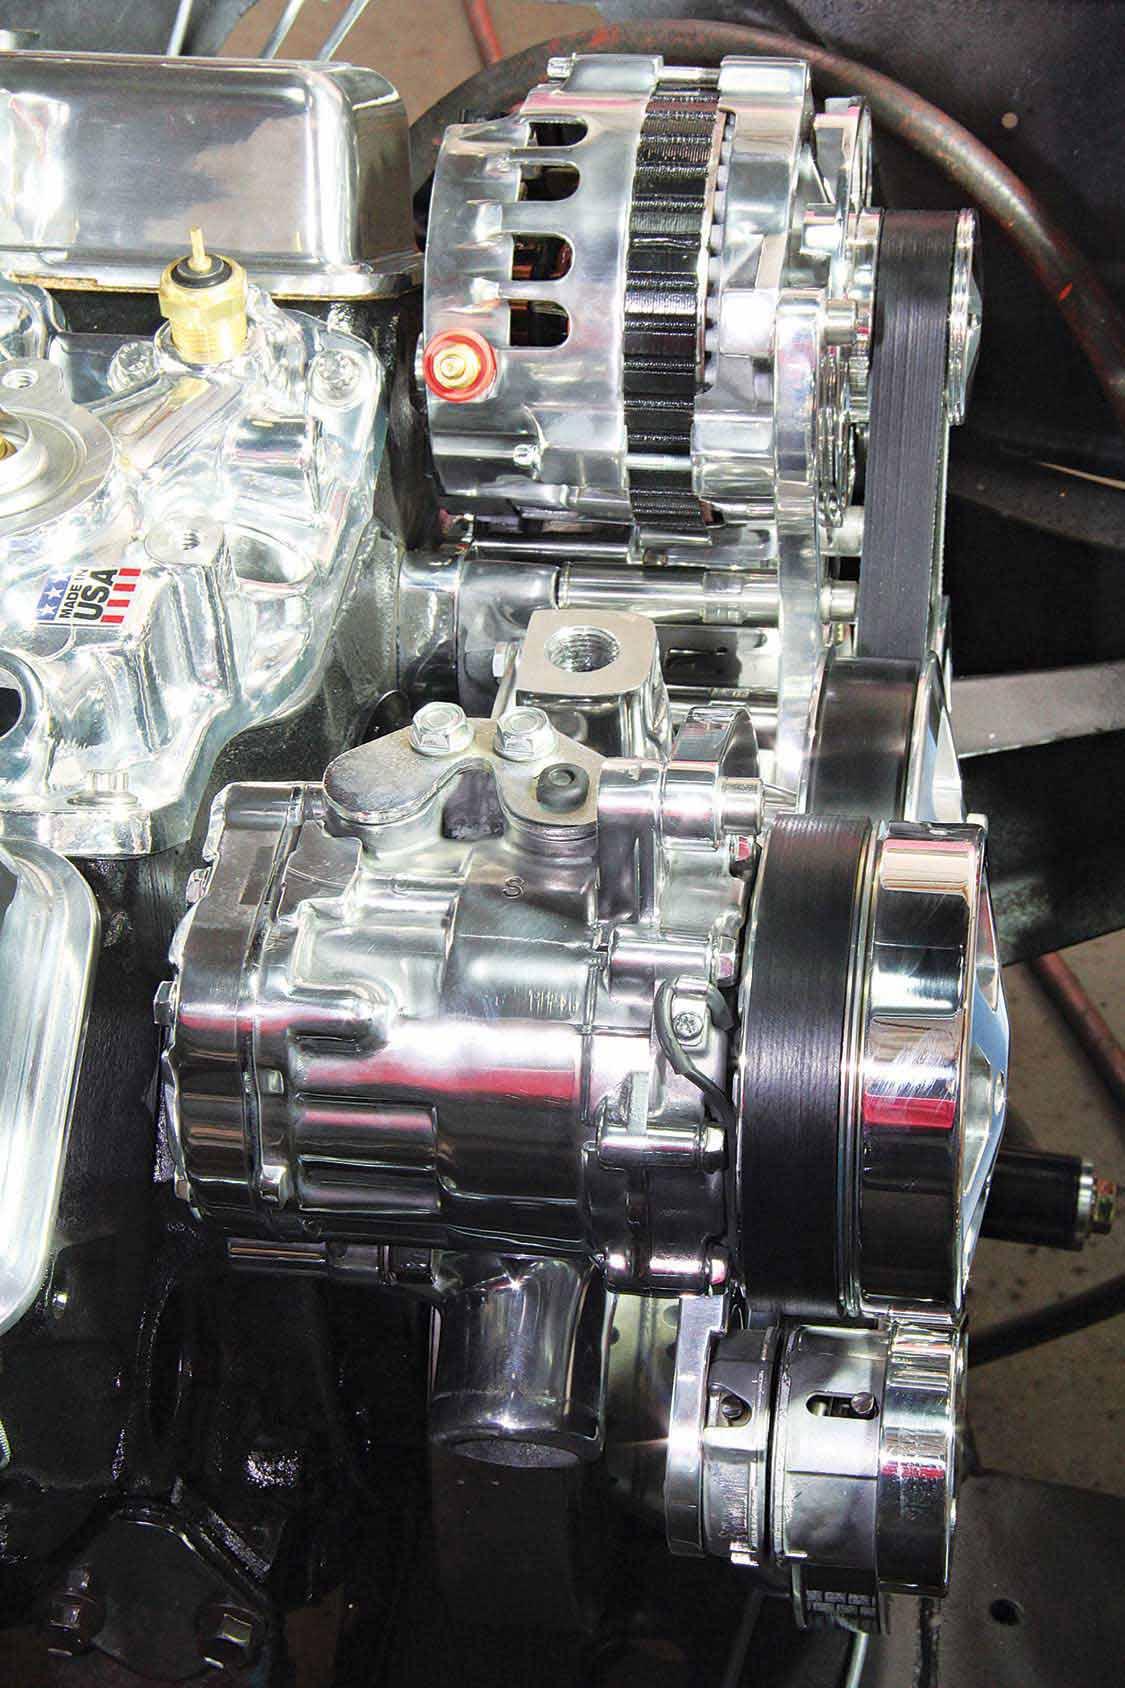
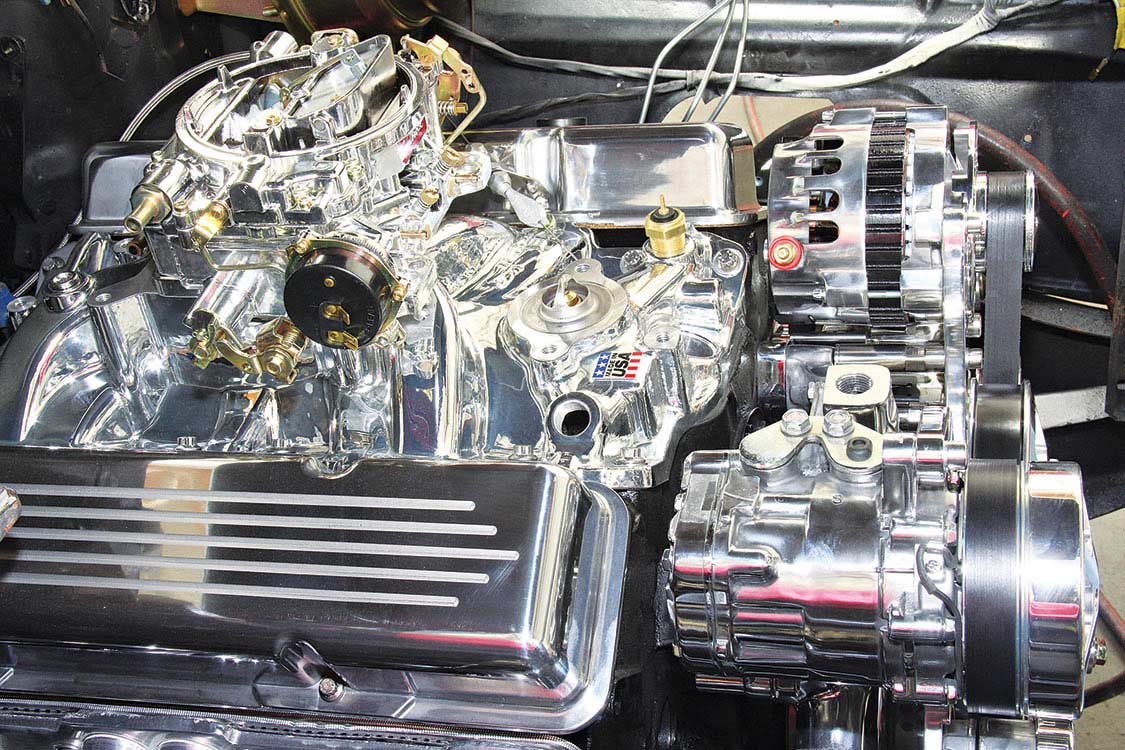
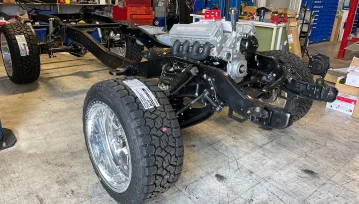
There is no better way to add “wow” factor to your engine’s appearance and performance than by installing a high-quality serpentine pulley component system.

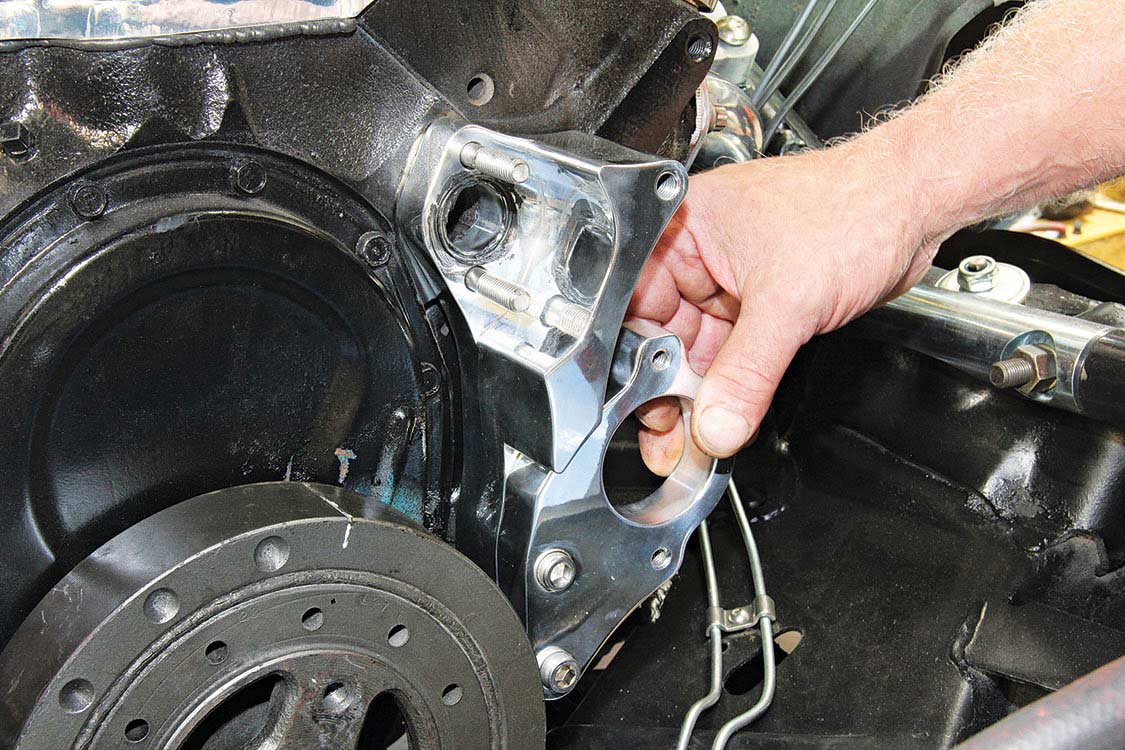
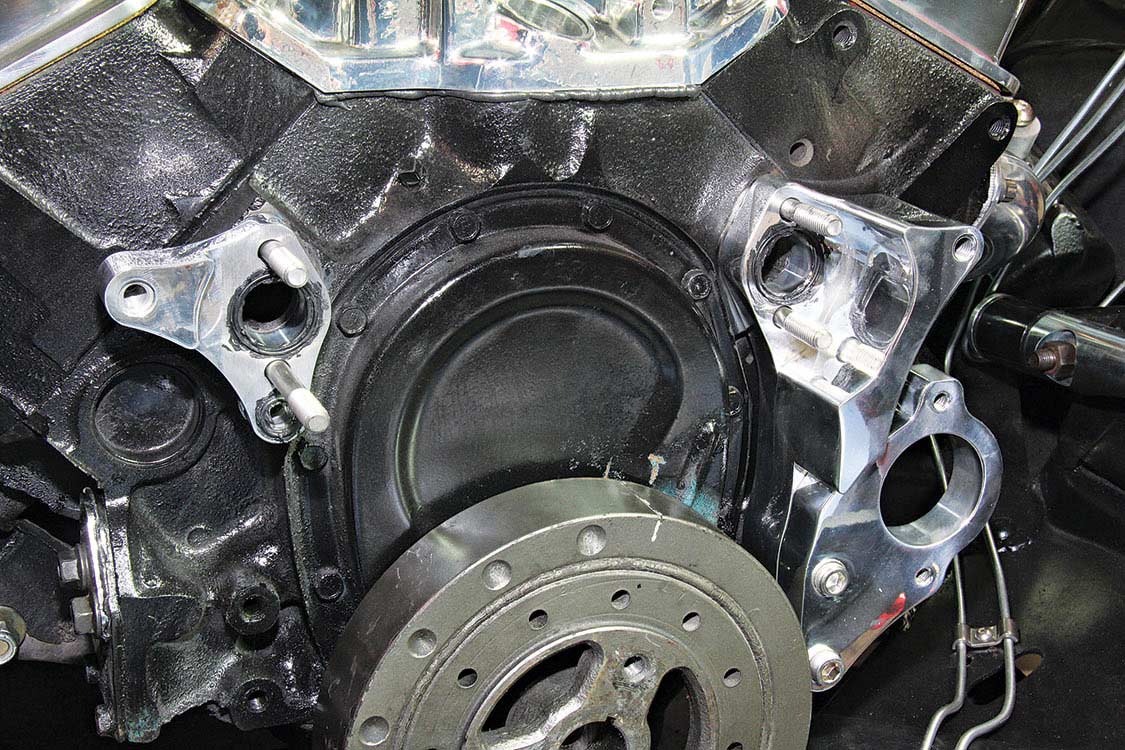
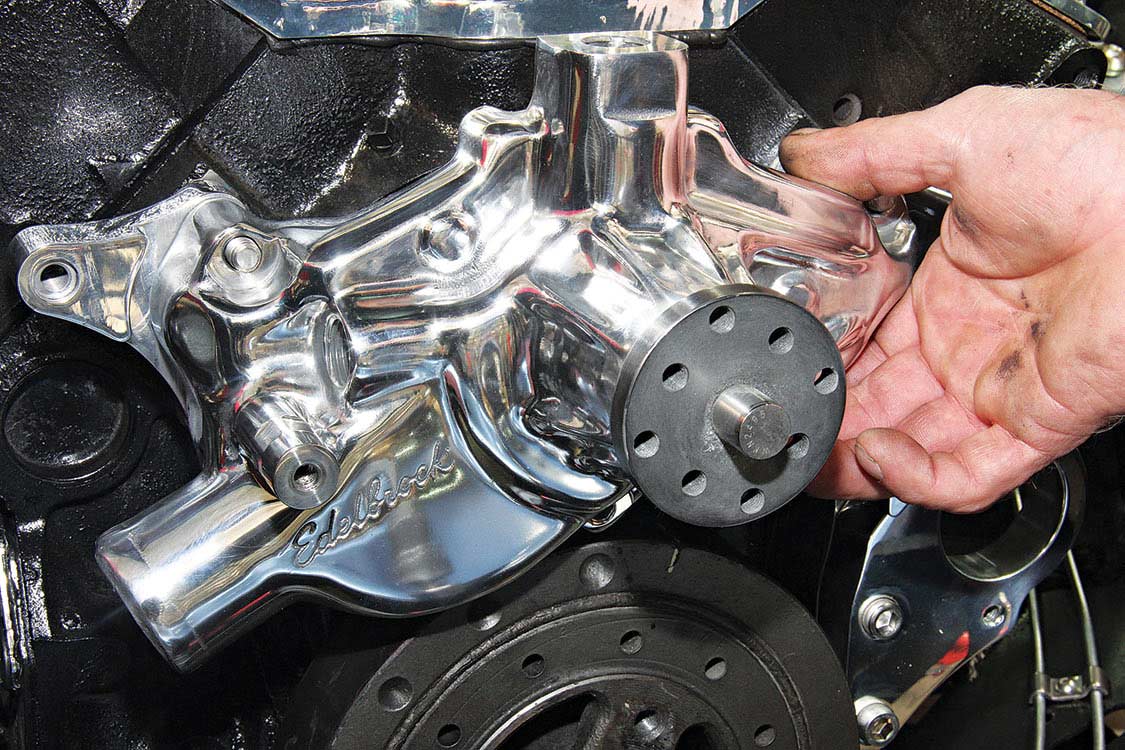
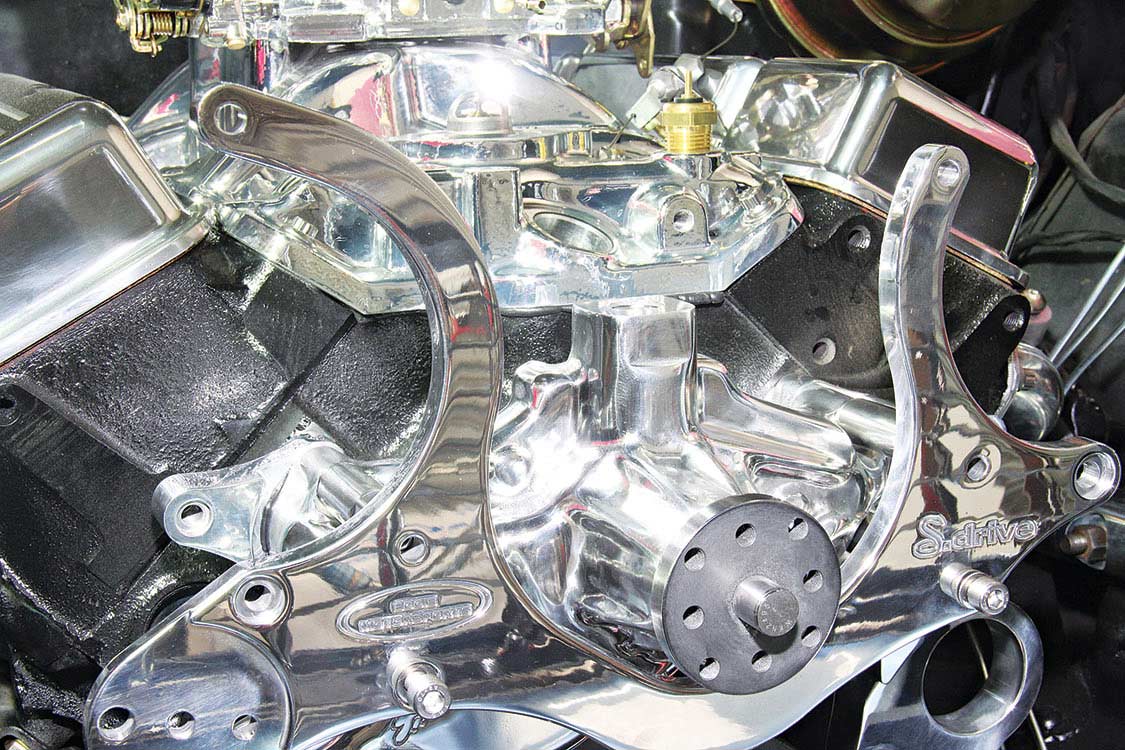
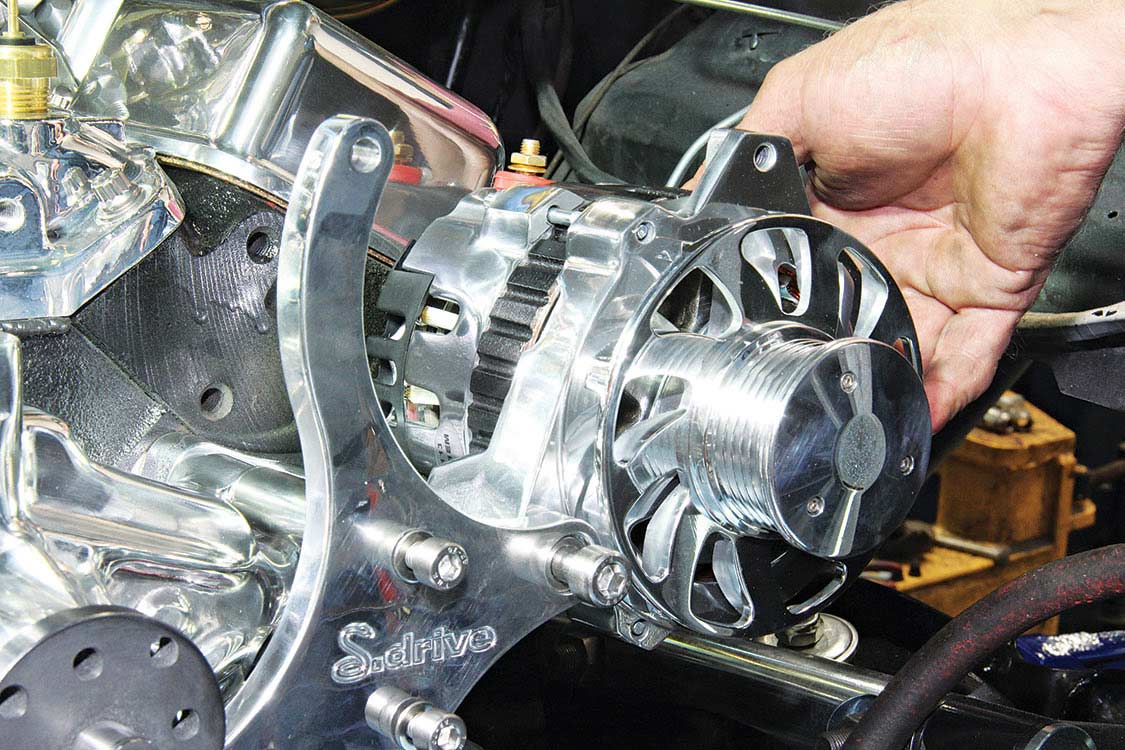
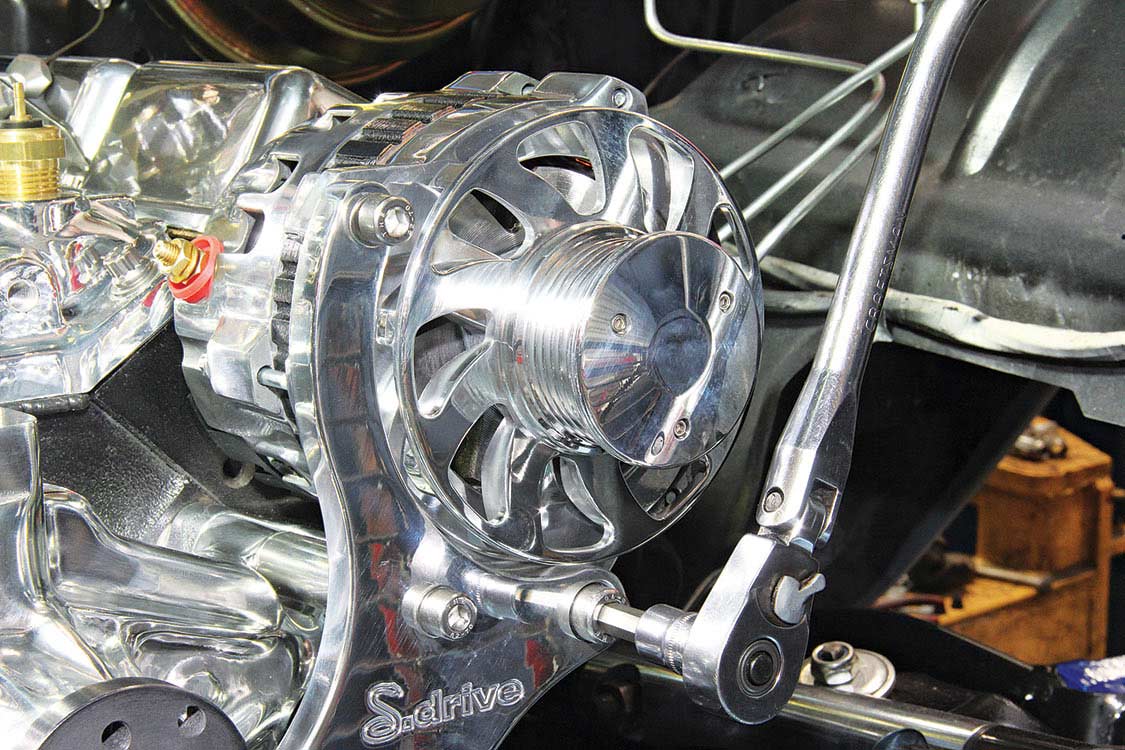
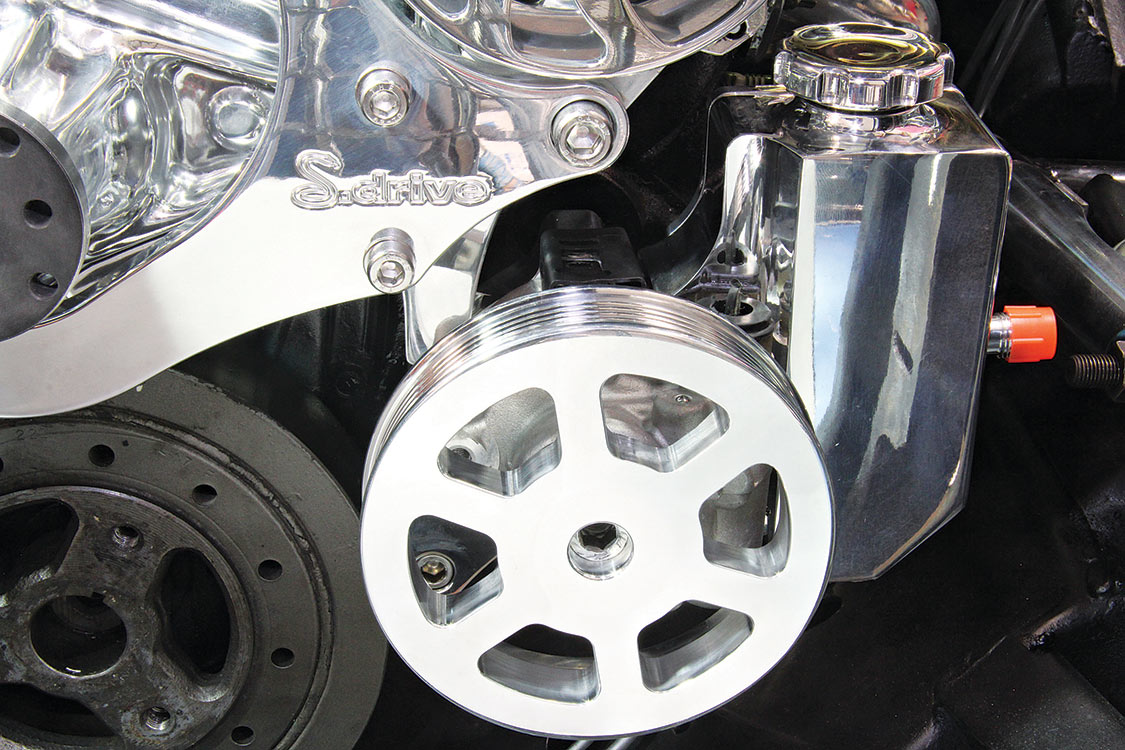
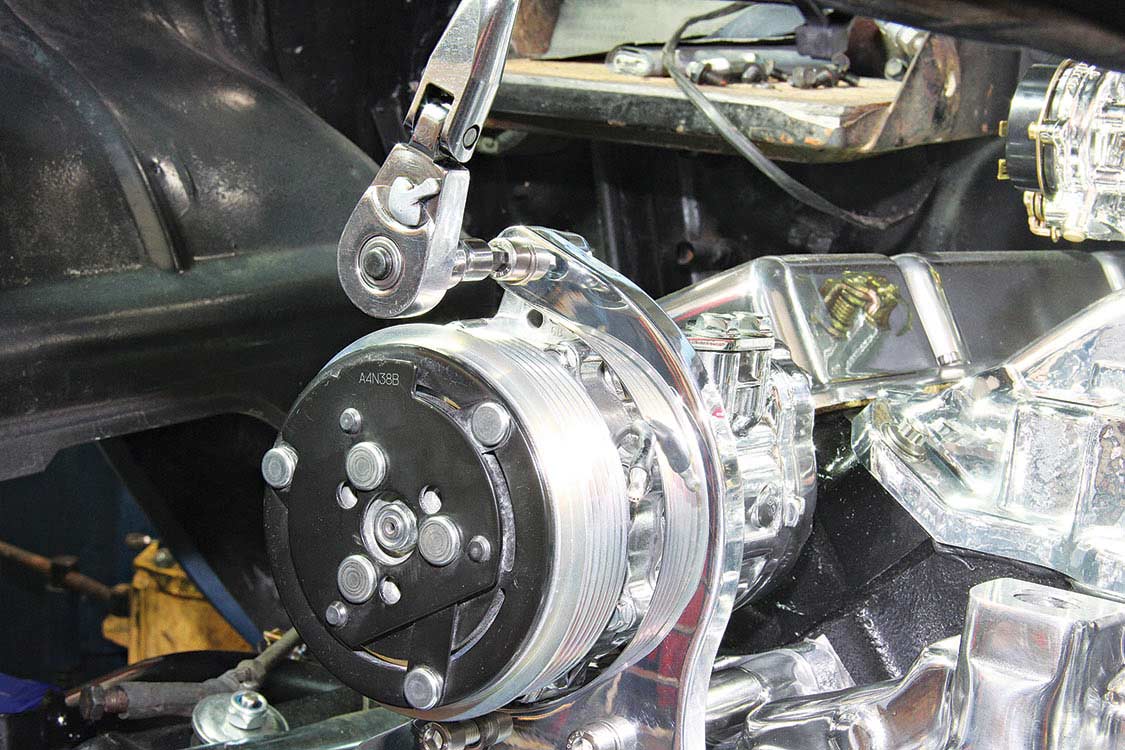
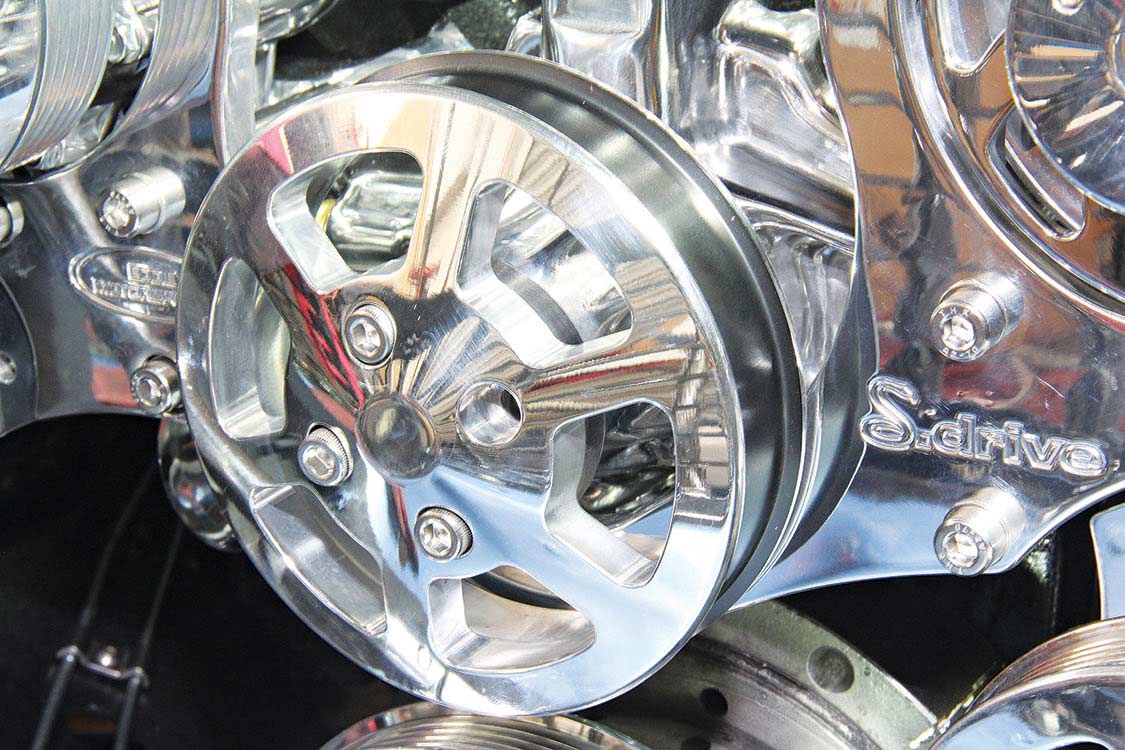
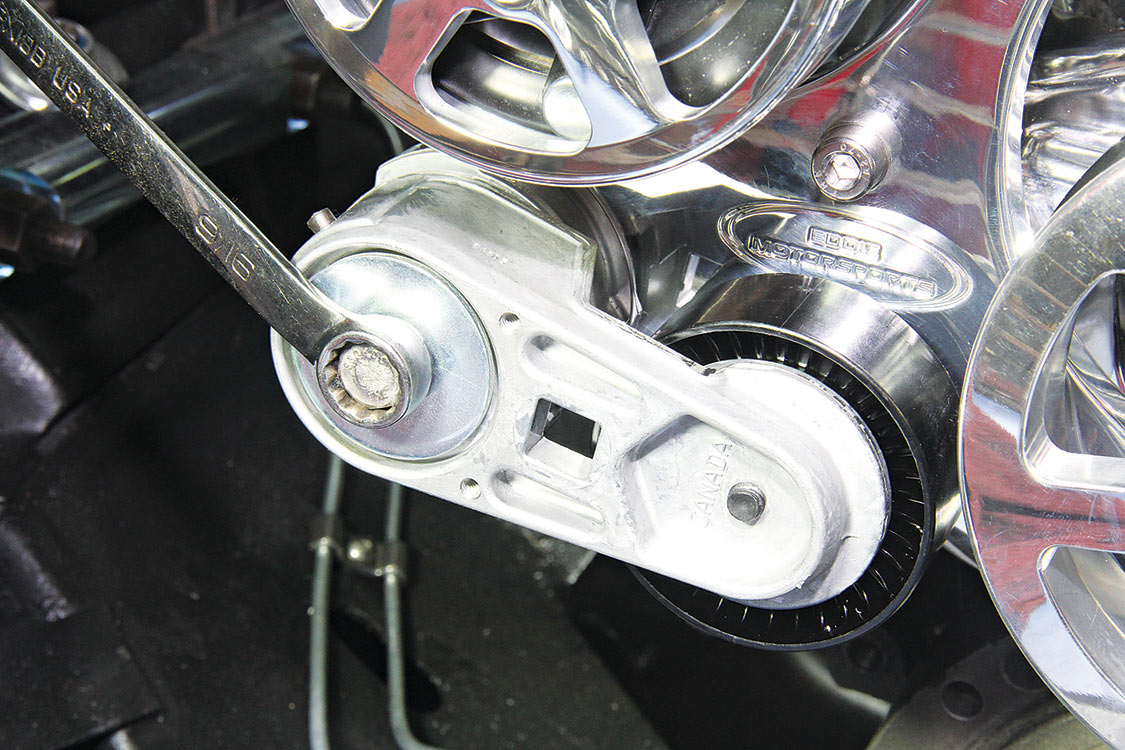
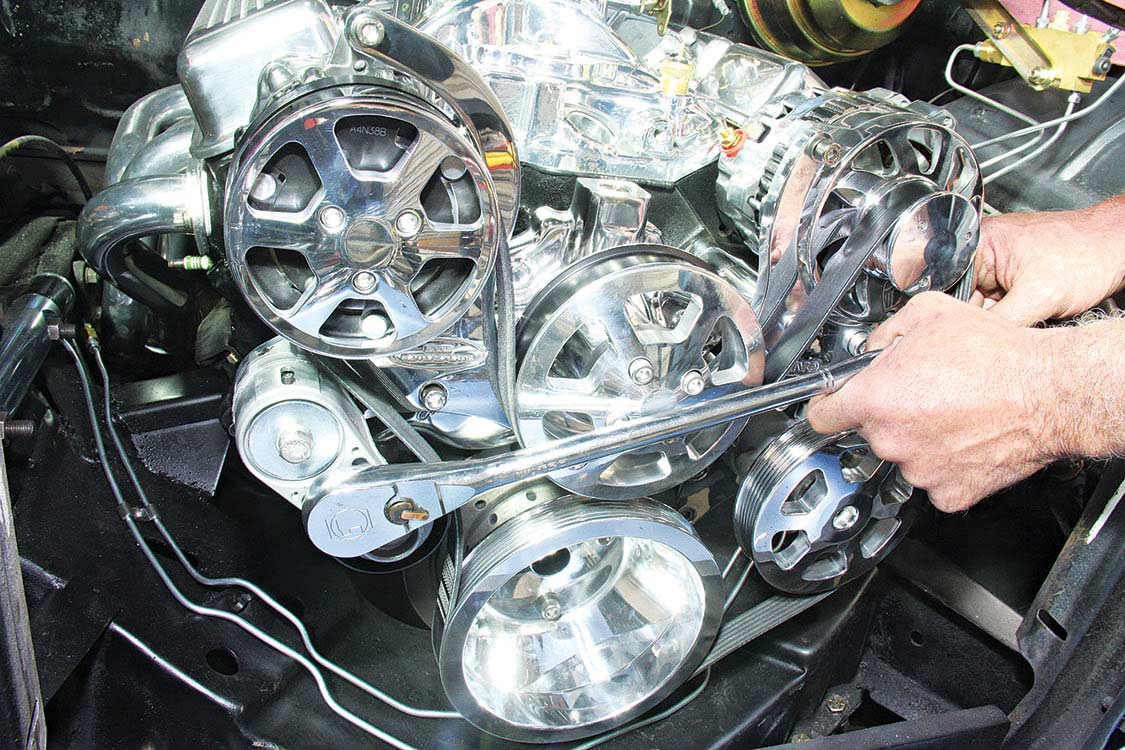
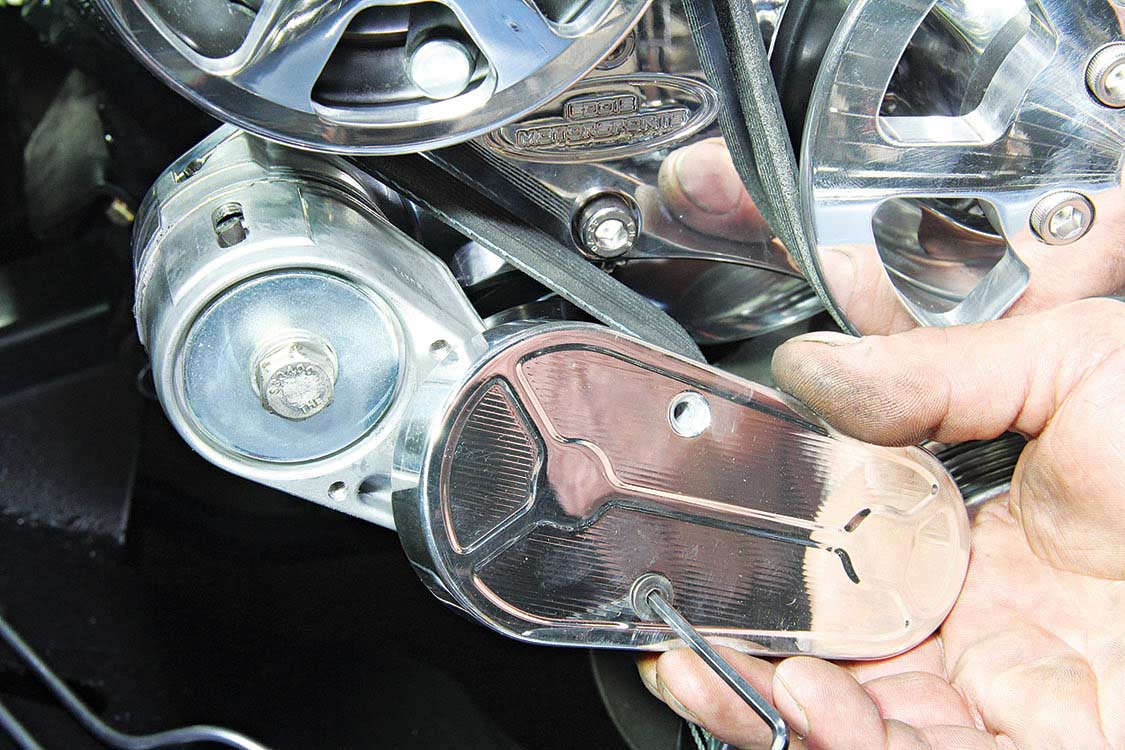
Eddie Motor Sports in Rancho Cucamonga, California, offers its S-Drive pulley system, which comes complete with a six-rib serpentine belt that’s routed by CNC-machined 6061T6 aluminum pulleys. The S-Drive pulley systems include all of the necessary stainless steel fasteners and high-quality, name brand components, including an Edelbrock water pump, Marval power steering pump, Powermaster alternator, Sanden A/C compressor and Gates belt tensioner and six-rib serpentine belt. The kits are available in raw machined or highly polished finish or in a variety of anodized Fusion-coat colors.
Follow along as John Mutch at Savi Ranch Automotive installs an Eddie Motorsports S-Drive serpentine pulley system on a Chevy 350 small-block.


Eddie Motorsports
888.813.1293
Eddiemotorsports.com
Savi Ranch Auto Care Center
22945 Savi Ranch Pkwy.
Yorba Linda, CA 92887
714.282.7498
Chevrolet
Replacing Inner and Outer Door Handles There is nothing more frustrating than a broken door handle! The inside door handle on a OBS is a… Continue reading
MARK OJA . November 27, 2023
OBS Builders Guide
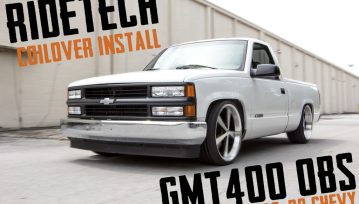
Installing A Belltech Lowering Kit in a ’96 GMC Sierra C1500 When it comes to lowered trucks, the stance is everything! Without the proper stance,… Continue reading
JERRY MCFARLAND . August 09, 2021
C10 Builders Guide
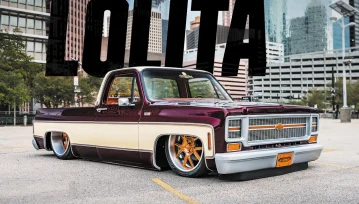
Ricky Holly’s Incredible ’79 Unibody Chevy Pickup Ricky Holly is a name that we’ve all grown accustomed to hearing over the years. He’s been turning… Continue reading
John Mata Jr. . June 21, 2023
OBS Builders Guide
Generally, truck trends are unpredictable and cycle quickly through the ranks of the top industry builders and ballers. F-100 bump-sides and pro-touring, patina-paneled C10s are… Continue reading
Chris Hamilton . December 23, 2019
Buyer’s Guides
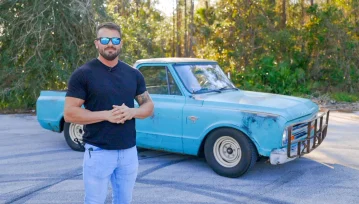
A Heavy Hitting, Lifted, 2WD, LS Powered Squarebody! There’s a new contender moving up the ranks in this thrilling world of C10 restorations: Project Rocky,… Continue reading
Chris Hamilton . December 14, 2023
Buyer’s Guides
Protecting the Patina on a 1967 Chevy C10 If you’re like me, you LOVE original-paint classic trucks. There’s something about looking over the original paintjob… Continue reading
Josh McPherson . June 07, 2023


Classics With The Cardinals, Santa Barbara’s Premier Car Show
Bishop Diego High School - Football Field 4000 La Colina Rd
Goodguys 35th Speedway Motors Heartland Nationals Presented By FiTech Fuel Injection
Iowa State Fairgrounds 3000 East Grand Avenue, Des Moines, IA 50317
Goodguys 28th Summit Racing Nationals Presented By Grundy Insurance
Ohio Expo Center 717 East 17th Avenue, Columbus, OH 43211
Stray Angels Show & Shine
Stray Angels Show & Shine at Melrose Vineyards 885 Melqua Rd. Roseburg OR. 97471
43rd Annual Stray Angels Show & Shine
Melrose Vineyards, Roseburg, Oregon
We use cookies to enhance your browsing experience, serve personalized ads or content, and analyze our traffic. By clicking "Accept All", you consent to our use of cookies. Visit our Cookie Policy for more info.

 Please wait...
Share Link