 CHRIS STAFFORD CK SYNDICATE
.
September 28, 2022
.
OBS Builders Guide
CHRIS STAFFORD CK SYNDICATE
.
September 28, 2022
.
OBS Builders Guide

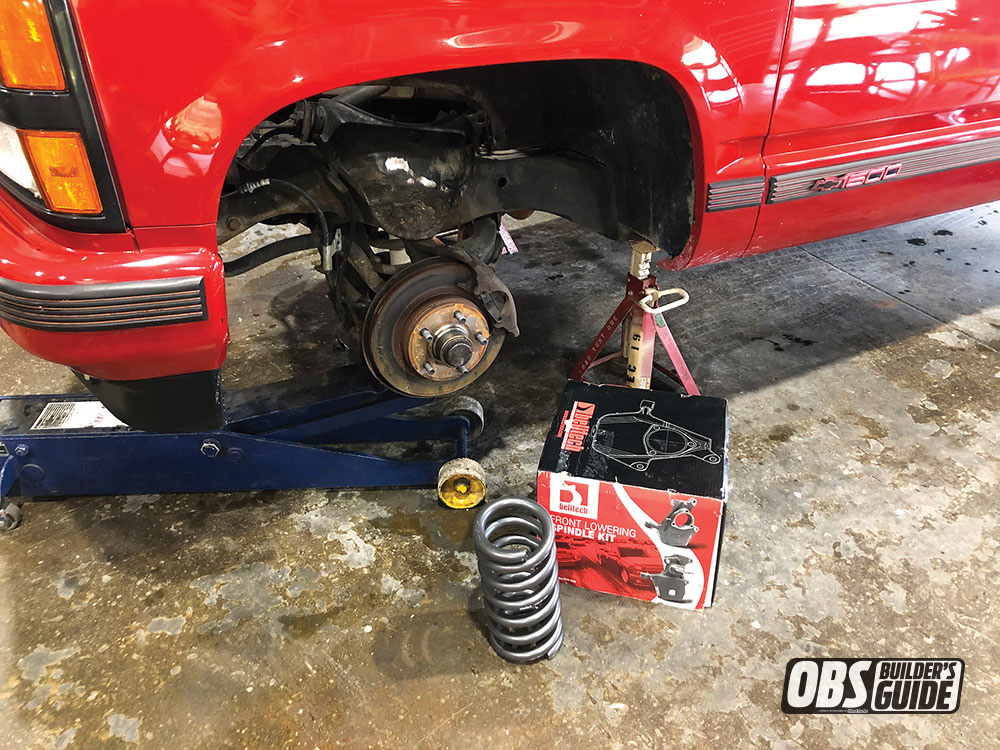
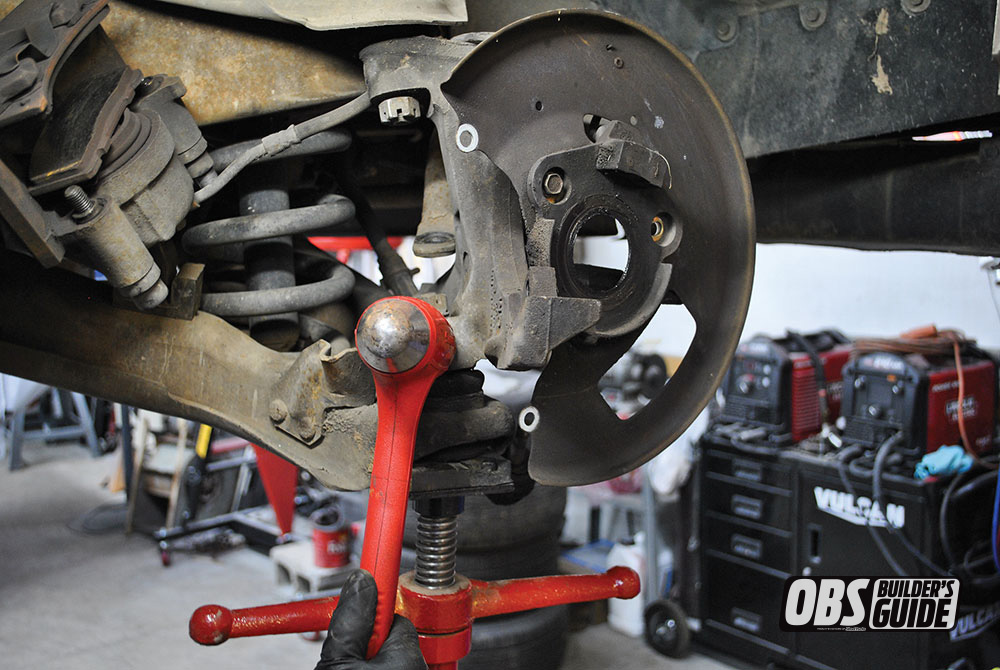
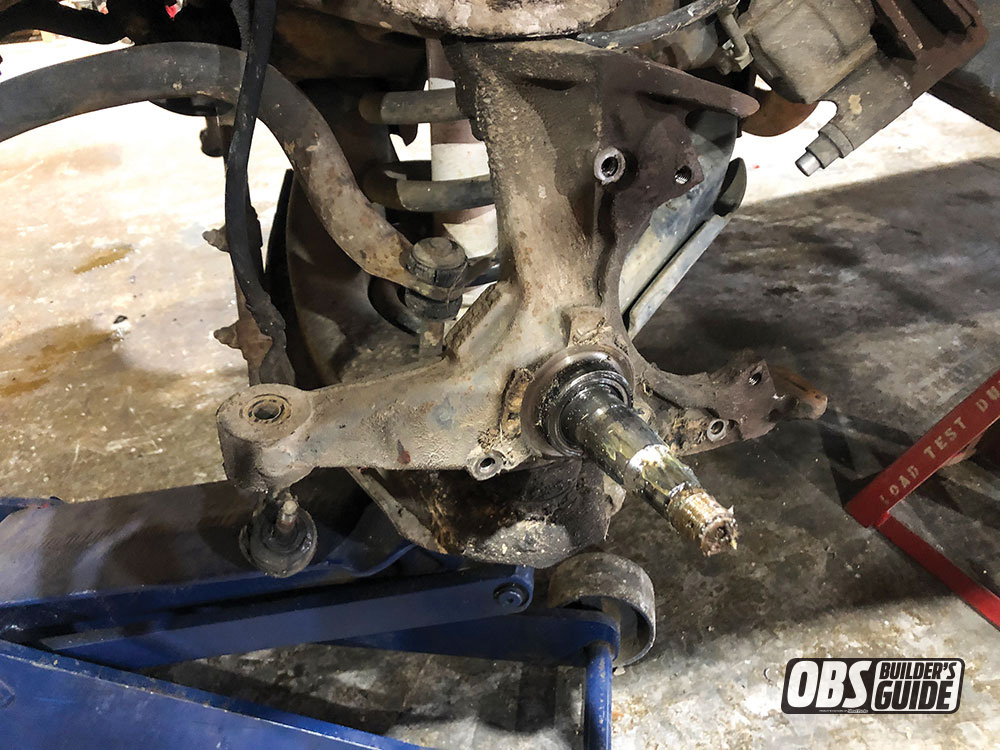
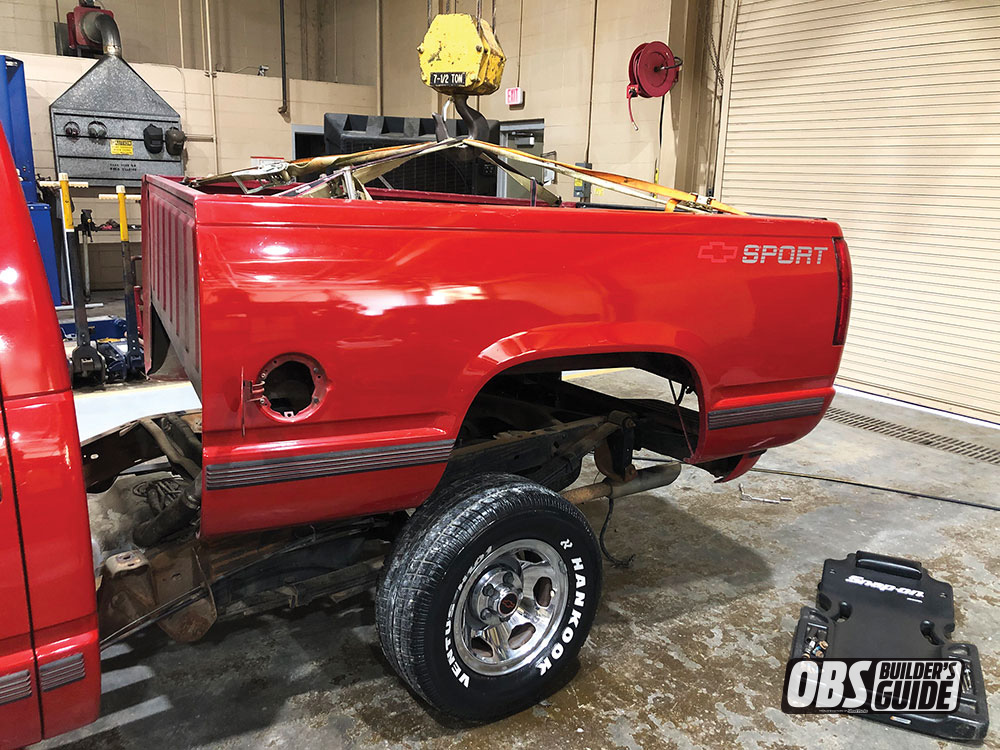
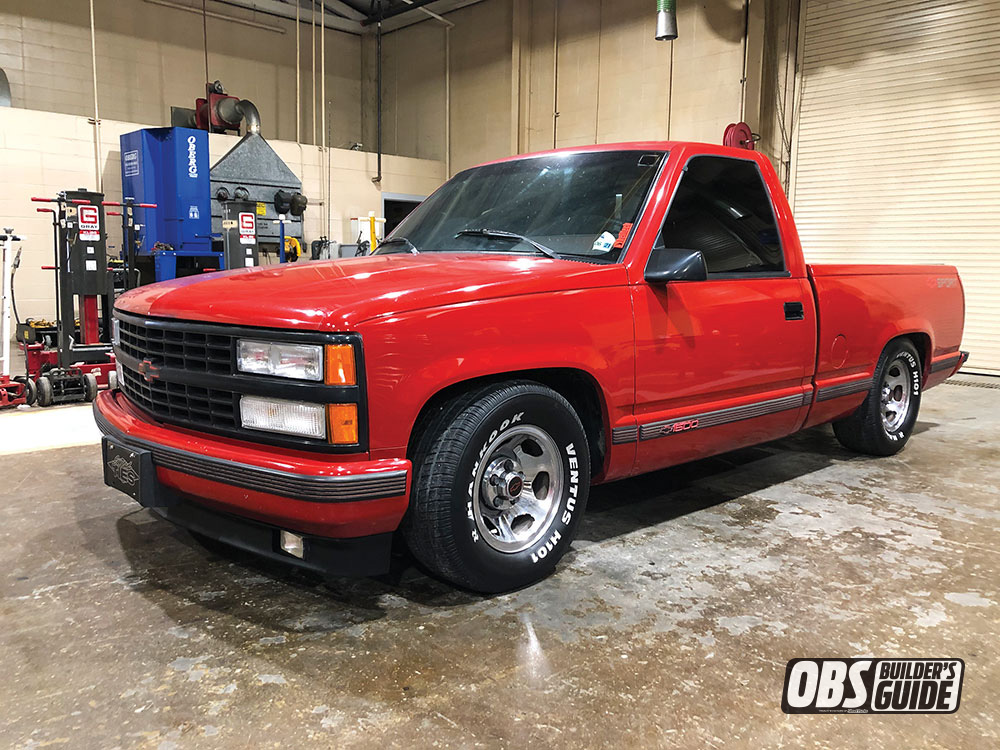
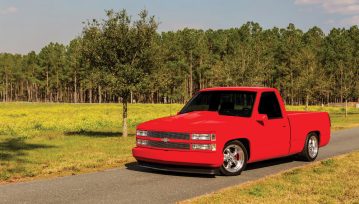
When considering a lowering kit for your 1988-1998 C1500 or (OBS GM Truck), you’ll find there are quite a few options out there. Most companies offer parts individually, so you can get creative with parts combinations in order to get your desired results. In our case, we wanted to try and get this job done with performance and ultimate ride quality in mind. Being that Belltech Suspension was a huge part of the sport truck movement back in the ’90s, the company knows a thing or two about OBS GM trucks. With that said, naturally they were our first call when we decided to tackle the suspension on our 1990 C1500.
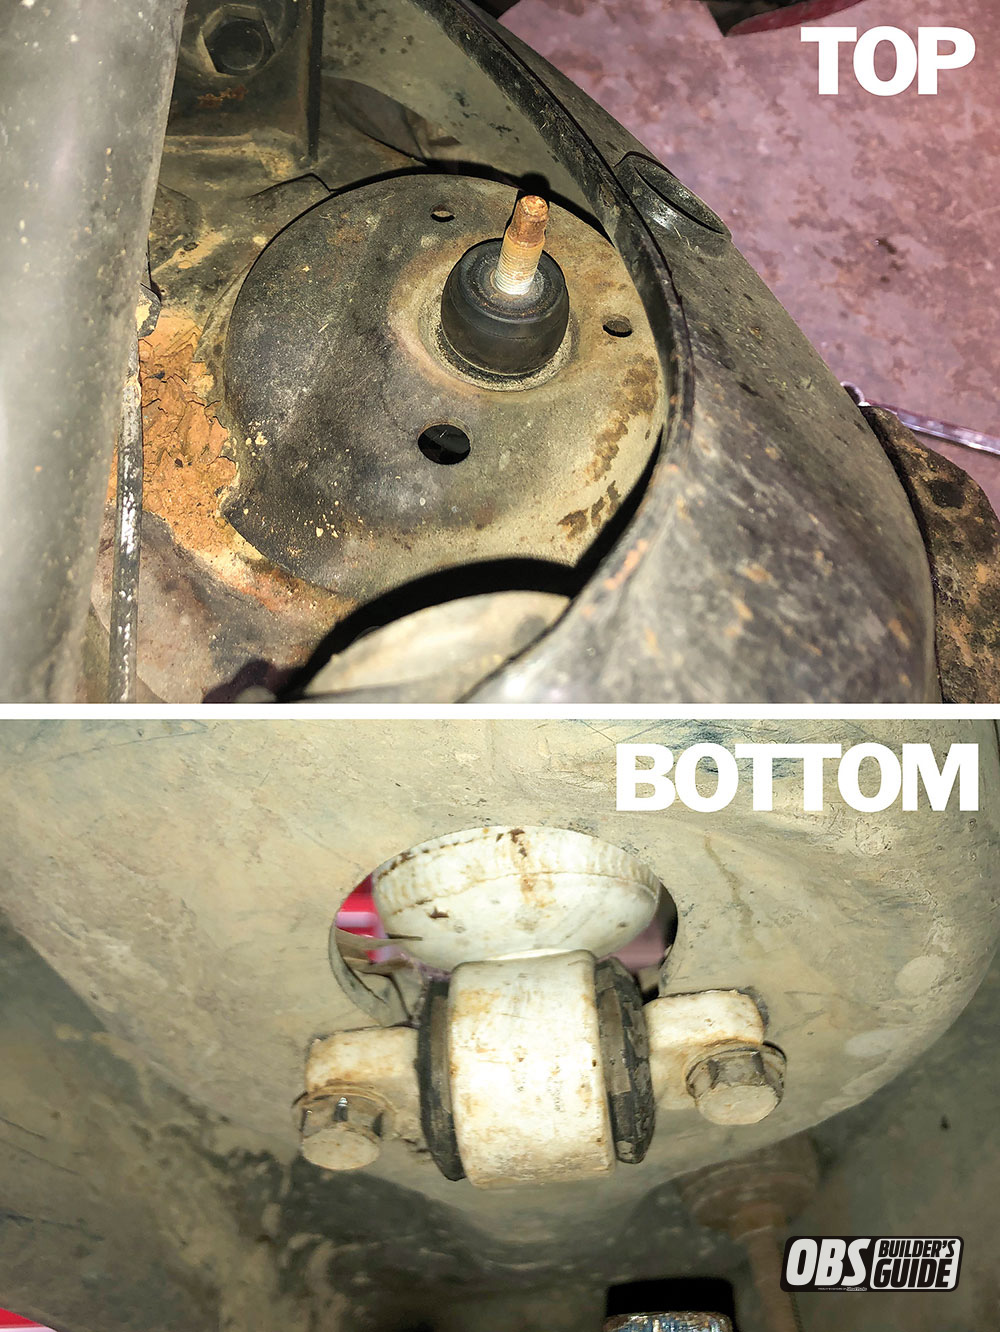
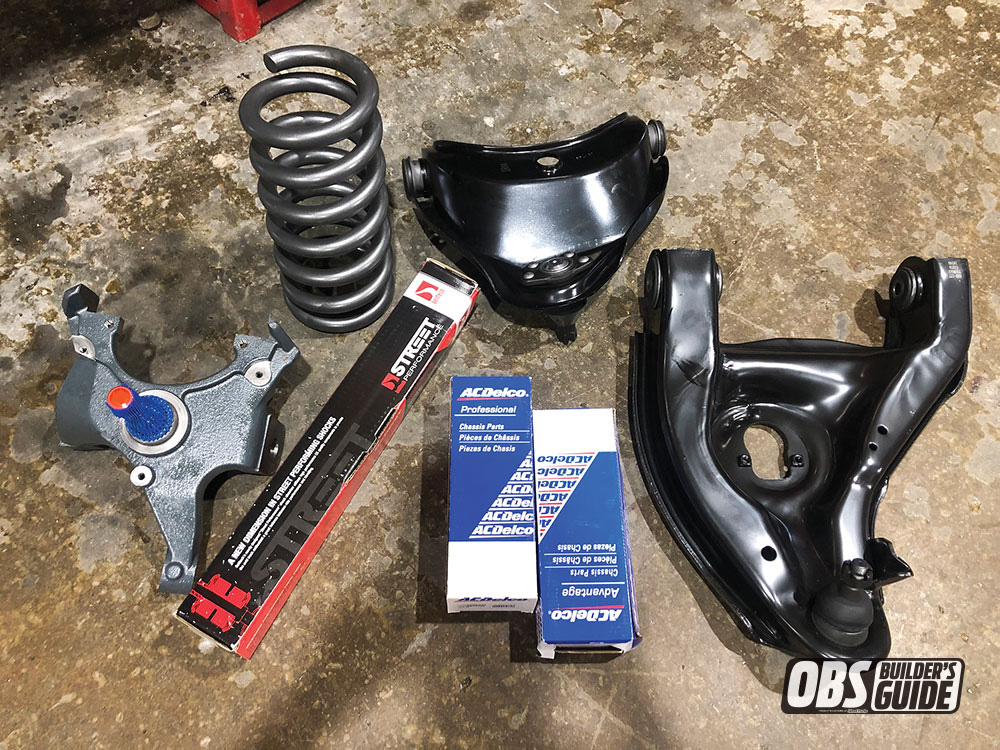
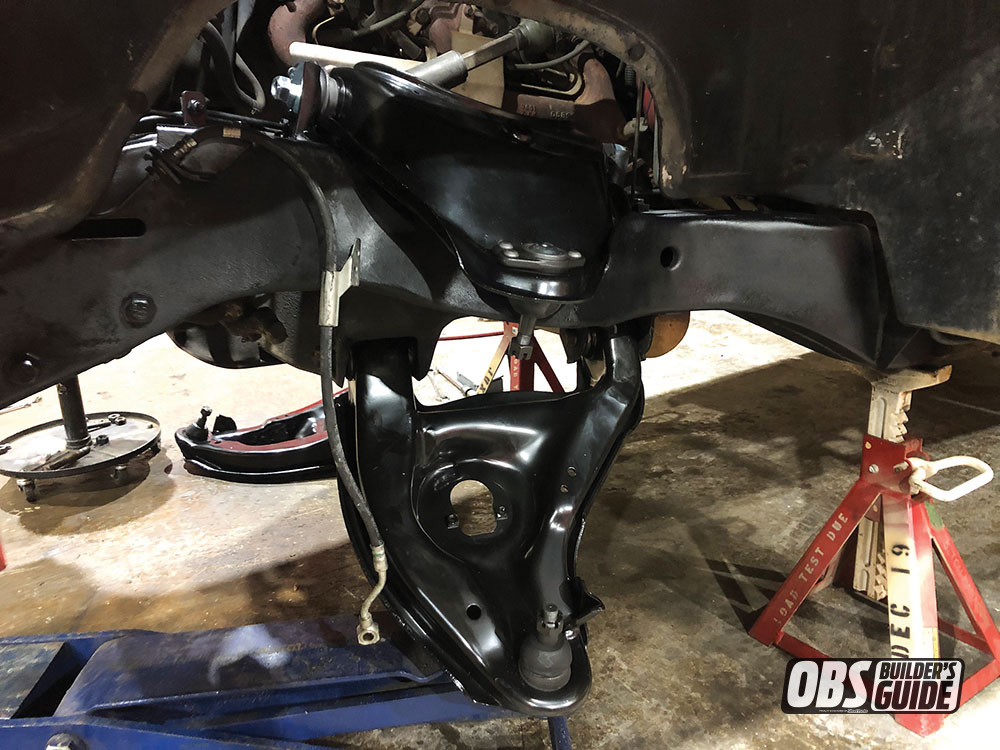
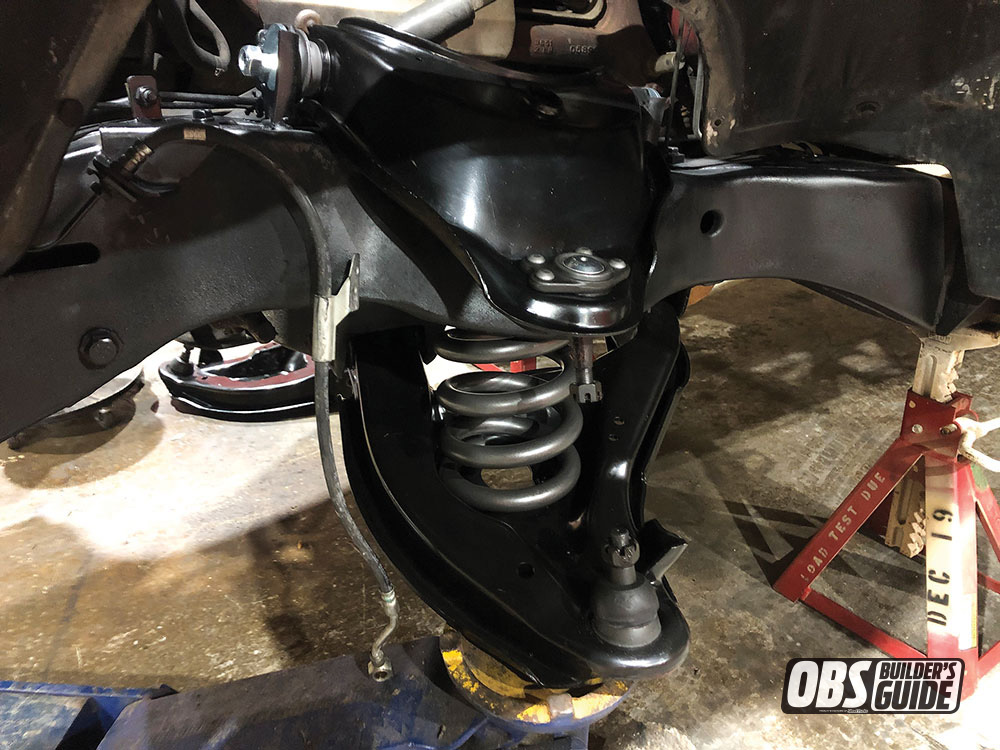
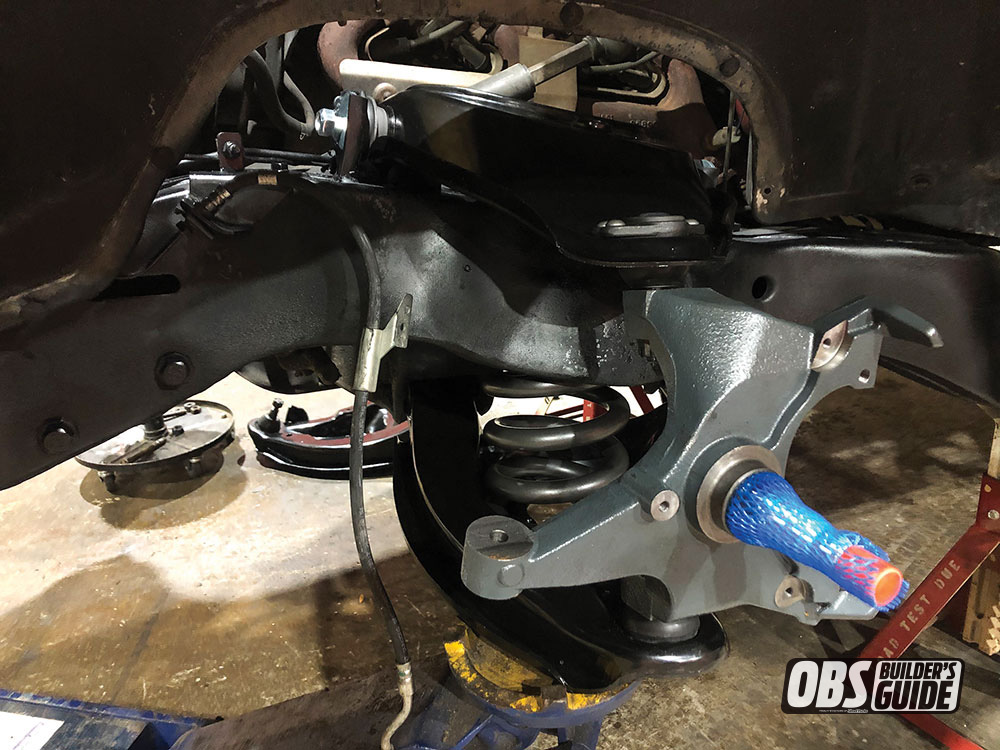
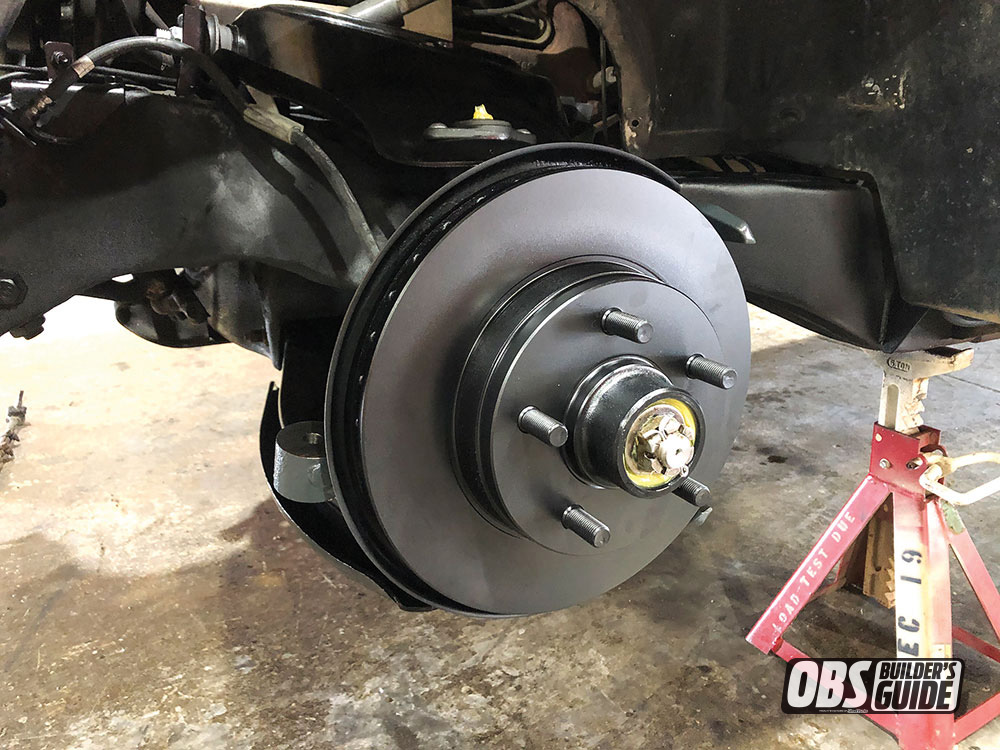
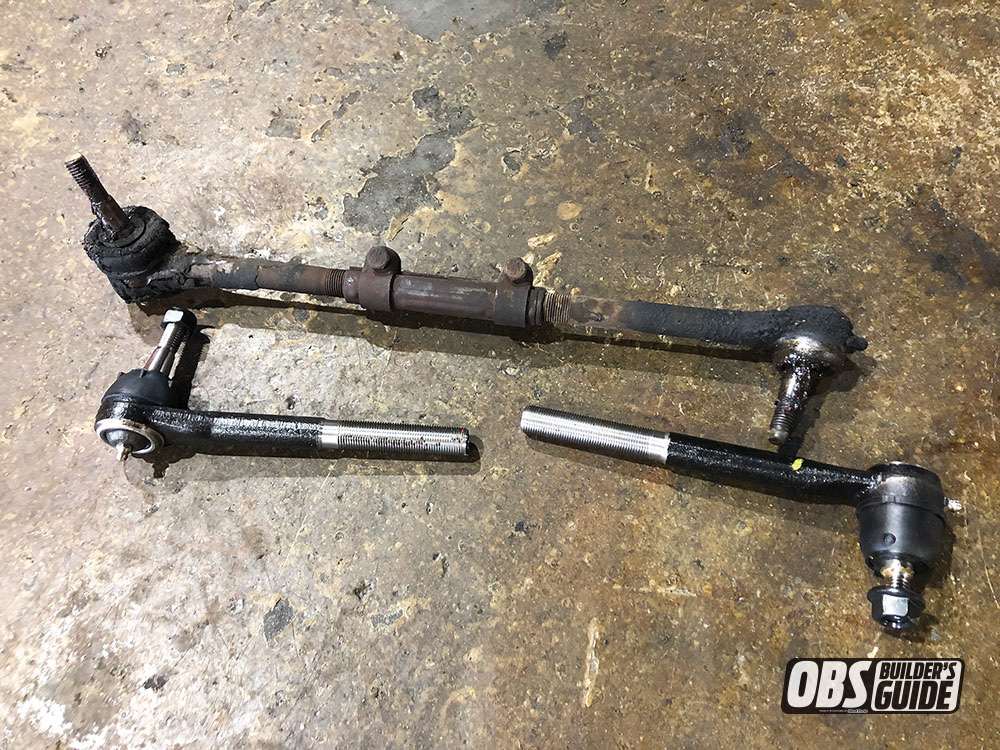
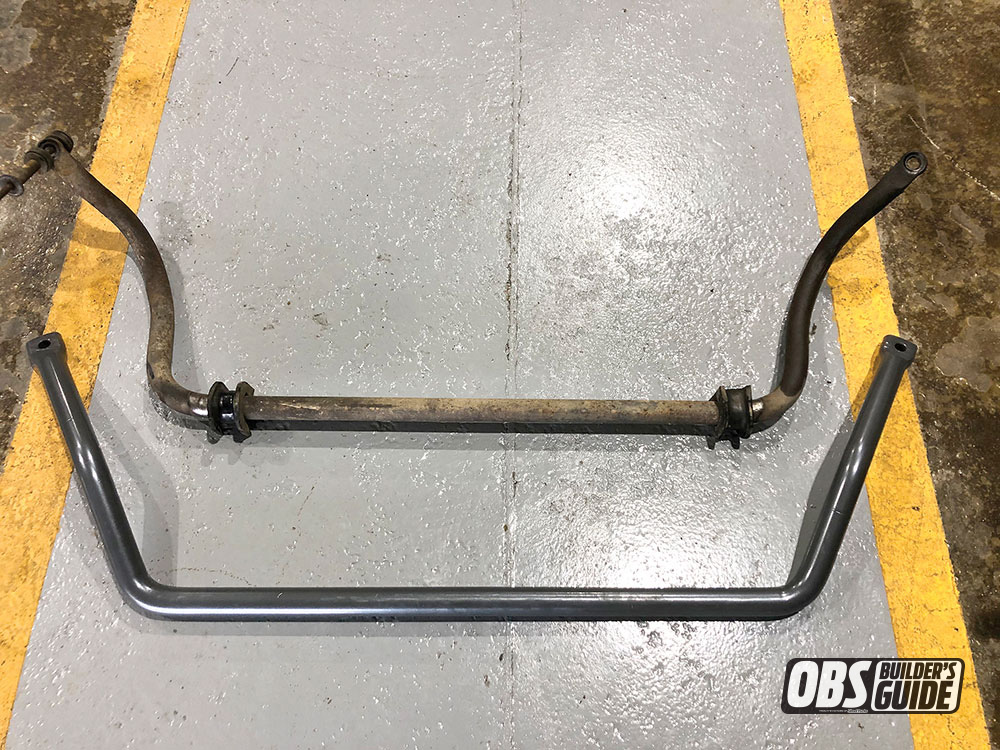
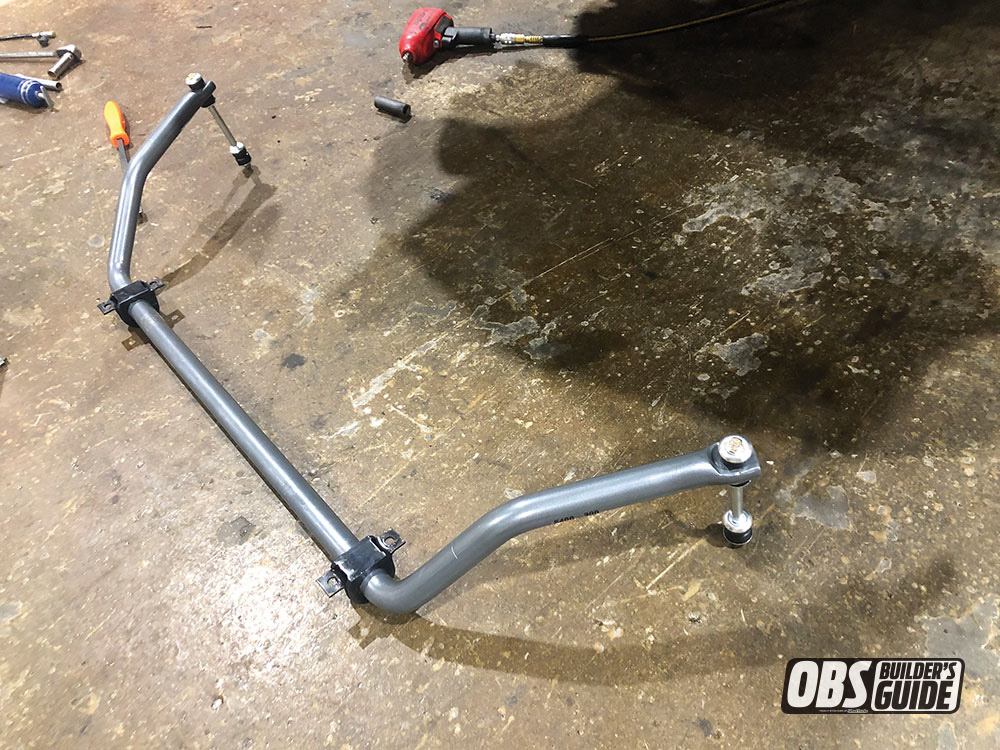
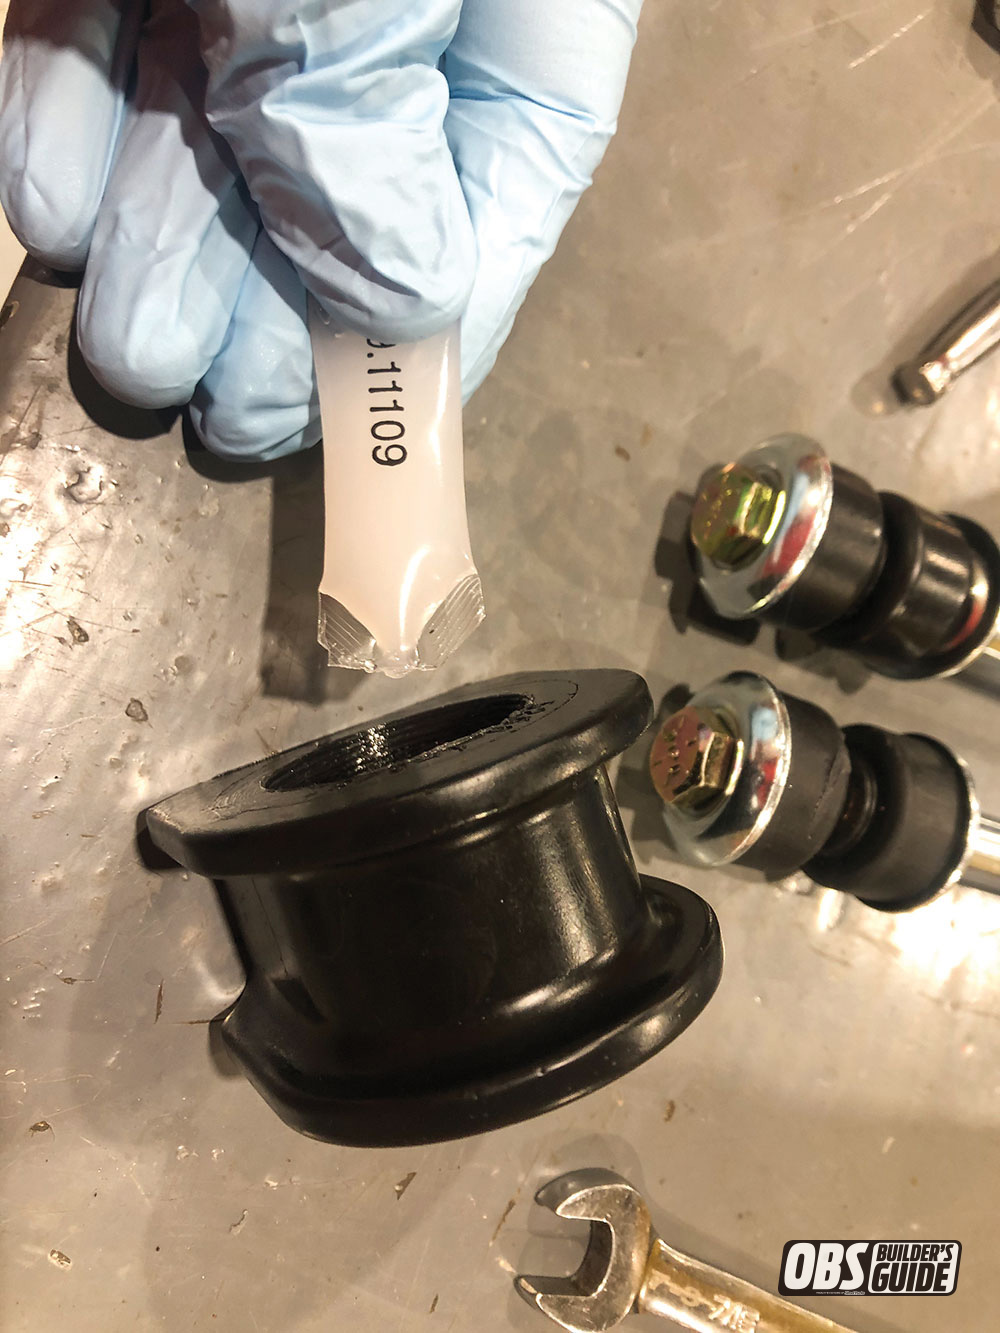
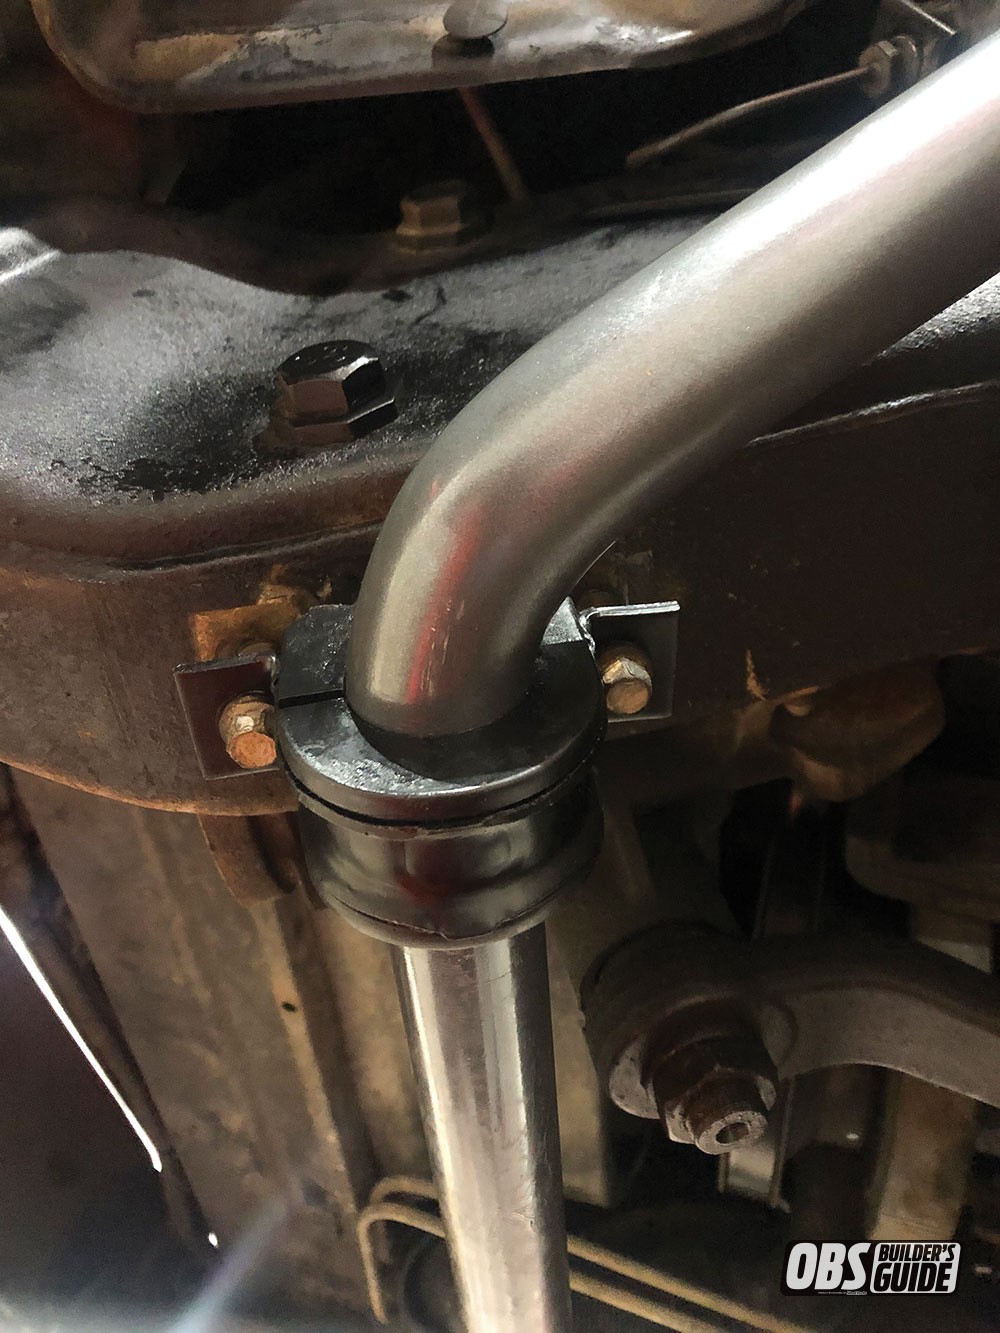
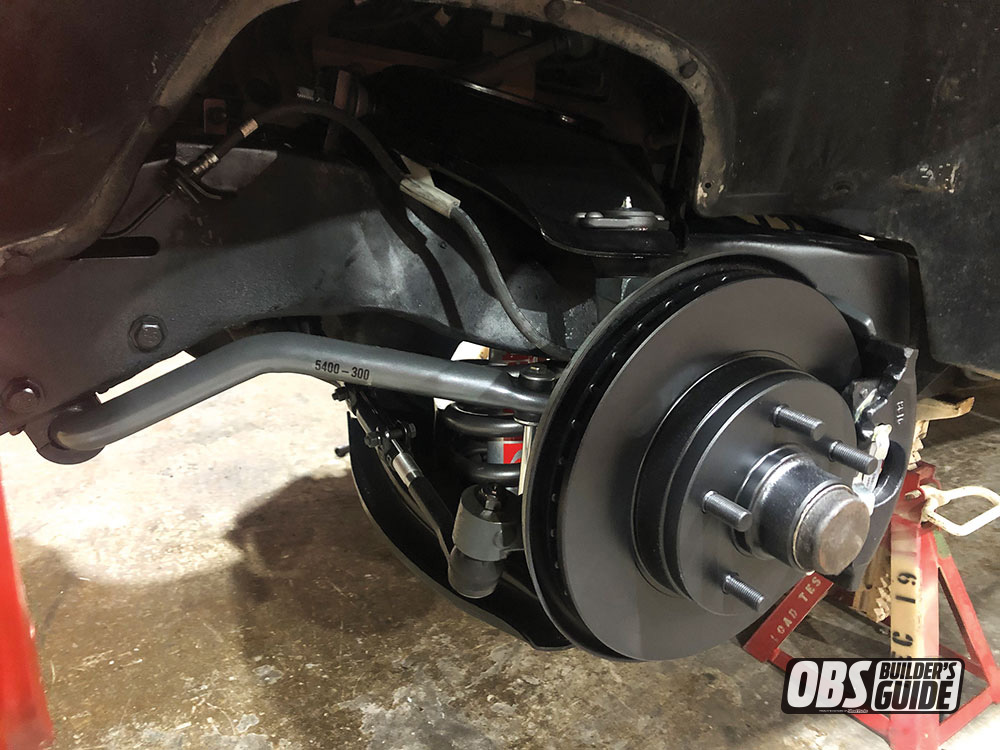
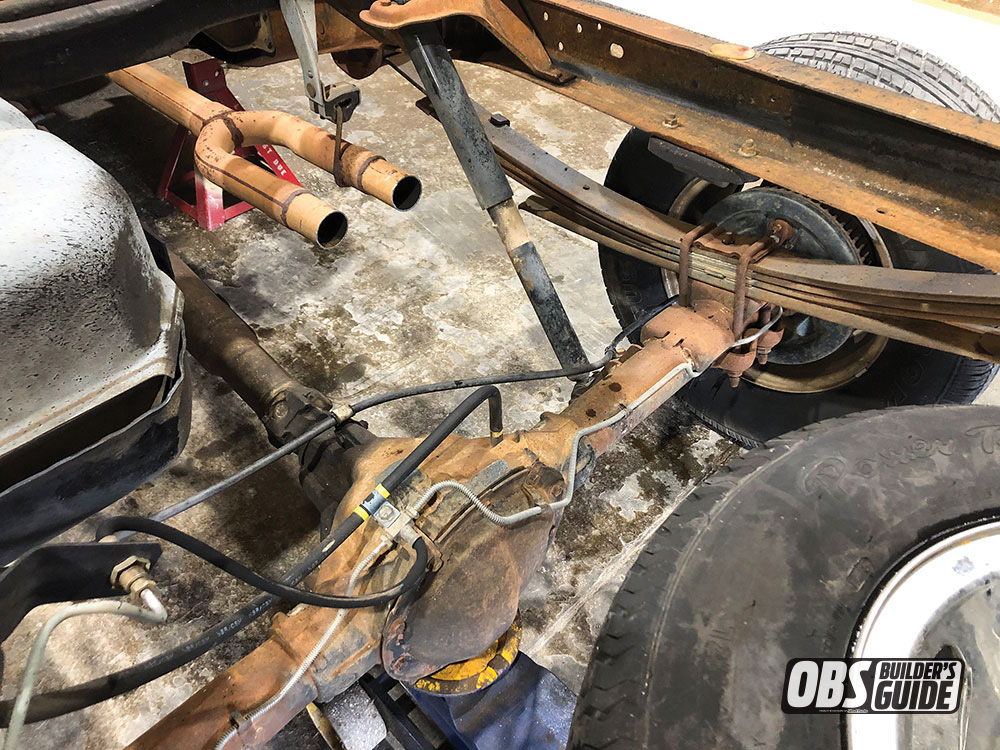
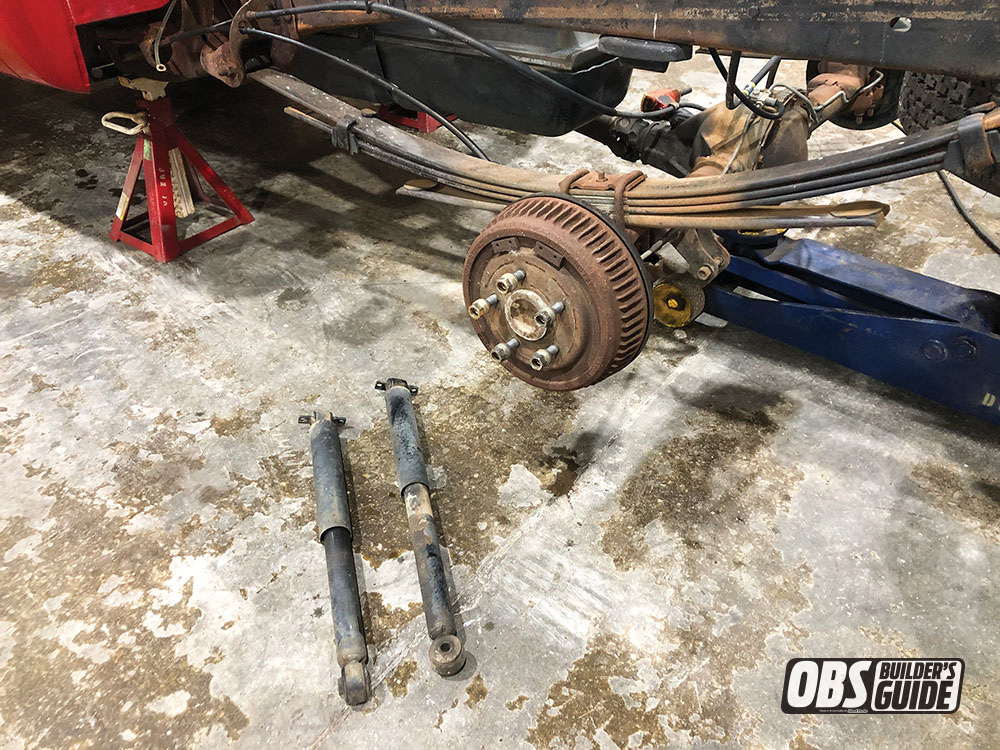
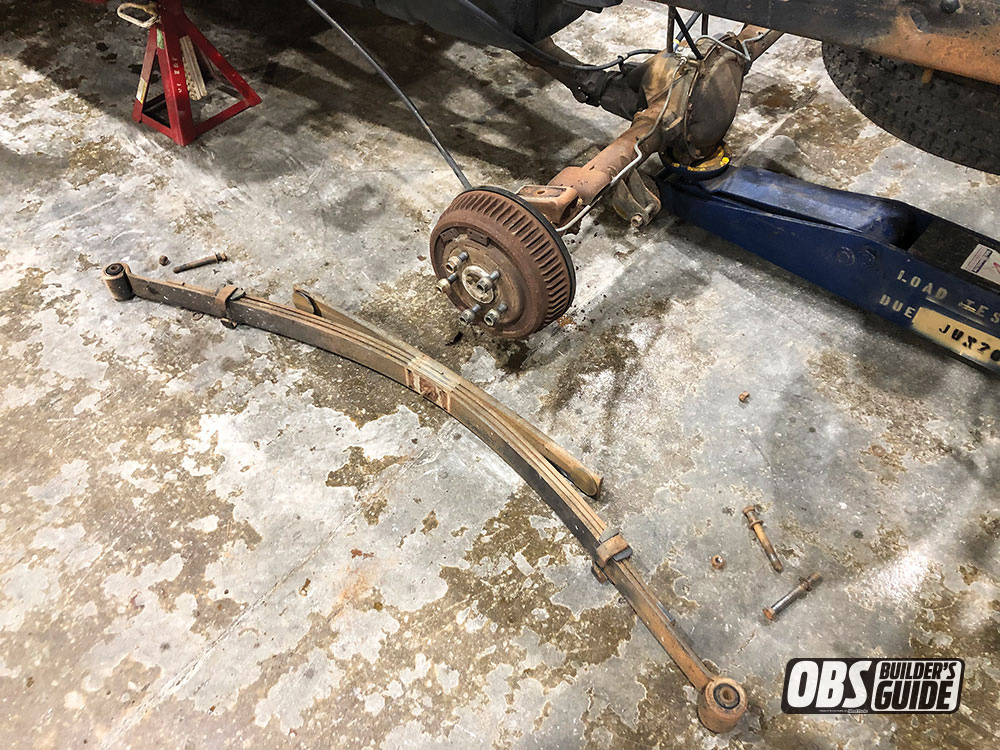
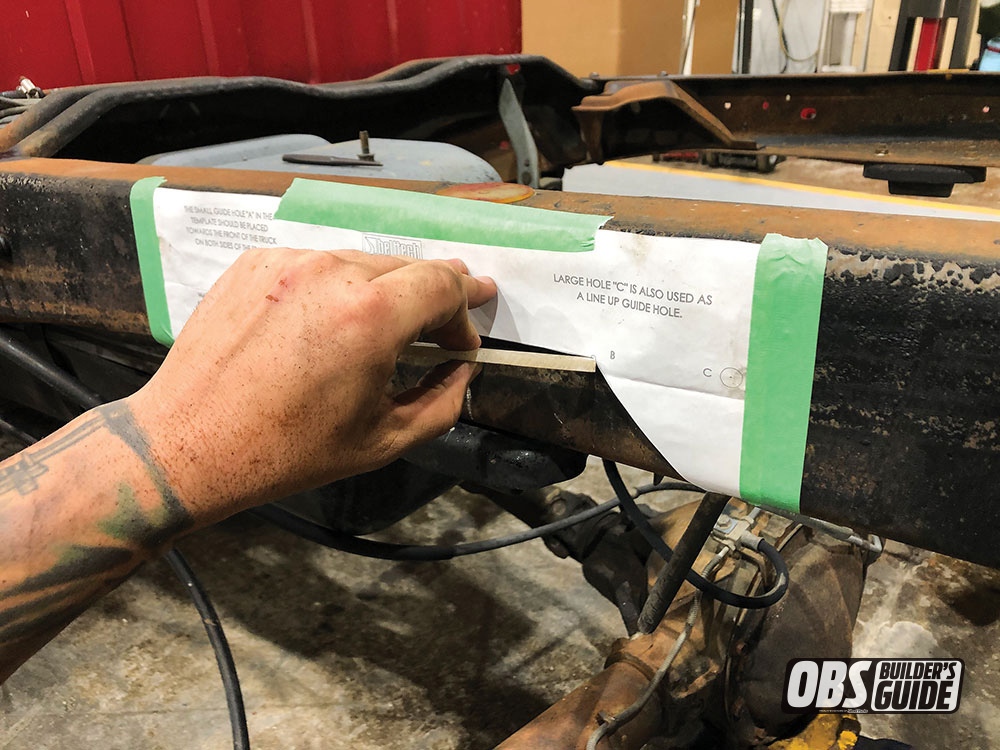
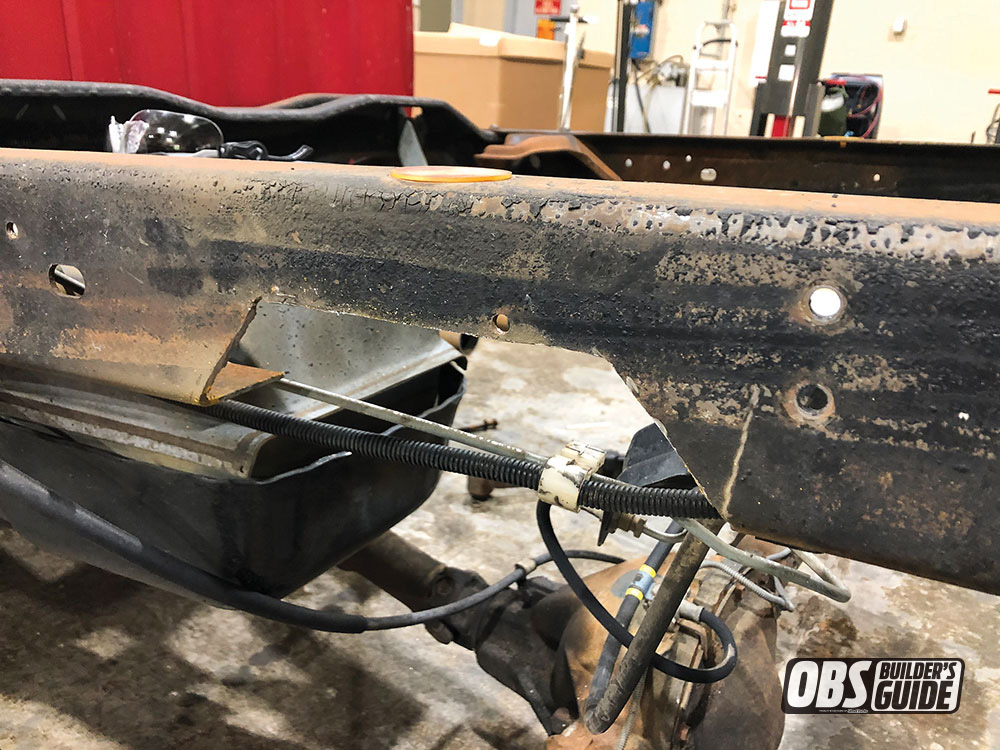
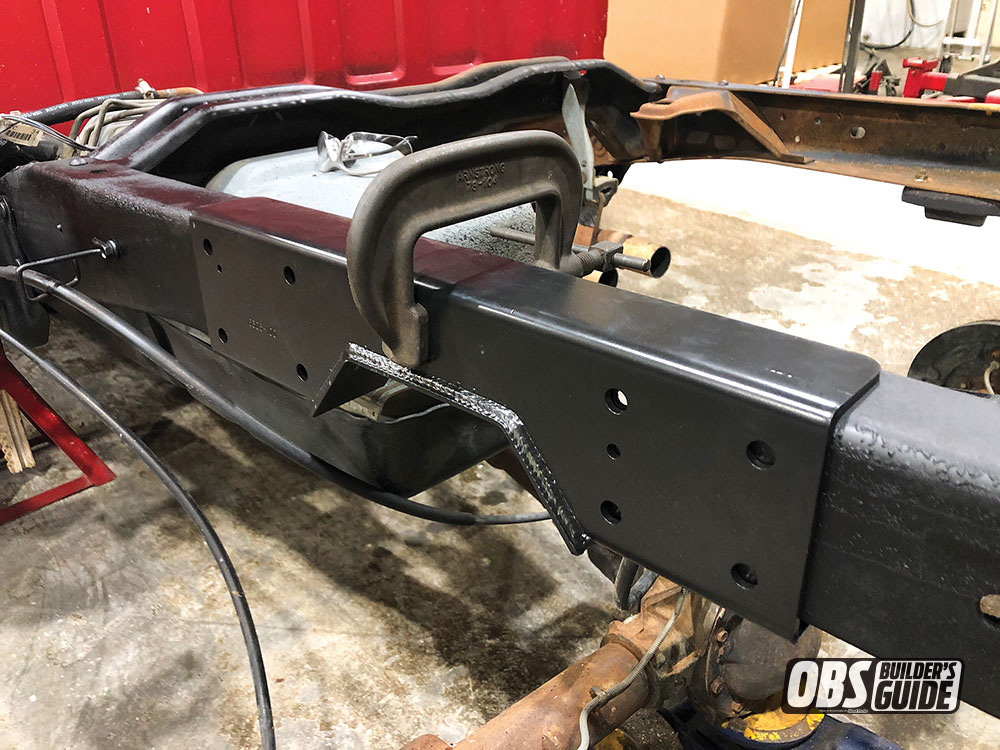
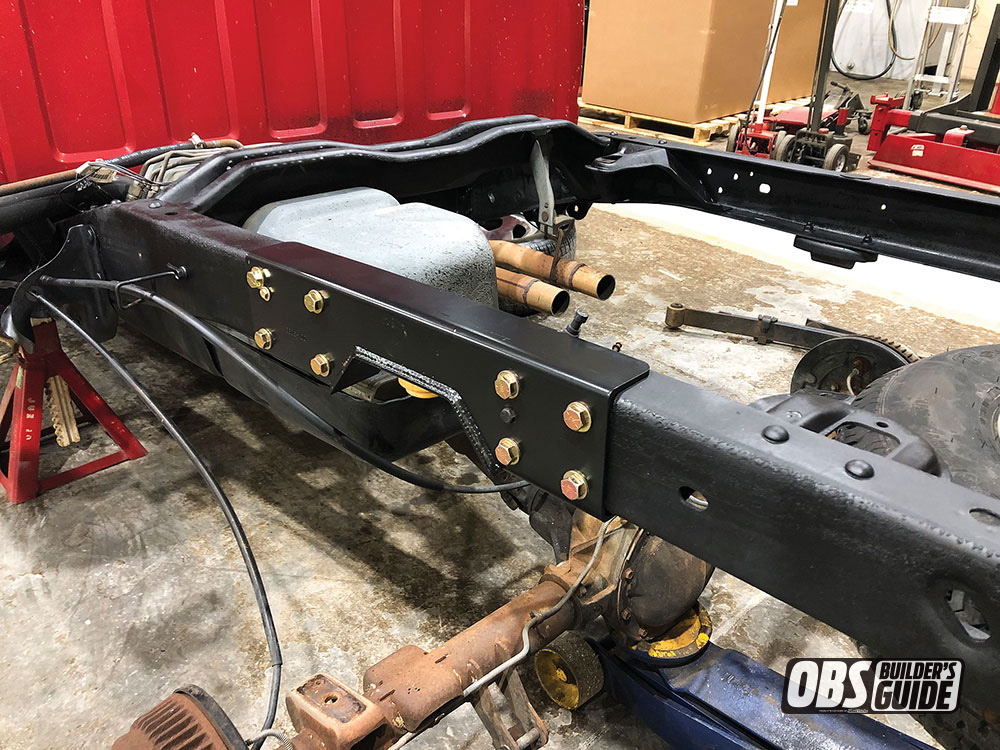
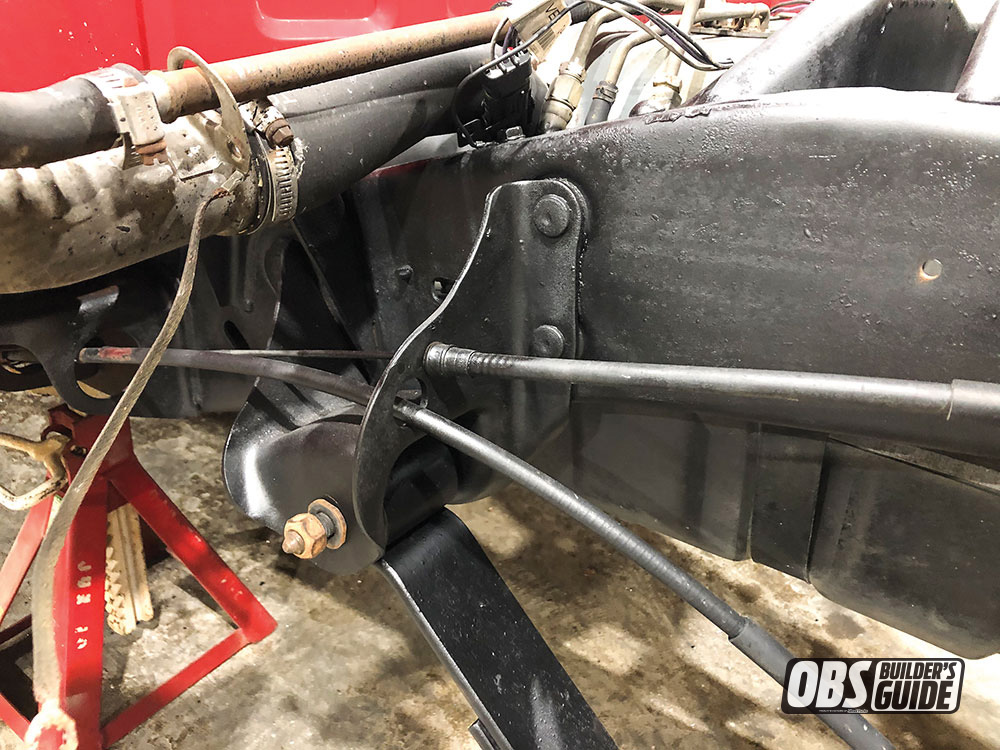
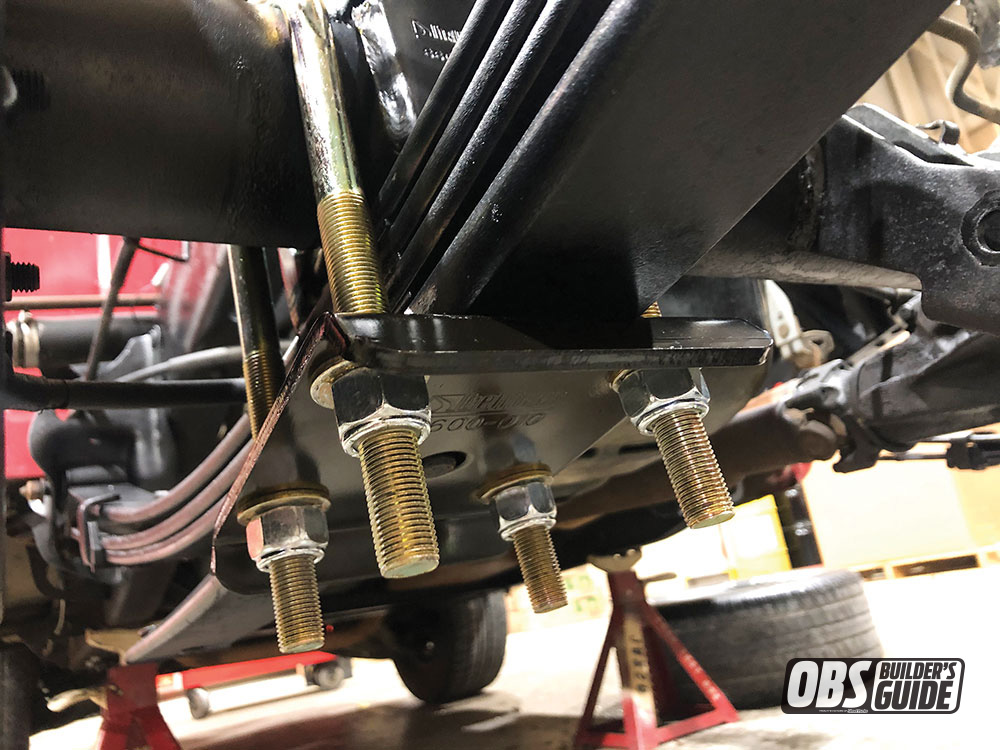
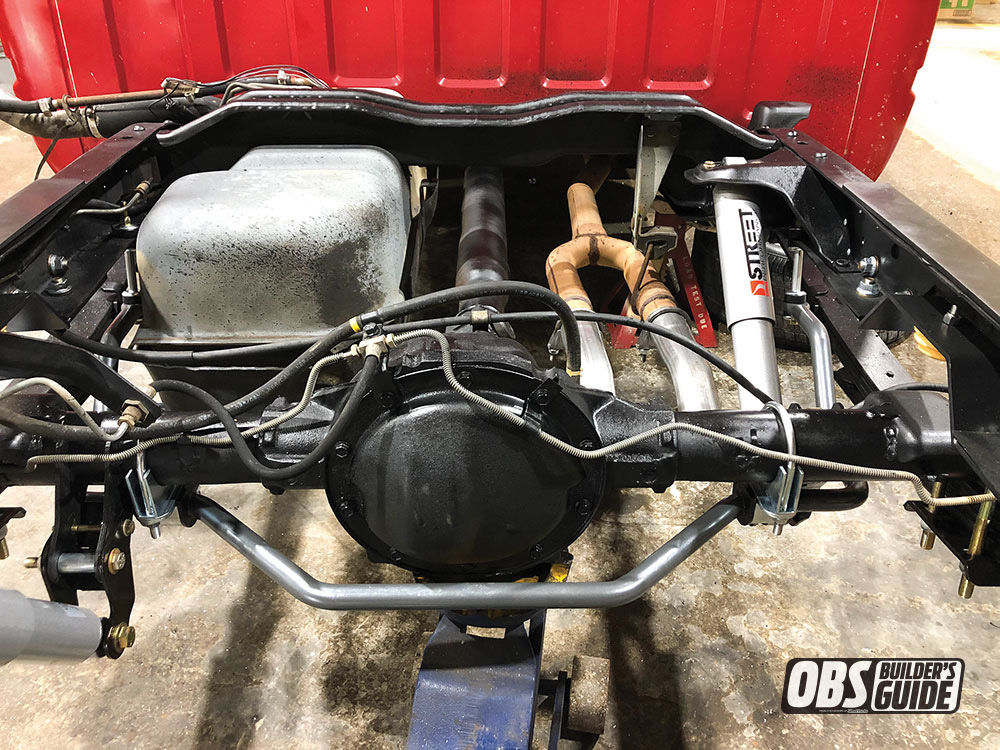
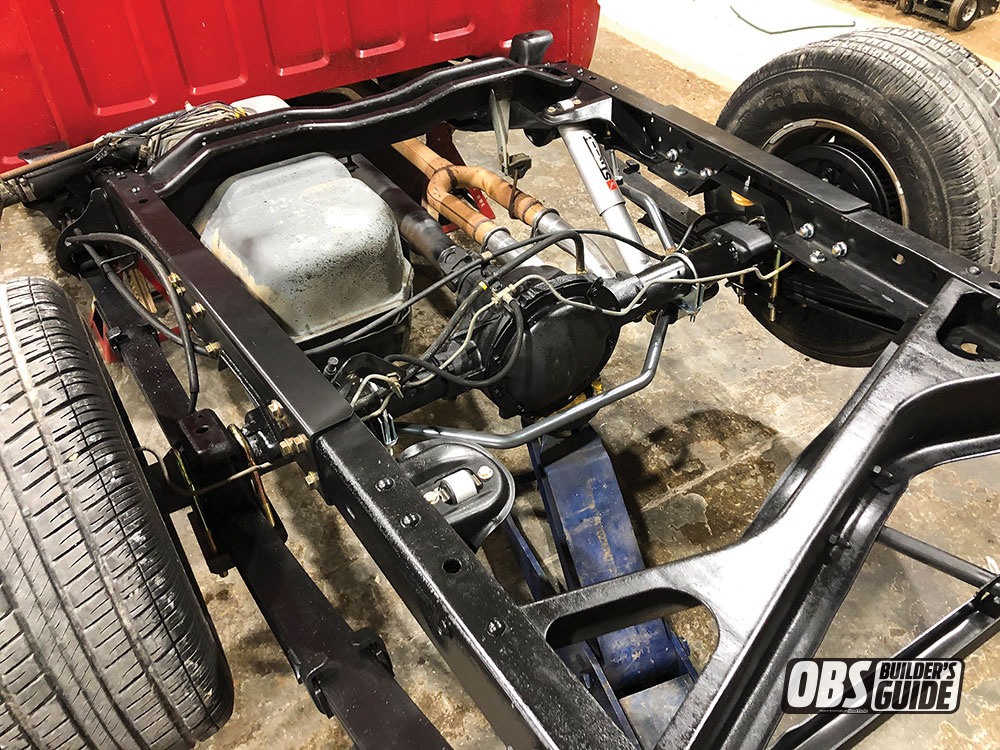
We decided to utilize the 3-inch drop spring and paired those with the 2-inch drop spindle up front. To achieve our desired drop out back, we went with a flip kit. The flip kit is also adjustable drop because it comes with new rear shackle mounts that when paired with the flip kit will yield either a 7 inch or 8 inch. We topped everything off with Street Performance Shocks/Shock extenders and front and rear sway bar kit.
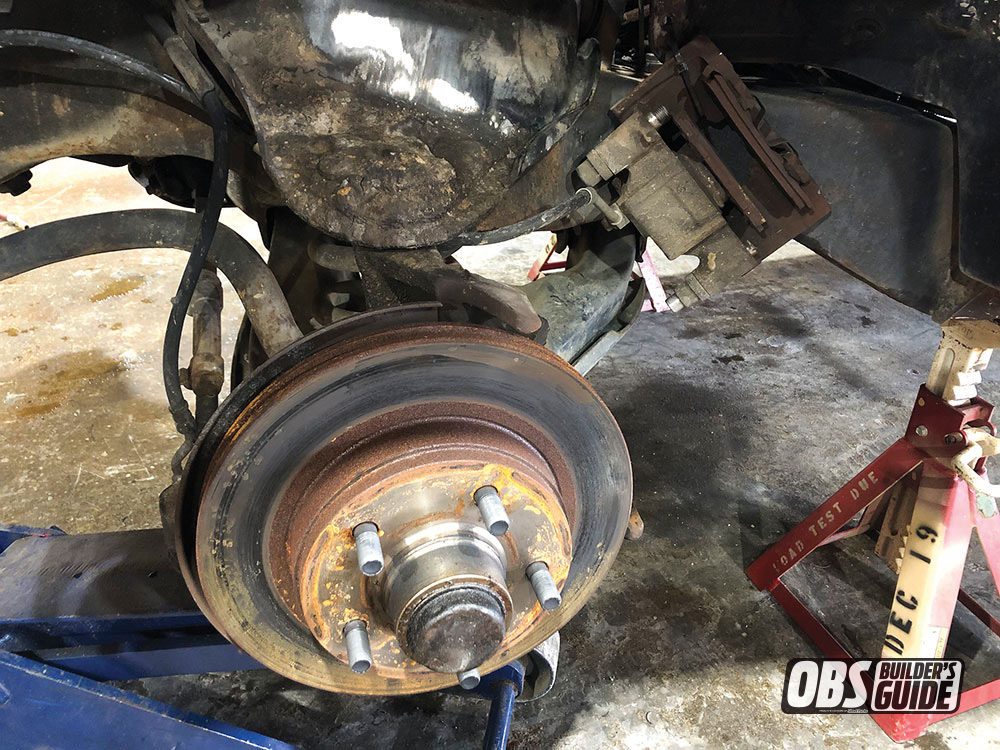
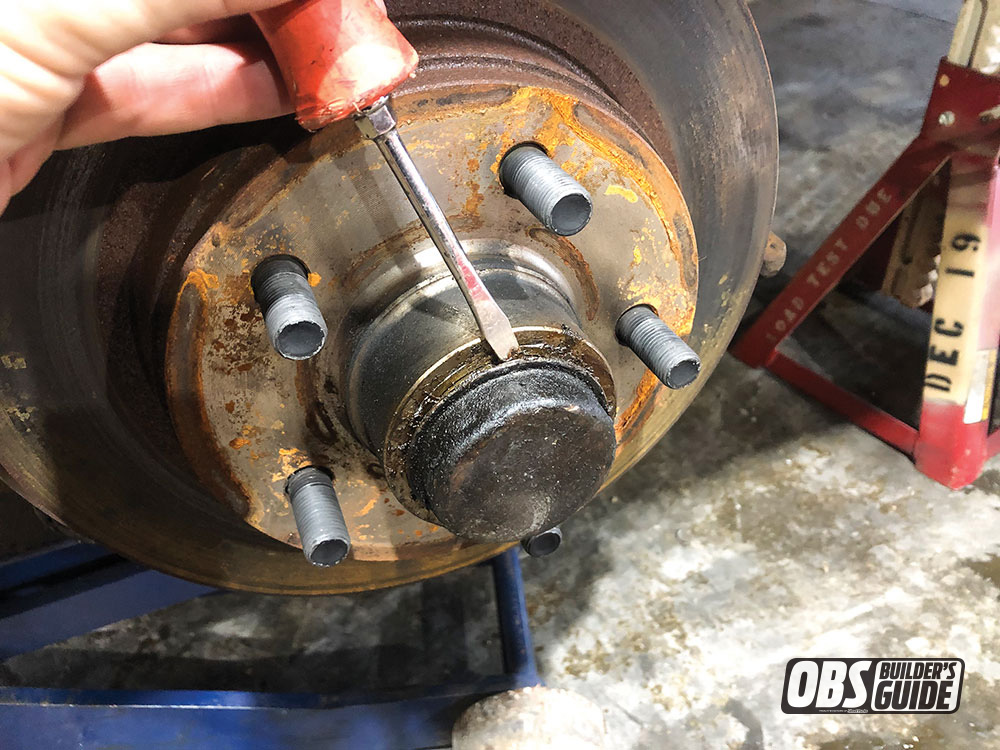
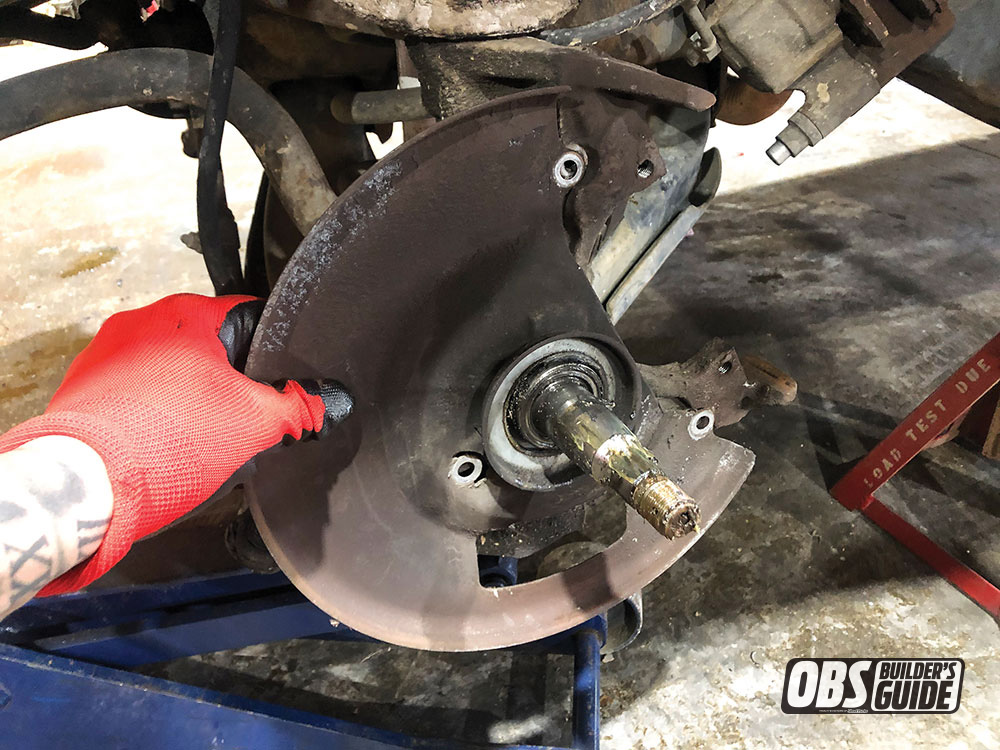
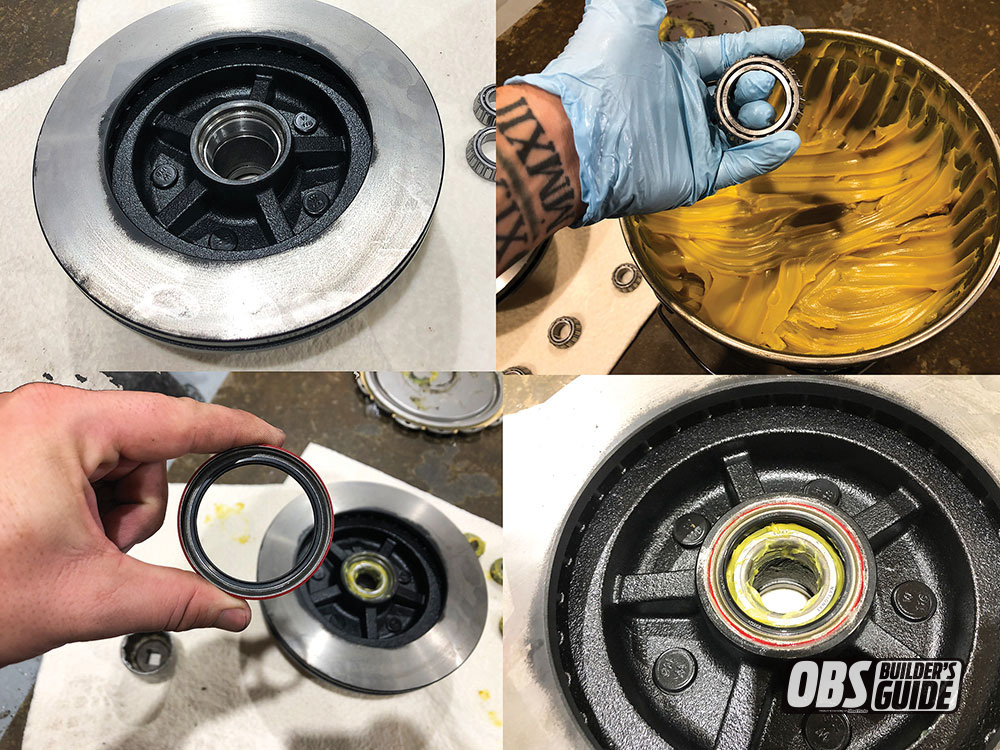
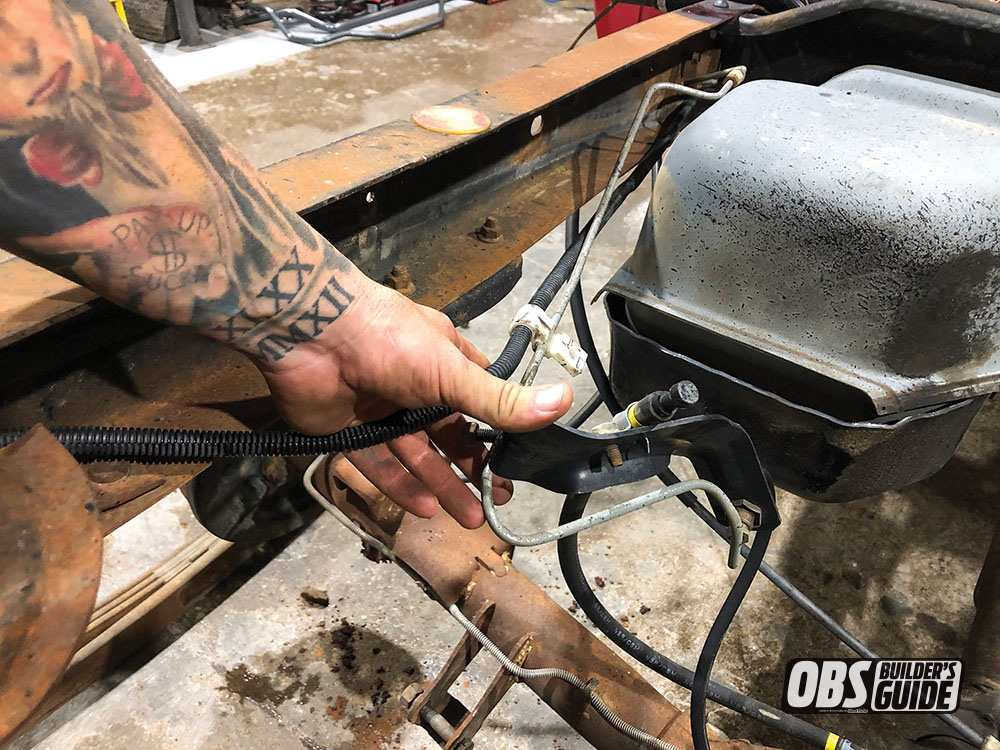
Belltech lowering kits include all the parts and pieces you need to achieve not only the look you want, but the alignment, and performance and safety you need. These complete lowering kits are your all-in-one-box solution, providing you with all the necessary parts to lower your truck. Made up of a variety of combinations as well as all the installation and alignment pieces necessary to achieve the listed lowering, choosing your kit has never been simpler. And the install is even easier! Let’s get started.

OBS Builders Guide
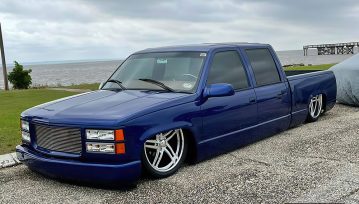
From One Friend to the Other 1994 Chevrolet C1500! One of the most important things you can hold onto are friendships. Friendships help you build… Continue reading
PHIL GORDAN . July 05, 2021
OBS Builders Guide
A Step-by-Step Guide to Adding Air Suspension on ’88-’98 GMT400 Chevy Trucks In the first-ever OBS Builder’s Guide, (March ’20) we focused our attention on… Continue reading
Chris Hamilton . October 25, 2021
OBS Builders Guide
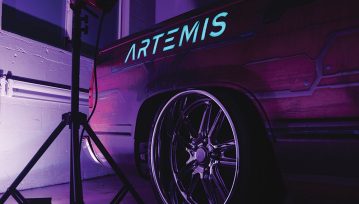
A New Suit for Project Artemis If you remember from the last issue, we dropped off our 1998 GMC Sierra known as Project Artemis to… Continue reading
Chris Hamilton . August 11, 2021
OBS Builders Guide
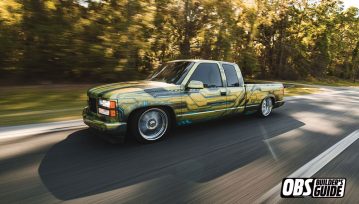
The Latest Collection of ’88-’98 Reader Rides from Around the Country! We love our readers, and we want to know what you are working on,… Continue reading
Chris Hamilton . September 30, 2021
OBS Builders Guide
On Every Kid’s Wish List in the 1990s How many of you wanted a Red Ryder BB gun after “A Christmas Story” appeared on TV… Continue reading
Chris Hamilton . June 06, 2022
OBS Builders Guide
The Evolution Of The OBS What Is The Major Differences in ’88-’98 Chevy Trucks? In my opinion, 1988 was the exact year that jump-started the… Continue reading
CHRIS STAFFORD . September 07, 2021


Classics With The Cardinals, Santa Barbara’s Premier Car Show
Bishop Diego High School - Football Field 4000 La Colina Rd
Goodguys 35th Speedway Motors Heartland Nationals Presented By FiTech Fuel Injection
Iowa State Fairgrounds 3000 East Grand Avenue, Des Moines, IA 50317
Goodguys 28th Summit Racing Nationals Presented By Grundy Insurance
Ohio Expo Center 717 East 17th Avenue, Columbus, OH 43211
Stray Angels Show & Shine
Stray Angels Show & Shine at Melrose Vineyards 885 Melqua Rd. Roseburg OR. 97471
43rd Annual Stray Angels Show & Shine
Melrose Vineyards, Roseburg, Oregon
We use cookies to enhance your browsing experience, serve personalized ads or content, and analyze our traffic. By clicking "Accept All", you consent to our use of cookies. Visit our Cookie Policy for more info.
 Please wait...
Share Link